
How to generate your currency picker in Shopify
Drive 20-40% of your revenue with Avada
The online sellers always want to expand their business abroad, which means that they need to make their stores suitable in multiple currencies. When e-commerce is getting more and more popular, international customers can easily purchase the products from other countries in their home currencies. Enabling purchasing in the customer’s currencies will increase the liquidity as well as the sales. In addition, by a strong international brand, online sellers will earn more and more revenue in different countries.
Currency Picker or Currency selector is a useful tool for the online merchants to serve foreign customers. This is considered as an automatic price conversion feature in Shopify, which allows the users to manually change the currency in the page as well as the checkout section. Furthermore, the Shopify store owners enable using the Shopify Liquid objects which supports the Currency Picker with Shopify Payments since February 2019.
This feature helps the store owners to detect to their customer’s home currencies, display their exchanging rate. However, it is not by default, which means that the users need to create on their own. There is a guiding article How to generate your currency picker in Shopify that the store owners can refer all procedure to create currency picker in Shopify.
How to insert a delivery date picker to your cart template in Shopify
Step 1: Create currencies form
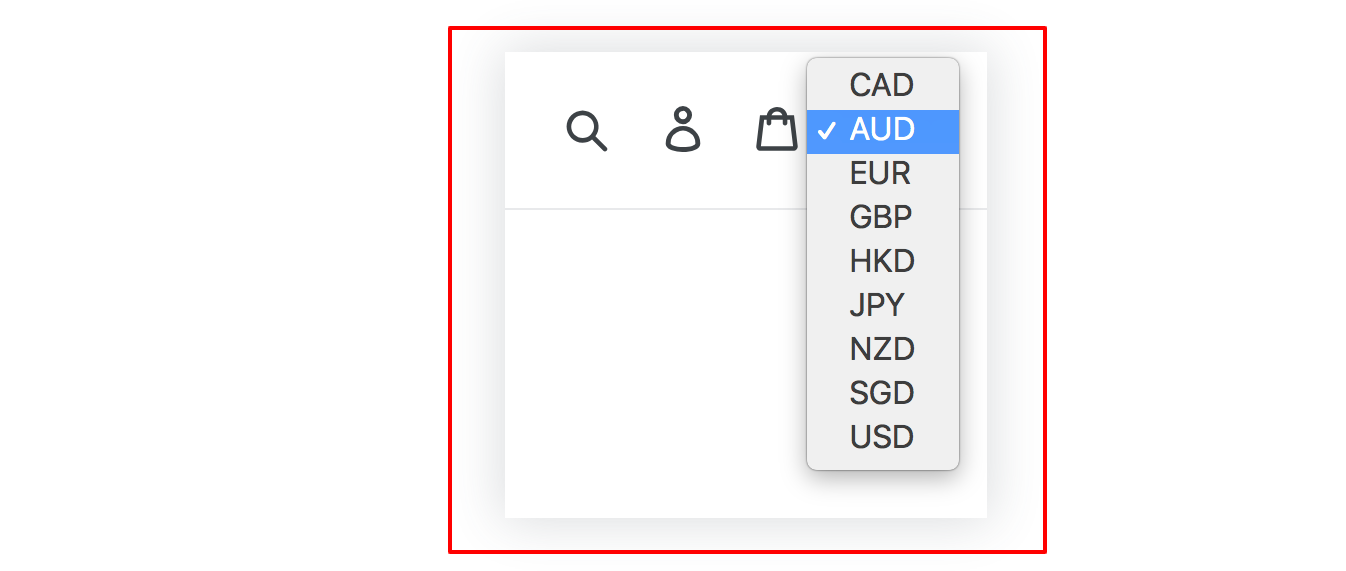
Firstly, the users are necessary to create a form that allows visitors to change the currencies on the front page.
There are two ways admins can use including the currency_selector filter or creating their own currency selector by using cart.currency and shop.enabled_currencies.
Step 2: Add the selector code
To add currency pickers in the store website, the store owners need to insert these codes to the <head> section in the theme.liquid layout such as ISO code:
{% form 'currency' %}
  {{ form | currency_selector }}
  <button type="submit">Submit</button>
{% endform %}
or customized currency selector like this:
{% form 'currency' %}
  <select name="currency">
    {% for currency in shop.enabled_currencies %}
      {% if currency == cart.currency %}
        <option selected="true">{{currency.iso_code}}</option>
      {% else %}
        <option>{{currency.iso_code}}</option>
      {% endif %}
    {% endfor %}
  </select>
  <button type="submit">Submit</button>
{% endform %}
Conclusion
For online merchants, the global market is so attractive that they need to invest more, especially in currencies. The tool as Currency Picker will be an effective way to increase the sales and their customer’s satisfaction. This guiding article How to generate your currency picker in Shopify will be the simple way for the store owners to create their own Currency Picker on the front page. In addition, they can earn more knowledge about currencies through those articles such as How to insert a Continue shopping link to your cart page, How to insert a delivery date picker to your cart template and How to place the currency picker in your theme.liquid.


