
How to modify the HTML for currency formatting in Shopify
Drive 20-40% of your revenue with Avada
One day, you receive an order from a foreign country using different currency from yours. What do you need to do on your website to inform purchasers about the payment? This question will be solved in this tutorial. You are provided a solution to modify the HTML for currency formatting.
Table of content
Currency selection
Attention: this is an advanced tutorial, hence knowledge relating to website languages such as Javascript, CSS, and HTML is required.
After you activate the selling function in multiple currencies in Shopify Payments, your clients are able to track your shop and check out the local currency. As a result, you can use one of the three ways below to let customers see in your store.
Your store: when customers visit your store, you can set currency adaptation based on the geolocation of your purchasers. A link: a special link is sent to customers to open in a specific currency. A currency selector: A currency selector allows buyers to choose their own currency.
Currency selector
Shopify has allowed online shops to sell products in multiple currencies with Shopify Payments since February 2019. You need a currency selector that show the right currency of items. However, currency selectors don’t work when you activate to sell in multiple currencies. In case you have an incompatible selector in your theme, you need to replace it with one that uses the current objects.
In fact, most themes do not include a currency selector by default, so you have to create your own.
Create a currency selector
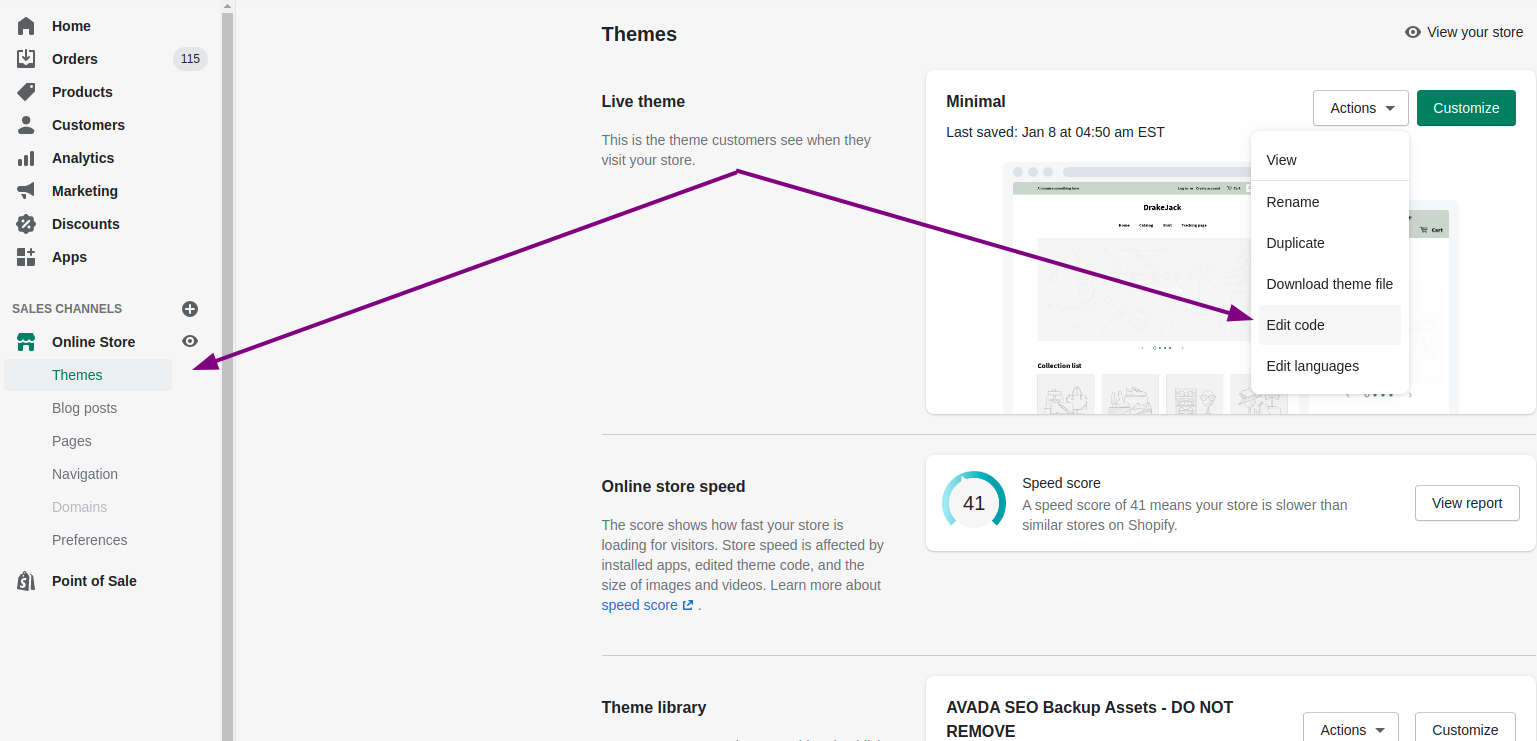
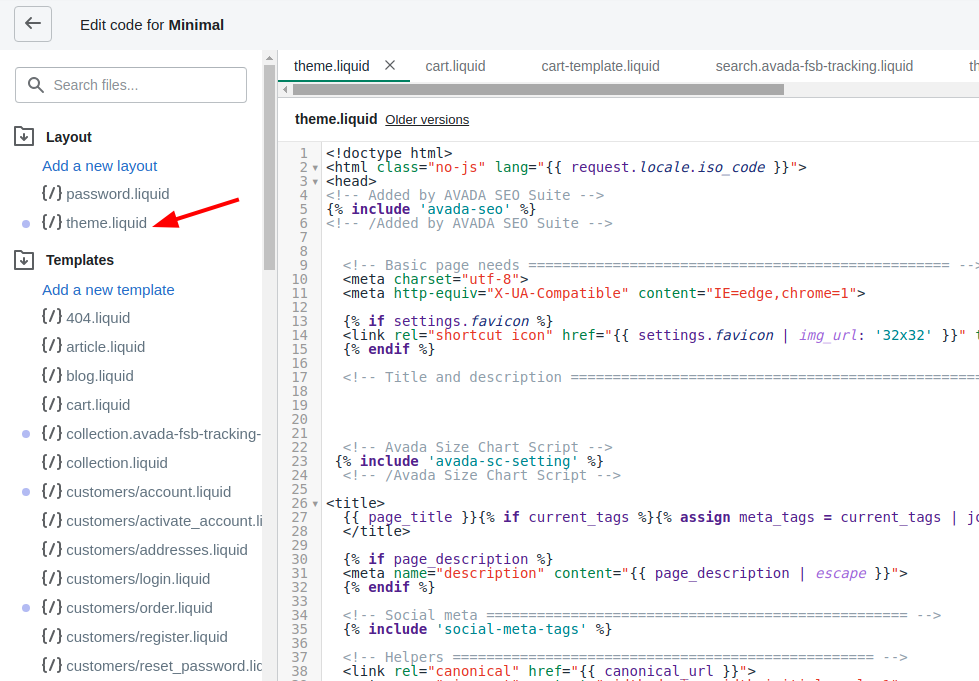
In order to create a currency selector, you use the currency form. If you want your currency selector to appear on all pages, then you should include the currency selector code to the head <head> in your theme.liquid layout.
Example currency selector
First, the following example displays the currency by ISO code:
 {% form 'currency' %}
     {{ form | currency_selector }}
     <button type="submit">Update</button>
    {% endform %}
While the example below also uses ISO code but it is applied under JavaScript platform to trigger the currency change rather than a button:
{% form 'currency' %}
     {{ form | currency_selector }}
    {% endform %}
The following example contains a specifically designed currency selector:
{% form 'currency' %}
  <select name="currency">
    {% for currency in shop.enabled_currencies %}
      {% if currency == cart.currency %}
        <option selected="true">{{currency.iso_code}}</option>
        {% else %}
        <option>{{currency.iso_code}}</option>
      {% endif %}
    {% endfor %}
  </select>
  {% endform %}
Related posts: 5 Simple Steps to Change Currency Formatting on Shopify
Conclusion
To sum up, this tutorial aims to modify the HTML for currency formatting. Currency formatting is set to deal with orders coming from foreign countries which are likely to use different currency from yours. We hope that your payment will be improved and customers feel happy when using your service.


