
How to Insert a Delivery Date Picker to your Cart Template in Shopify
Drive 20-40% of your revenue with Avada
As a store owner, you may want to insert a delivery date picker to your cart template, because it is the useful way for the customers to choose the date that they can be received. Moreover, the orders will be more liquiditable and the store owners can increase the sales effectively. To provide a service as date picker in the shopping cart,the users can have different choices including adding and changing the codes to ena of their order during checkout.
The customers enable tracking their orders and their delivery date so they can be sure about when the orders are due and when they are fulfilled. Besides, the Delivery Date can be trasfered into CSV format, which helps the Shopify store owners to share with the suppliers, delivery services as well as customers. In addition, the Delivery Date also allows the store owners to customize the apperances and options of the delivery date picker.
Related Posts:
- Generate a Cart Attribute Field in Shopify - A Definitive Guide
- 4 Steps to Generate a Gift-Wrap Product in Shopify
- How to Modify the JavaScript File for your Theme in Shopify
To add a delivery date picker to your cart template, the Shopify users can follow those following process in this guiding article How to insert a delivery date picker to your cart template in Shopify. This tutorial includes three simple steps that the users can easily apply to their own shops. Furthermore, with this guiding article, we hope that the Shopify store owners have more understanding or knowledge about delivery date orders.
How to insert a delivery date picker to your cart template in Shopify
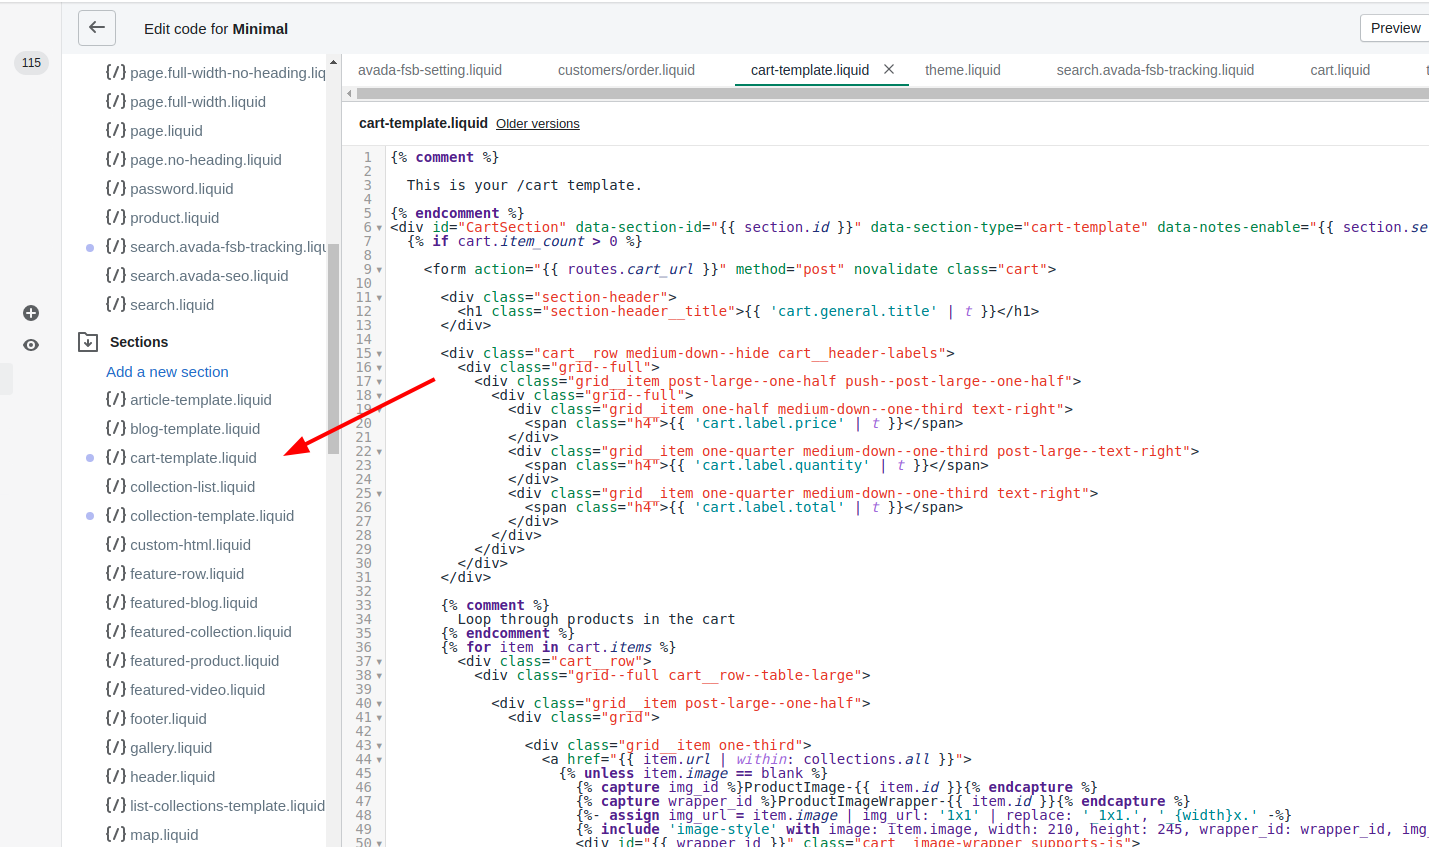
Step 1: Go to Sections
From the Shopify admin dashboard, the store owners can find the Sections and then they continue by clicking to cart-template.liquid.
Step 2: Paste the code
At the end of the </form> tag in the code, admins coppy these following codes to paste:
<div style="width:300px; clear:both;">
  <p>
    <label for="date">Pick a delivery date:</label>
    <input id="date" type="text" name="attributes[date]" value="" />
    <span style="display:block" class="instructions"> We do not deliver during the weekend.</span>
  </p>
</div>
Step 3: Click Save
ClickSave to finish and save the changes.
Conclusion
In conclusion, this article How to insert a delivery date picker to your cart template in Shopify with basic steps for even beginners can have the best the way to add the calendar of the customer’s delivery. Besides, the store owners can refer different articles about carts such as How to insert a Continue shopping link to your cart page, How to insert a delivery date picker to your cart template and How to generate a gift-wrap product.


