
How to add linked options to your theme in Shopify
Drive 20-40% of your revenue with Avada
You are owning an online store and each product has a lot of varied types, sizes or colors. You now would like to bring comfort to customers while they are shopping, hence options for buyers should become more automatic to match the first choice. As a result, this tutorial will give you the instruction of how to add linked options to your themes.
Table of content
Attention
This tutorial is an advanced level, so before editing your theme code, you should check the settings and duplicate your theme to create a backup version. Moreover, it is required to know about web design language namely HTML, CSS, JavaScript, and Liquid. These steps mentioned below is not compatible with Shopify sectioned themes nor non-sectioned types such as Brooklyn, Jumpstart, Solo, and Venture. In the case that you are not confident in what you will do, you should hire an expert.
Explanation of adding linked options
When you go to your competitors’ website, their options presenting to buyers tend to contain all categories without a filter to show whether each category has a certain color or size match with purchasers’ desire. This is a typical example:
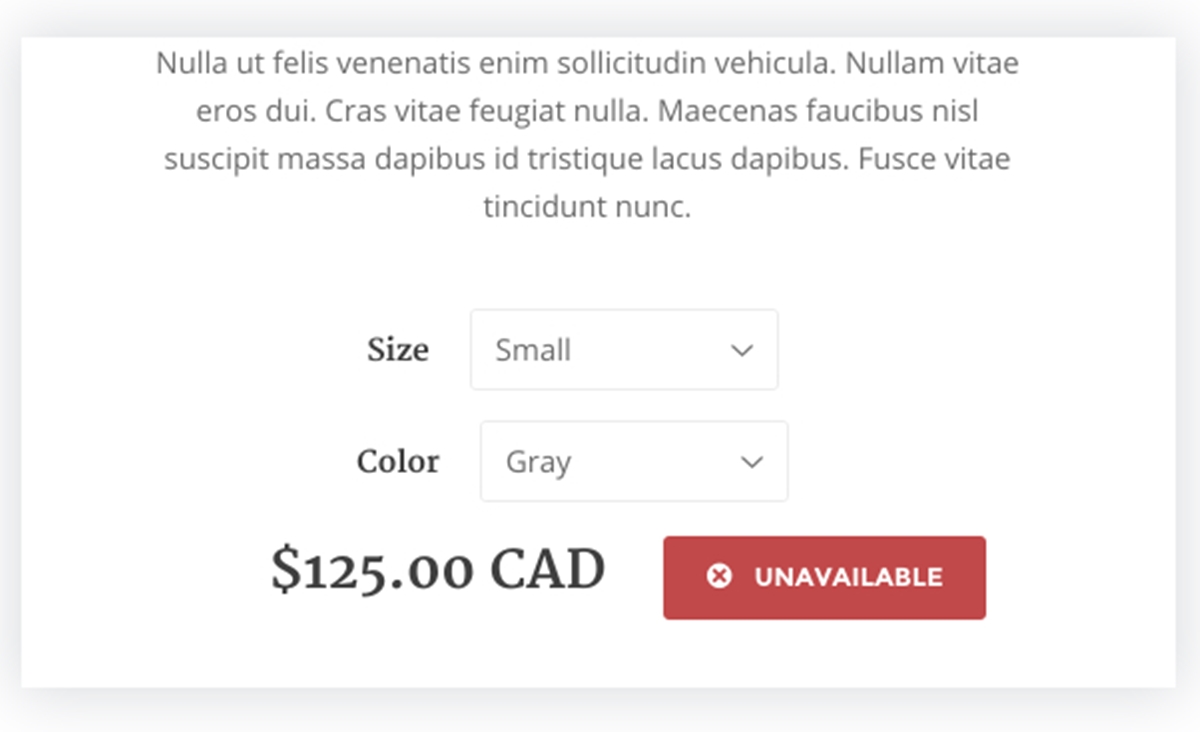
In other words, you would like to create a secondary menu in line with the current choice to eliminate unavailable items when buyers are shopping.
For instance, you are offering two categories for customers to choose from. When visitors make the decision to select items in the first drop-down, you would like to create an automatic system appeared in the second drop-down. It means that the values in the second category are available with the first selection. If a product has three options, the third option will update to match with the combination of two selection above.
The steps to add linked options to your themes
Step 1:
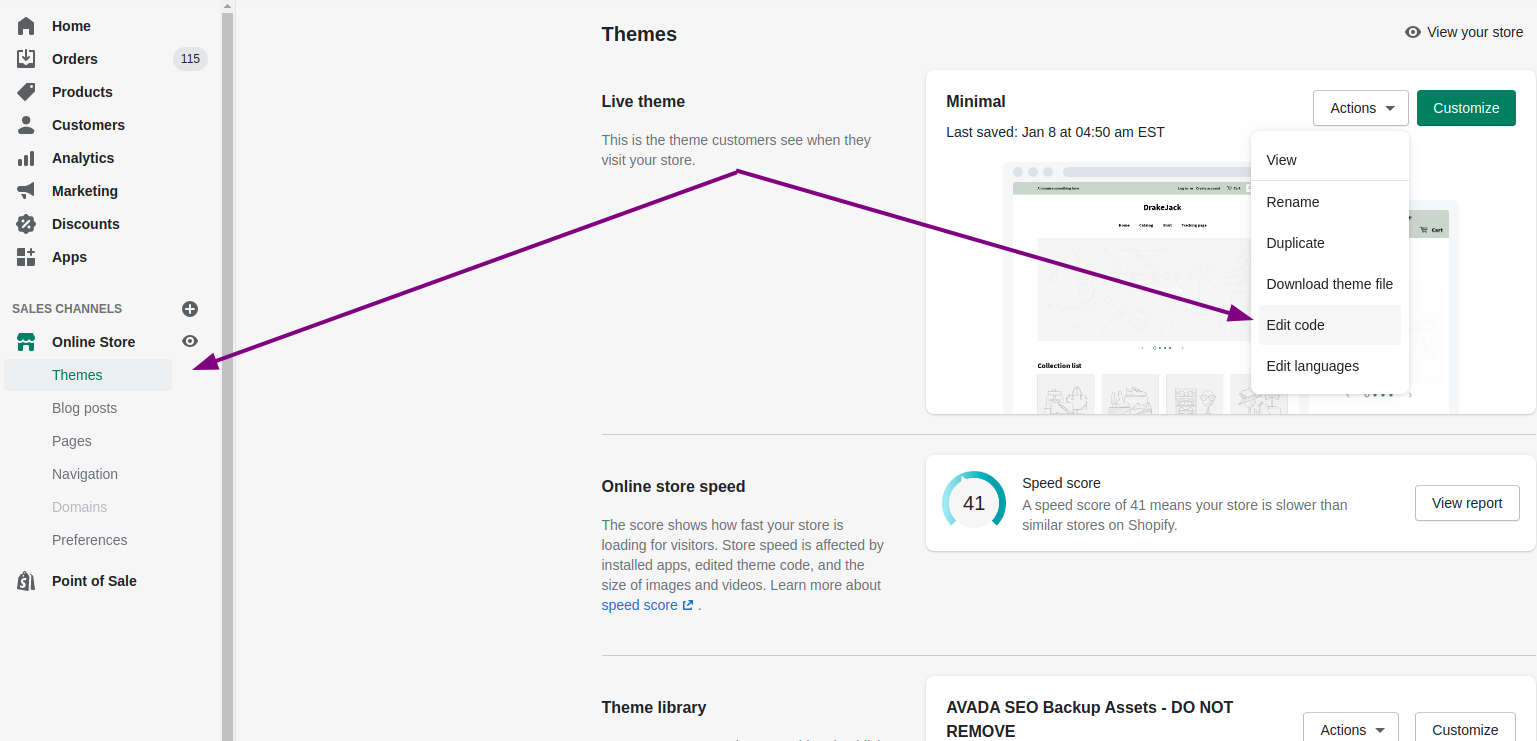
You click Online Store and click Themes.
Step 2:
Find the themes that you want to edit, then press Actions then Edit Code.
Step 3:
Look at Snippets directory and click to open Add a new snippet.
Step 4:
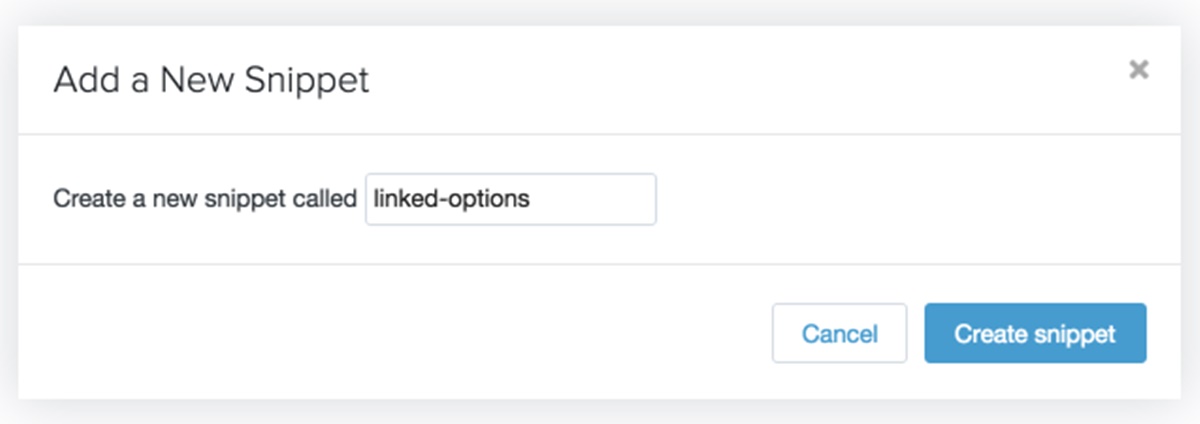
A box called Create a new snippet appear then you insert linked-options in the blank space:
Step 5:
When you create a new snippet file successfully, paste this code hosted on GitHub.
Step 6:
Remember to click Save.
Step 7:
Move to Layout directory, you will see theme.liquid and click on that.
Step 8:
Near the end of the file, before the closing </body> tag, paste the code below:
{% include 'linked-options' %}
Step 9:
Click Save and you add linked options
Conclusion
To sum up, this instruction will help you add linked option to your theme. The customization will help customers to feel more convenient when visiting your store, hence it is likely that they will come back to your shop and spend more.


