
How to insert Disqus to your blog in Shopify
Drive 20-40% of your revenue with Avada
Are you looking for material on Disqus? Do you know why Disqus is considered important to all Shopify store owners? Let’s find it out with us today! Please keep reading our instructional writing on How to insert Disqus to your blog to know more deeply about one this topic.
How to insert Disqus to your blog
What is Disqus?
To get started, we would like to give you some information on Disqus.
Disqus is well-known as a discussion platform that charge you no fee. It does encourage social engagement and traffic to your online store, website, as well as bettering your SEO. Disqus are able to be employed as an alternative to your commenting feature for blogs, especially when you see that your blog creates too many comments or is getting a lot of spam. That is not all it has, Disqus also can be employed to generate discussion about your items on product pages. While the system integrates with Shopify, comment removal, comment moderation and general analytics get done thru the Disqus platform. The fact is that it is truly an easy system to integrate but in case you are apprehensive or would like to moderate comments thru Shopify, you’d better checkout the Disqus integration application on App store.
How to insert Disqus to your blog
Step 1:
Register for a free Disqus account in here.
Step 2:
Fulfill the registration form. Please note that all the fields must be filled in to get your account completely created. Note that the Enable Promoted Discovery option is checked off by default but it’s up to you to enable it or not. Click Continue to move to the next step when you have the registration form complete.
Step 3:
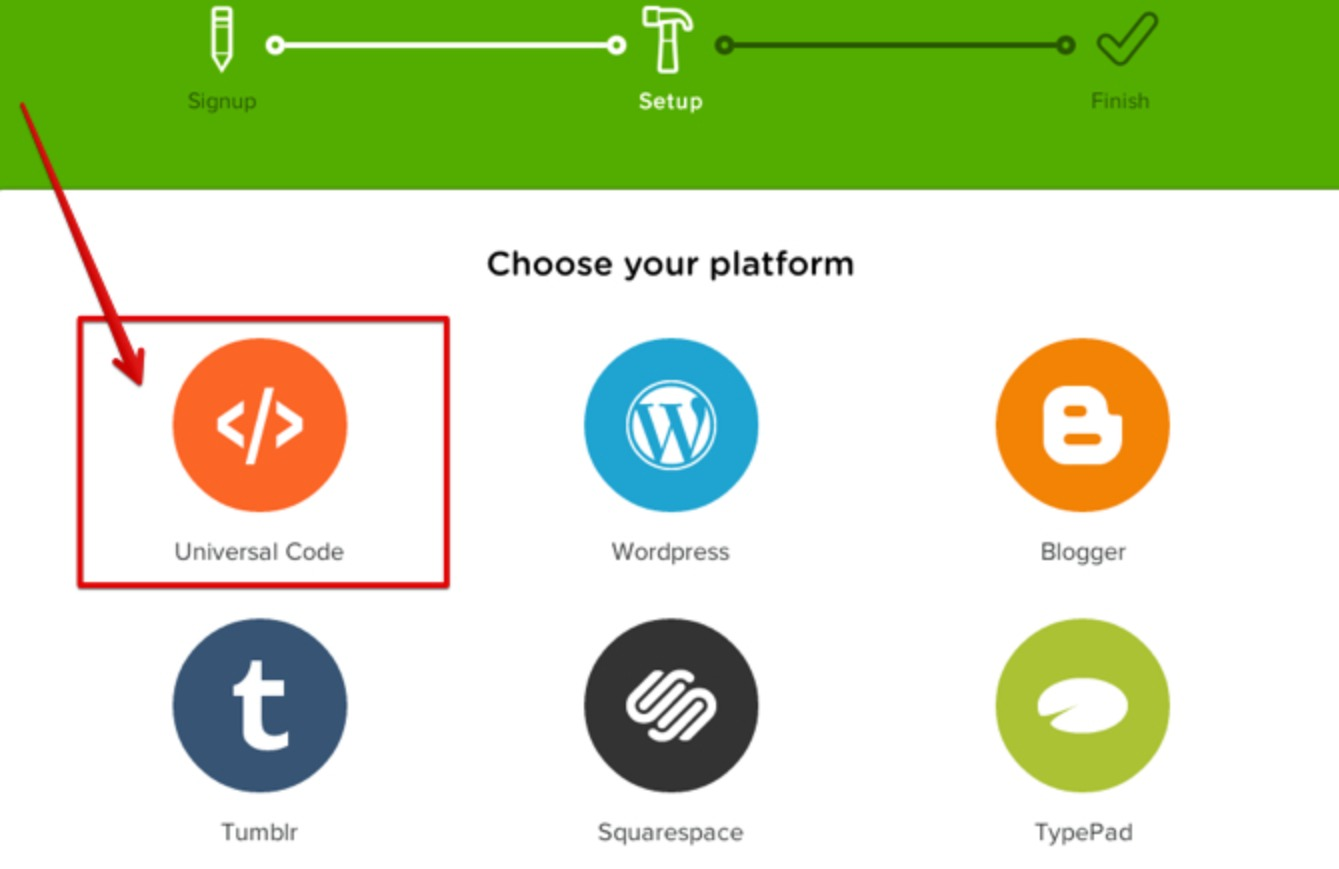
In this step, click the Universal Code option. There will be 2 snippets generated for you.
Step 4:
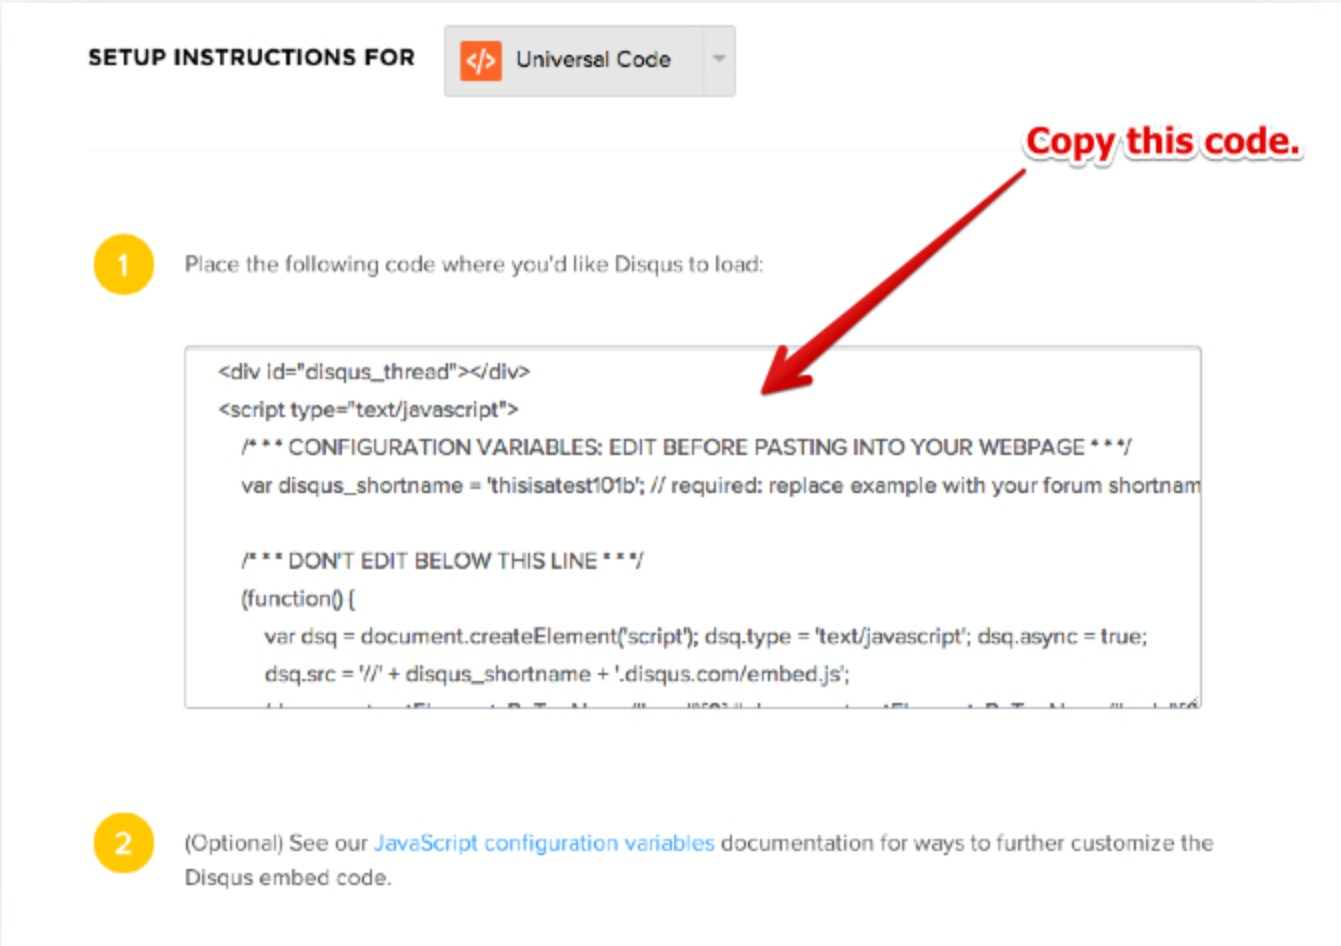
The first line of code is meant to go in your Shopify theme where you want the Disqus feature to be displayed. The 2nd snippet of the code can go in your Shopify theme to show comment count. That will go in your theme..liquid file which is right above the closing </body> tag. Now, copy the first snippet of the code.
Step 5:
Open your Shopify store admin in a new tab.
To insert Disqus to your blog
Step 6:
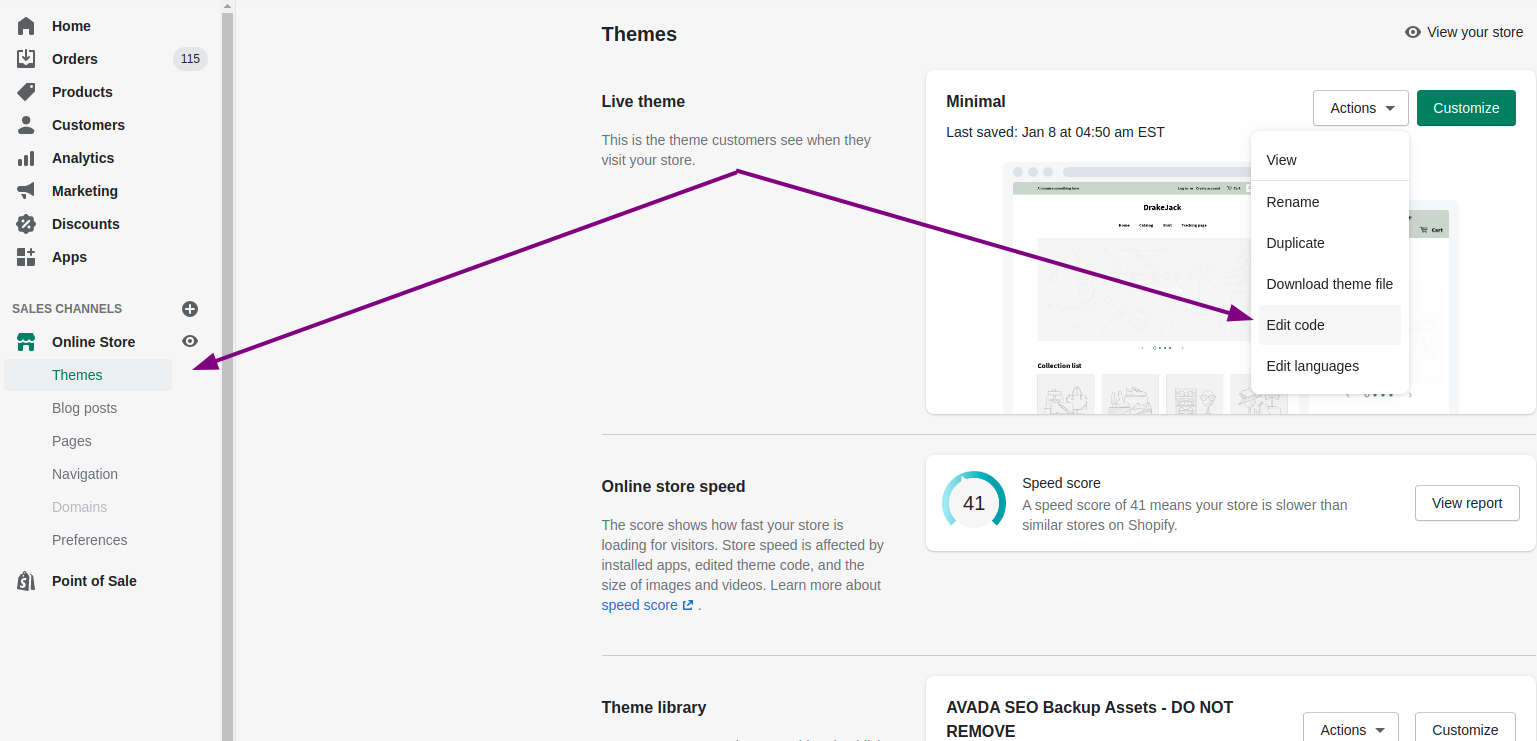
Go to Online Store > Themes from your Shopify Admin panel.
Step 7:
Choose the theme that you need to adjust and click Actions > Edit code.
Step 8:
Choose where you like the Disqus feature to be displayed:
- Product page

- Blog page
1. Product page
-
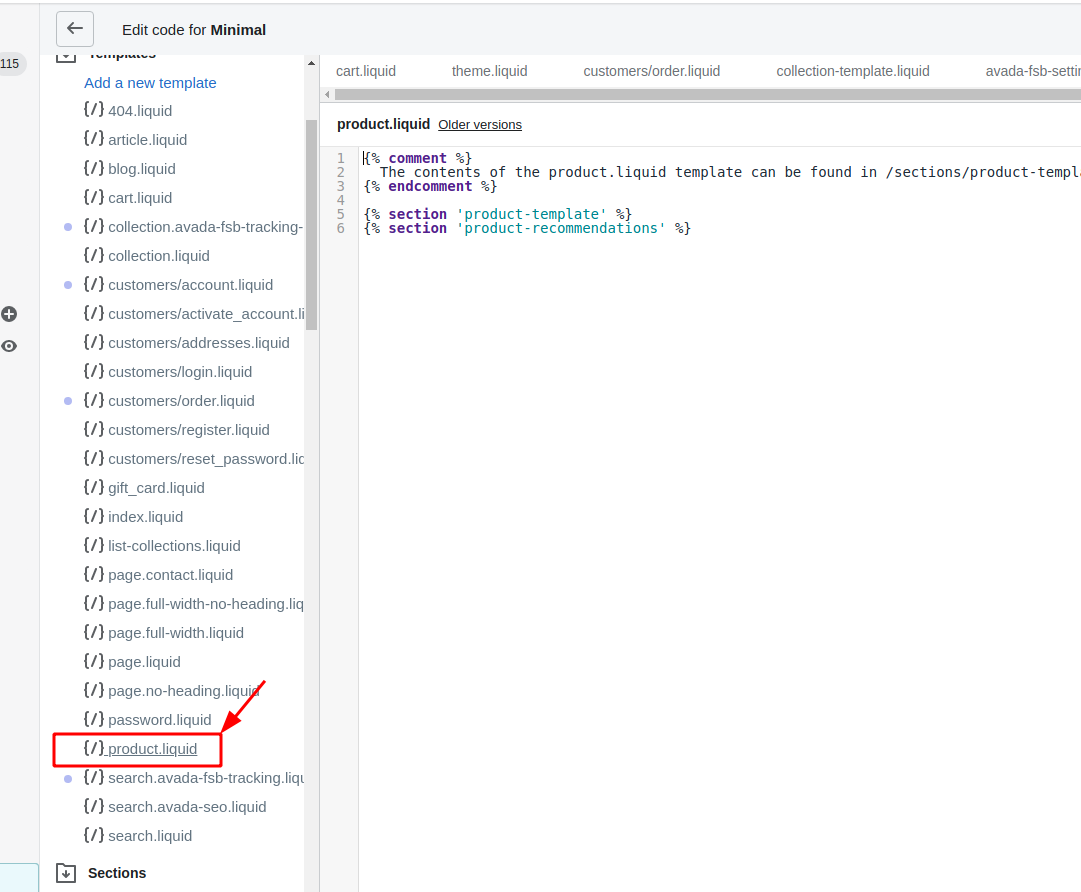
Step 1: To open the
product.liquidfile in the online code editor, right under the Templates folder, locate and click it. -
Step 2: At the bottom of the
product.liquidfile, paste your code.
- Step 3: Click Save to save changes.
2. Blog page
-
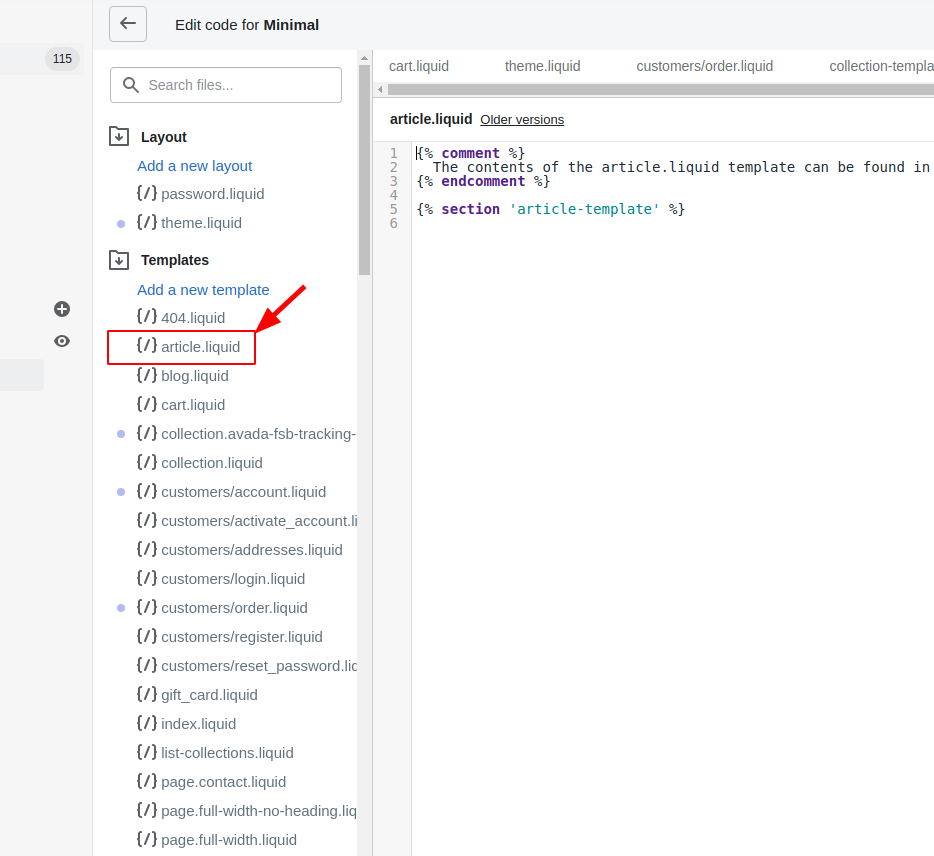
Step 1: To open the
article.liquidfile in the online code editor, right under the Templates folder, locate and click it. -
Step 2: To use Disqus instead of the comment feature of Shopify, please delete the comment section of your
article.liquidtemplate.
- Step 3: Click Save to save changes.
Conclusion
Hope that this detailed guide has got you through all the necessary information on Disqus that you are in need. Please keep looking forwards our upcoming posts!


