
How to view data from CSV, JSON, or YAML files in Liquid templates in Shopify
Drive 20-40% of your revenue with Avada
Data file is a familiar technical term for technical developers. The data file can be understood as a computer file which contains data used by a computer application or system including input and output data. There are two ways to look at the data file.
First, the data file is stored in two forms which are text files and binary files. The former is built by human-readable characters namely a text document while the latter requires no translation like text files, hence they are easier for a program to digest information such as a JPEG image. The second way to understand the data file is to the category into a closed data file format and open data format. The closed data file format is a hidden, unavailable to users of the file so that they can not leak the information to other competitors. Open data format has internal structures that users of the file can see through metadata publishing.
Today, we will dig into an open data format, in particular, how to view data from CSV, JSON or YAML files in liquid templates. With data files, you are able to access to CSV, JSON, YAML files on your Jekyll site. A lot of data files will become a database.
Table of content
A specific example
This example would let you know the usefulness of using Jekyll data files. This is a map of all retailers of virtual bakery stores. Look at the map, you can see one outlet highlighted on the map. If you had more than one store, then you would like to show all your outlet’s location.
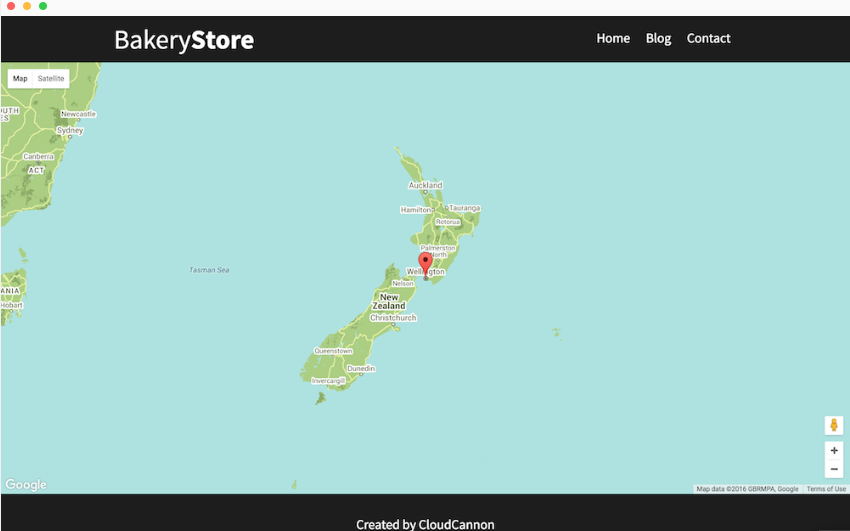
Here is the code for one store in Wellington under JavaScript array:
var markers = [{
  "latitude": -41.286460,
  "longitude": 174.776236,
  "title": "Wellington Outlet"
}];
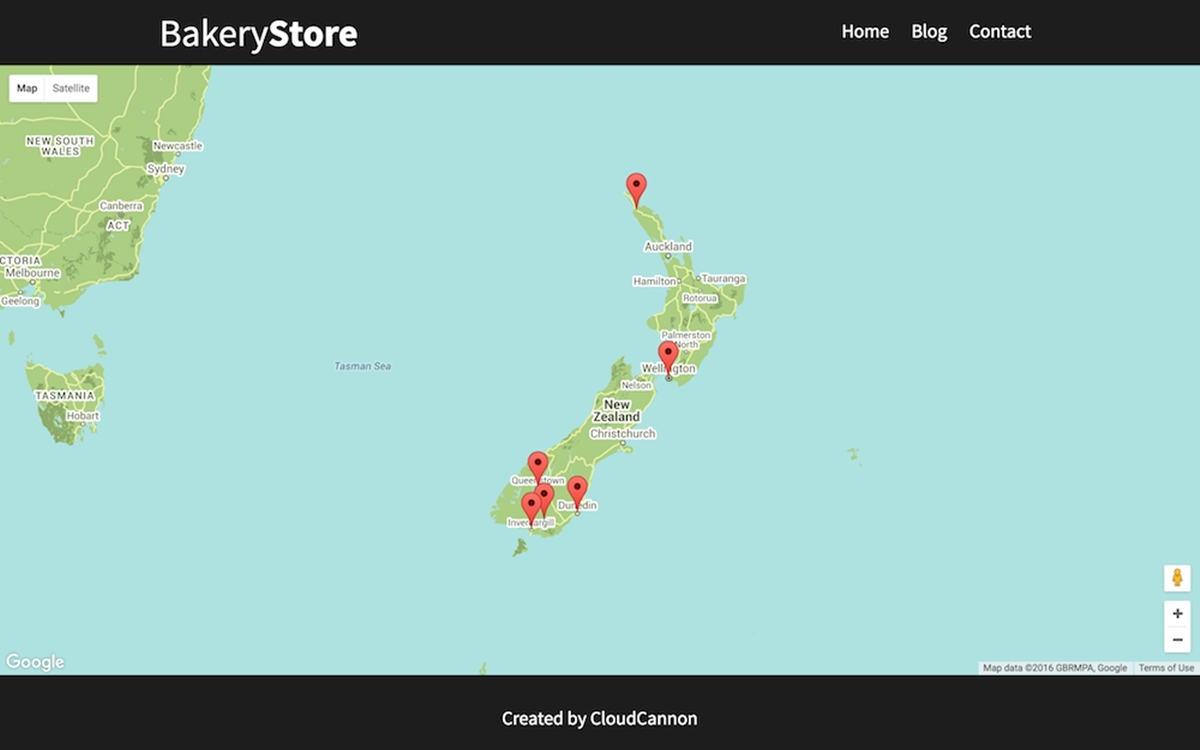
The question is how to add another outlet. One possible solution is to copy the previous code and change the latitude, longitude, and title.
var markers = [{
  "latitude": -41.286460,
  "longitude": 174.776236,
  "title": "Wellington Outlet"
}, {
  "latitude": -45.878760,
  "longitude": 170.502798,
  "title": "Dunedin Outlet"
}];
This solution can help; however, it is time-consuming and less effective. Therefore, you ought to use Jekyll data file.
Creating a data file
We will use the mentioned problem to find out the answer once activating Jekyll data file. The very first step is to create a new file _data. Then click to open this file, you continue creating a file titled location.csv. This CSV file contains the first-row indicating names for each column that you need to fill in to show an outlet. Unless you are happy to edit CSV files using a code editor, spreadsheet like Excel can be utilized. In this way, you don’t need to copy the available template, just fill in the latitude of the stores’ location. After that, your retailers will be marked on the map.
latitude,longitude,name
-45.878760,170.502798,Dunedin Outlet
-41.286460,174.776236,Wellington Outlet
-46.098799,168.945819,Gore Outlet
-46.413187,168.353773,Invercargill Outlet
-35.117330,173.267559,Kaitai Outlet
-45.067944,168.662109,Queenstown Outlet
Using the data
Suppose that we are using contact.html and the data file that we have created can be accessed at site.data.locations which is under Jekyll format. If you want JavaScript to read and understand the data, you can use jsonify filter to generate readable output. Finally, stores that you wish to show on the map are marked, hence your customers can track which one is close to their location.
Case study
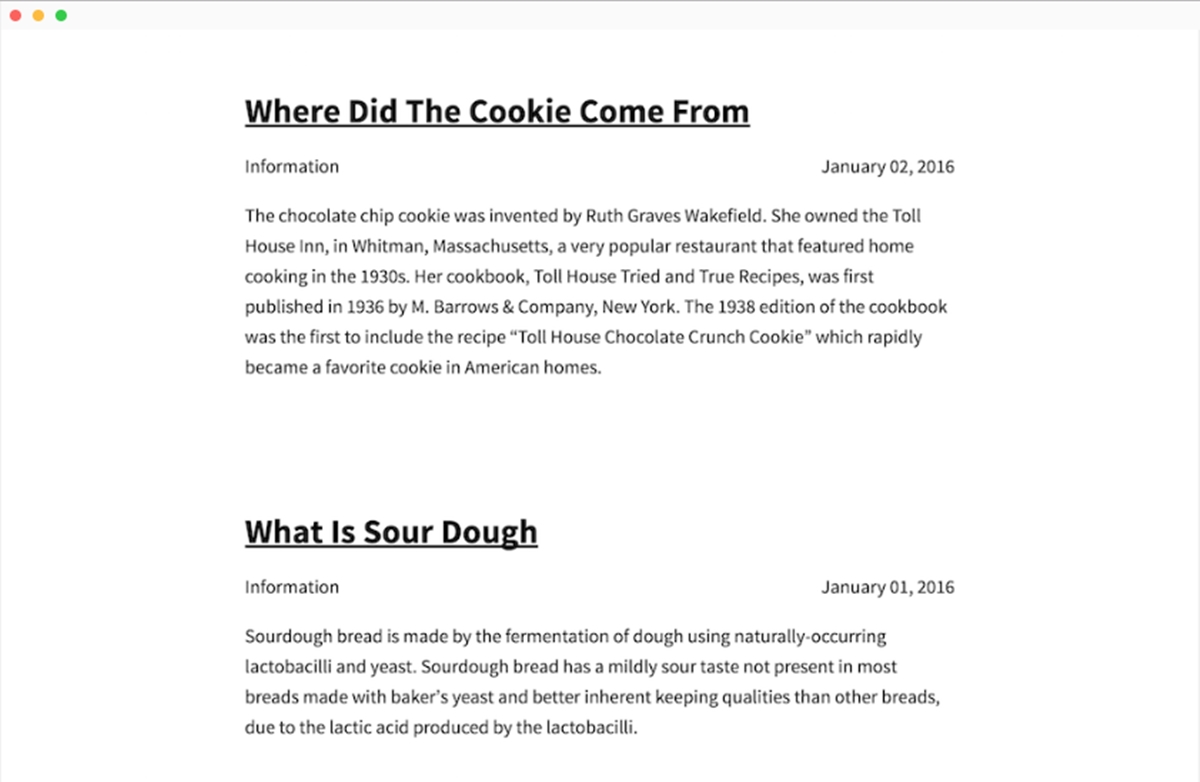
When your search for an author’s articles, you will see his/her writings and links to their twitter page featured by blog.html. This is the second instance that we would dig into.
In this case, we can also use data files to contain author metadata. The JSON format is applied in this situation. An authors.json need to be created which include keys showing author’s short name and values showing the author’s full name, image and twitter handle:
{
  "mike": {
    "full_name": "Mike Neumegen",
    "image_path": "/images/mike.jpg",
    "twitter_handle": "mikeneumegen"
  },
  "george": {
    "full_name": "George Phillips",
    "image_path": "/images/george.jpg",
    "twitter_handle": "gphillips_nz"
  }
}
After that, we will add the authors’ short names in the permalink. For example, the example of _posts/2016-01-01-what-is-sour-dough.md is George:
---
layout: post
category: Information
author: sam
---
...
To edit the author’s information, we access site.data.authors file and the latest author’s metadata using by site.data.authors[post.authors]:
...
{% for post in site.posts %}
  <div class="blog-post spacing">
    <h3>
      <a href="http://twitter.com/{{ site.data.authors[post.author].twitter_handle }}">
        <img src="{{ site.data.authors[post.author].image_path }}" alt="{{ site.data.authors[post.author].full_name }}" class="profile" />
      </a>
      <a href="{{ post.url }}">{{ post.title }}</a>
    </h3>
    <p class="summary">
      {{ post.category }}
      <span class="date">
        {{ post.date | date: '%B %d, %Y' }}
      </span>
    </p>
    {{ post.excerpt }}
  </div>
{% endfor %}
...
Conclusion
To sum up, hope that this information will assist you in viewing data from CSV, JSON or YAML files in liquid templates. If you have any comments or useful techniques that you want to share, you can leave your comment below the post.


