
8 Steps to Start an Online Fashion Boutique with Shopify
By Sam Nguyen

Drive 20-40% of your revenue with Avada
Are you looking for How to create a Online Boutique on Shopify? Are you having wonderful ideas or products in your mind but don’ t know how to sell them? Luckily, you have come to the right place. In the past, I had no experience in this field, and also don’t know anything about technical, after a long period of time searching, I finally figure out an extremely simple way to set up your own clothing store with ease within 30 minutes with Shopify.
Exclusive Offer: Get Shopify 33 days for just $1 + The Online Store Starter Kit
Start your 3-day free trial, and enjoy your first month of Shopify for 1$ plus the premium package designed especially for new Shopify merchants!
What is a Online Fashion Boutique in Shopify
A Online Boutique is a shop where you’re going to sell clothing as well as other accessories. Shopify is a wonderful platform for online retailers, and selling clothes in here is not a bad idea at all. There are many successful clothing stores on Shopify already, now it’s time to set up your own.
Why Build a Online Boutique in Shopify
Shopify is a great software service platform to help you turn your idea into reality. This platform allows you to create an ecommerce store with only a few clicks, and even better, you can start your own store with little to no money. You can easily create, promote, sell and ship products to customers. Moreover, your products can also be sold via various online channels as POS for your store. Shopify Pricing plans start from $5 for Shopify Starter and $39 with the Basic Shopify package.
How to Build a Online Boutique
Step 1: Sign Up Shopify account
You can click here to sign up and have a 14-day free trial.
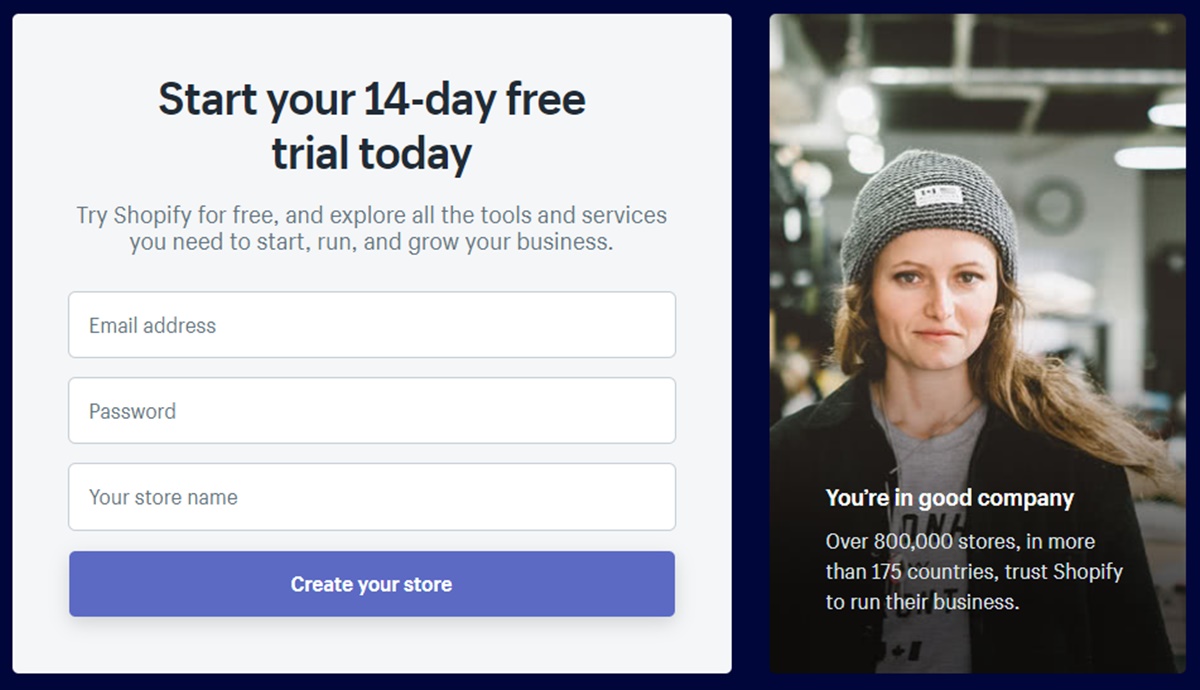
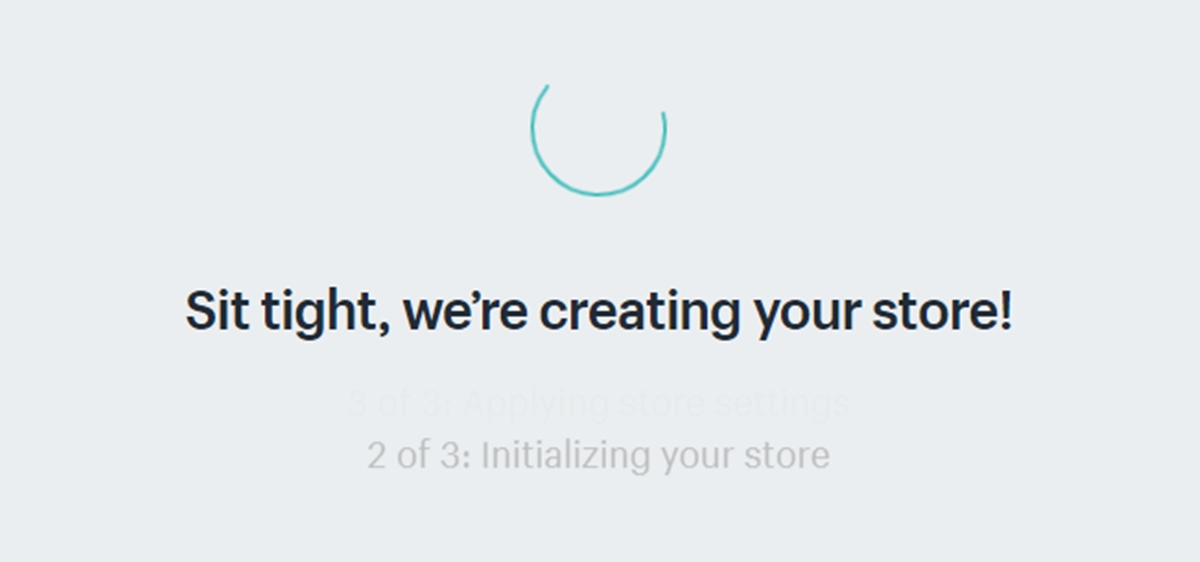
Just enter your email, password, store address. Then click on Create your store button. Your store will be created within 30 seconds.
After finished creating a Shopify store, you will see the following questions: Are you already selling? What is your current revenue? Or Are you setting up a store for a client?
When seeing those questions, answer them and fill in other personal information such as First name, Last name, Address, Phone number, etc.
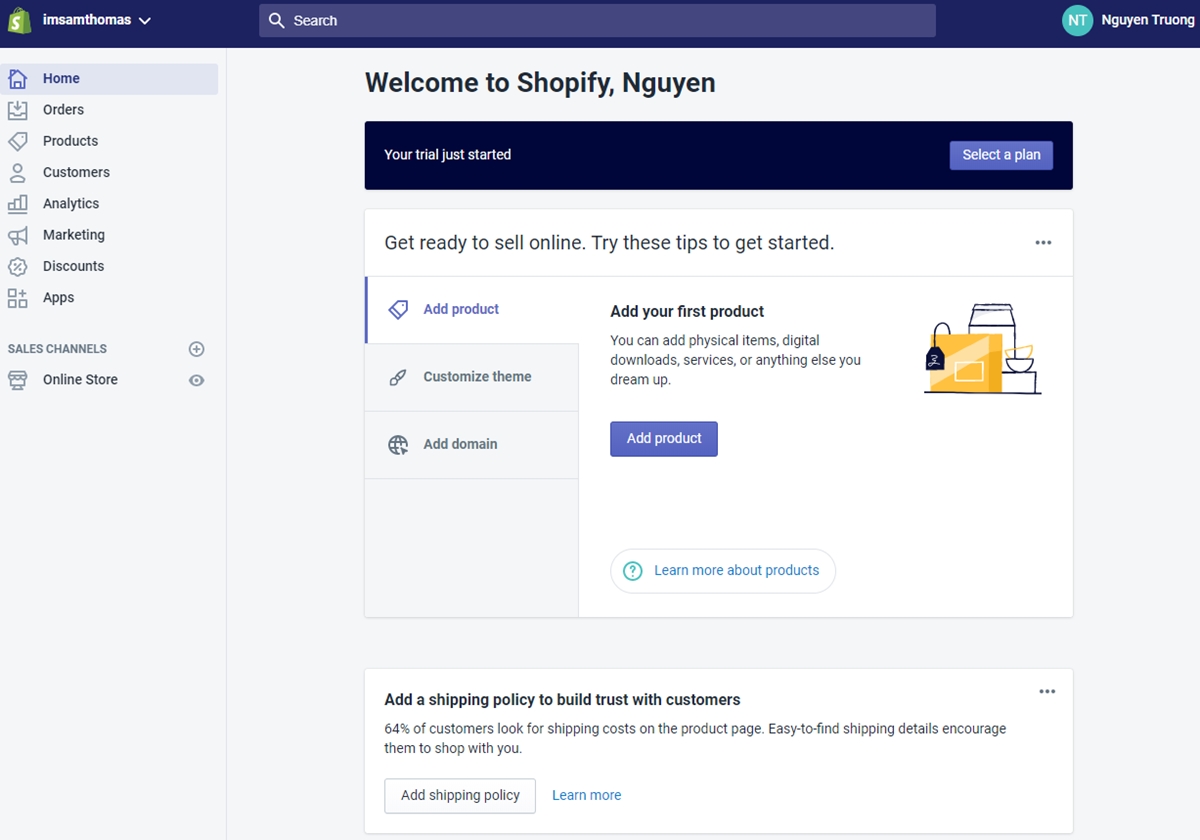
Step 2: Setting up Your Shopify Store
Once you have completed the store owner information registration form, now it’s the time when you will configure your Shopify Store. Don’ t forget to verify your email address by accessing your email inbox and click on the verify link.
Step 3: Add your first product
There will be no limit for the types of products that you can add to your store. You can add physical items, digital products, services, gift cards, or anything that you have.
Here is how you are going to add a new product to your store.
Firstly, go to Products > All Products > Add product
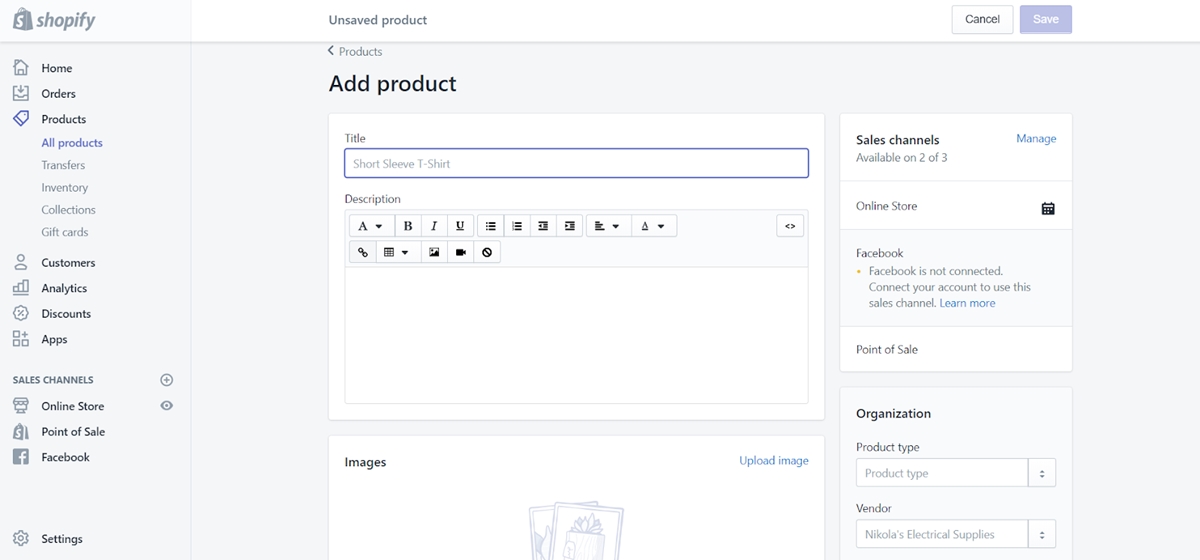
Fill in all the information fields, then click on the Save button.
Learn more: How to add a new product
Step 4: Choose a Boutique theme
All themes come with a full list of modifications that you can make without having to edit their code. With the premium ones, even more codifications are offered. However, you can still create an eye-catching site with a free theme. In the next section, I will outline all the changes that could be made.
In the Shopify tutorial section, I have shared with you two options for you to add a theme for your Shopify admin which are using a .zip file and use a free theme. Besides the two ways above, you can also buy a theme from the Shopify Theme Store. When purchasing a paid theme, you will need to pay for it before you can publish it to your store. But you can always experience that theme before really buying it.
Learn more: How to buy a theme from the Shopify Theme Store
Step 5: Configure Shopify Boutique Theme Settings
To configure the theme, go to Online Store > Themes. Now, you will see a page that displays your current theme. In the upper right corner, there is an Action button. Click on it and you will see several basic features to manage the theme such as Preview, Rename, Duplicate, Download theme file, Edit Code, Edit Language.
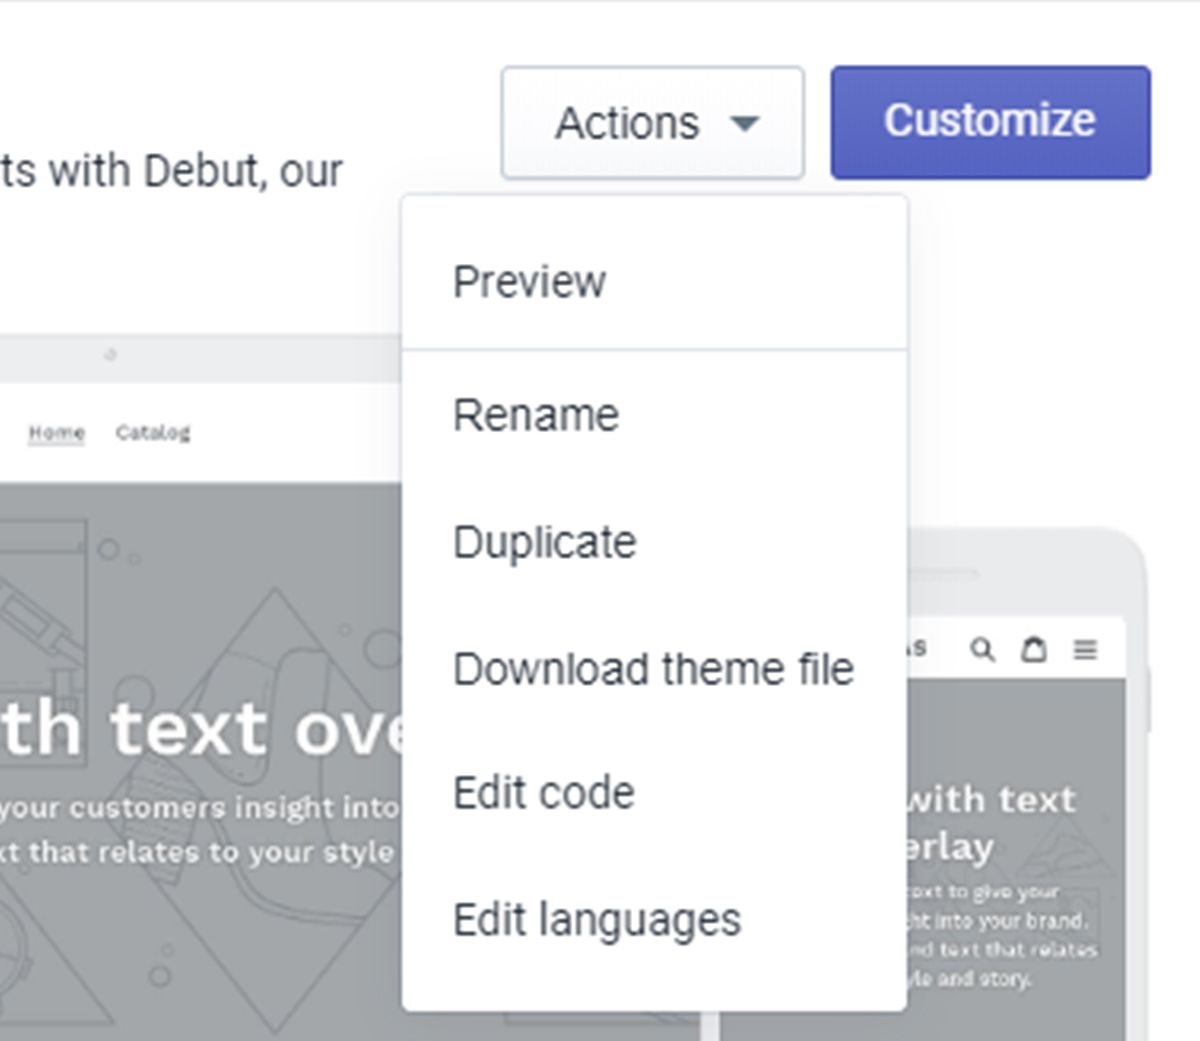
Before customizing the theme, I recommend you to Duplicate this theme to a new version because if there is unwanted changes happen, you will still have a backup theme version.
Right next to the Action button, you will see the Customize button. Click here to modify this theme.
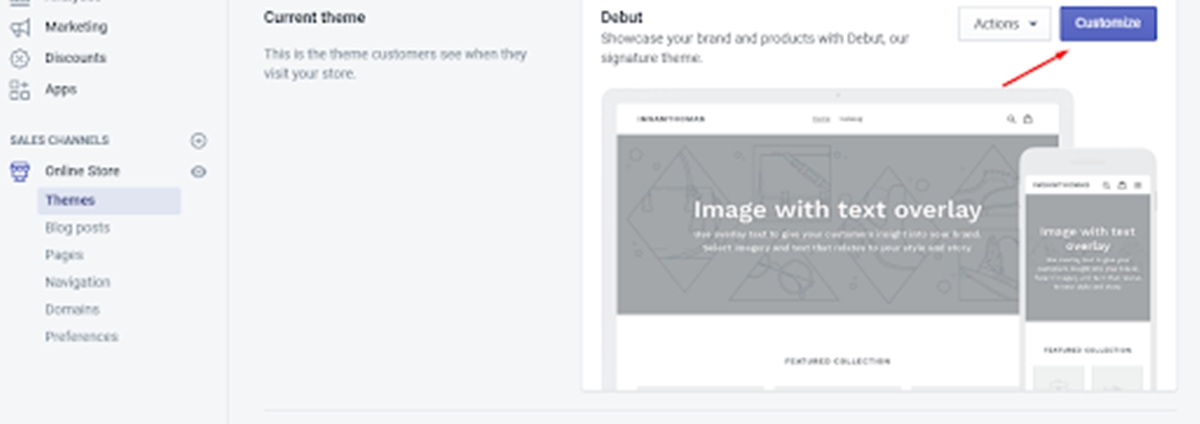
After clicking on the button, you will be redirected to a page where you can customize the theme. In the left corner, you can customize all the sessions of Fashion theme like Header, Image, Featured collection, Slider show, Footer.
Click on Header, you will see the place where you can upload logo image and edit other options including Logo alignment and Logo width.
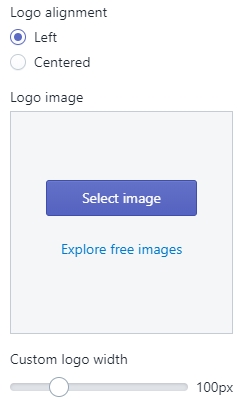
You can change Menu Navigation in here also, just click Change

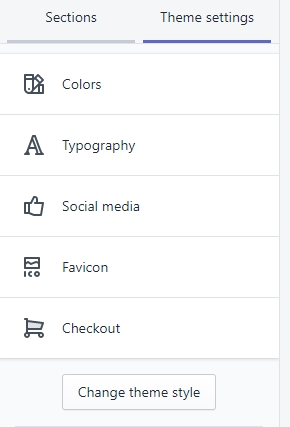
Or modify other Theme Settings such as Colors, Typography, Social media, Favicon, Checkout
Step 6: Setup Payment Method for your store
If you want to check whether your checkout process and settings for order processing, inventory, shipping, and taxes are properly working, you can run a test order. There will be no fee for operating this action that you should practice it at least once during your store setup, or whenever you make adjustments to your payment settings. To know the detailed process, check this post to know how to place a test order by simulating a transaction in Shopify.
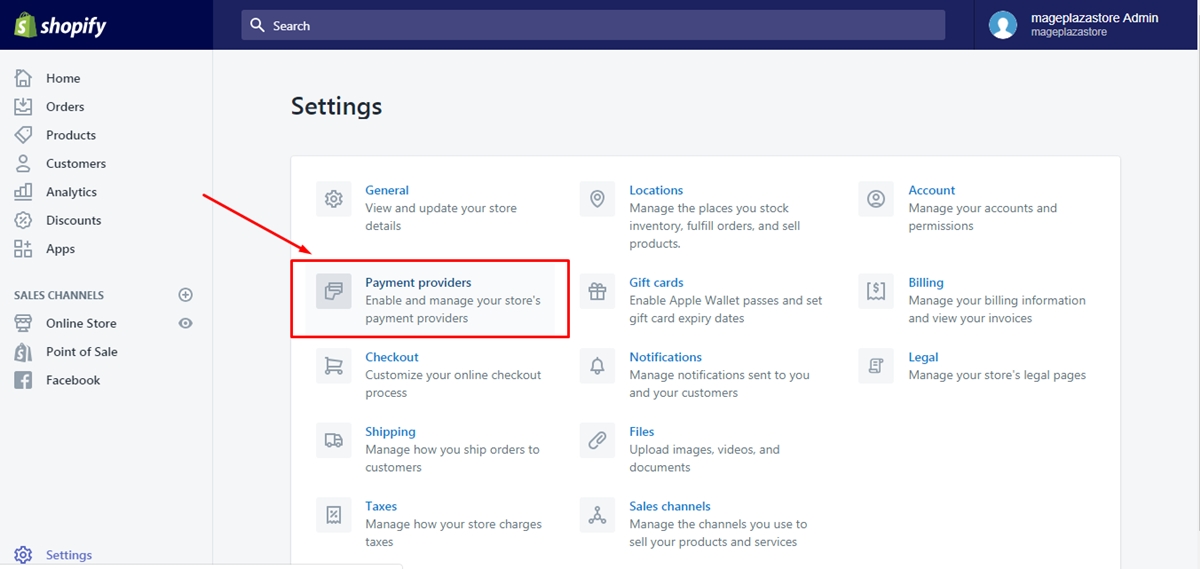
Step 6.1: Select Payment providers
From the admin page of the Shopify, choose Settings at the bottom of the page. After that, the list of Settings will appear then click on the Payment providers which is the second option in the first column.
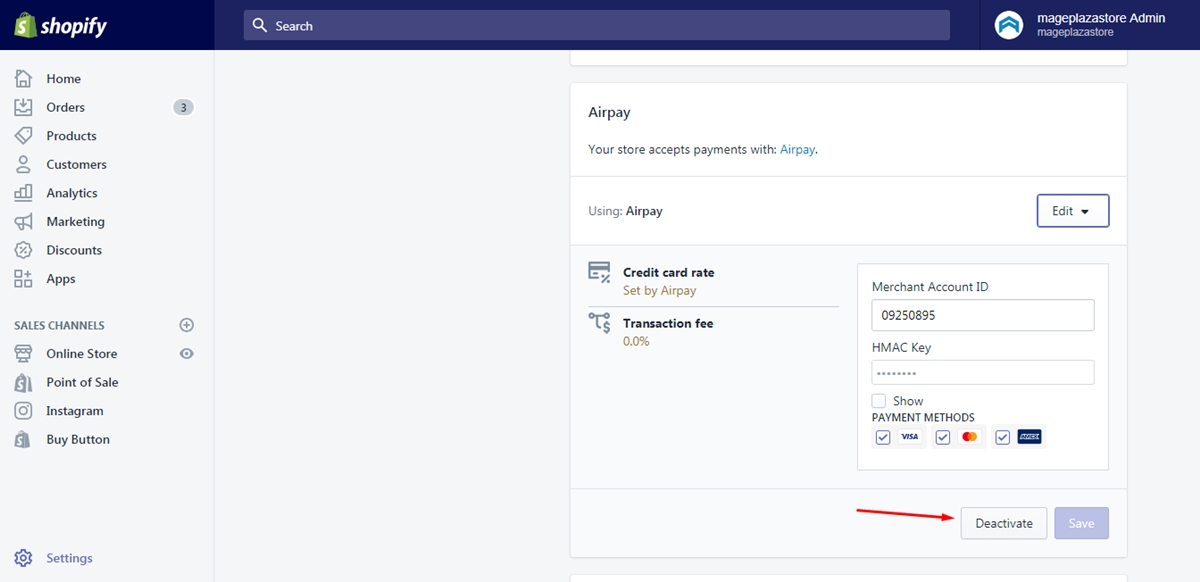
Step 6.2: Choose Deactivate
In case you currently activate a credit payment provider, you need to disable it before moving on to the next step. Select Edit and Deactivate respectively then confirm your selection.
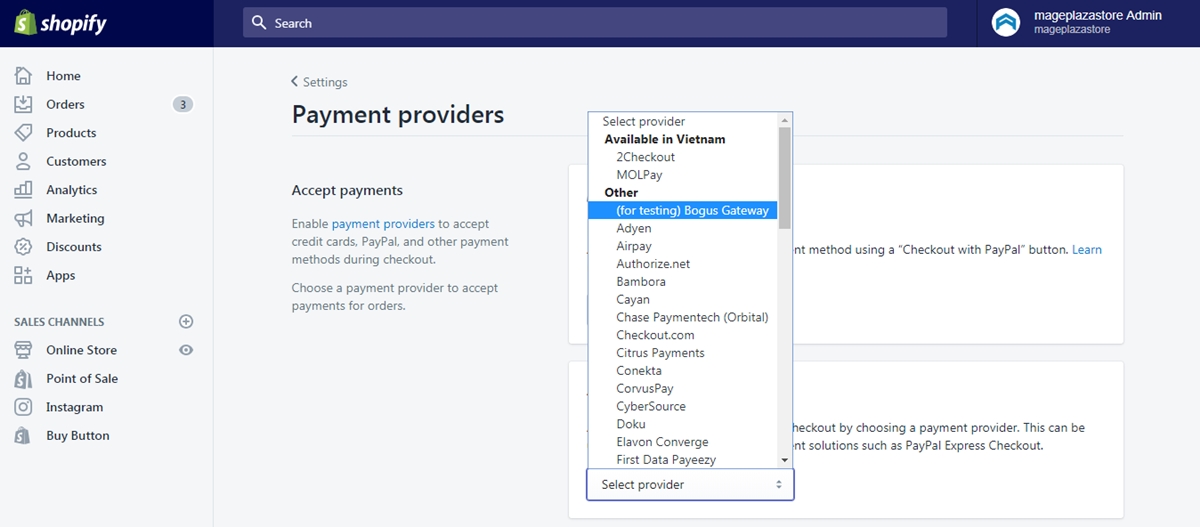
Step 6.3: Set provider as (for testing) Bogus Gateway
In the Accept credit cards section, you will see a drop-down menu which is called Select Provider then click on it. The list of candidates will appear which includes smaller parts. Remember to choose the first option below the Other which is the (for testing) Bogus Gateway.
Step 6.4: Press on Activate
The detailed settings for Bonus Gateway will present under the Select provider that you can set it up by filling in the given space and select Activate to enable its use.
Learn more: How to Configure Payment Method
Step 7: Setup Shipping Method for your store
As you have already known, in Shopify, there are various services which you can use to fulfill your product such as Shipwire: It connects your online store or marketplace with Shipwire fulfillment centers in the US, Canada, UK, Asia or Australia and will help you to grow and manage your business. Rakuten (formerly Webgistix): This service will help you to deliver fast and accurately. Besides, it will also help you to use Internet technology effectively. Amazon Multi-Channel Fulfillment: This service enables you to fulfill all the orders of your Shopify shop by using your inventory which is stored at the Amazon fulfillment center.
Step 8: Mapping Domain Name
Only a domain can be displayed in the address bar called primary domain. You can use a root domain or a subdomain as the primary domain. After you’ve decided, set the primary domain to make sure the customers will see it when they browse your shop. This writing helps you with a transparent guide about how to set your primary domain.
Step 8.1: Go to Domain
First of all, log in to your Shopify account. Then, go to Online Store in the SALE CHANNELS field and choose Domains.
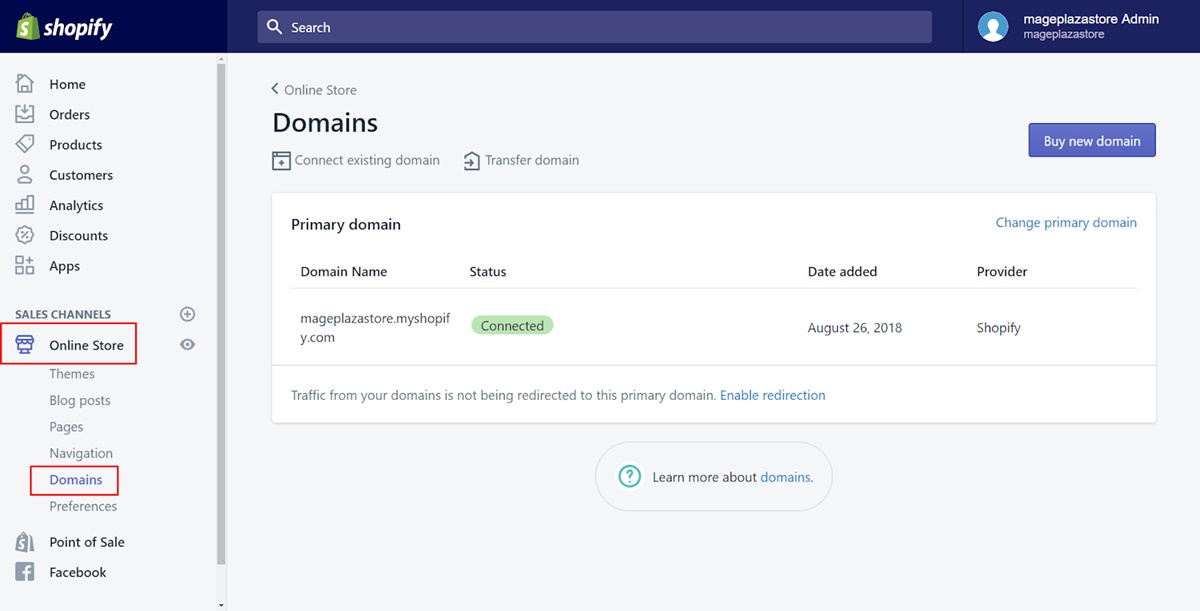
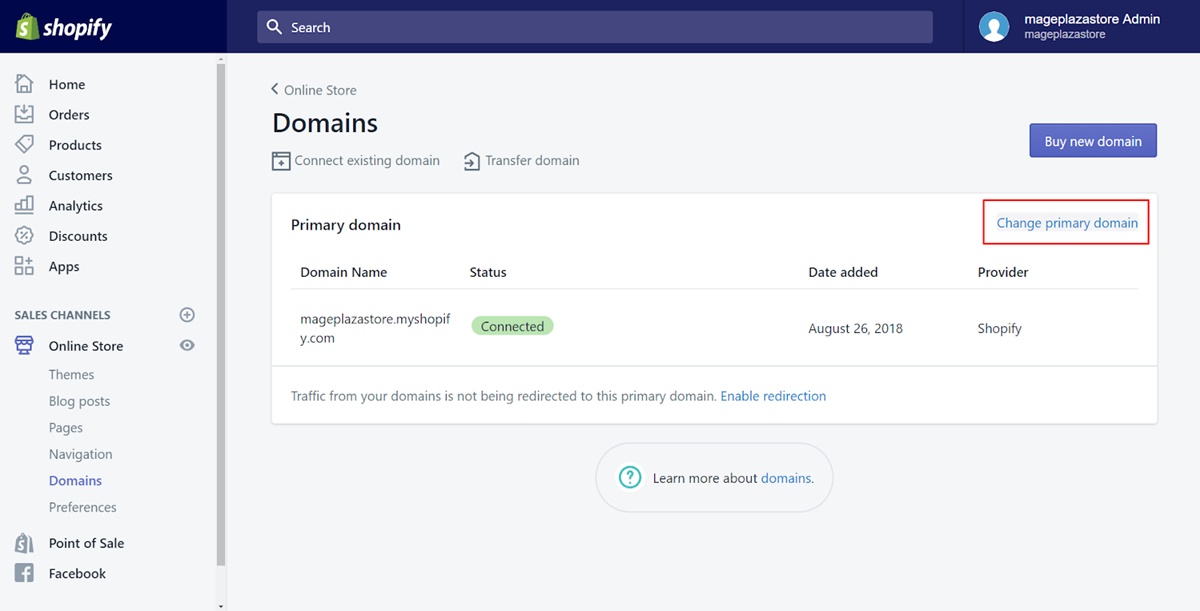
Step 8.2: Change the primary domain
Take a look at the Primary domain section, click Change primary domain.
Step 8.3: Choose the domain
Choose the domain expected to be the primary domain.
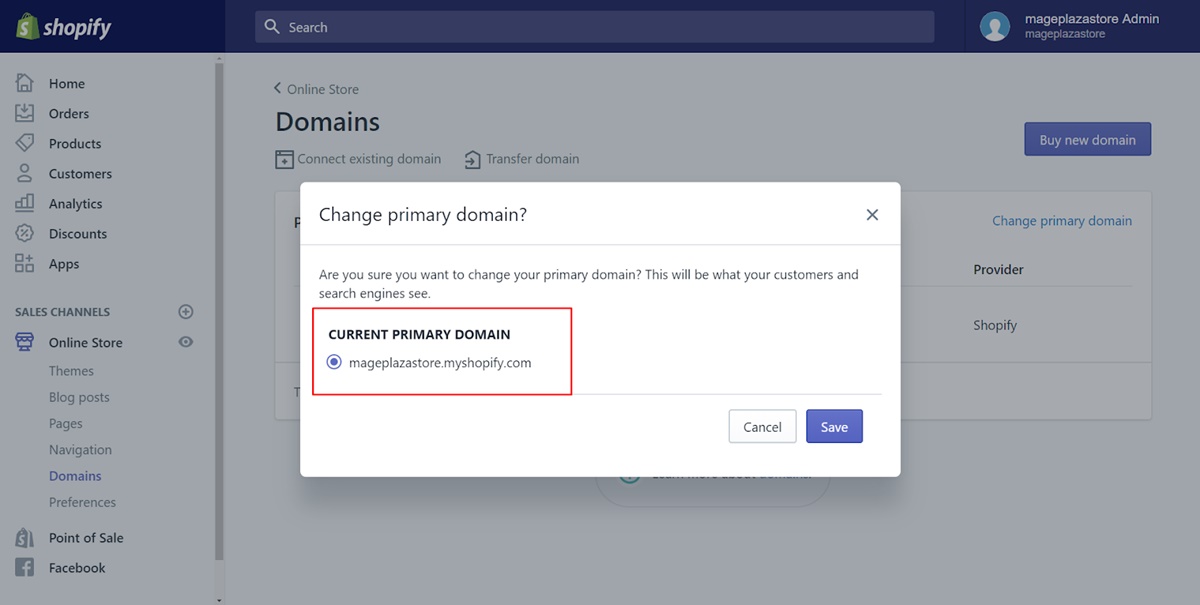
Step 8.4: Save primary domain
Finally, choose Save to complete.
It might take some hours to effect fully. Then, you can see the change of the primary domain in the address bar. Do not change it so often because it can cause bad effects. Primary domain should be durable.
So these are the steps. Before we get into all the apps and themes that you can use for your online clothing store, you can check out this video of a guy who started his own online fashion business from scratch. Yes, he did it. The video will inspire you, I promise.
Themes for Online Boutique
Theme plays a paramount role in the success of an online business, especially fashion ones. Understand that, AVADA Commerce experts have selected carefully from hundreds of the Fashion themes in the market to create a Recommend Fashion themes list which includes more than 263 best Shopify Fashion Themes for you to refer to.
Learn more: Find more Fashion Themes
Apps for Fashion Store
Online Boutique business is a potential field, but also extremely tough. In order to increase the competitiveness of your store, you will need extra help.
Development Agency to Build Online Boutique
If after reading all the tips that I just gave out, you are still facing too many issues with setting up the store, working with a Development Agency is an option that you could consider. They will help you develop more features, or even improve your marketing and sales strategy.
With wide skills and specialization in Fashion E-commerce, these agencies could help your store increase the traffic and sales by submitting you a step-by-step business plan which is made after analyzing the website as well as the business and identifying the improvement areas including Business Planning, Conversion Rate Optimization, Email Marketing, Influencer Marketing, and also Search Engine Optimization.
Conclusion
In conclusion, if you are struggling to find out a way to build your own clothing store online as well as deal with technical things, this article is for you. It’s a lot of work, no doubt. After all, building your own clothing brand is not supposed to be easy, but it’s definitely worth it. Who knows, the clothing store that you’re working on right now might become one of the best brands someday.
I hope after reading this, you would have a basic understanding of Shopify fashion stores, how to create one, and where to choose the appropriate theme, apps, and agency for your store.


New Posts


