
How to Delete URL Redirects Individually on Shopify
By Sam Nguyen

If you want to change the information of a URL redirect that you created, you can edit it by following the steps in this article. However, there are cases that the redirects are no longer correct or cannot be used anymore then you will want to exclude it from your URLs list. If you are finding the guideline for this process, keep reading this writing because I will show you how to delete URL redirects individually on Shopify.
Related Posts:
- How to import your URL redirects on Shopify
- How to add a redirect to a shareable link on Shopify
- How to edit URL redirects on Shopify
- How to export your URL redirects on Shopify
- How to filter URL redirects by date on Shopify
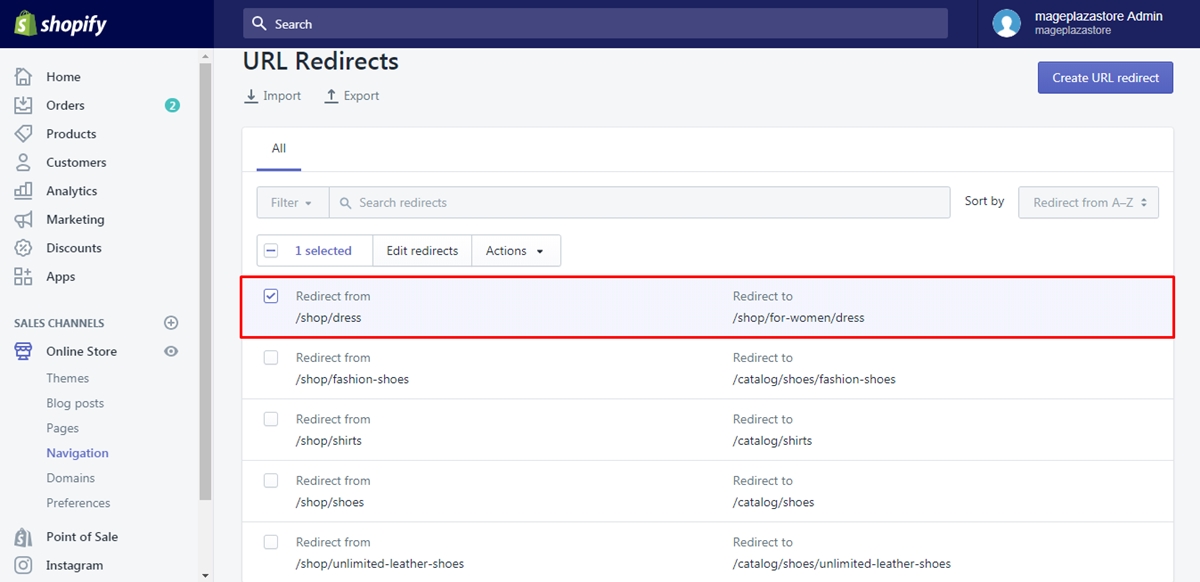
Step 1: Pick a redirect
Log-in to your Shopify account first and head to the Online store in the Sales channels. There are smaller sections in the Online store that you have to find Navigation which stays at the fourth place in the options list of Online store and select it. Decide which one you want to remove from the list of URL redirects then tick on the box next to it. For example, I want to delete the URL which has the Redirect from as /shop/dress or the first one in my list, I will check its box, like the picture below:
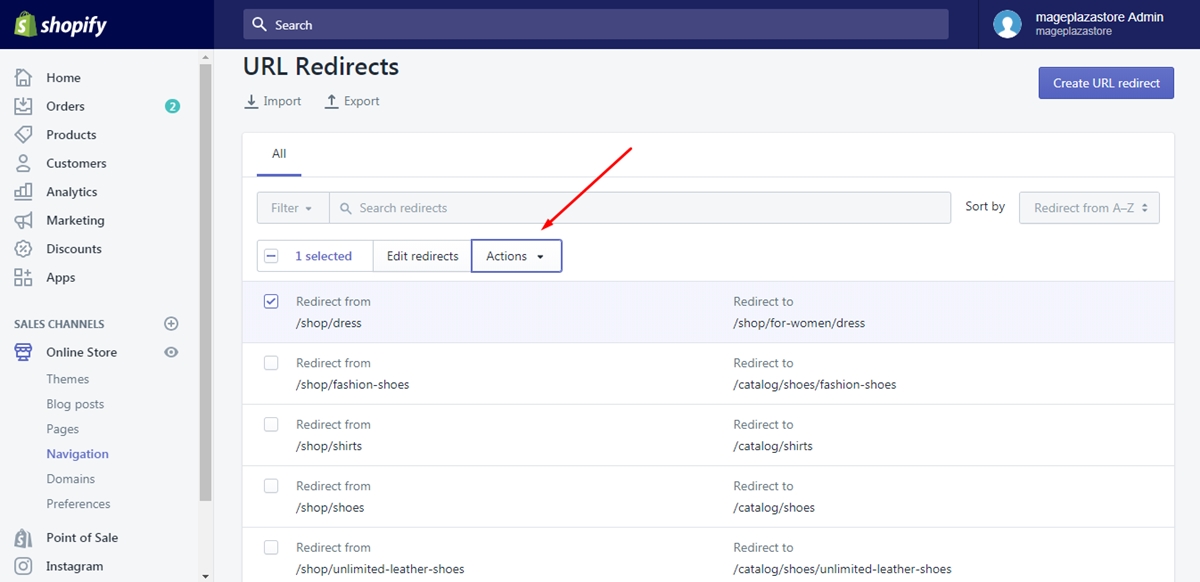
Step 2: Select Actions
You will see a row below the Search bar, which includes the number of your selection, Edit redirects and the Action button. Hence, press on the Action with a ▼ icon beside it. Follow my example in the first step, because this is the instructions for deleting URL redirects individually, there is only one chosen URL then it will display as 1 selected, next to it is Edit redirects and finally is Action. Remember to select Action to move on to the next step.
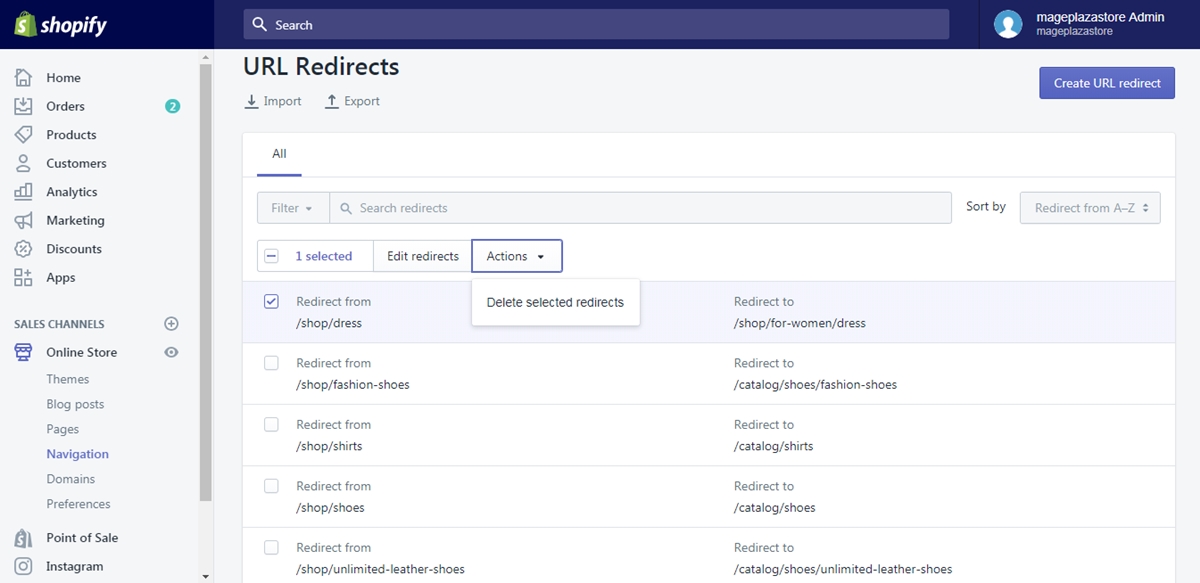
Step 3: Choose Delete selected redirects
After choosing Action, an option named Delete selected redirects will appear that you need to click on it to continue.
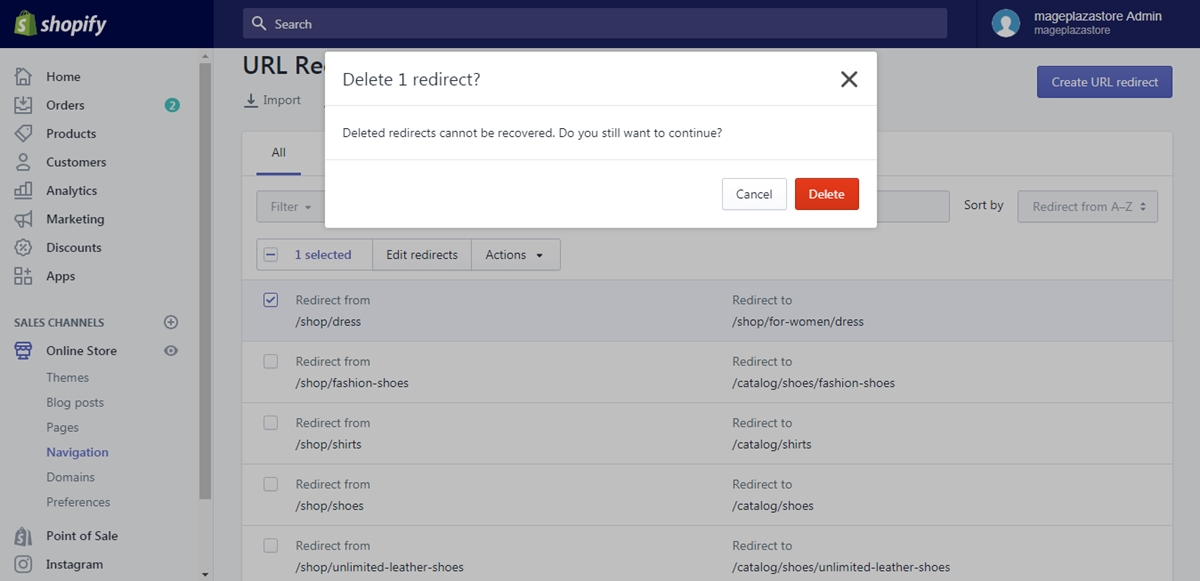
Step 4: Press on Delete
The system wants to confirm your selection that you will see another dialog box appear on your screen. Be noted that the action cannot be reversed that you need to consider it carefully before practicing. If you ensure your choice, select Delete to finish.
Moreover, you can delete more than one redirect with a similar process except for the number of URLs selected. In particular, in step 1, you have to choose a number of redirects that you want to remove by ticking on their boxes. After that, do the same like deleting URL individually for other steps. By following this way,it will be more convenient for you because the number of steps does not change and you can erase more URLs.
Conclusion
To sum up, this writing gives you the instructions of how to delete URL redirects individually on Shopify. I have attached illustrated pictures for all the steps that it will be easier for you to imagine what to do. There are tip and note included in the post also that you can take benefits from it. With such effort, I hope you find this topic interesting and helpful for you.


