
6 Steps to Create an URL Redirect on Shopify
By Sam Nguyen

When you change any URL in your Shopify store, the customers will not know unless you inform them. However, you cannot inform all of your customers, which includes of loyal individuals and potential consumers. Hence, you can use URL redirects to move the direction from one page to another so that the customers can still look for what they want. If you are curious about these links, follow the instructions in this writing to know how to create a URL redirect on Shopify.
Step 1: Head to Navigation
Open the Shopify website and sign in your account. After that, click on the Online store which is right below the Sales channels then go to Navigation.
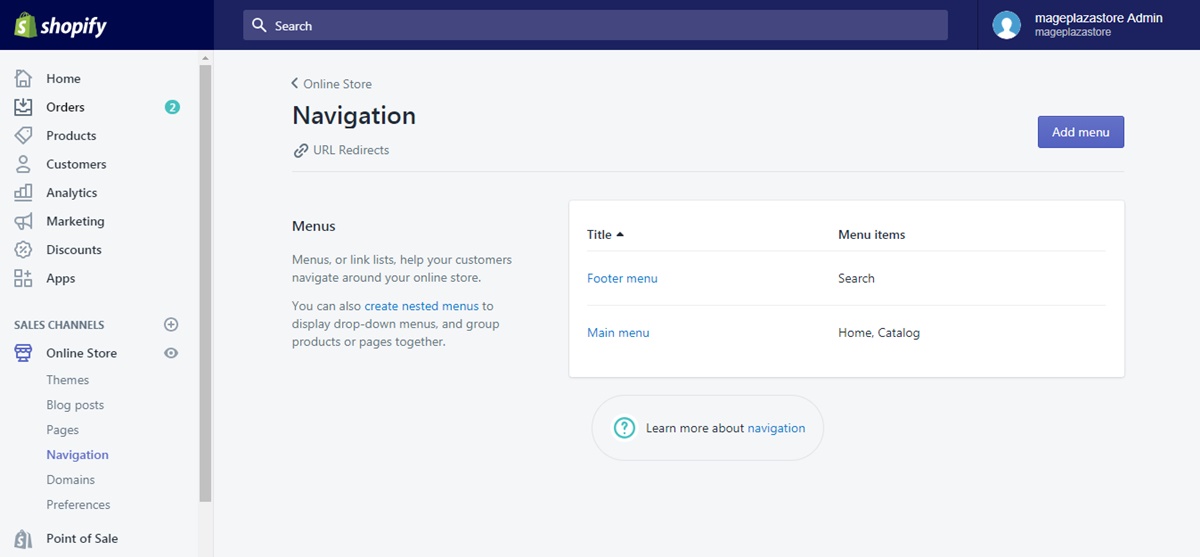
Step 2: Select URL redirect
In the detailed settings page of Navigation, you will find the URL redirect under the page’s title. Hence, press on it to move on to the next step.
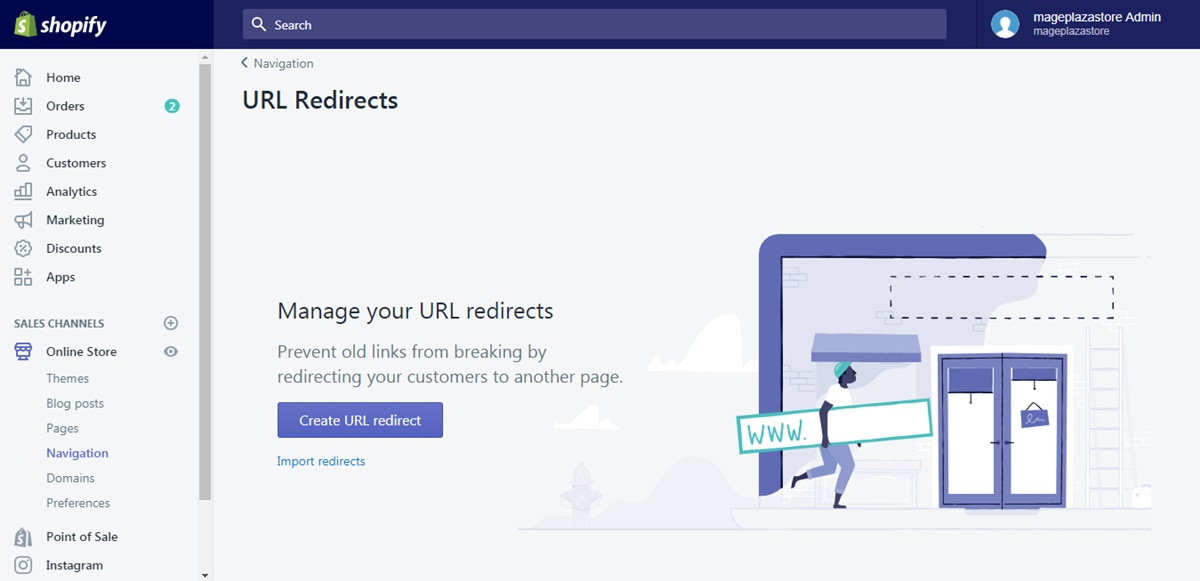
Step 3: Choose Create URL redirect
The system will move to the setup interface of URL redirect that you will see a title Manage your URL redirects and a short description about these kinds of links. Below the above information, there is a blue Create URL redirect button then you have to click on it to continue.
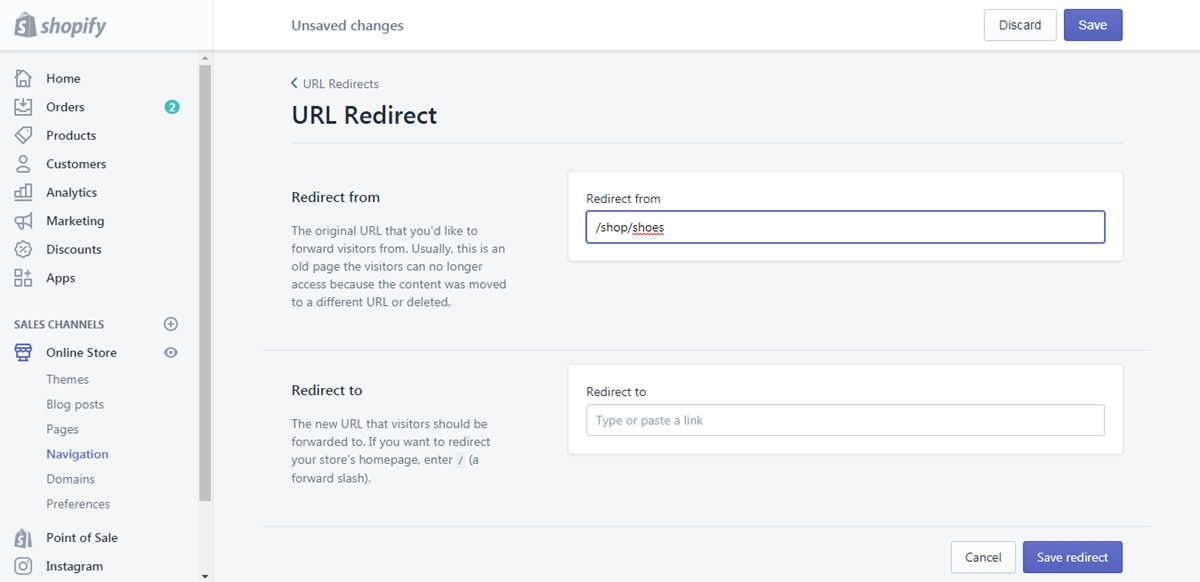
Step 4: Add old URL in the Redirect from
There are two sections that you need to fulfill, which are Redirect from and Redirect to. Let’s do it step-by-step with the approach to the former one first. Copy the broken URL that you want to redirect visitors from and paste in the box for Redirect from. There is a note that if the old URL you use is still working, the redirect will not load. Moreover, URLs with the following prefixes cannot be redirected: /apps, /application, /cart, /carts, /orders, /shop, or /services.
Step 5: Enter new URL in the Redirect to
Because you want your visitors to ‘travel’ to another place, you have to put the destination link in the space of Redirect to section. The new URL can be a full link or relative one that you can choose each for different purposes. It is advised that the full link should be used when you want to redirect outside the primary domain. Meanwhile, use the relative URL for redirecting within the primary domain.
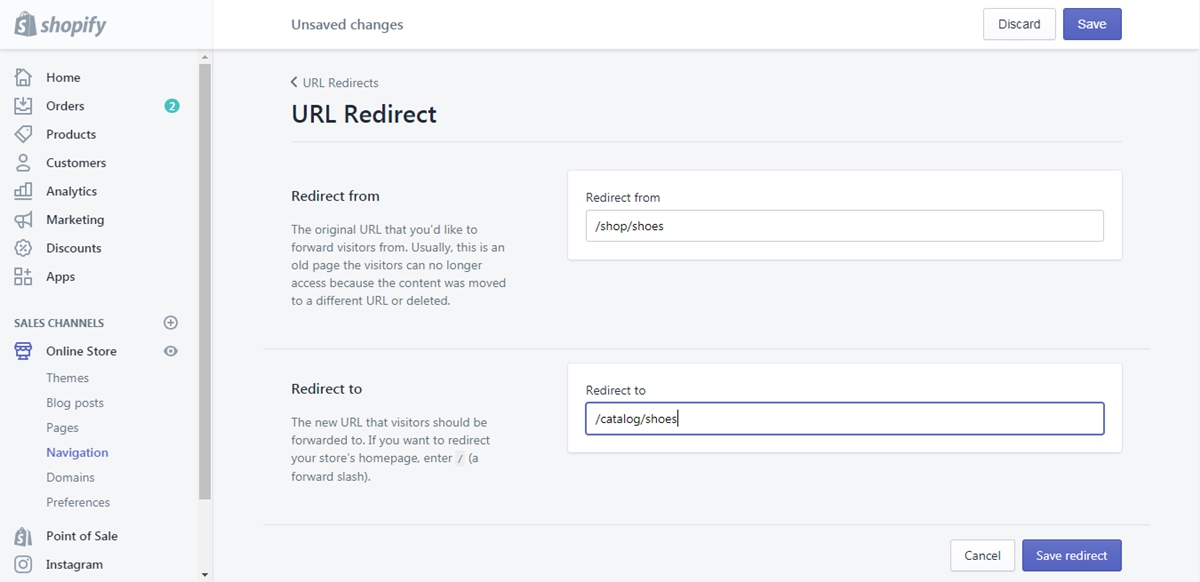
Step 6: Press on Save or Save redirect
Remember to store your changes once you complete the process. You can choose Save redirect next to the Cancel button at the end or select Save at the top of the page.
Conclusion
In short, I have introduced to you the process of how to create a URL redirect on Shopify. I also attach illustrated pictures for almost all of the steps and some notes that you need to take into account. With such effort, I hope you enjoy the writing and earn some benefits from this topic.
Related Posts:
- Liquid img_url: How to Get Image URL in Shopify
- How to Create a Collection URL with Type Link in Shopify
- How to Get Asset URL in Shopify
- How to Create a Collection URL with Sort By Link in Shopify
- How to add a redirect to a shareable link on Shopify


