
How to Create a New Blog Template on Shopify
By Sam Nguyen

Creating a new blog template allows a merchant to customize the layout of the posts existing on their blog. This will help to create a unique style for your blog and attract more visitor to visit your blog and then, to your online store. Creating a customized blog template is not as easy as you imagine, it requires your understanding of coding.
Exclusive Offer: Get Shopify 33 days for just $1 + The Online Store Starter Kit
Start your 3-day free trial, and enjoy your first month of Shopify for 1$ plus the premium package designed especially for new Shopify merchants!
Related Posts:
- How to add a logo to your email templates on Shopify
- How to update the collection-template.liquid file in Shopify
- How to generate a new product template including line item properties for non-sectioned themes in Shopify
- How to assign the template to a product in Shopify
- How to apply a class to your templates in Shopify
However, because of the fact that you can take lots of advantages of a customized blog template, learning how to create a new blog template and edit blog post on Shopify is necessary. Hence, today, you will be shown how to create a new blog template with just some simple steps.
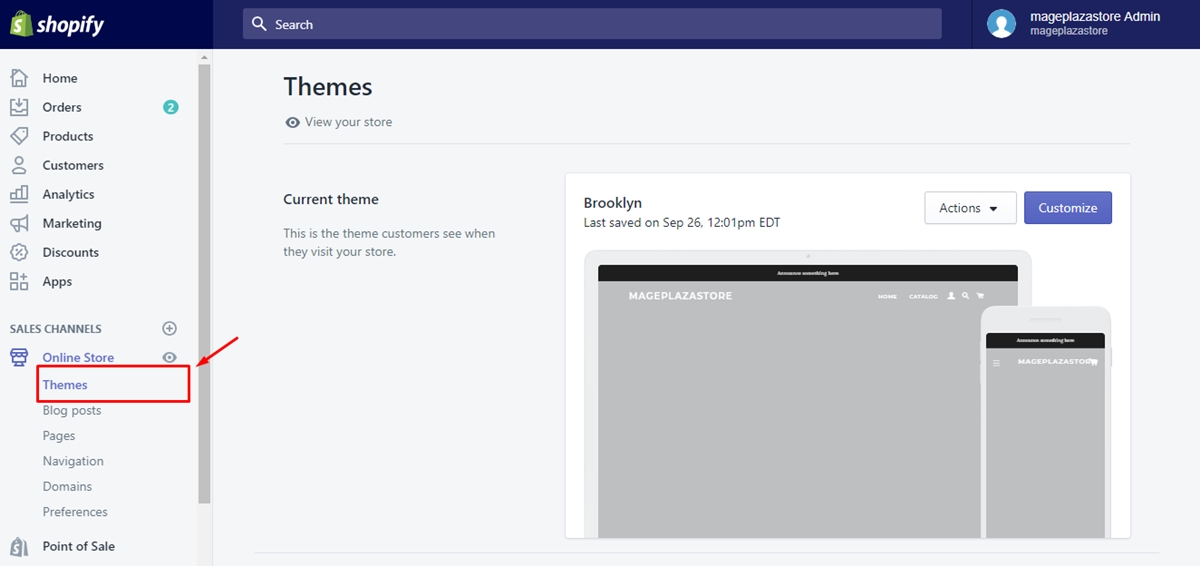
Step 1: Go to Online Store then choose Themes
First and foremost, you go to your Shopify admin, from there, go to Online Store. In Online Store section and then Themes.
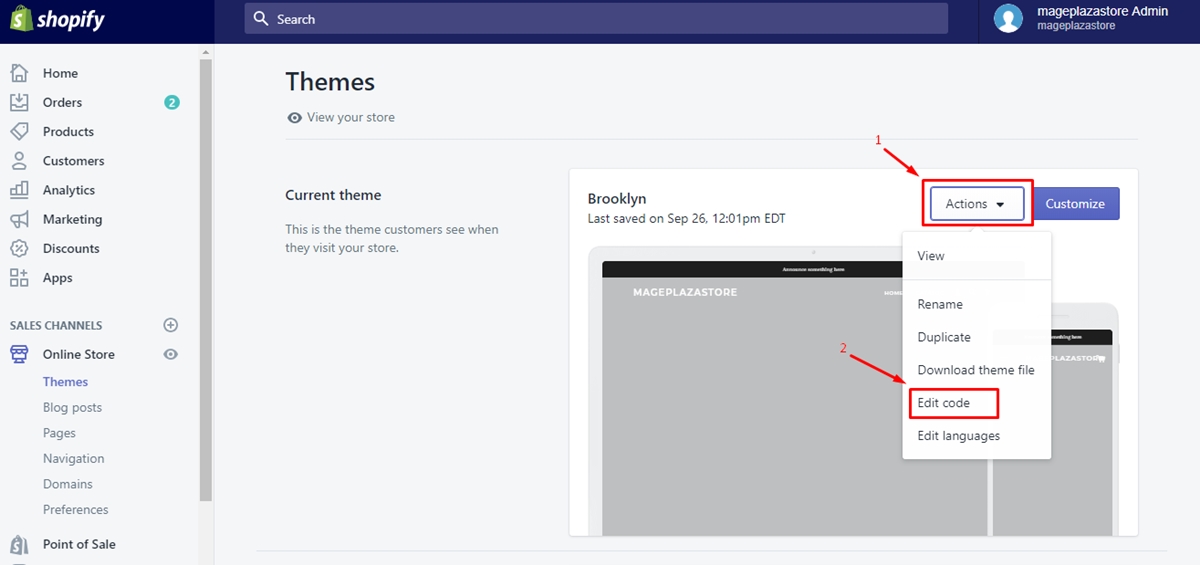
Step 2: Click Action and then Edit code
Next, in Themes you will see a list of themes existing in your online store. Find the theme that you want to edit. Then you click on
Actions and choose Edit code for the next step.
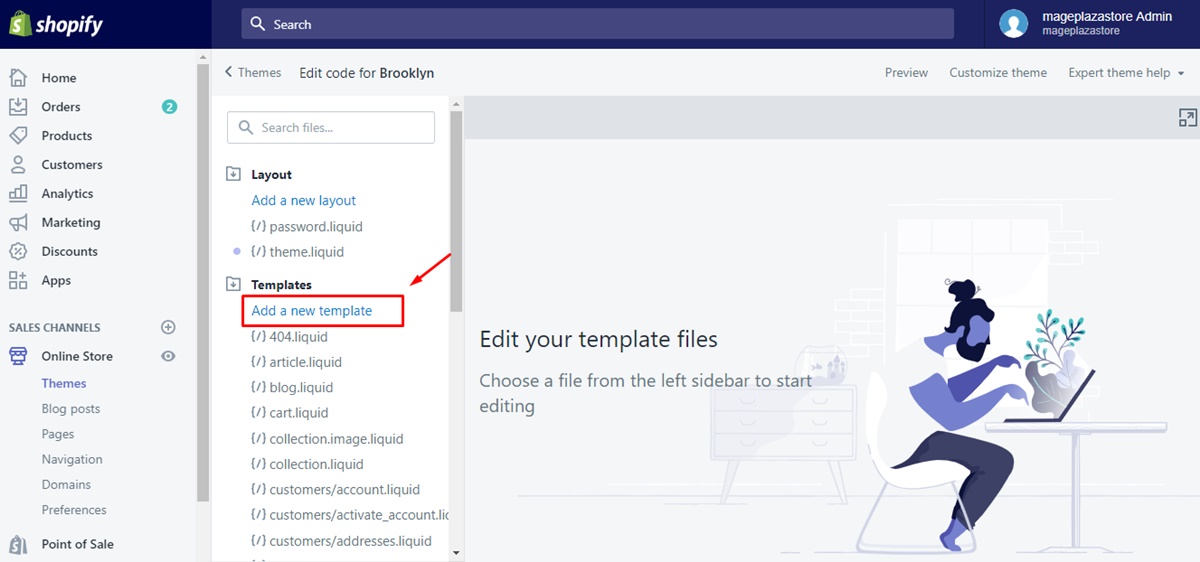
Step 3: Click Add a new template
On Edit code interface, you find the folder called Template then click Add a new template right under that folder.
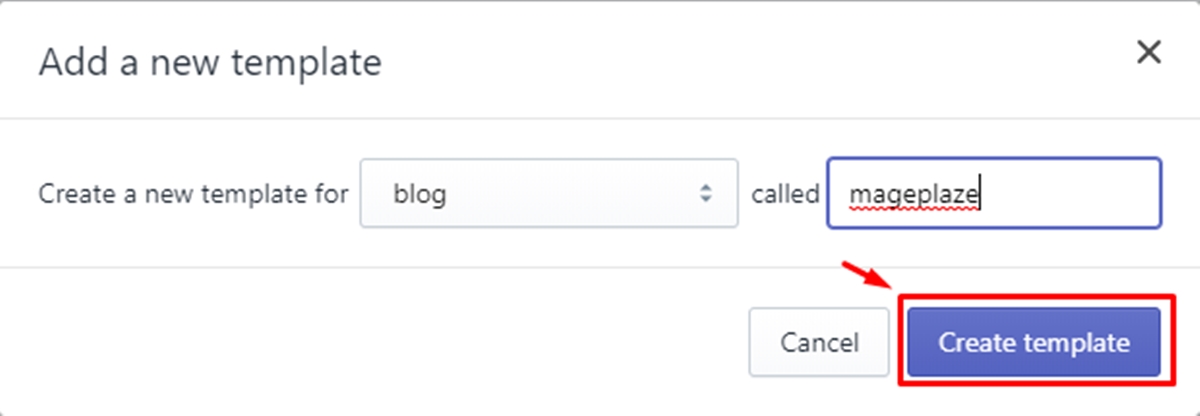
Step 4: Select an article option and your template’s name
After clicking on Add a new template, a dialog will appear to ask you to select the article option in the drop-down menu as well as
the name of your template.
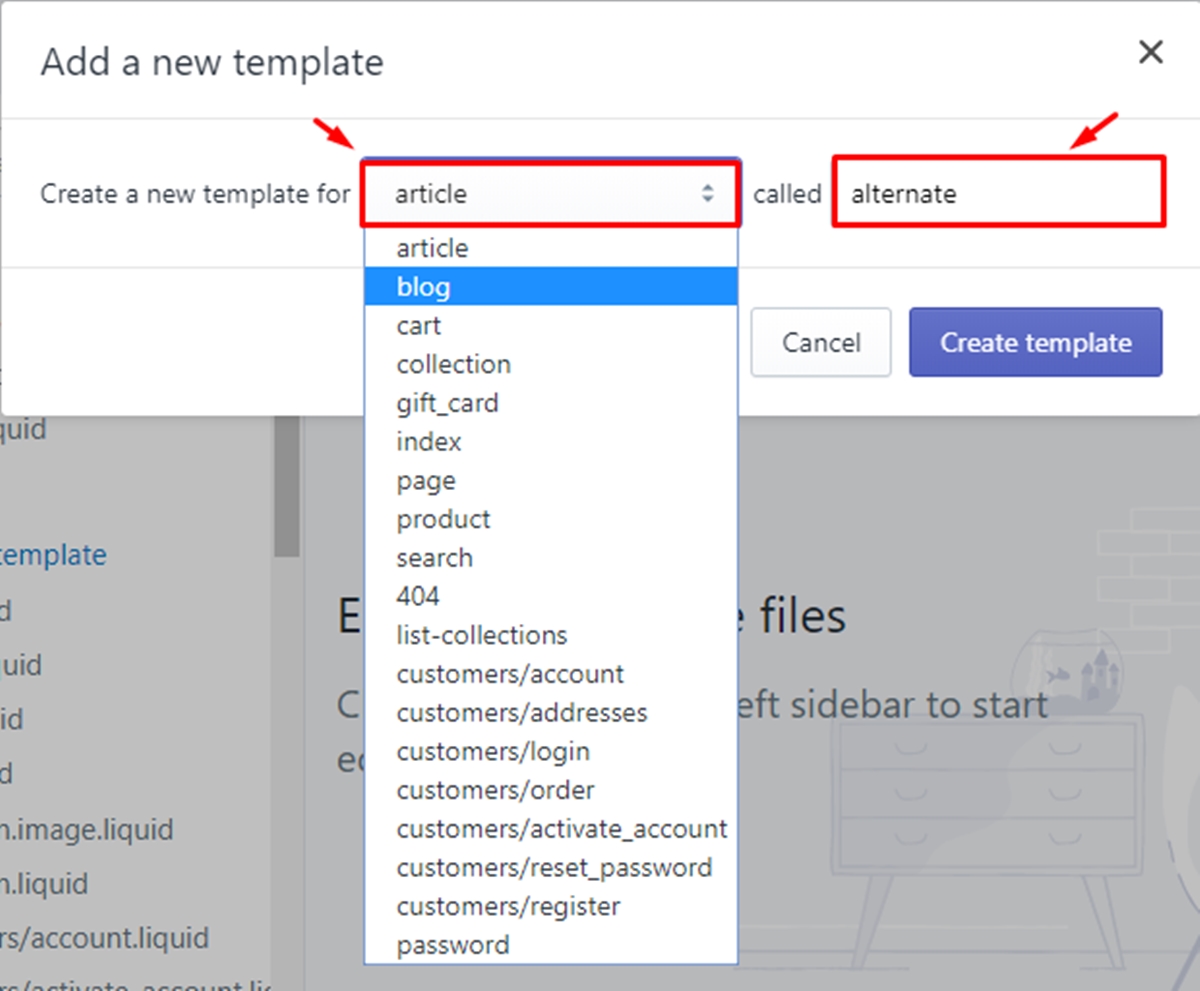
Step 5: Click Create template
To continue, you click Create template button
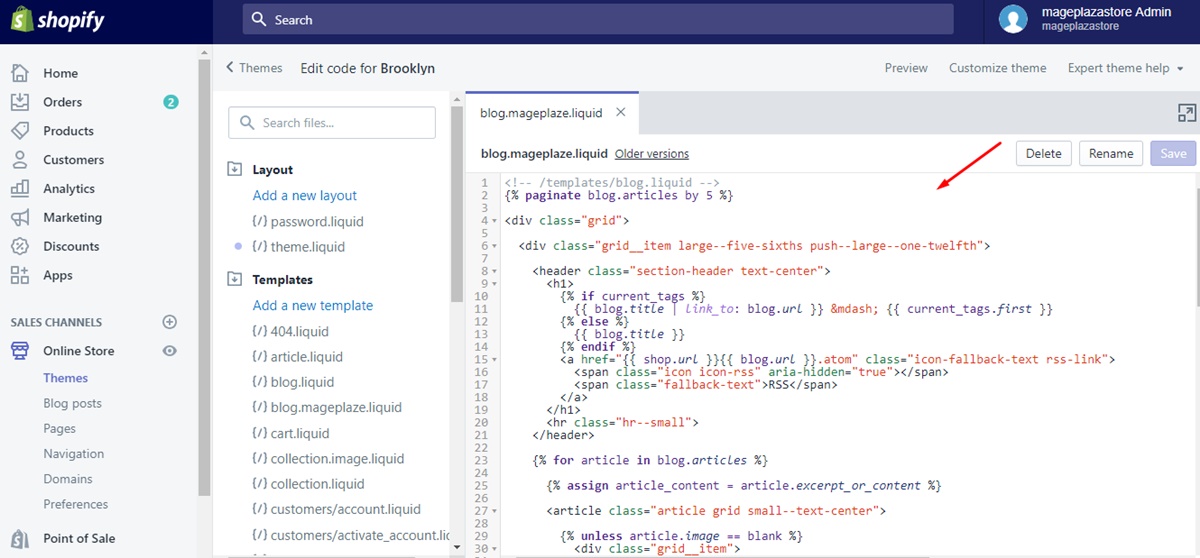
Step 6: Make your changes to the template
Now, it’s up to the style of the blog post you want to customize that you can adjust the template in the online code editor.
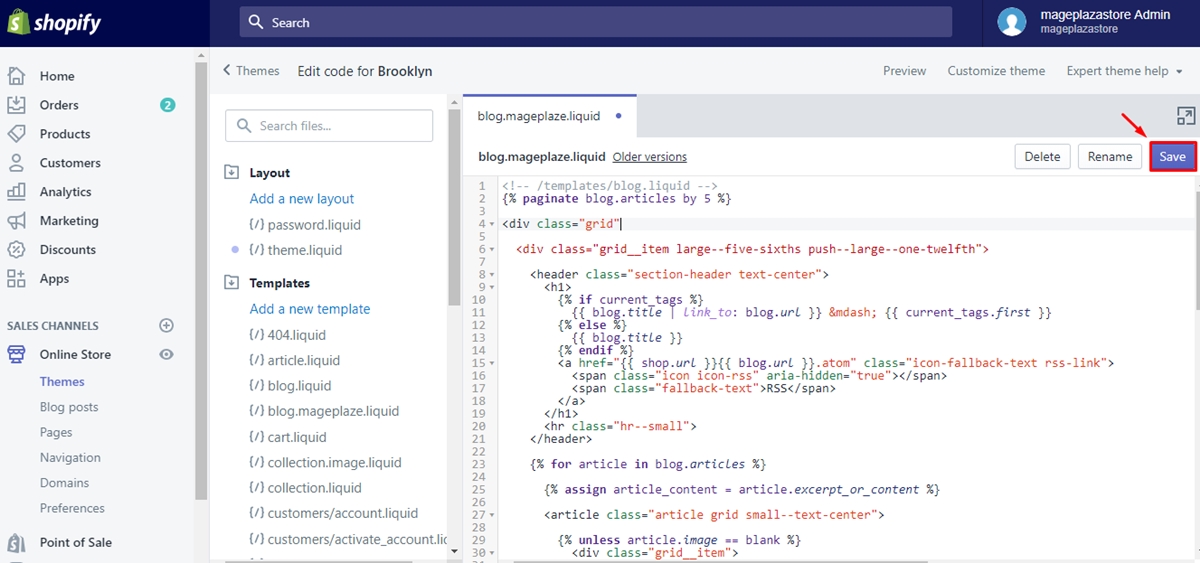
Step 7: Click Save
Finally, click Save when you finish editing code.
To create a new blog template on iPhone (Click here)
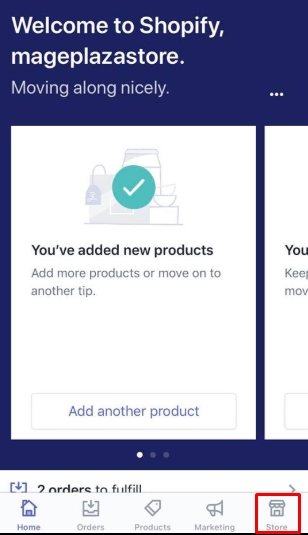
- Step 1: Tap
Store
To get started, open the Shopify app on your phone, then go to Store
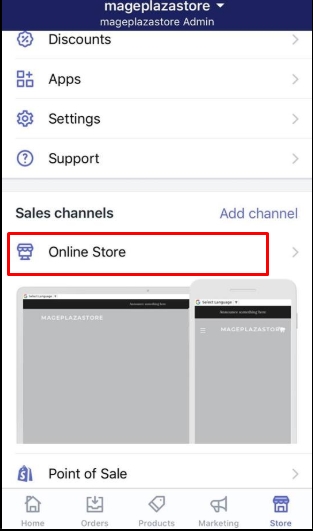
- Step 2: Select
Online StoreinSales channels
Next, from the Sales channels section, you select Online Store
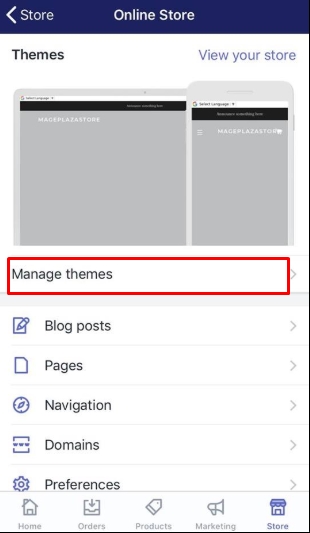
- Step 3: Tap
Manage themes
From Online Store, you go to Manage themes to start edit code
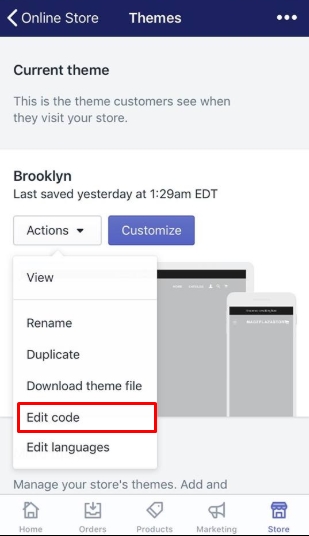
- Step 4: Tap
ActionthenEdit code
There will be a list of themes existing in your online store. Choose the theme that you want to make changes, then tap Action and
Edit code.
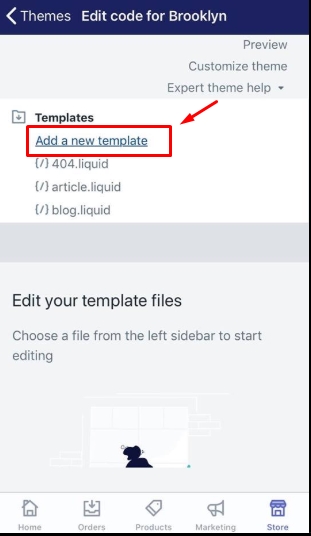
- Step 5: Tap
Add a new template
On Edit code screen, you find the folder called Template then click Add a new template right under that folder.
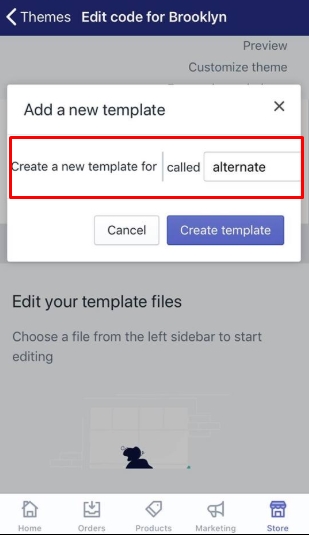
- Step 6: Select
articleoption and name your template
After tapping on Add a new template, a dialog will appear to ask you to select the article option in the drop-down menu as well as
the name of your template.
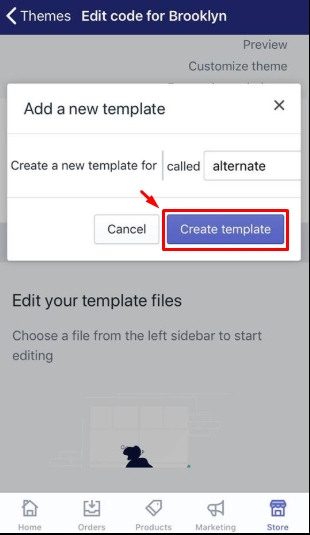
- Step 7: Tap
Create template
To continue, you tap Create template button
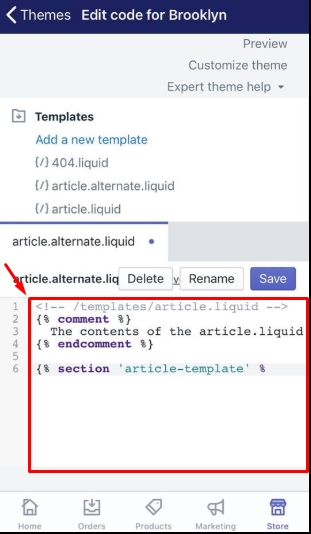
- Step 8: Make your changes to the template
Now, it’s up to the style of the blog post you want to customize that you can adjust the template in the online code editor.
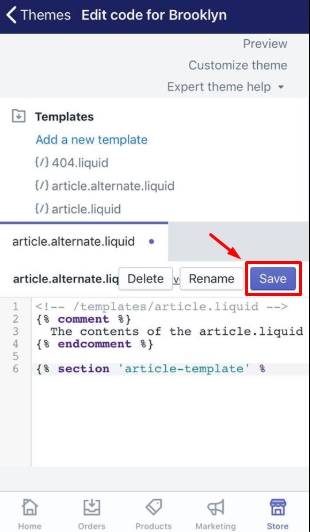
- Step 9: Select
Save
Finally, click Save button when you finish editing code.
To create a new blog template on Android (Click here)
- Step 1: Tap
Store
To get started, open the Shopify app on your phone, then go to Store
- Step 2: Select
Online StoreinSales channels
Next, from the Sales channels section, you select Online Store
- Step 3: Tap
Manage themes
From Online Store, you go to Manage themes to start edit code
- Step 4: Tap
ActionthenEdit code
There will be a list of themes existing in your online store. Choose the theme that you want to make changes, then tap Action and
Edit code.
- Step 5: Tap
Add a new template
On Edit code screen, you find the folder called Template then click Add a new template right under that folder.
- Step 6: Select
articleoption and name your template
After tapping on Add a new template, a dialog will appear to ask you to select the article option in the drop-down menu as well as
the name of your template.
- Step 7: Tap
Create template
To continue, you tap Create template button
- Step 8: Make your changes to the template
Now, it’s up to the style of the blog post you want to customize that you can adjust the template in the online code editor.
- Step 9: Select
Save
Finally, click Save button when you finish editing code.
Conclusion
Briefly, by following simple steps mentioned above, a merchant can create a new blog template without any difficulties. We hope that this instruction will be useful to give you a hand in increasing the number of visitors to your online store and help you sell more online.


