
How to Add a Menu Item on Shopify: A Step-By-Step Guide
By Sam Nguyen

As a store owner, you might want to build your store’s navigation. By adding a menu item, you can make it easier to the customers to find your products. With only some simple steps, you can add menu items that link to your webpages, products, collections, store policies, blogs or blog posts, email links, external websites, etc.
All you have to do is just follow these steps of How to add a menu item on Desktop, iPhone, and Android.
Related Posts:
- How to find Shopify stores on Google
- How to change the display order of menu items on Shopify
- How to drive traffic to your Shopify store?
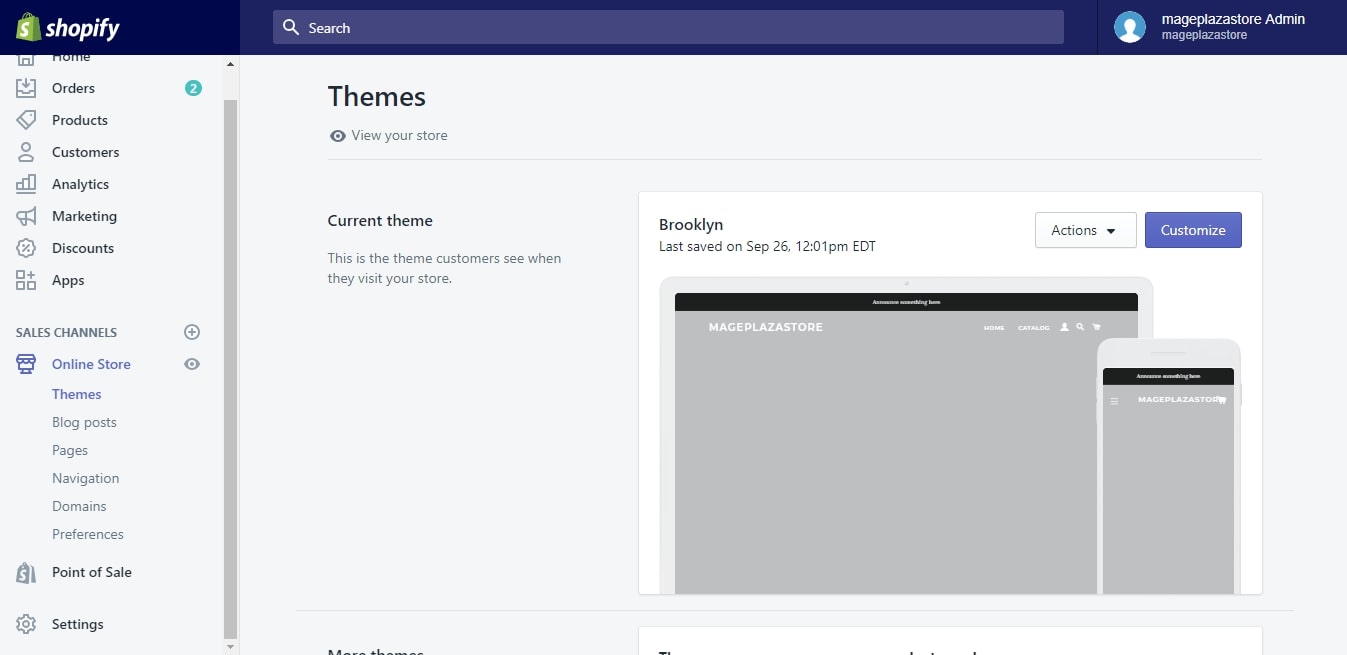
Step 1: Go to Navigation
After logging into your Shopify admin account, find Online Store in the column on the left side of your page and click on it. When options pop up right under the Online Store line, click on Navigation to choose it.
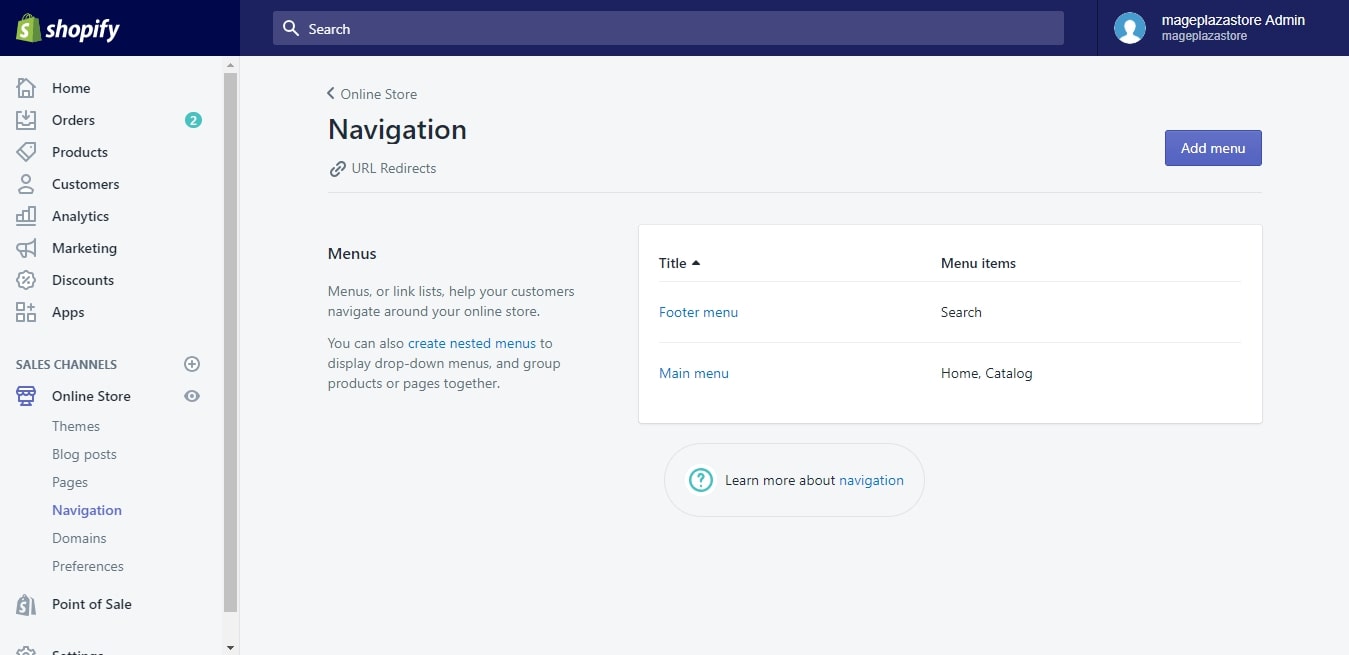
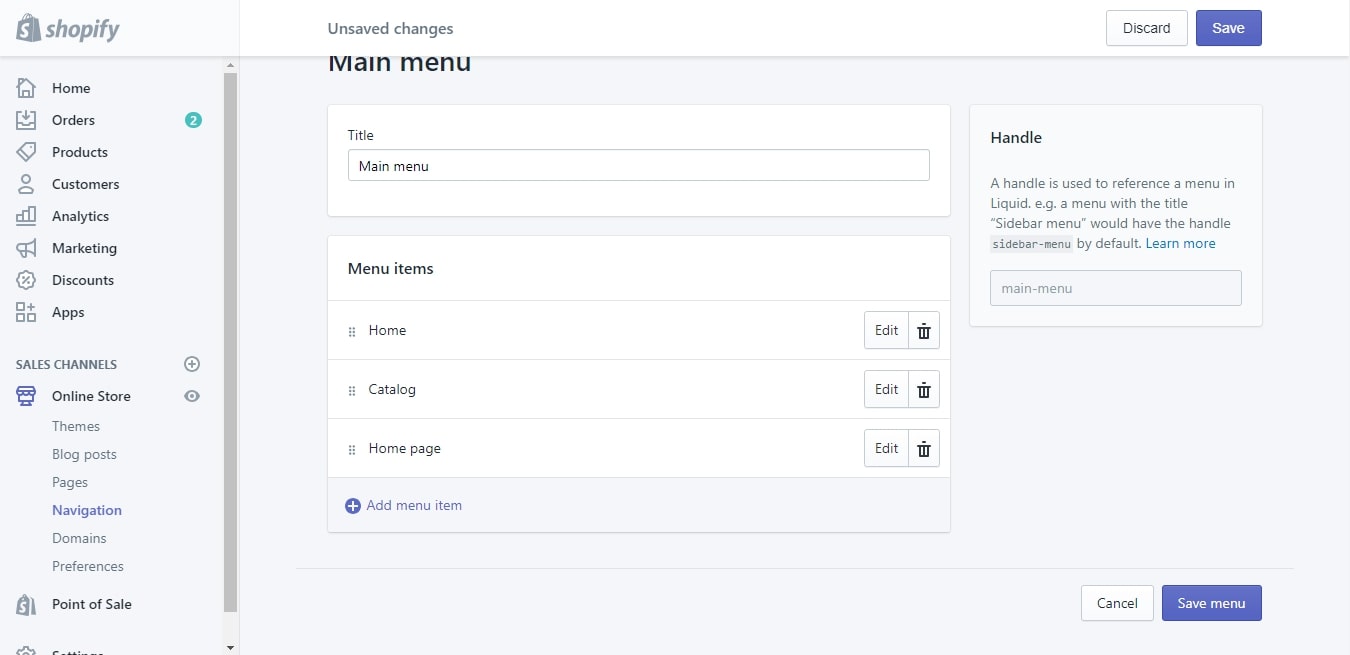
Step 2: Choose menu
After choosing Navigation, you will be directed to the Navigation page. Under the Menu section, you will see a list of menu titles. Click on the title of the menu that you want to edit.
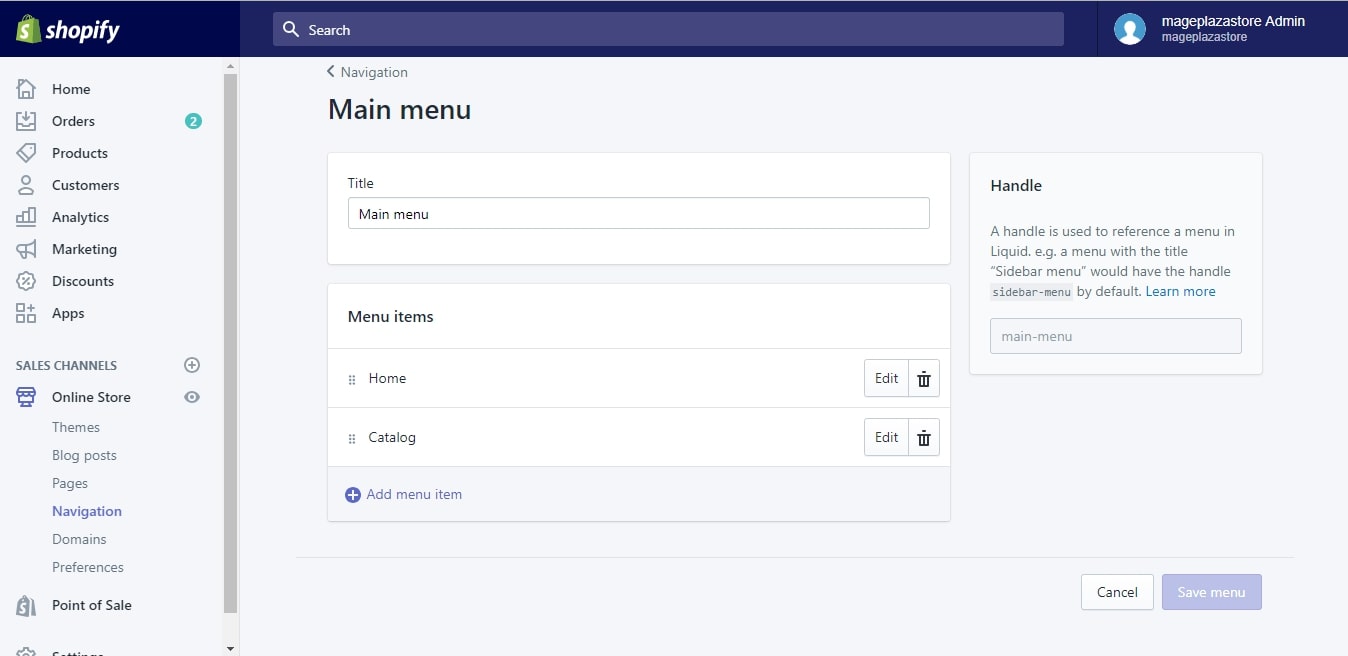
Step 3: Add menu item
When entering the chosen menu page, you will see the Menu items section in which contains a button called Add menu item. Choose that option to enter the next step of your wanted action.
Step 4: Enter Name
When the Add menu item box pops up, you will have to enter the title for the menu item in the Name field. Choose your menu’s name wisely because it will show up in the menu.
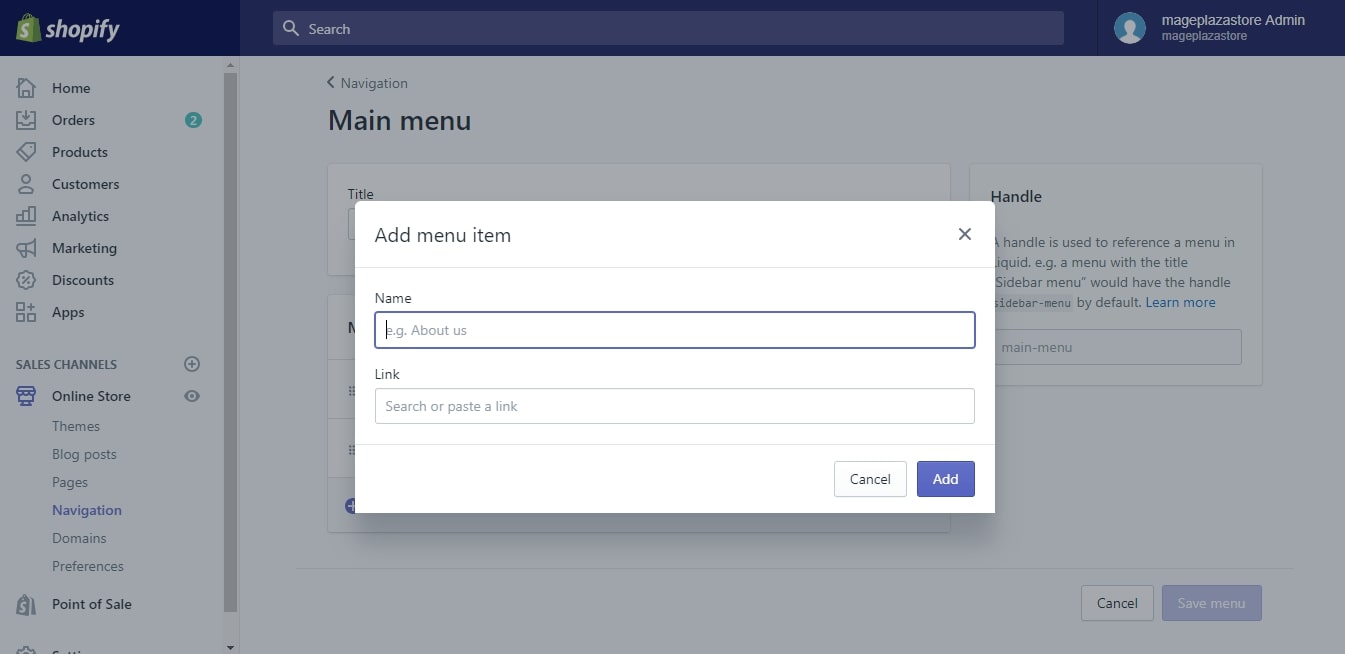
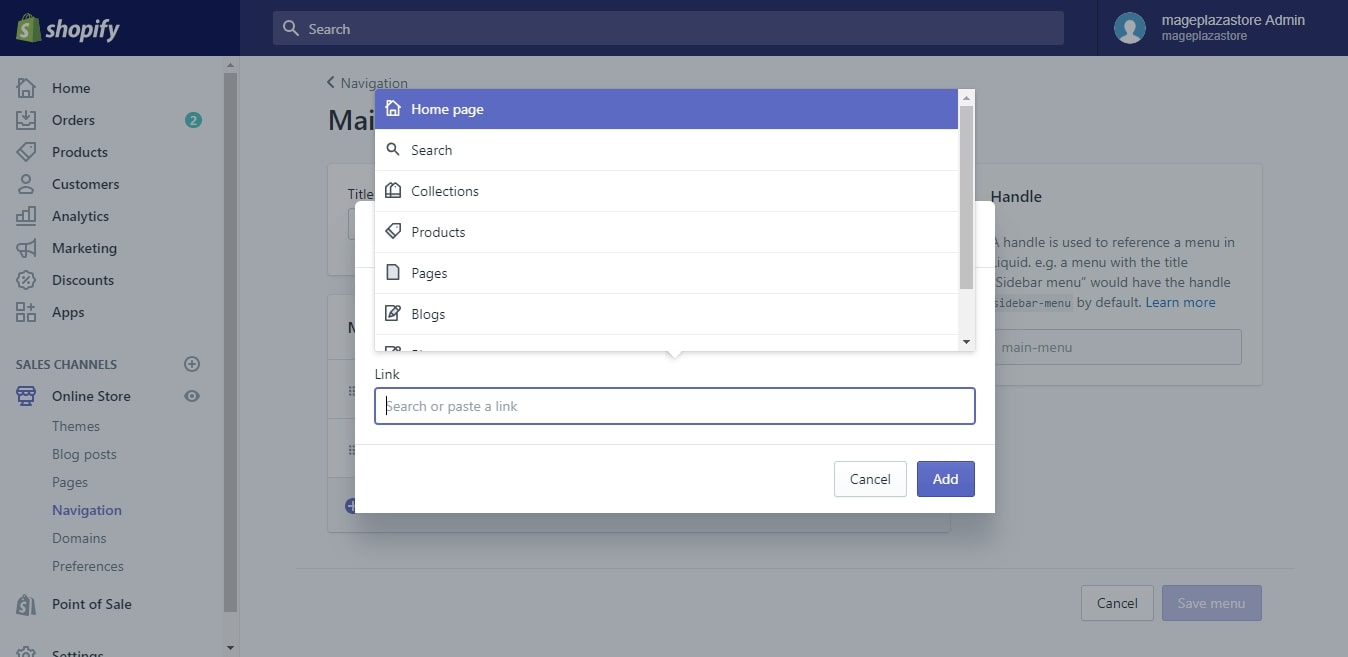
Step 5: Select Link
After finished naming your menu item, click on the Link field to select the link type for your menu item. There are choices such as Home which links to your store’s home page, Collections/Products that leads to a specific chosen collection/product or all of your collections/products, Pages/Blogs to your store’s web page or blog, Blog posts for a specific blog post on the store, and Policies will lead your customers to your online store’s policies. If you are already having an external website address for your menu item, enter it right in the field. If case you want to create an email link, only the mailto:[email protected] format will be accepted.
Step 6: Note for you when choosing Links
Please select a specific destination if you want to select a link type. Selecting Home means your online store’s home page is automatically set to be the destination.

Step 7: Finish
When choosing the name and link to your menu item, click on Add and close the Add menu item box. Click on Save to finish your action. You can find the button both in your upper right and your bottom right.
To add a menu item on iPhone (Click here)
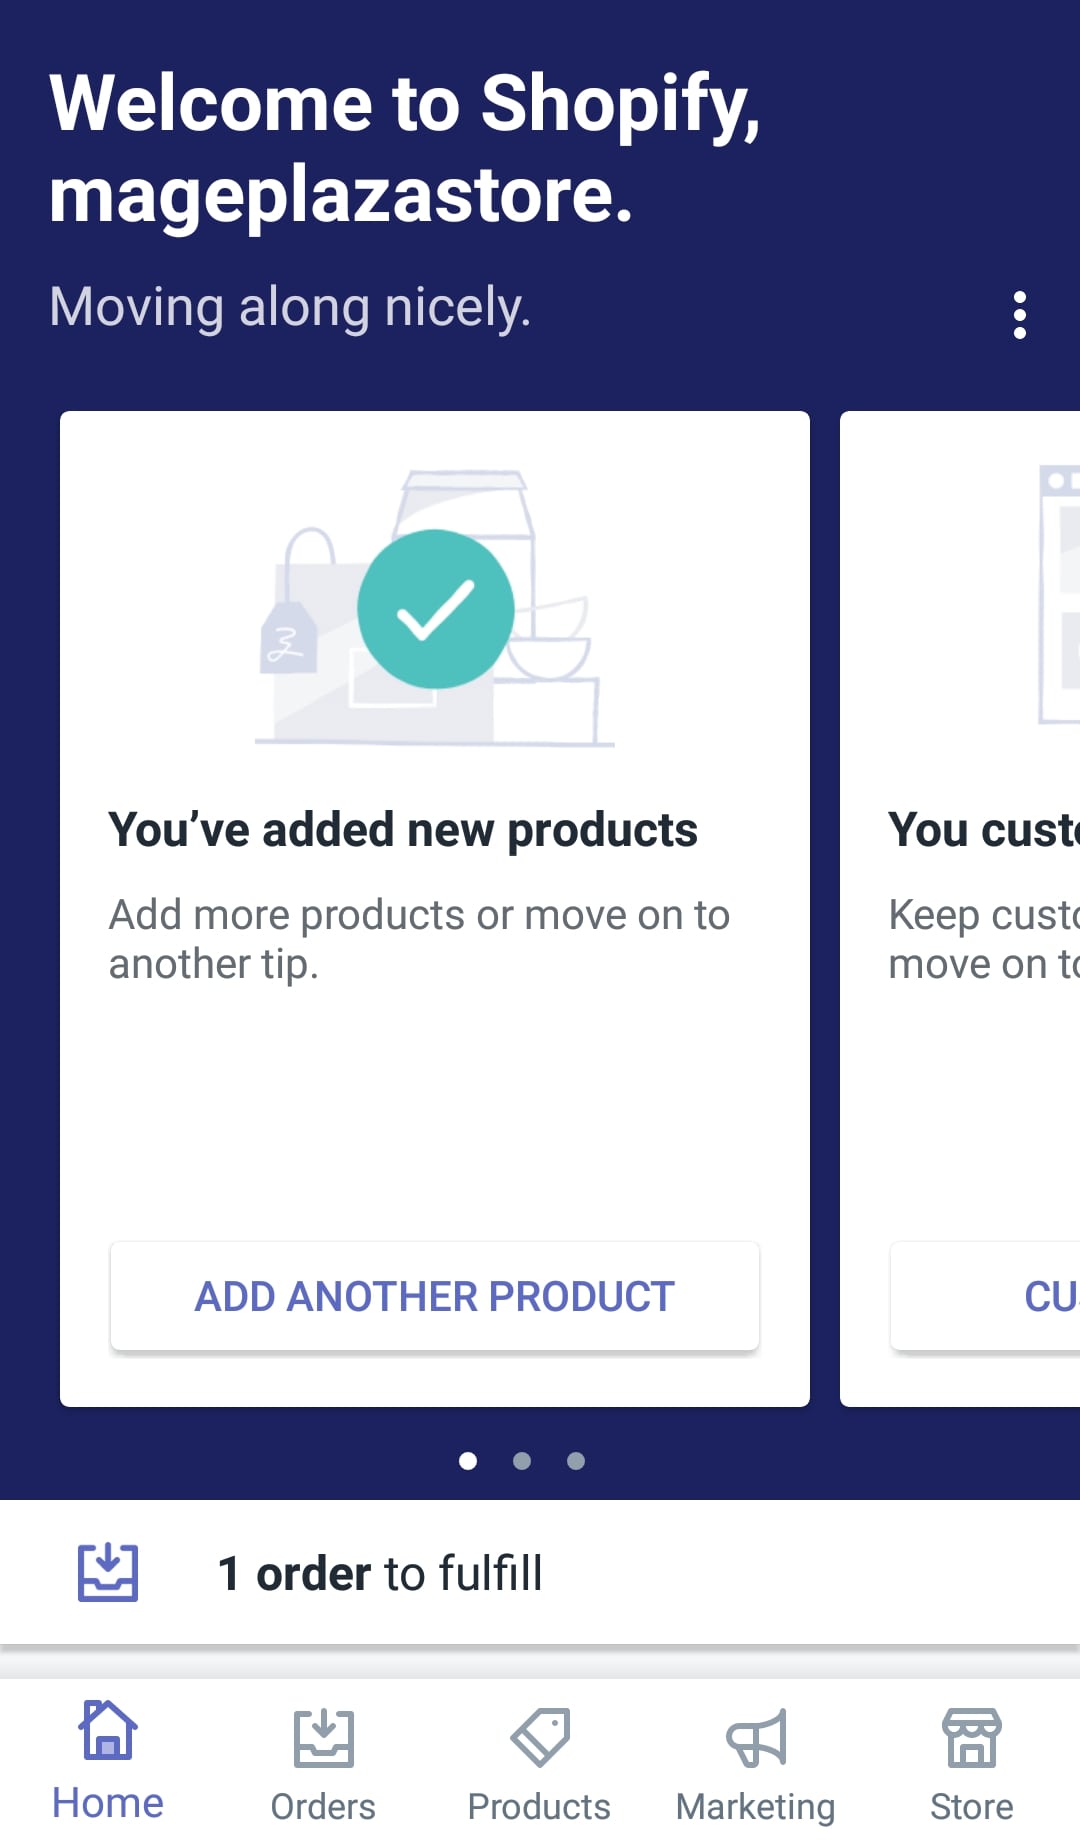
- Step 1: Tap Store
Enter your Shopify app. Tap Store for more options about your store.
- Step 2: Choose Online Store
When led to the Store page, scroll down to find the Sale channels section. Tap Online Store for more choices to manage your online store.
- Step 3: Enter Navigation
Tap Navigation in the Online Store page to open the navigation page for your online store.
- Step 4: Choose menu
After entering the chosen Navigation page, choose the menu that you want to edit by tapping on the menu’s title.
- Step 5: Add menu item
Like in the Desktop, tap Add menu item to add details about your new menu item.
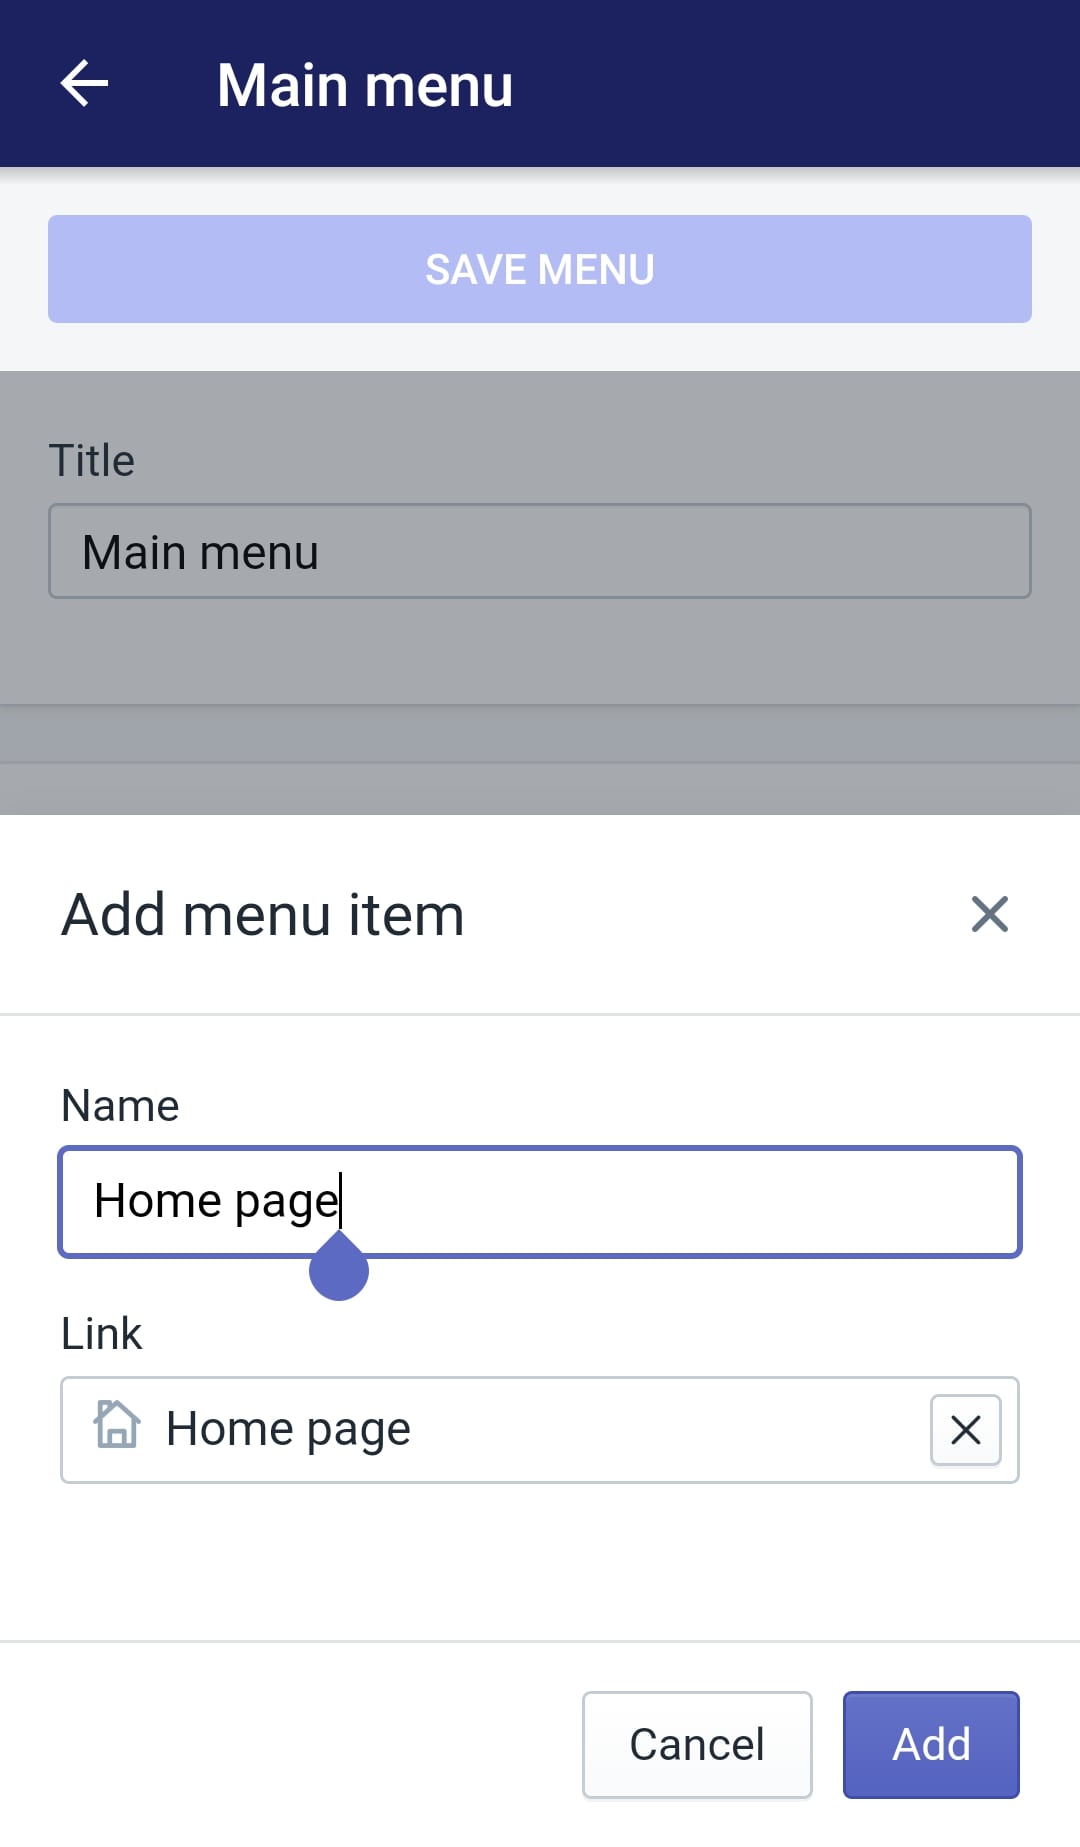
- Step 6: Choose Title
Your menu item needs a name. Enter the menu’s title that will be displayed in your menu.
- Step 7: Select Link type
After choosing your menu item’s name, tap on the Link field and enter your specific website address or select choices in the link types list for an external website. The choices Use the format mailto:[email protected] to create your email link.
- Step 8: Note for you
A selected link type will need a specific destination. Selecting Home means the destination of the link will be set to your store’s home page automatically.
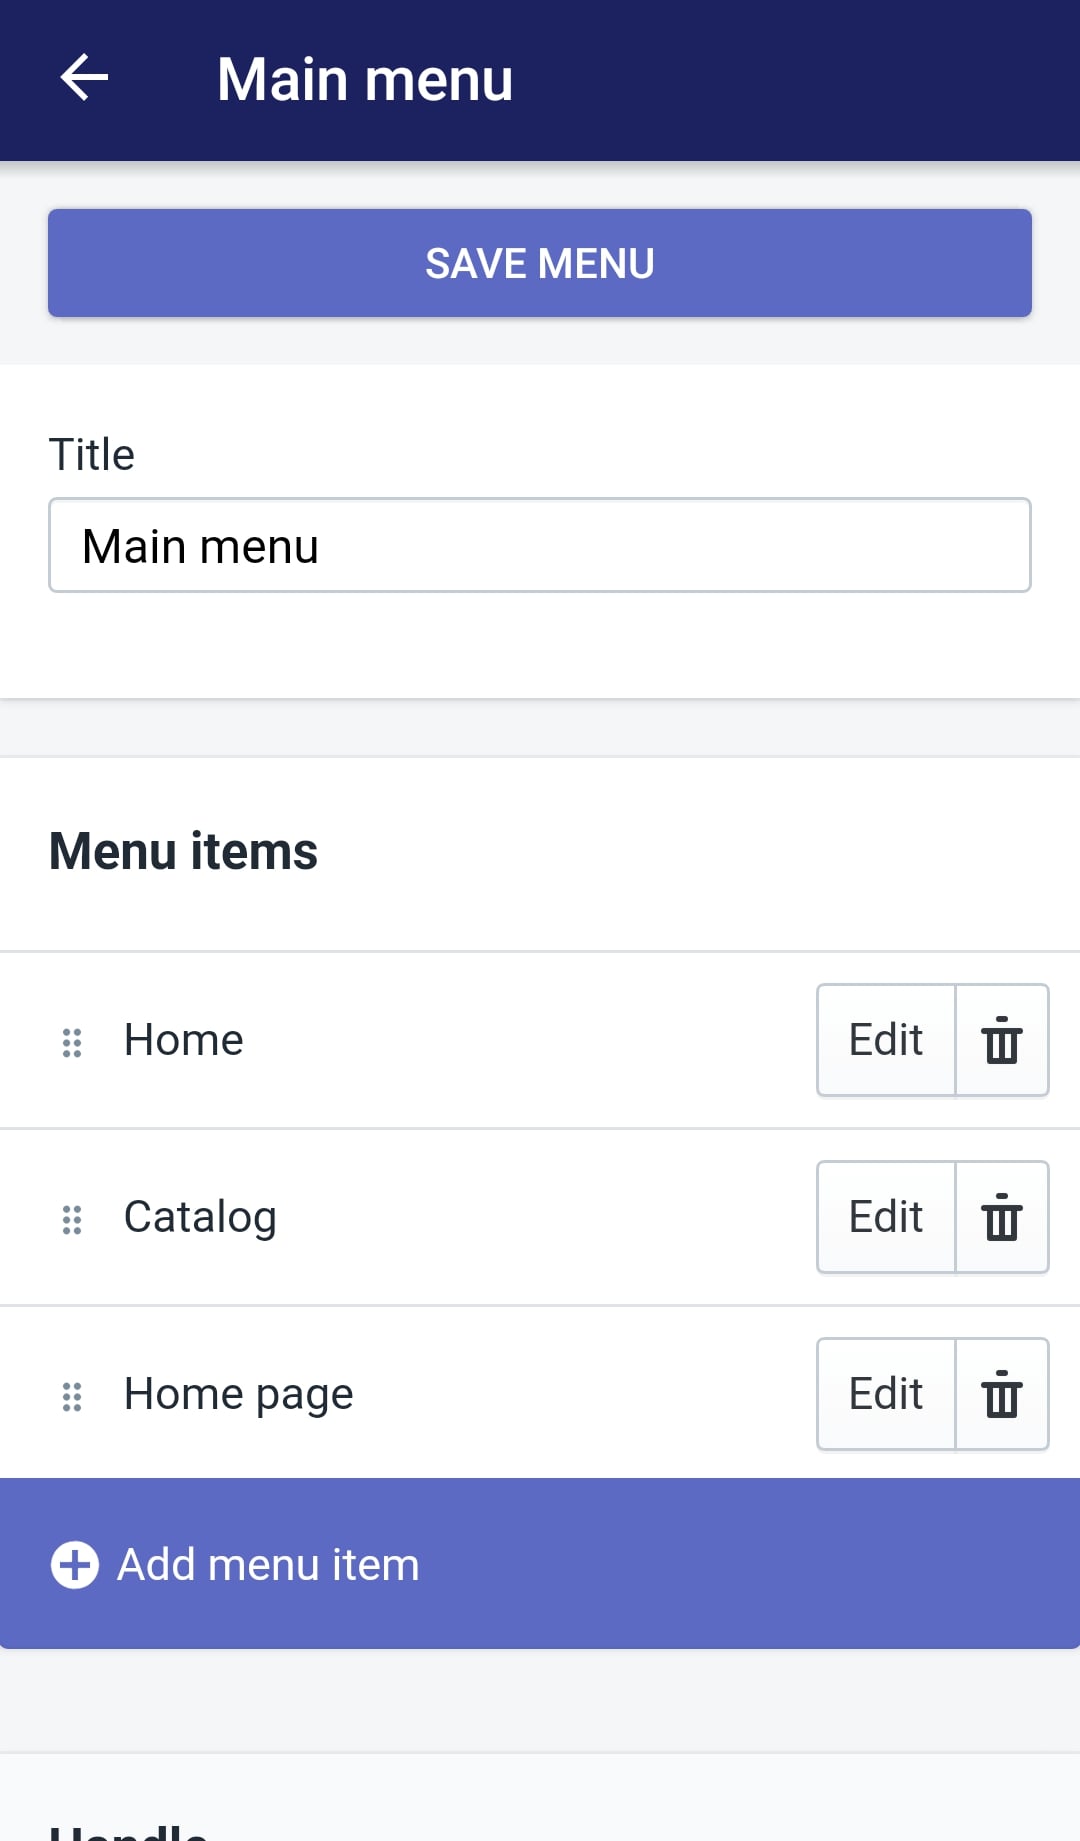
- Step 9: Wrap up
Tap Save menu when finished your choices. Your actions will be saved.
To add a menu item on Android (Click here)
- Step 1: Choose Store
Enter your Shopify app. Choose Store on your bottom very right side for more options.
- Step 2: Tap Online store
In the Store page, scroll down to find the Sale channels section and tap Online Store to be directed to the next step.

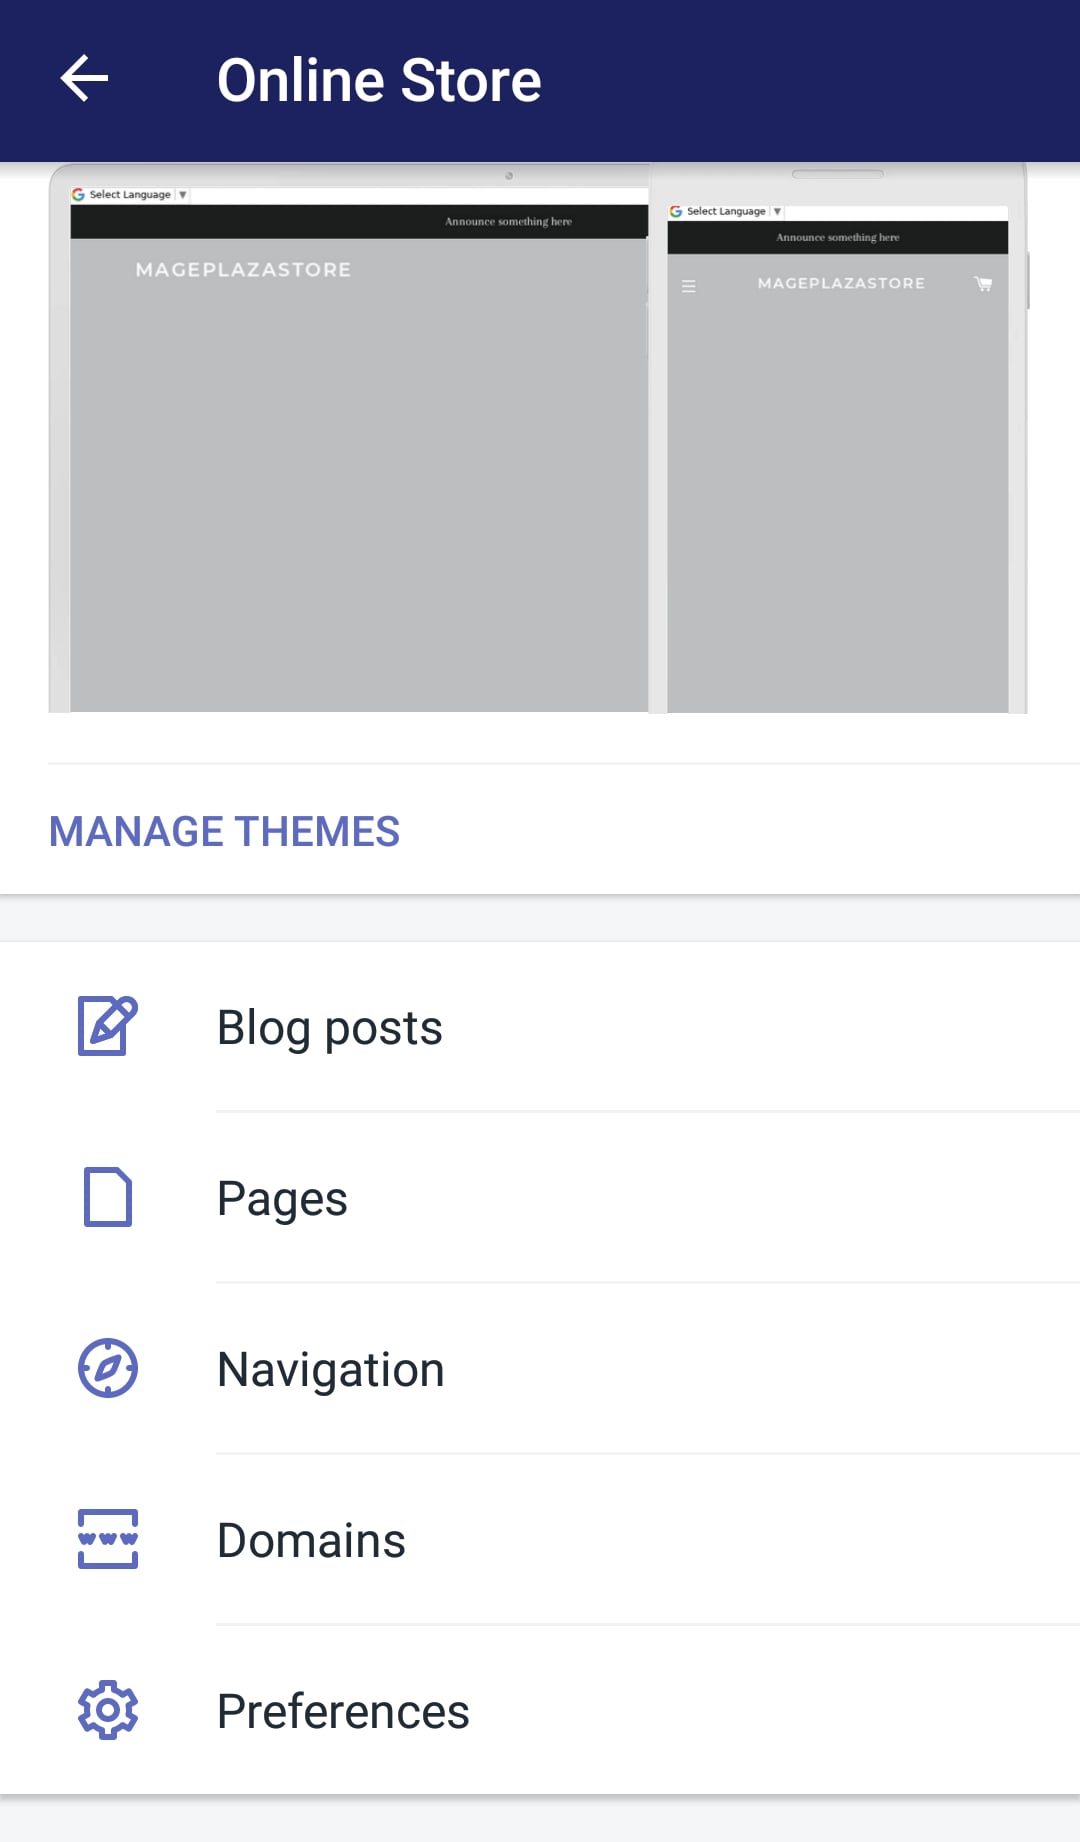
- Step 3: Enter Navigation
When entering the Online Store page, scroll down and tap Navigation.
- Step 4: Choose Menu
After tapping Navigation, you will be directed to the navigation page with the list of menus pops up. Choose the menu that you want to make a change on it by tap on the menu’s title.
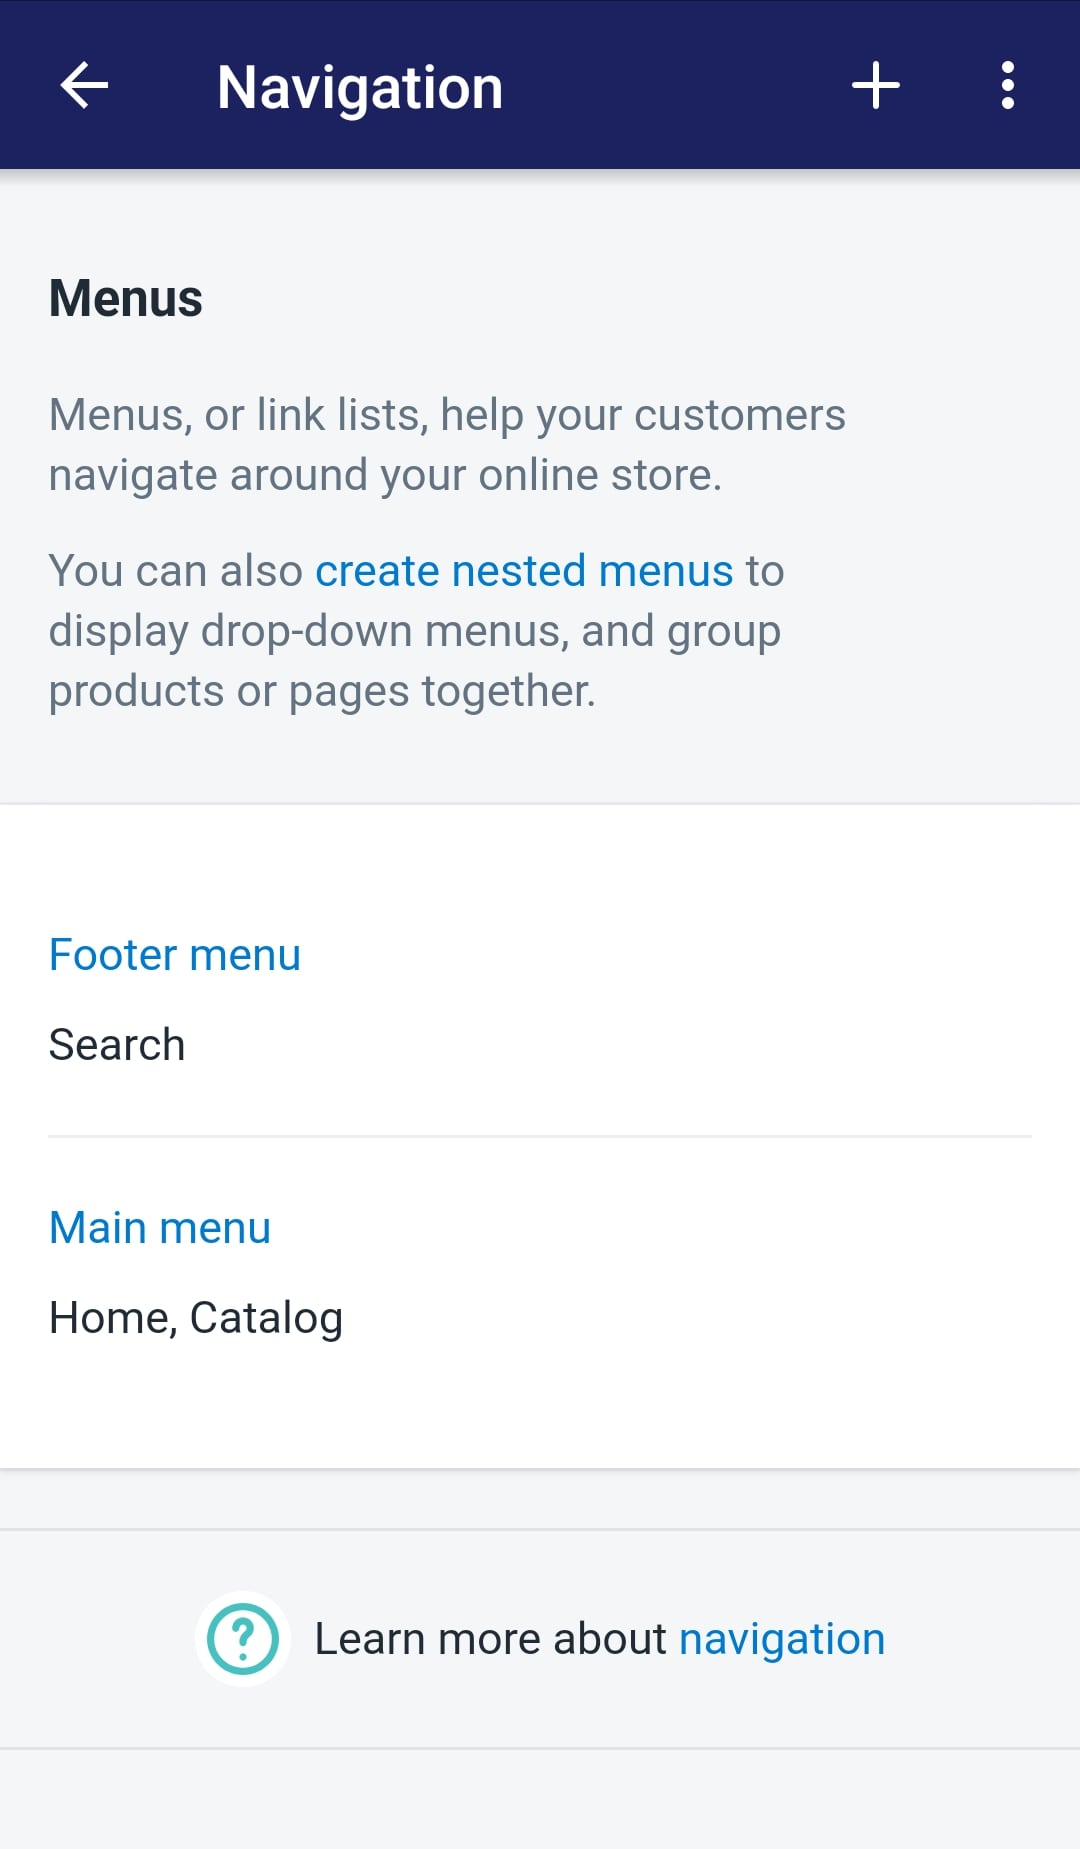
- Step 5: Add menu item
In the main menu page, tap Add menu item to start your action.
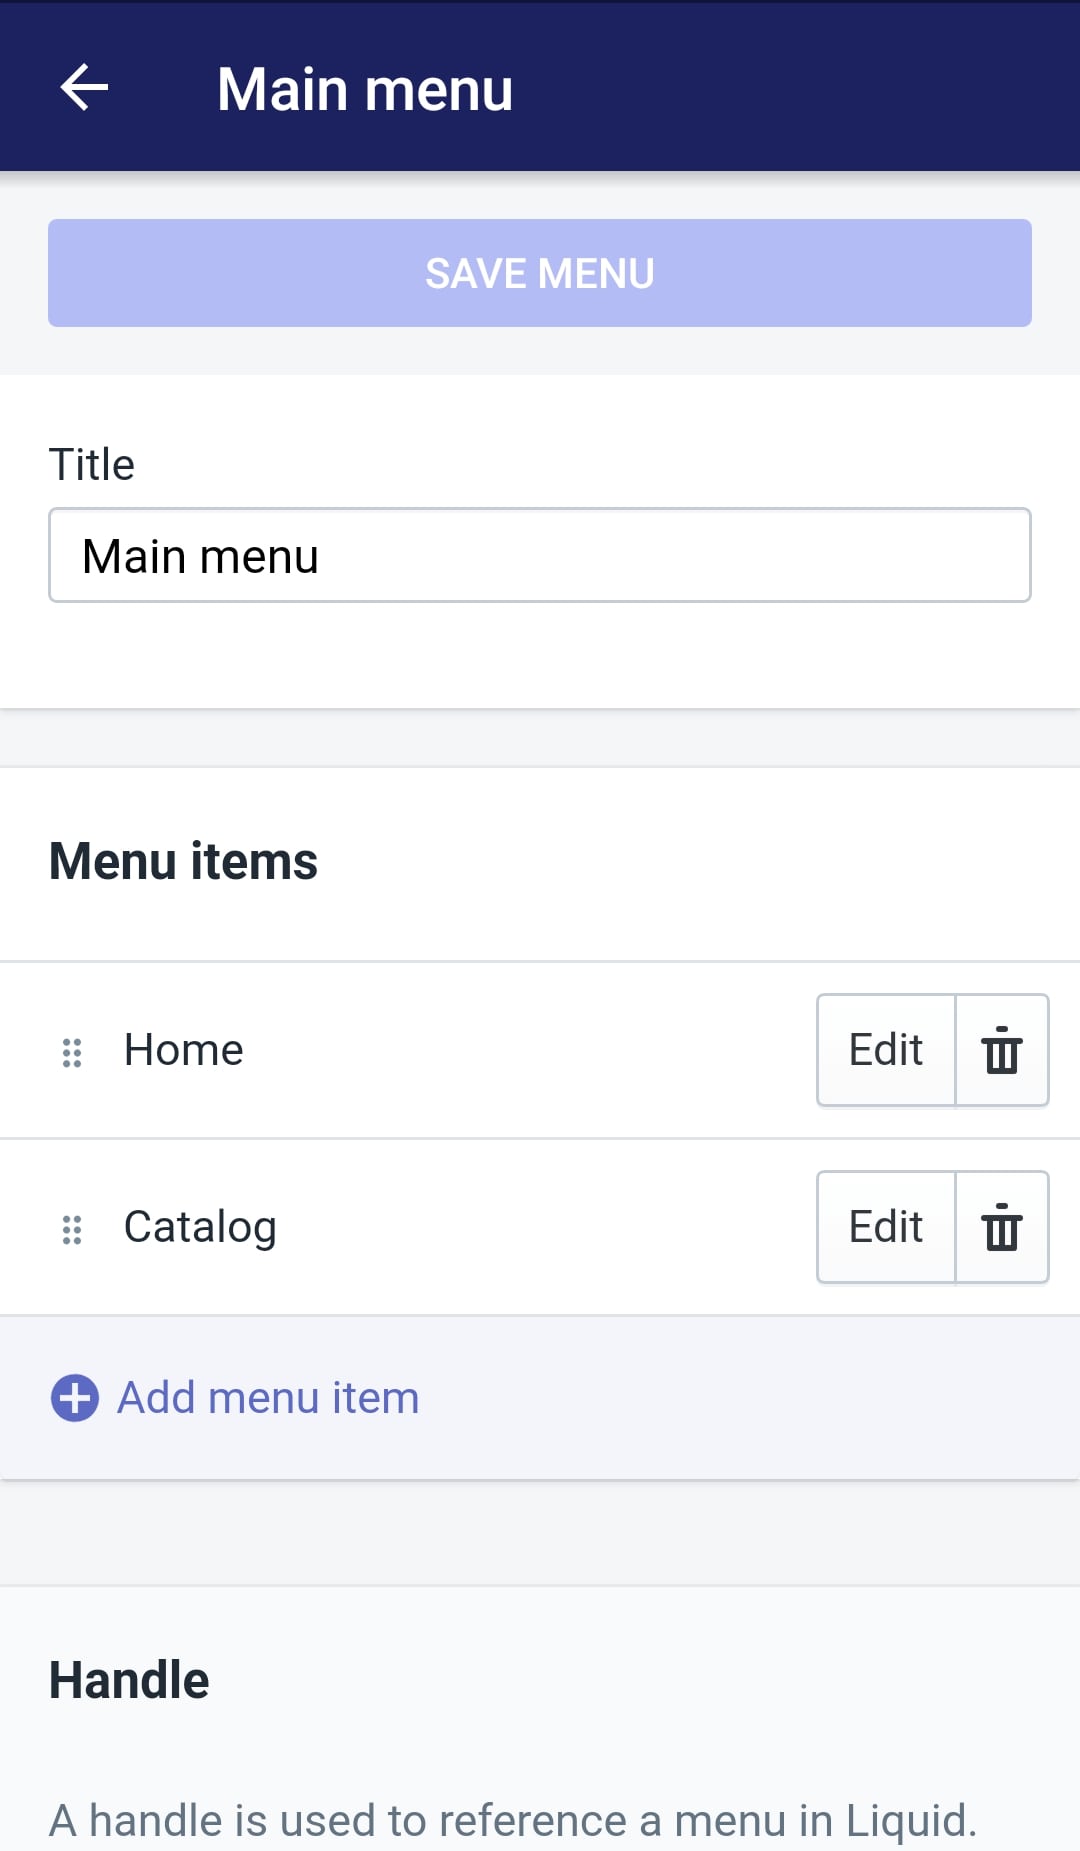
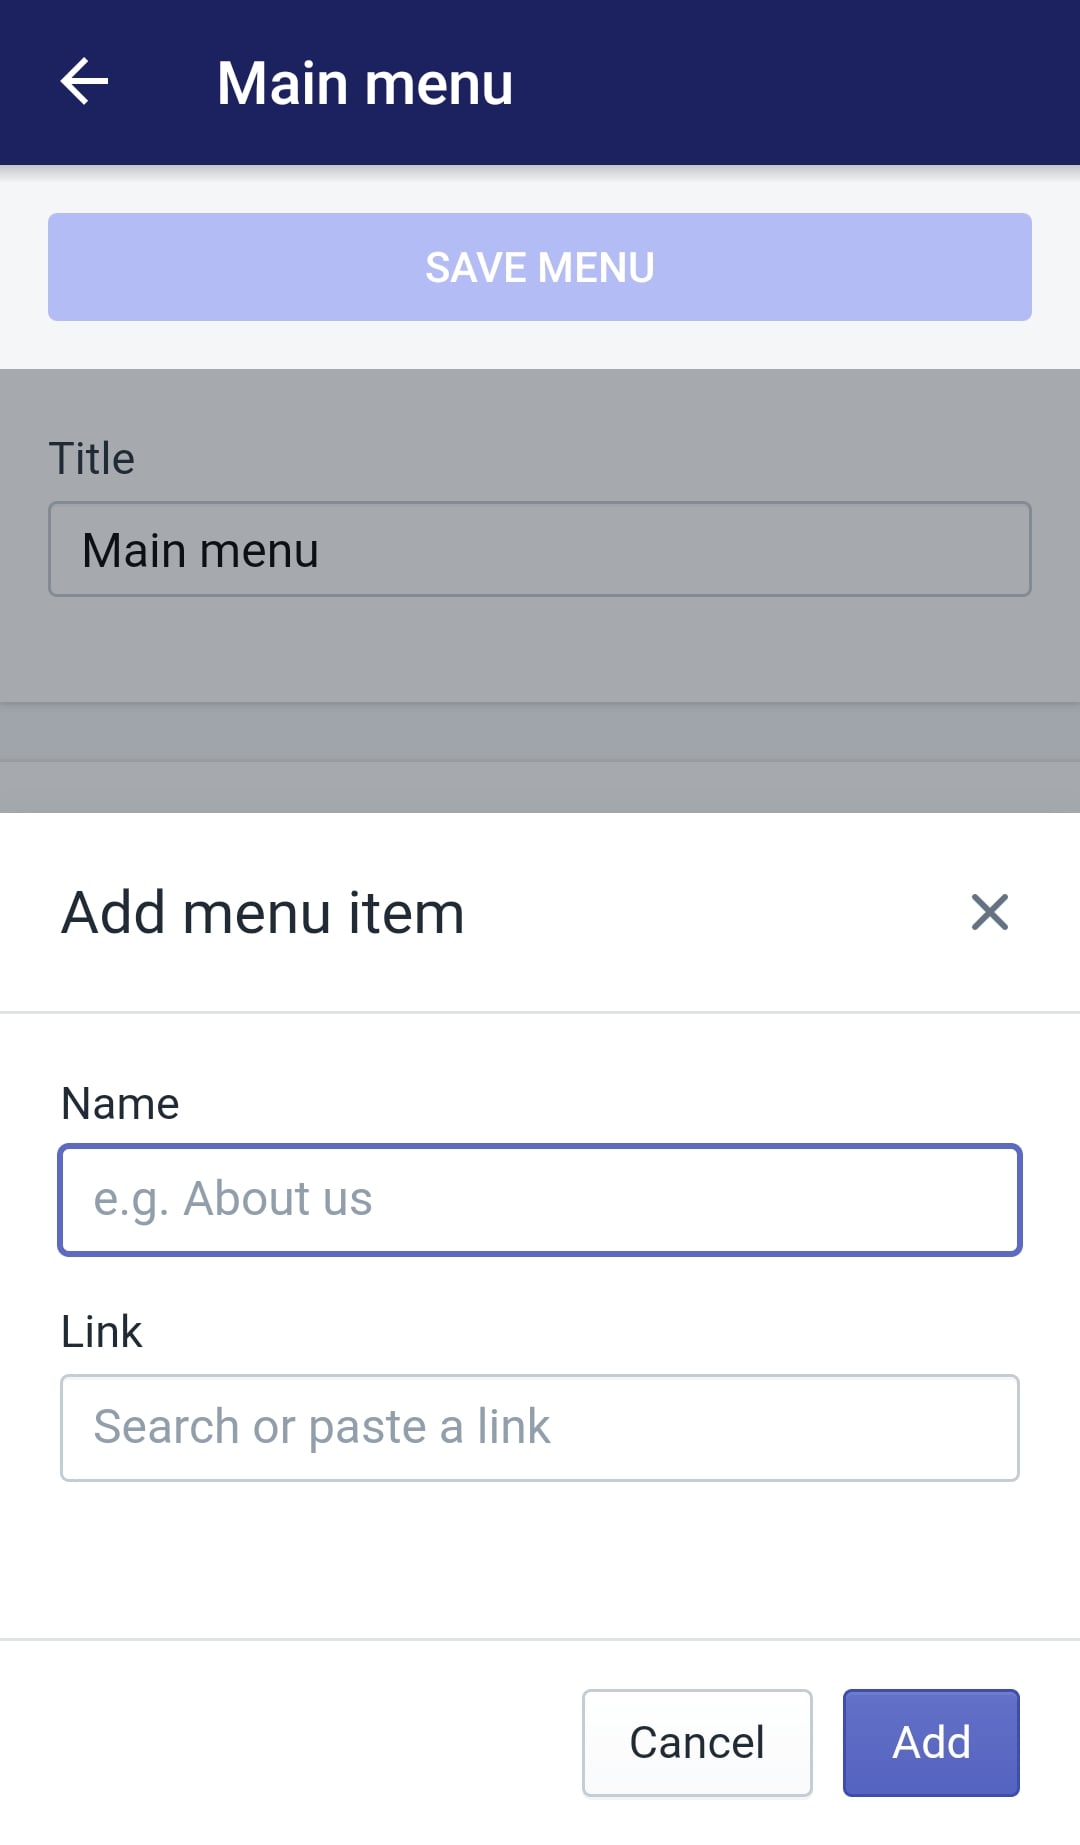
- Step 6: Choose Title
In the Add menu item box, tap on the Name field and enter your menu item’s chosen name. That title will appear in the menu.
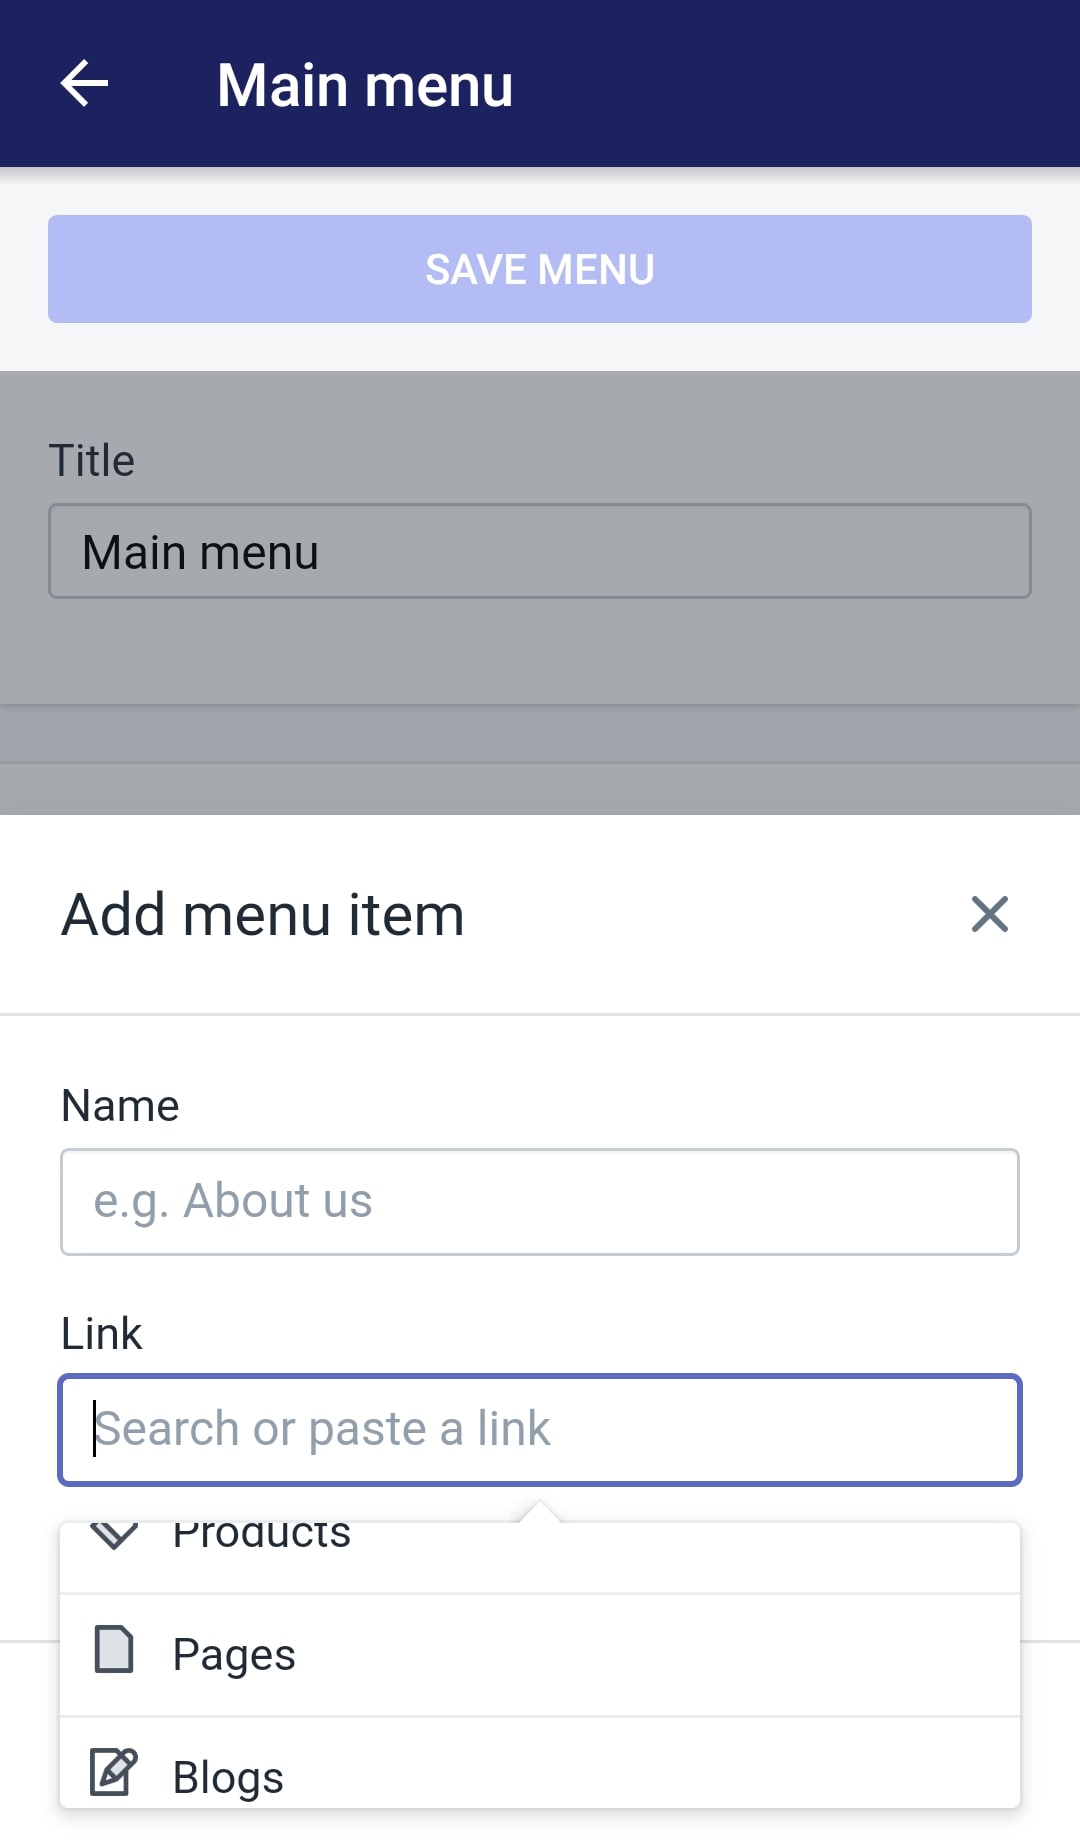
- Step 7: Choose Link type
Paste a link in the Link field or choose a link type in the list that pops up after you tap on the field. There are choices such as Home, Collections, Products, Pages, Blogs, Blog posts, and Policies. By using the format mailto:[email protected], you can easily create an email link.
- Step 8: Tips
A specific destination must be selected if you are going to select a link type. By selecting Home, you will make sure that your store’s home page will be automatically set as the destination.
- Step 9: Save changes
Finish your action by tapping Add to close the Add menu item box. Then tap the Save Menu button on top of your screen to confirm your action.
Conclusion
Build your online store’s navigation is an essential step to develop your business. Yet, it can be so easy just by following these above steps of How to add a menu item on Shopify that I have just introduced to you. I hope you will find it helpful.


