
How to configure Shopify blog settings

To be distinct from the intense competition in the eCommerce market, and more specifically - the Shopify platform, you might need to consider creating great blog posts. And once you have started to create one, you might wonder How to configure Shopify blog settings?.
We will help you figure out a simple answer to this question, so please read our article carefully. Let’s get started!
Related posts:
- How to Edit the Search Engine Listing for a Blog Post on Shopify
- How to Create a New Blog Template on Shopify
- How to Set a Specific Publish Date for a Blog Post on Shopify
Why you should add a blog on your Shopify store?
First of all, let’s take a look at how you can benefit from it integrates your blogging with your eCommerce store.
Shopify blogs can assist you a great deal in attracting the audience to your online store and retain them. Blogging also helps you keep a coherent and consistent sense between your store and blog; these are only different pages on the same site, with the same user interface. Not only that, with only one admin tool, it also enables you to control and sustain the content so that you can have a constant update for your store and blog.
Shopify blog basic settings
Edit a blog name
To change a blog name, check out the simple steps below:
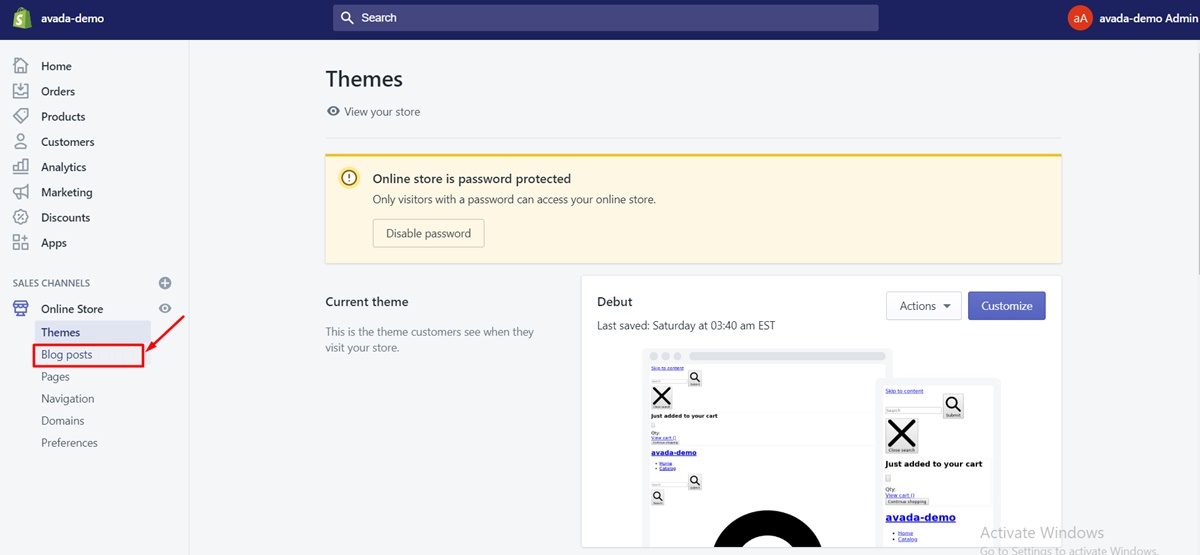
Step 1: Click Blog Posts
In your Shopify admin, head to the Online Store section, then click Blog Posts.
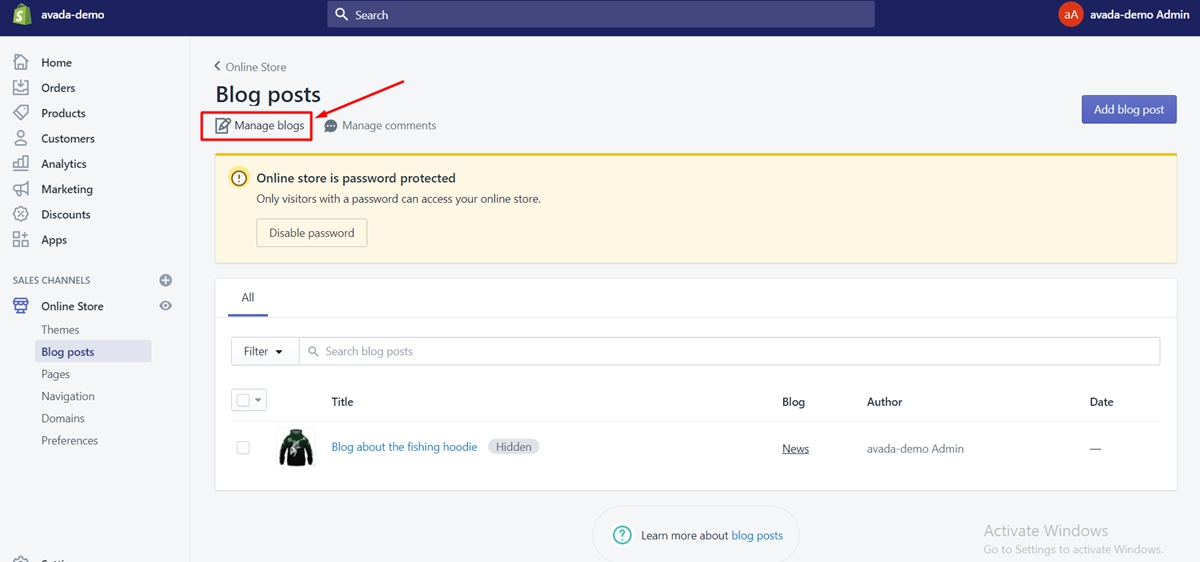
Step 2: Tap on Manage blogs
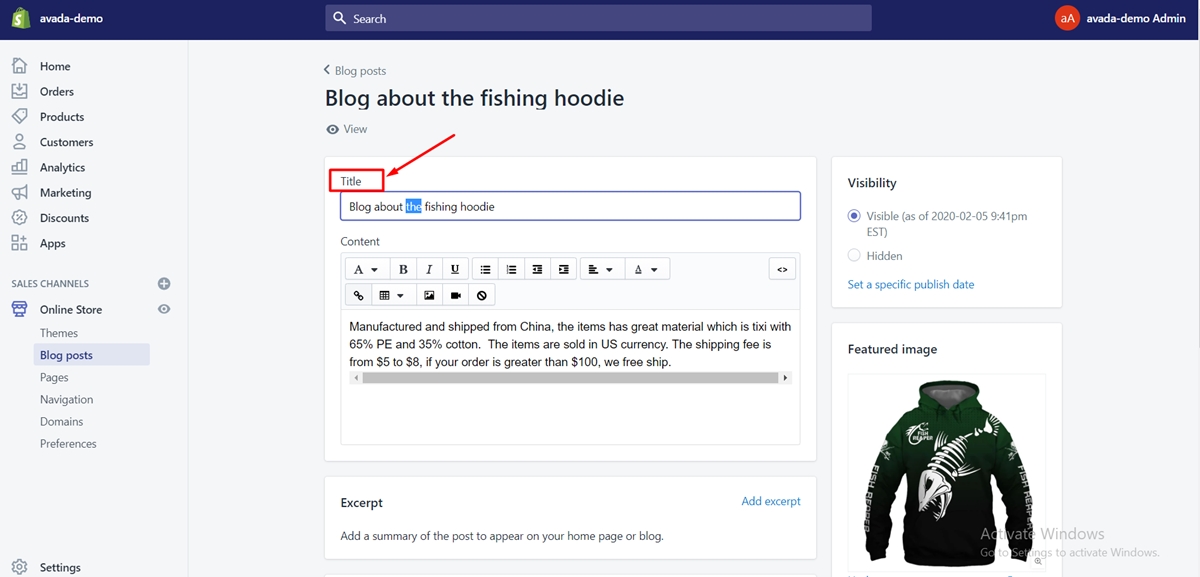
Step 3: Click the blog name to adjust
Step 4: Type in a new name in the Title section
From the Edit blog page, type in a new name you intend to change for your blog in the Title section.
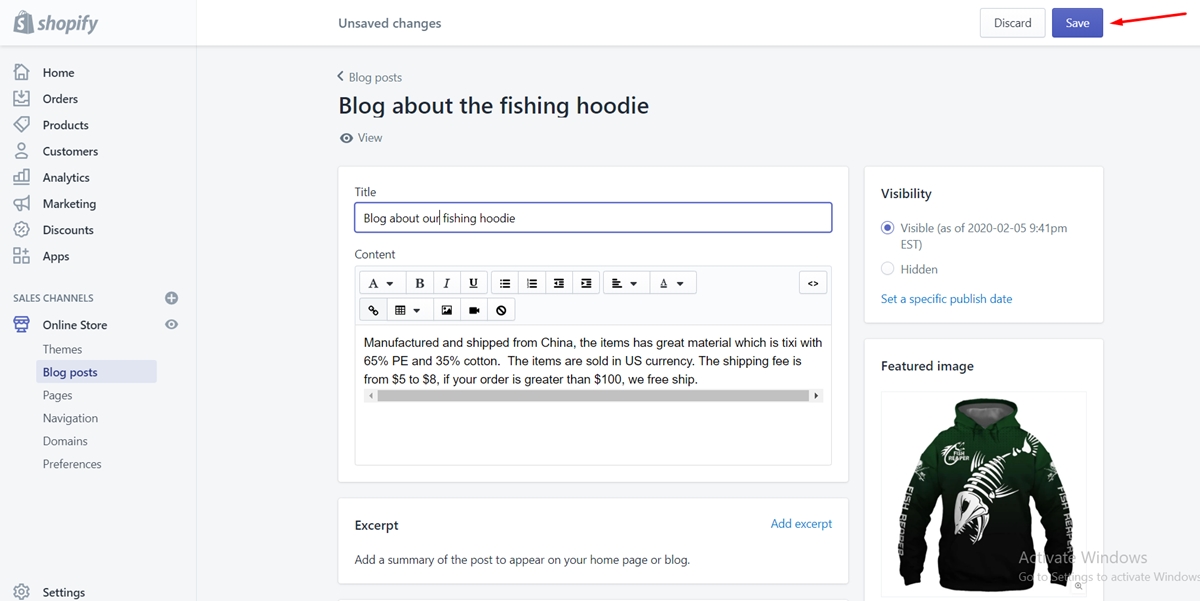
Step 5: Tap on Save
Edit blog’s SEO
You can adjust the text that shows up in search engine results for a blog. To make it easier for a new customer to find your online store and entice them to click on the link, you can make use of a descriptive title and description.
Not only that, to do this, you can also preview your blog’s search engine listing and make any necessary modifications. Check out the following steps:
Step 1: Click Blog Posts
In your Shopify admin, head to the Online Store section, then click Blog Posts.
Step 2: Tap on Manage blogs
Step 3: Click the blog name to adjust
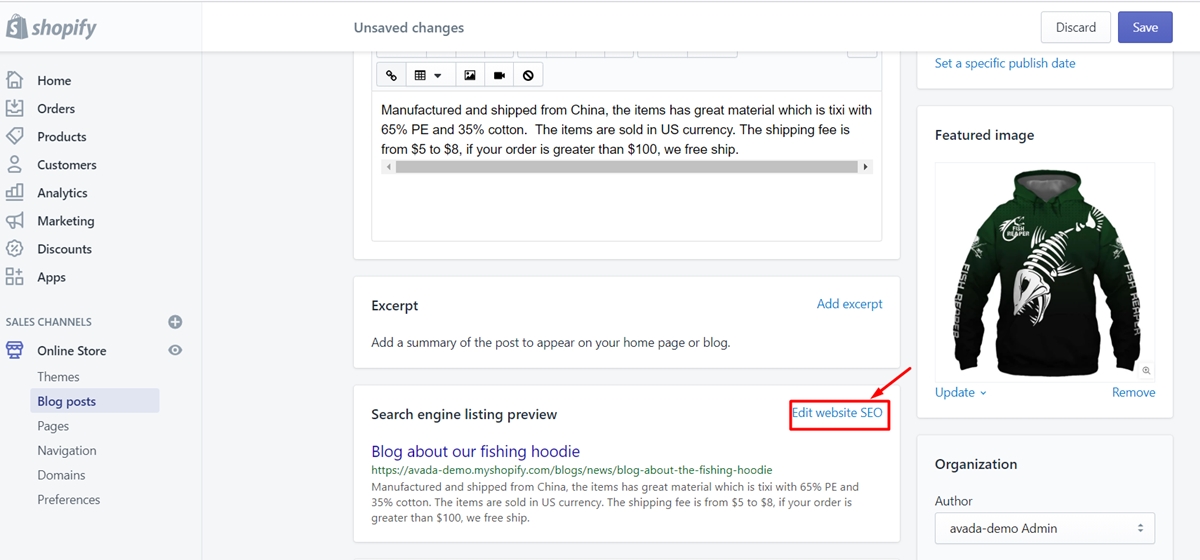
Step 4: Tap on Edit website SEO
From the Search engine listing preview section, tap on Edit website SEO
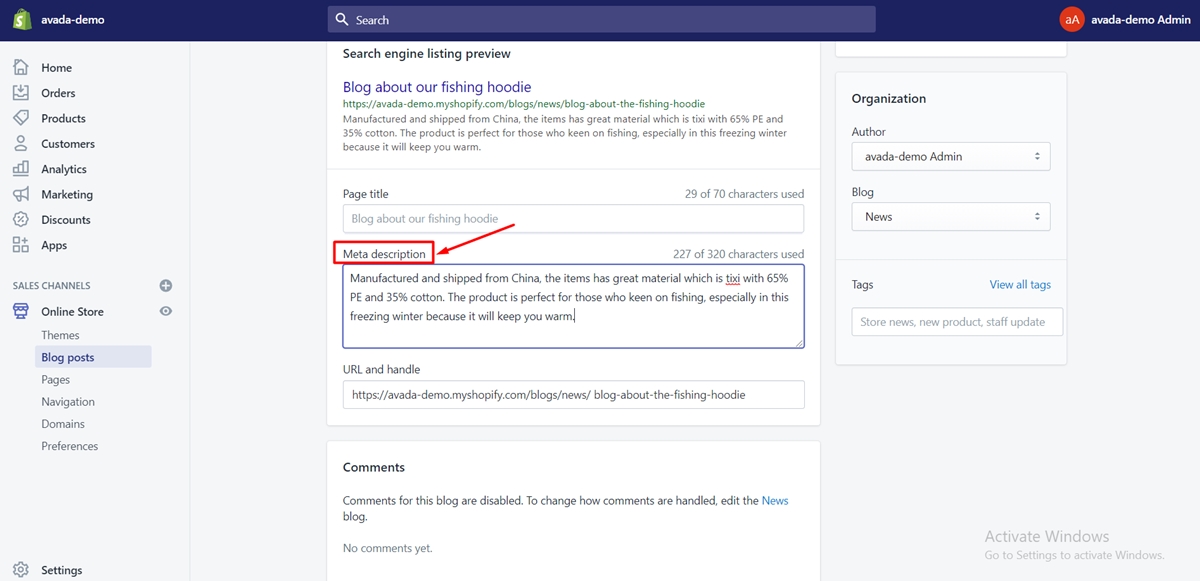
Step 5: Type in a descriptive title
From the Page title field, type in a descriptive title. It will appear as a link in the search engine results. The maximum characters of the title can be up to 55.

Step 6: Type in search engine listing’s description
In this step, you should guarantee that you enter relevant keywords to make it easier for your new customers to spot your link, and to add your brand. The maximum characters of the description can be up to 320.
Bear in mind that if you type in more text beyond the two character limits above, then your page title and description will be cut short in the search engine results. Furthermore, to know how to apply SEO for your eCommerce site, read our post: Ecommerce SEO: An A-Z Guide to Increase Organic Traffic Growth.
Edit blog’s URL
From the Edit blog page’s Search engine listing preview section, you can edit your blog’s web address. The creation of a blog will lead to the automatic creation of URL and handle. You may need to adjust or shorten the web address, but you may not affect the default. To edit a blog’s web address, you can:
Step 1: Open the Search engine listing preview
From the Edit blog page, tap on the Edit website SEO to open it.
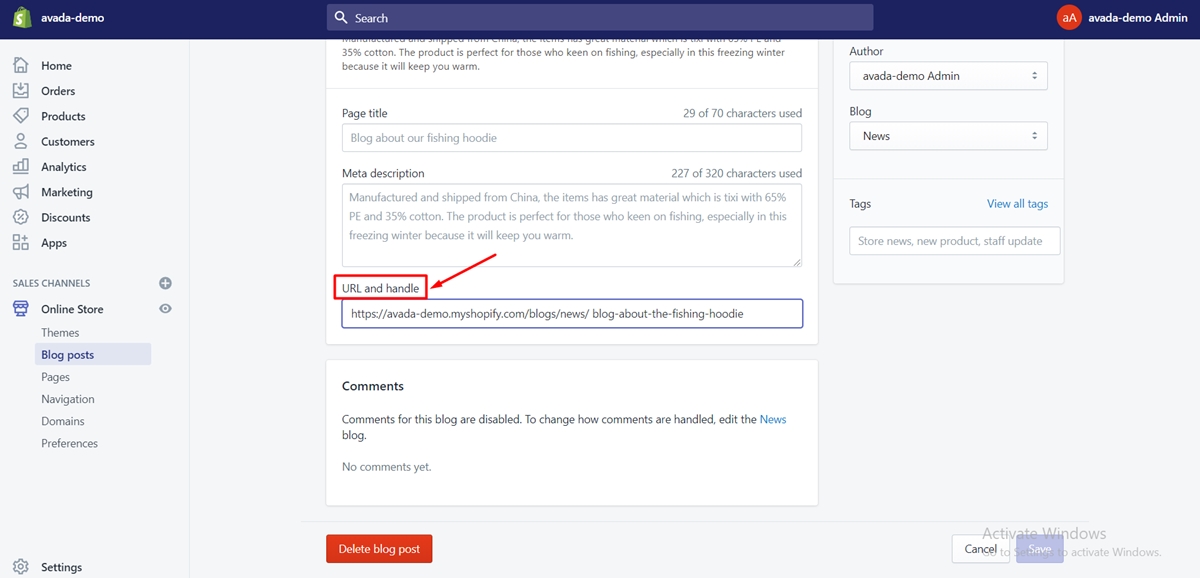
Step 2: Adjust the URL and handle section
From the Search engine listing preview, edit the URL and handle field.
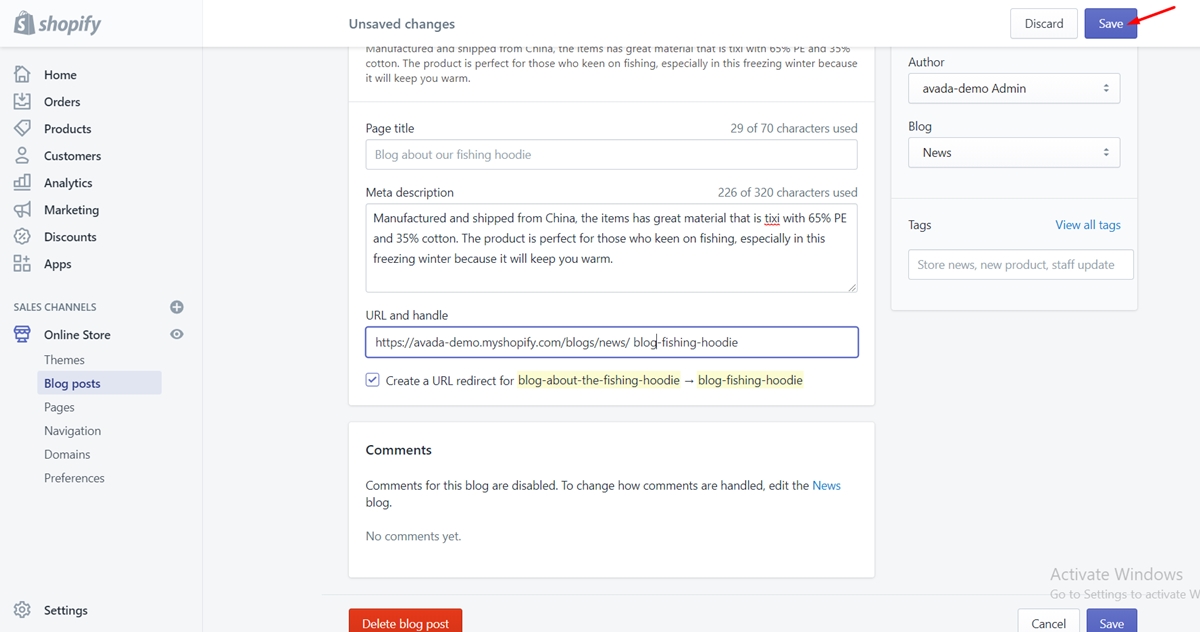
If you want the original blog URLs to redirect your customers to the new URLs, then you can leave the options for redirects checked.
Step 3: Tap on Save
Shopify blog advanced settings
Create a custom template to layout a blog
For a blog
To customize the layout of individual blog posts, you can build a template. For instance, you could create a template for posts that will feature many images. However, you might only need to use them for a few posts in a blog. In this case, you must know something about coding.
In your Shopify admin, head to the Online Store section, then click Themes.
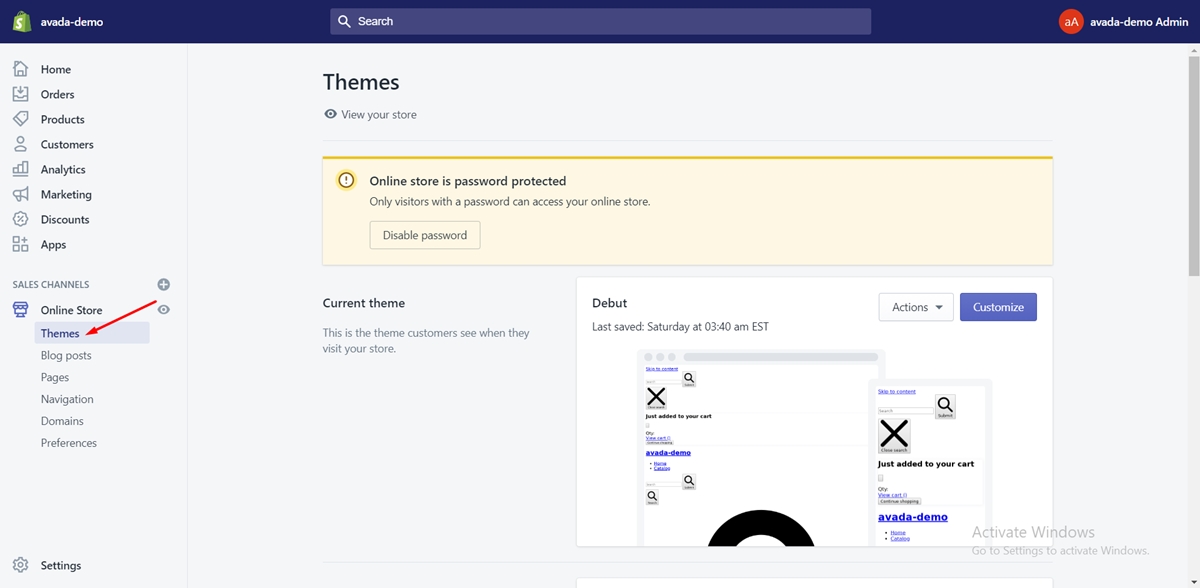
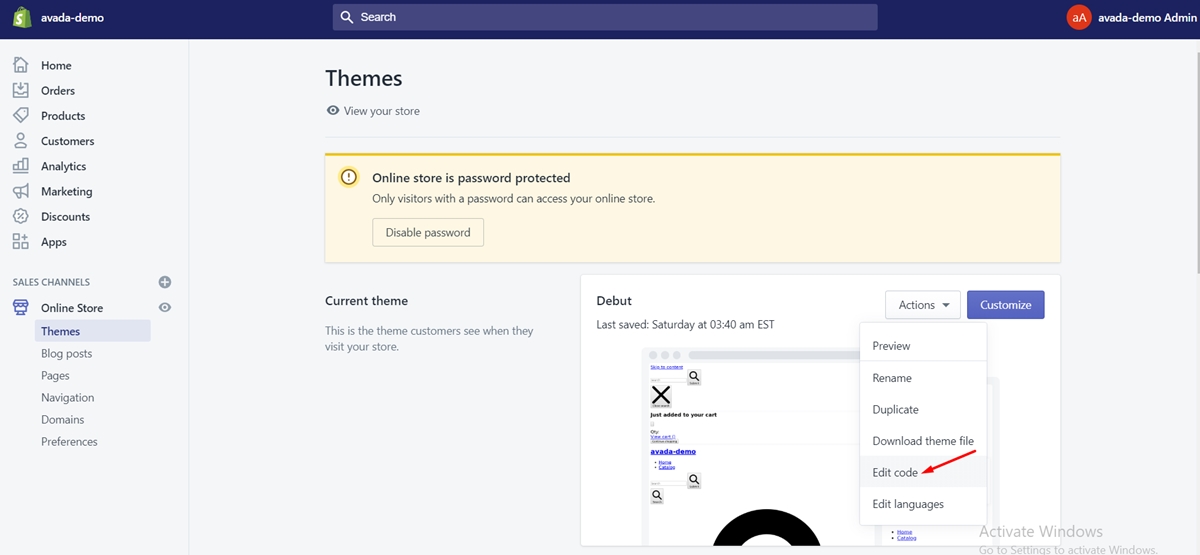
Look for the theme you intend to adjust, tap on Actions, then click Edit code.
Below the Templates folder, tap on Add a new template.
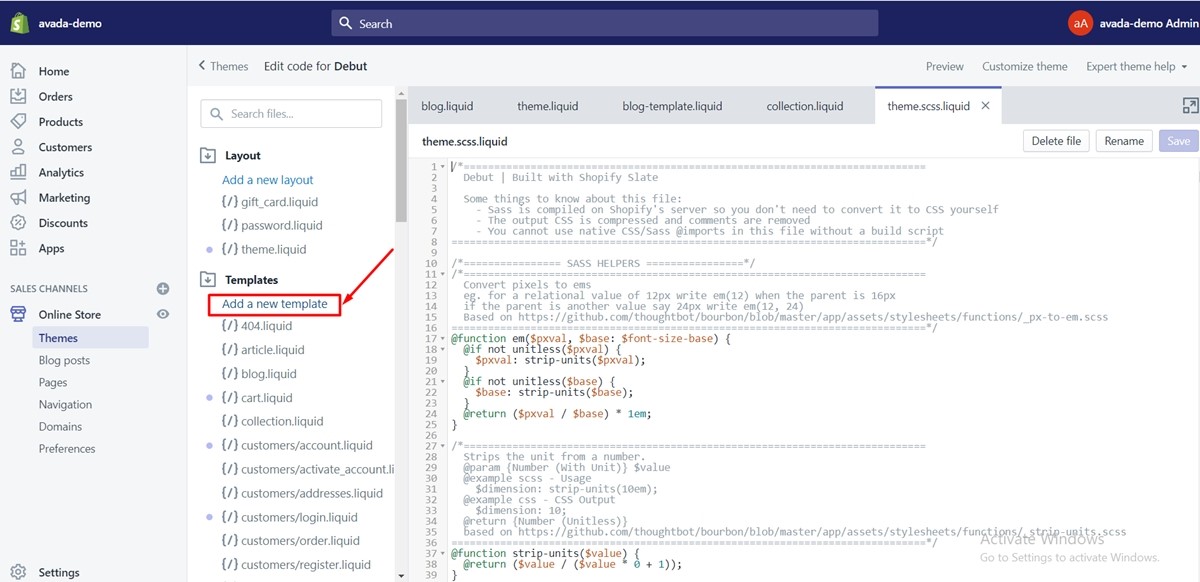
From the drop-down menu, choose the article option, and then give a name to your template.

Then, you can tap Create a template.

From the online code editor, you can modify the template to customize the blog post style until you are satisfied.
After you make any modifications, tap on Save.
For an individual blog post
Once you have added more than one new template, you can apply a template to an individual post. Only the posts having the template applied will show following the template that you have set. With blog post templates, you can possess a shortcut to customize a blog post to your needs without affecting other posts in the blog.
To create a custom template to layout a blog for an individual post, you can:
Go to your Shopify admin, then click Blog Posts in the Online Store section.
Then, you can click the blog post that you intend to adjust.
After that, choose a template from the Template drop-down menu.
Tap on Save.
Set specific publishing date for blog posts
You can have a choice to set a specific publish date for your blog. For instance, you can set a post to be published on the date when you introduce a new item. What’s more, you can backdate a post.
To set a specific publishing date for blog posts, you can follow the steps below:
Step 1: Click Blog Posts
In your Shopify admin, head to the Online Store section, then click Blog Posts.
Step 2: Click on the post
From the Blog posts page, tap on the post that you intend to publish on a precise date.
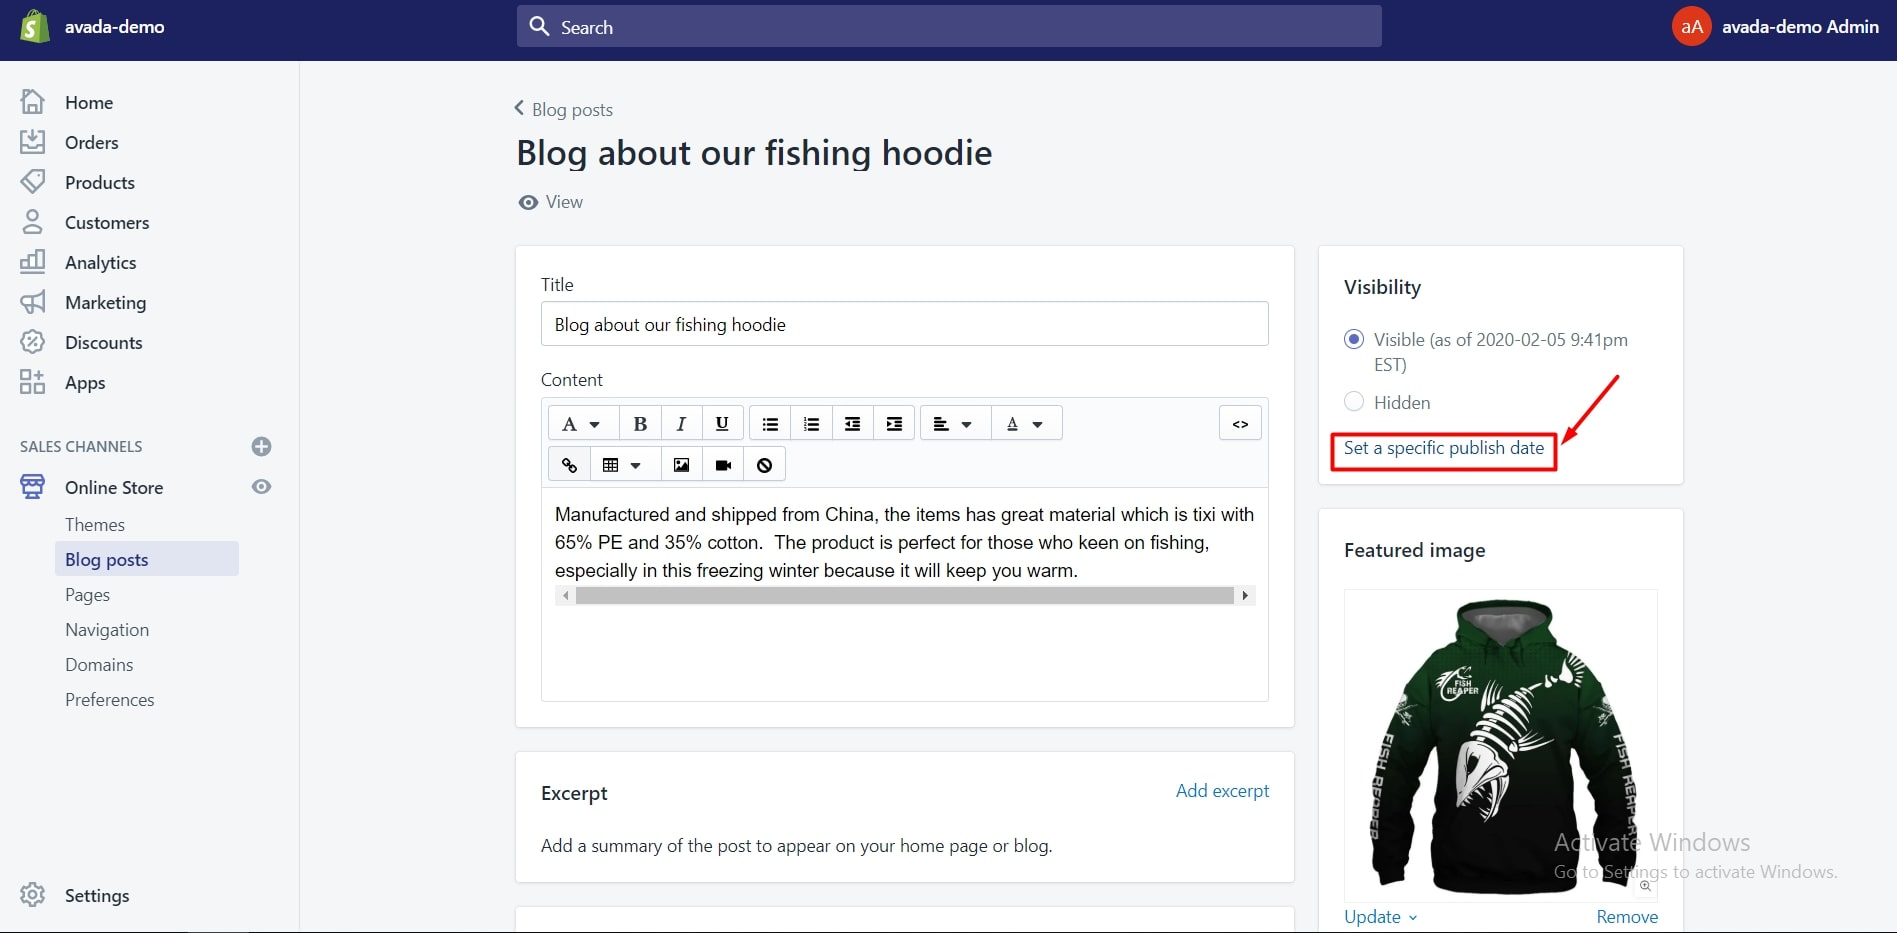
Step 3: Tap on Set a specific publish date
Step 4: Choose the post’s publishing date and time
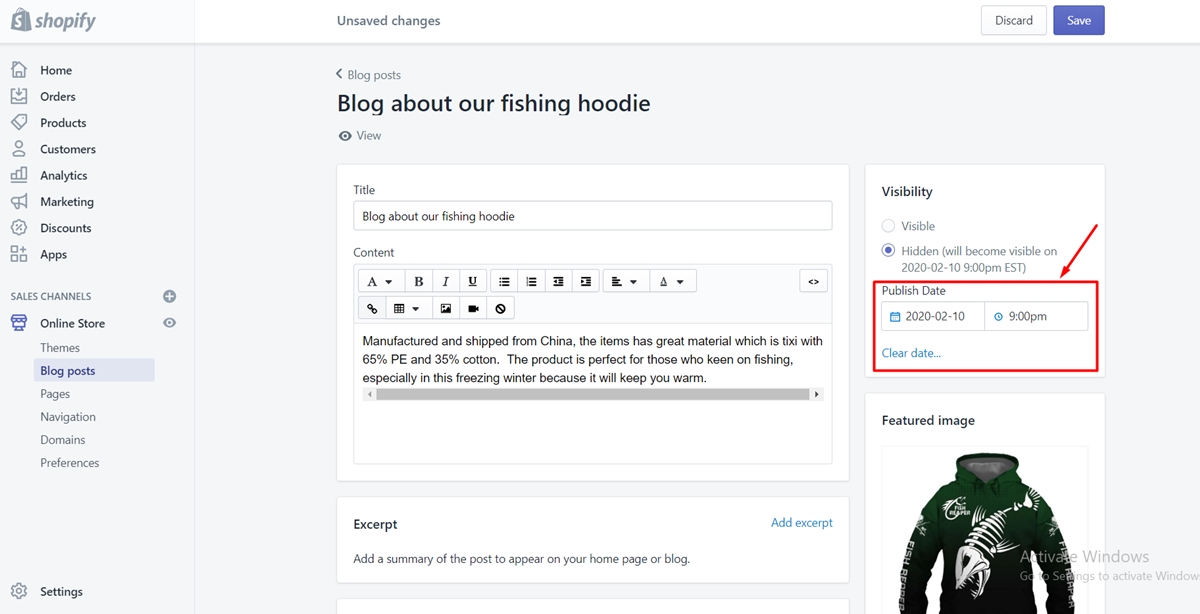
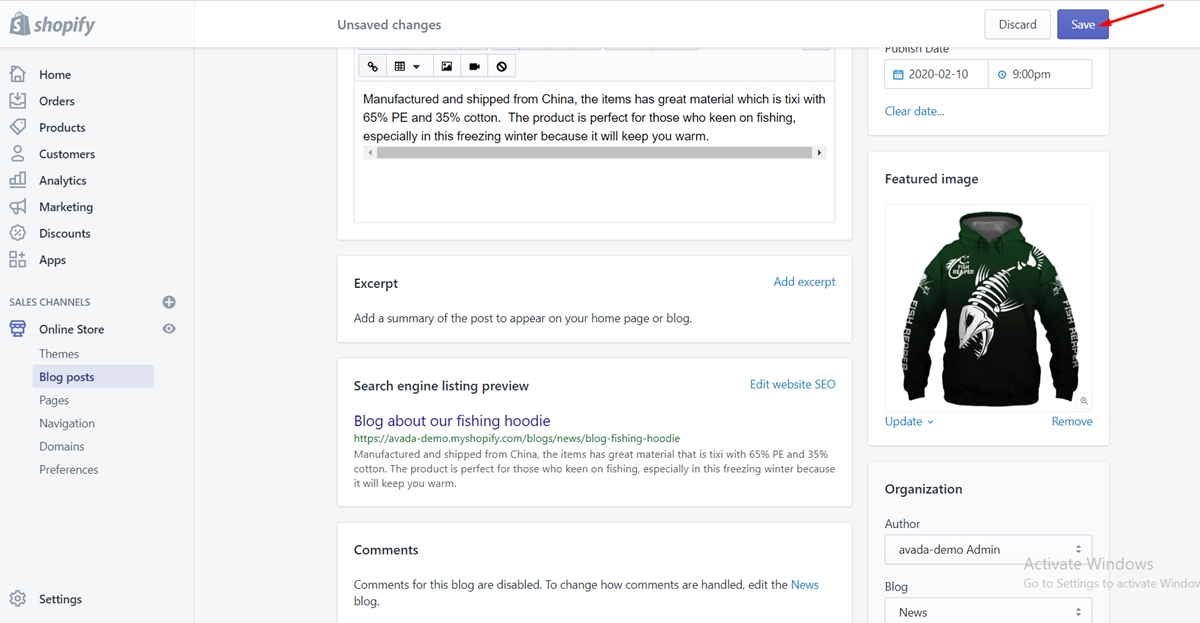
Step 5: Tap on Save
Publish/Unpublish blog posts in bulk
To publish or unpublish multiple blog posts at once and make them visible or hidden on your online store, you can make use of a bulk action:
Step 1: Click Blog Posts
In your Shopify admin, head to the Online Store section, then click Blog Posts.
Step 2: Click on the post
From the Blog posts page, tap on the post that you intend to publish on a precise date.
Step 3: Tap on Actions
Step 4: Choose Publish selected blog posts or Unpublish selected blog posts
Note that unpublishing selected blog posts will not delete the blog posts from Shopify.
Conclusion
Now that you have a better understanding about the importance of adding a blog on your Shopify store and have figured out How to configure Shopify blog settings? We hope that you could manage your online store more effectively.
Furthermore, if you find the creation a customized blog template not as easy as you imagine, you should check out our post: How to Create a New Blog Template on Shopify to work it out.
If you have any questions, feel free to leave a comment below or directly contact us.


