
How to Add & Configure Google Tag Manager for BigCommerce?

Online retailers widely use Google Analytics to monitor visitor details and eCommerce sales. Unfortunately, Google Analytics tends to underreport visitor data and customer purchases, leading to uncertainty on which conversion rates are correct. What happened to those sales?
Thankfully, Google provides an option that can report consumer habits in eCommerce stores more reliably and consistently. Google Tag Manager is free to use and install. You’ll learn how to build a Google Tag Manager account and then how to install Google Tag Manager on your BigCommerce store in this post.
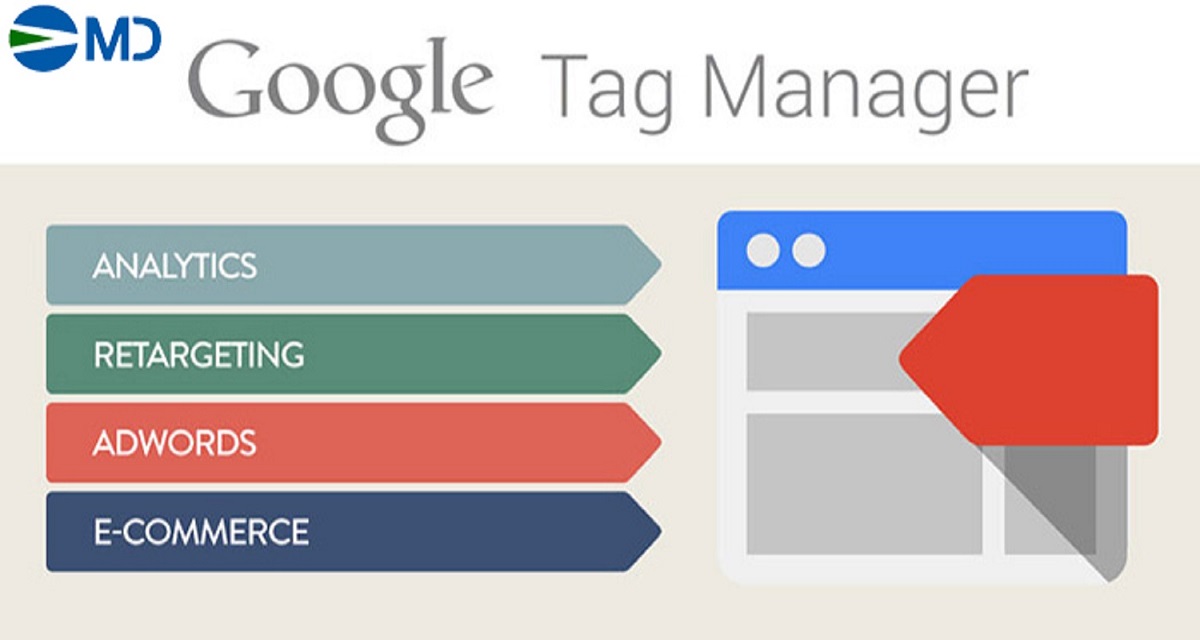
What is Google Tag Manager?
It’s important to note that Google Tag Manager (GTM) is a separate tool that store and manage BigCommerce preview codes and other data. It is not a reporting tool, but it is Google Analytics compatible.
You can configure various triggers associated with different conversion events on your web site when you set up GTM. When such events occur, the GTM code “fires,” the event is recorded, and Google Analytics can be used to monitor it. For example, after setting up Google Tag Manager, you create a trigger for a customer to opt into your email list by clicking a call to action. When a customer performs the desired action, Google Analytics records the event as a conversion/goal.
In GTM, you can monitor almost any type of activity, including:
- Link clicks
- File downloads
- Adding products to the cart
- Removing products from the cart
- Form or cart abandonment
- Video plays and more
Tracking which article elements get the most conversion or longest time on page
You can track eCommerce in Google Analytics, but GTM gives you a lot more flexibility if you want to track a lot of different events to better understand the activity that leads to conversions and stuff like cart abandonment.

Functions of Google Tag Manager
Let’s explore some basic BigCommerce features when applying the Google Tag Manager into your BigCommerce store:
Web API
To handle tags on your site (such as calculation and marketing optimization JavaScript tags), use Google Tag Manager. You use the GTM user interface to add and update Google Ads, Google Analytics, Floodlight, and non-Google tags without having to change your site code. This minimizes errors and helps you easily deploy tags on your website.
Mobile APIs
You can use Google Tag Manager to handle analytics and advertising resources in your apps without rebuilding and resubmitting the apps to app stores.
Templates
In Google Tag Manager, you can build your own tag and variable templates. Make templates available worldwide by submitting them to the Community Template Gallery.
REST API
An approved user can access Google Tag Manager configuration data using the Google Tag Manager API. Accounts, containers and container versions, tags, rules, triggers, variables, and user permissions can all be managed using the BigCommerce API.
Resources
For more detail on Google Tag Manager’s features and benefits:
- Go to the Google Tag Manager product page to learn more.
- The Google Tag Manager technical factsheet can be found here.
- Go to the Google Tag Manager support page for more details.
Server-side tagging
Tag instrumentation can be moved from your website or app to the cloud using server-side tagging. Server-side tagging will help you boost your website’s or mobile app’s efficiency and protection.
Time to use Google Tag Manager
The most significant advantage of Google Tag Manager is that it allows advertisers to enforce tags without having to rely on web developers. Since developers are normally preoccupied with other high-priority tasks, tagging often falls to the wayside.
However, since Google Tag Manager allows advertisers to avoid touching the source code, they can easily add and change tags on their own. This is a significant benefit if, for example, you only need to collect data from a tag for a short period of time. Without Google Tag Manager, it’s likely that adding the tag will take longer than it would live for.
Setting up your accounts
To begin, you’ll need to sign up for a Google Tag Manager account:
- Go to https://tagmanager.google.com to get started.
- Build a new Google account or sign in to an existing one.
- Create a new GTM account and fill out the form with your account/business name, country, and click continue.
- Put the URL for your online store in the Google Tag Manager container’s name, select “Web,” and click “Create.”
You must adhere to Google’s Terms of Service after clicking build. After clicking “accept,” you’ll be taken to a window where you can “Install Google Tracking Manager” and copy the code shown. This snippet of code is a script that must be installed in your BigCommerce shop.
You’ll notice two fields to copy; the first instructs you to copy the code and paste it into your site’s head> section. The code should be pasted after the opening of the body> tag on your web, according to the second box. We’re just going to deal with the first box’s code.

Adding Google Tag Manager Code to BigCommerce
You can add the GTM code snippet to your BigCommerce store in two ways. The simplest method is to copy the GTM code and paste it into your BigCommerce menu’s Google Analytics area. This can be accomplished by:
- Access your BigCommerce dashboard
- Go to the Advanced Settings tab.
- Choose Web Analytics.
- Go to the Google Analytics section.
- Fill in the text box with your GTM code.
- Save the file.
Alternatively, you can manually insert the code inside the head>/head> tags within the template files. This is probably the best way to ensure that the code is activated correctly for each page that loads on your site. This can be accomplished by:
Accessing your BigCommerce dashboard
- Select Edit Theme Files > Templates > Layout > base.html from the drop-down menu.
- Paste the GTM code as high as possible within the head> tags.
Collecting data with Google Tag Manager
Except for the actual customer transaction, Google Tag Manager will help you monitor a number of events on your store with ease. Google Tag Manager collects data by building a data layer and using the data layer. As a result, in order for it to register, you’ll need to push transaction data into the data layer.
Don’t worry, it won’t send any confidential customer information. In reality, it will only send the data that you specify. You can paste the javascript code below before the Google Tag Manager code you copied and pasted earlier:
(Source: Shogun)
Be sure to save your changes in BigCommerce once you’ve installed the script.
Setting up the transaction tag in Google Tag Manager
You’ll need to build the necessary tag in your GTM to monitor transaction data. Now you can build your first tag by returning to your Google Tag Manager dashboard.
Go to the “Workspace” tab on your GTM dashboard.
Select “Add a New Tag” from the drop-down menu.
Select “Tag Configuration” from the drop-down menu.
For the tag form, choose “Universal Analytics.”
Pick “Transaction” from the Track Type dropdown.
Select “New Variable” from the Google Analytics Settings dropdown menu.
In the “Tracking ID” area, type your Google Analytics tracking ID and click “Save.”
Select “Triggering” from the drop-down menu.
To add a new trigger, click the “+” symbol.
The trigger’s name should be “Purchase Complete.”
Choose “custom case” as the trigger type under “Trigger Configuration.”
In the “Event Name” field, type “transaction success.”
After you’ve finished setting up the new tag, save your changes and publish them in your Google Tag Manager dashboard.
Blocking duplicate transactions
One of the key reasons we use Google Tag Manager is to prevent Google Analytics from recording duplicate transactions. If you’ve ever tried to use Google Analytics for eCommerce monitoring, you’ll note that Google Analytics shows duplicate transactions. Both of your data will be unreliable as a result, and will not fit the data stored on your internal server.
Duplicate transactions can occur while using Google Tag Manager for eCommerce monitoring, but we can easily block duplicate transactions using Google Tag Manager by generating a cookie.

Testing eCommerce tracking
Let’s check that the eCommerce monitoring is working properly now. To begin, open Google Tag Manager’s preview mode. Next, open your website in a new tab. Now, use your own credit card to make a test purchase. If you choose, you can use a 100 percent discount coupon; otherwise, choose the easier alternative.
Now you have to wait. After an hour:
-
- Log into your Google Analytics account.
-
- Choose a test view.
-
- Set the date range to include today by going to Conversion » Ecommerce » Overview.
You’re ready to post the tag manager changes if you can see the transaction details for the product you bought. If you still can’t see the eCommerce data, double-check that you’ve done everything correctly and wait a little longer.
Create a new view and call it “Master View” after you’ve verified the eCommerce data. Use this view for data analysis by enabling eCommerce monitoring, selecting a currency, and excluding bot traffic.

Conclusion
Even though using Google Analytics to set up eCommerce monitoring in Bigcommerce is feasible, it isn’t always enough to fulfill your needs. That’s when Google Tag Manager comes in handy. If you’re not familiar with Google Tag Manager, you can learn more about it by reading this post.


