
How to Integrate WooCommerce with POS

When you operate a WooCommerce shop, you almost always have a physical store as well as an online store. This way, you’ll be able to appeal to a wider range of consumers and increase your conversion rates. Yet, the downside of this is that inventory management presents difficulty since it must be kept coordinated at all times. If you are having trouble dealing with the same problem, WooCommerce POS integration seems to be the most fantastic solution out of all.
There will be a section introducing the benefits of using a POS system along with a tutorial on How to set up WooCommerce POS integration. These stages may vary depending on the plugin you use, but the procedure is the same in general. Keep reading to find out more! That is also the main topic of our article today.
The importance of setting up a POS system for your online store
A POS, or Point of Sale system, is a critical part of building a complete online business. Your checkout procedure will be considerably sped up with the use of a POS system. You can easily locate items, assign orders to customers, and apply discounts with minimal effort if you have a consolidated database of your products, pricing, and customers.
Every online merchant understands that no customers would want to spend their time waiting for a transaction to be processed. The more time they waste, the higher chance they will not come back to your store in the future. For this reason, using a good POS system can help decrease the rate of leaving without a purchase. Other extraordinary benefits that you can gain while experiencing WooCommerce POS are:
- Increase customer loyalty: By including membership or gift certificate programs into your POS, you can ensure that your clients are rewarded for every transaction they make without adding to your staff’s workload.
- Avoid unwanted errors: A POS system guarantees that you always have the right product SKU, pricing that is consistent throughout your system, and the correct order amount. All sales order information is saved in your POS system, making it simple to go back and examine it if required.
- Providing discounts: You may create variable promos based on products, order amount, membership tier, and more, depending on your POS capabilities. The POS can then automatically apply these incentives to any sales, saving you the time and effort of manually calculating everything.
- Money-saving: Inaccurate inventory is one of the most serious issues that many businesses face. If you can’t get to the root of the problem, these losses may be excruciating to bear. Your finance department will have easy access to information for accounting operations if your POS is linked with your accounting software. At the conclusion of each day and month, you can see how much money you have in your cash drawer, as well as your profit and cost.
How to integrate WooCommerce with POS
Now that you have understood how a WooCommerce POS integration works and its advantageous points. It’s time to take a look at the setting up phase.
We will be dividing the tutorial into small basic steps so that you can catch up and easily compare the results for each one. By doing this, hopefully, you will save up as much time as possible.
No more beating around the bush, let’s get right into it!
Step 1: Install the plugin
First of all, you need to download a WooCommerce plugin called “FooSales” by clicking on the “Buy Now” button in this link:
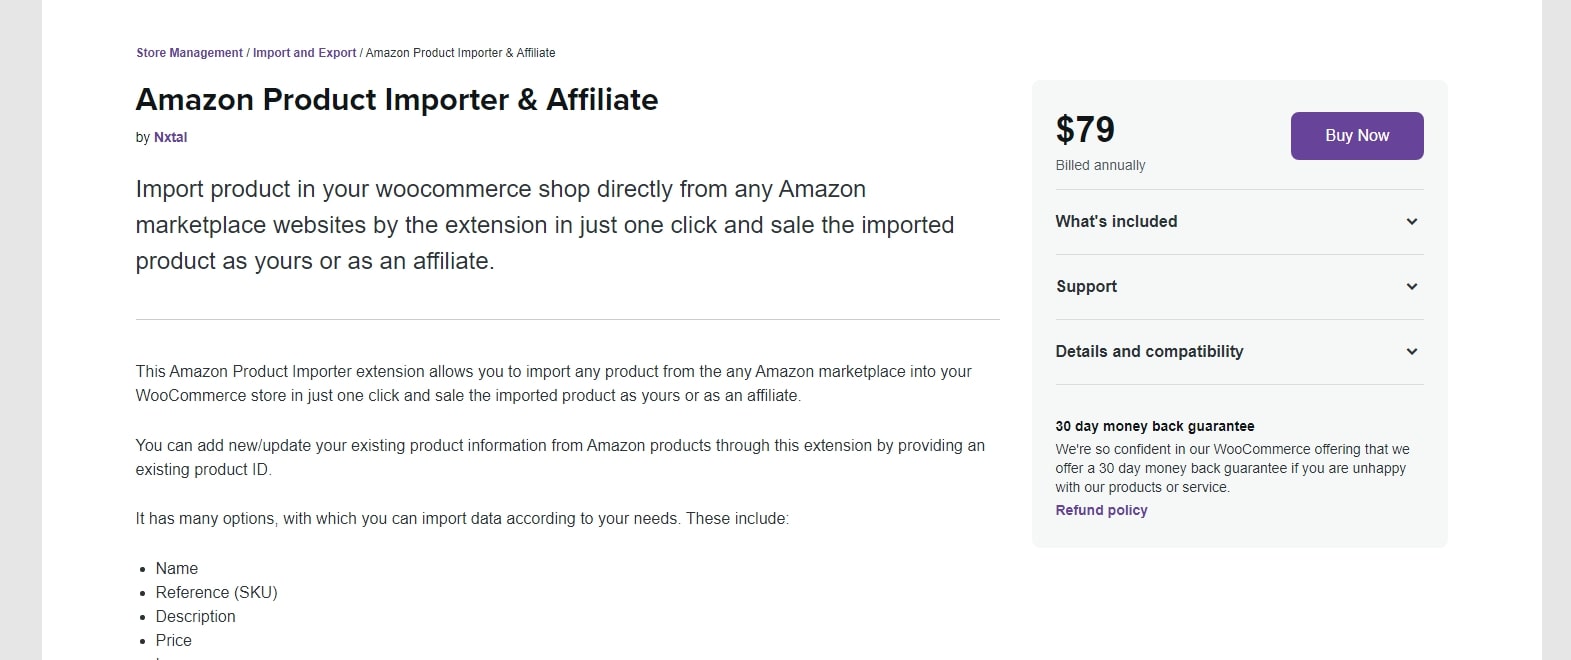
Feel free to choose a different plugin if you want, or pick out the most suitable for your website in our last section of the article. There will be a .zip file downloaded into your device, select “Choose File” when entering the WooCommerce > Plugins > Add New page to upload the file:

After that, continuously “Install Now” and “Activate” the extension to finish the installation step.
Step 2: Configurations
At your WooCommerce Dashboard, hover the mouse over Settings > Advanced > FooSales for the WooCommerce section located on the left-hand sidebar of the screen. As you can see in the screenshot below, there are a lot of fields for you to fill in:
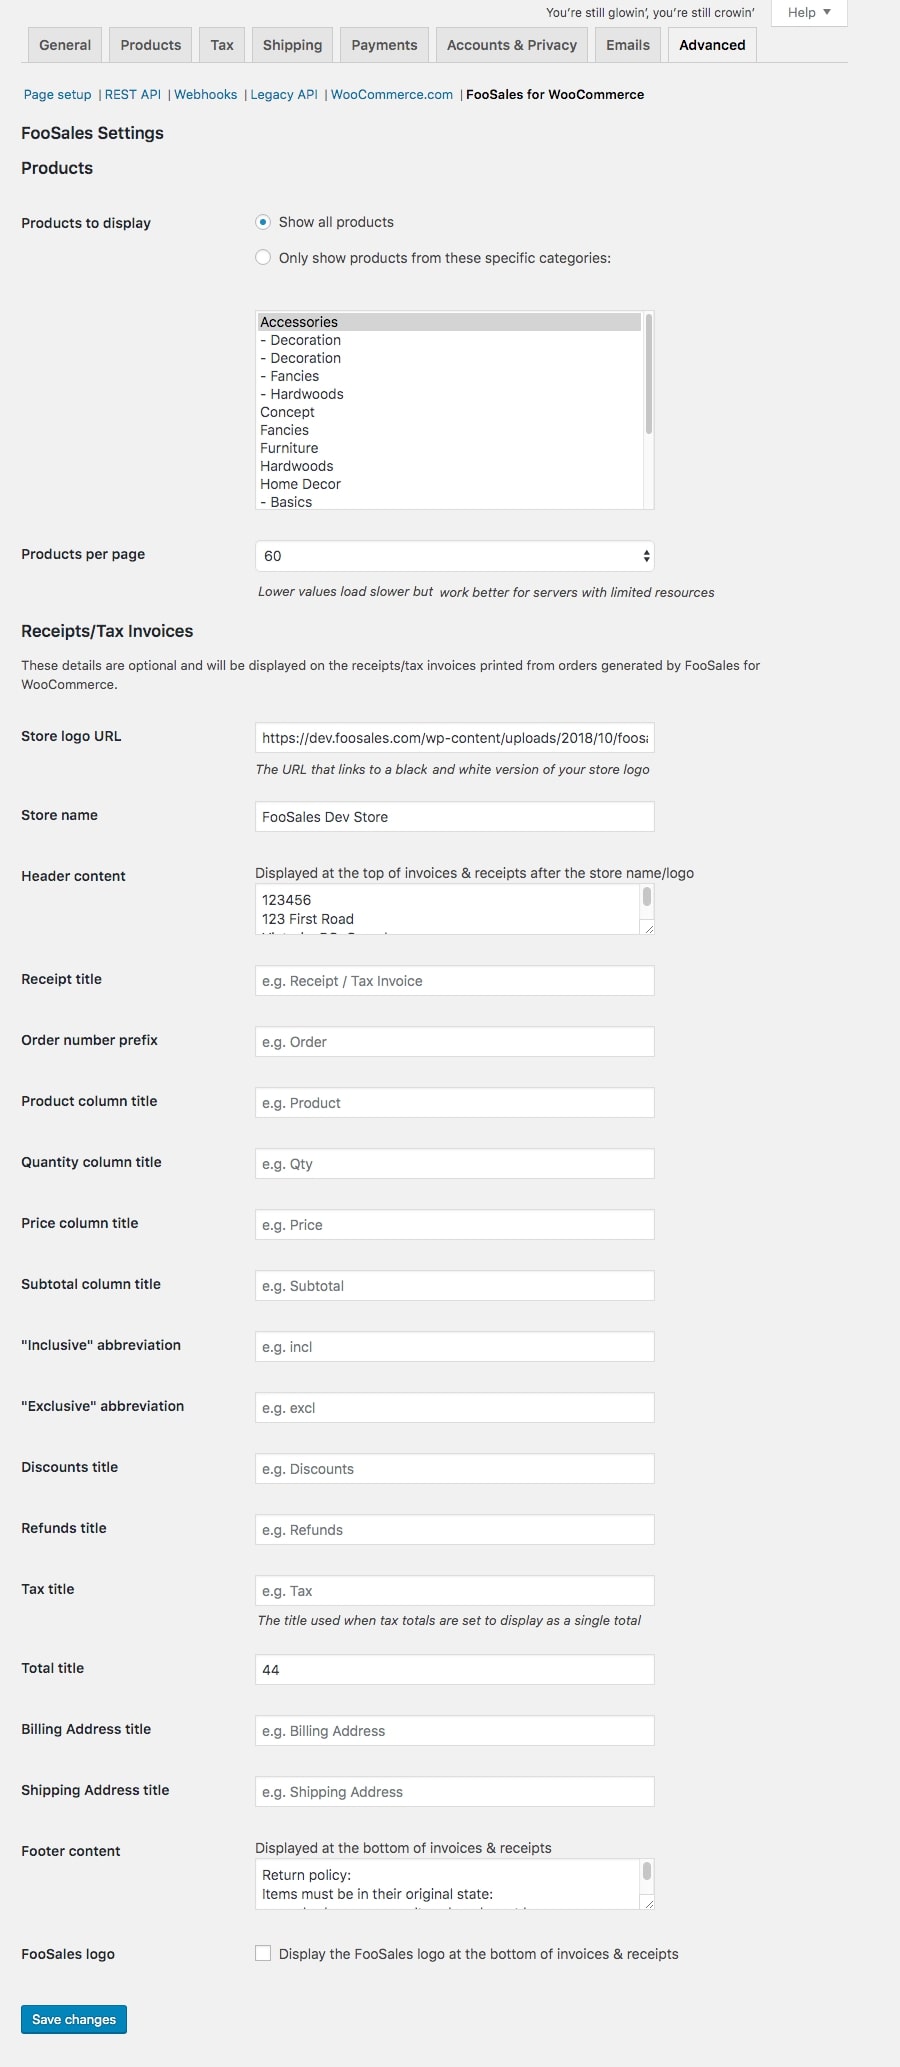
- Products to display: Select whether to show goods from particular categories or all products.
- Products per page: Set the number of items that will be shown on each page.
- Receipts/Tax invoices: These data are optional, however, they will appear on the receipts/tax invoices produced by FooSales for WooCommerce orders. There are a number of optional text entries in the Receipts/Tax Invoices section that enable you to modify the words used on Receipts/Tax Invoices.
Please remember to “Save changes” button before moving on to the next step!
Step 3: Set up tax rules
The tax rate applied to order is decided by the customer’s location and the tax rate settings in WooCommerce. If you specify a tax rate for your state in WooCommerce > Settings > Tax > Standard Rate, FooSales for WooCommerce will utilize it. If your state’s tax rate isn’t selected, no tax will be applied.
Additionally, FooSales for WooCommerce will check at your store’s address if a visitor customer completes an order in your WooCommerce > General > Settings page.
Step 4: Connecting with your Square payment account (optional)
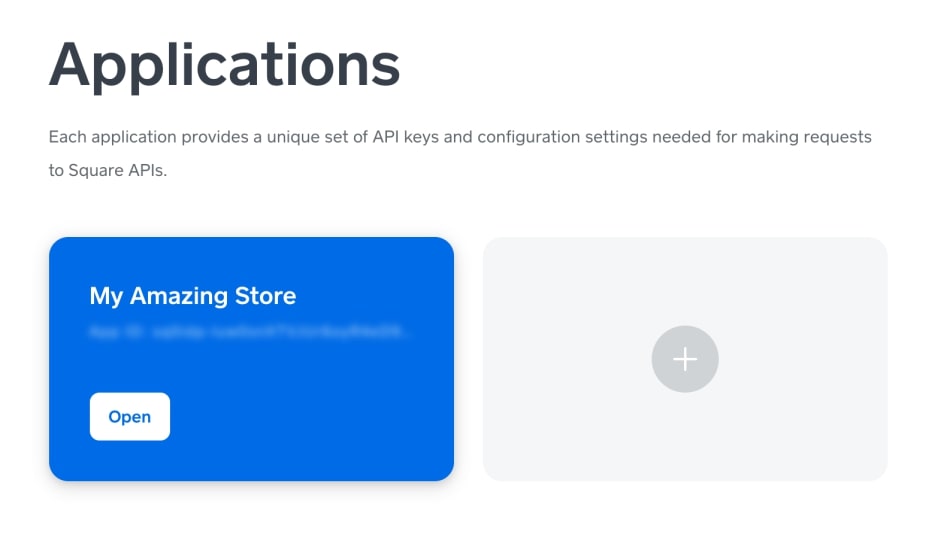
You can choose to connect your WooCommerce POS with the Square payment system for convenience purposes. This is only optional because, besides Square, Foosales for WooCommerce still support multiple card payment options. To make the integration available, quickly go to your Square Developer Dashboard and click on the “New Application/ Create your first Application” or “Open” an existing one:
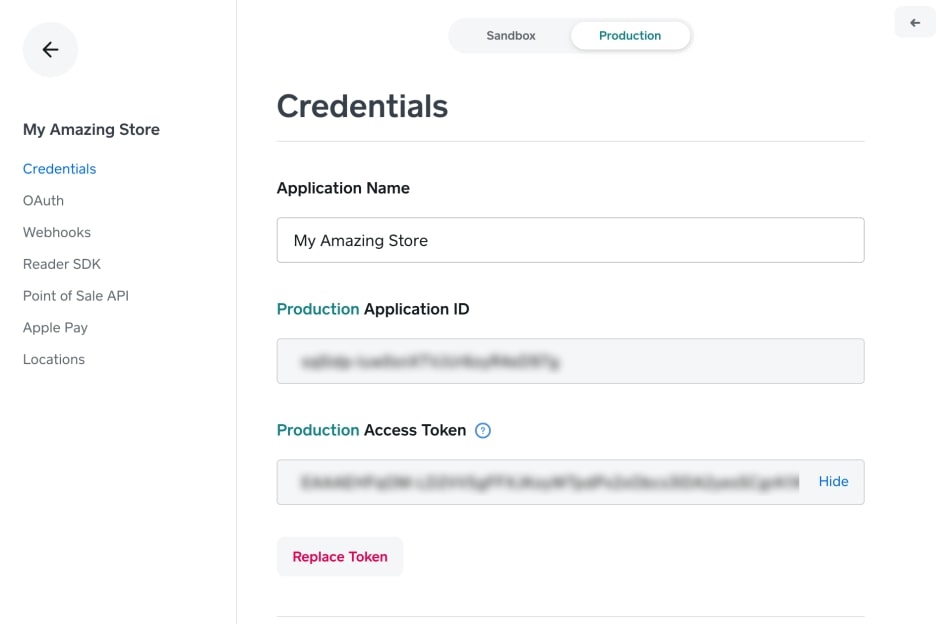
After that, launch your newly created or old application. If you build a new app, it will be configured to utilize the most recent version of the Square production API by default. For security and functionality reasons, it is advised that any current application be configured to utilize the most recent version of the Square production API. By scrolling to the bottom of the “Credentials’’ page, you can ensure that your application’s production API version is set to the most recent version:
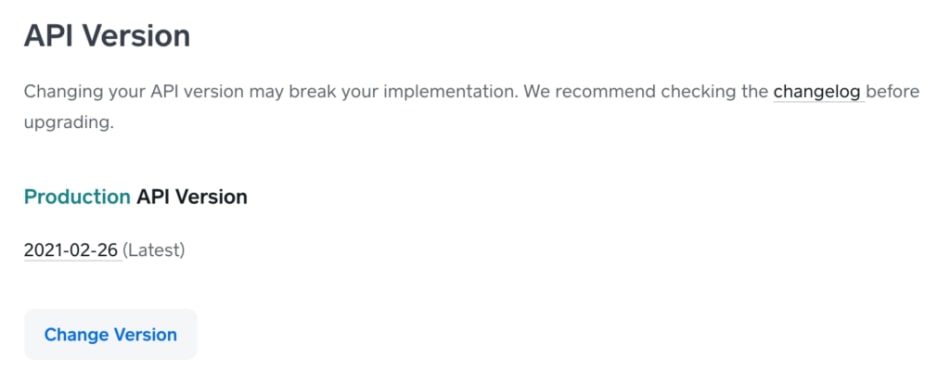
Suppose you’re utilizing an existing application and already have an integration set up using an earlier version of the Square production API, and you’re concerned that upgrading the API version may disrupt your present implementation. In that case, we recommend that you build a new application for your FooSales integration.
Your unique Application ID and Access Token may be found by going to the “Production” tab. These two keys must be entered in the FooSales WordPress plugin settings:
Then, paste the information down when you open the FooSales plugin settings > Square integration tab into the following boxes:
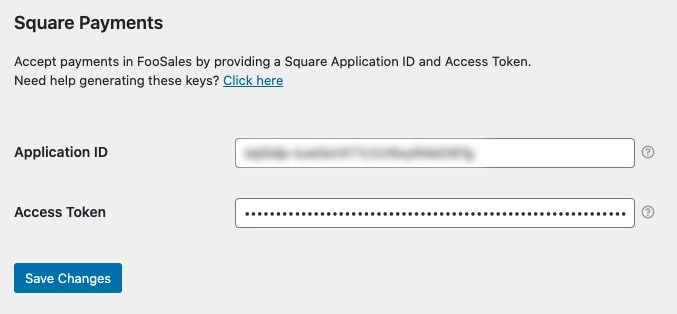
Don’t forget to “Save changes”, too!
Step 5: Printing the invoices
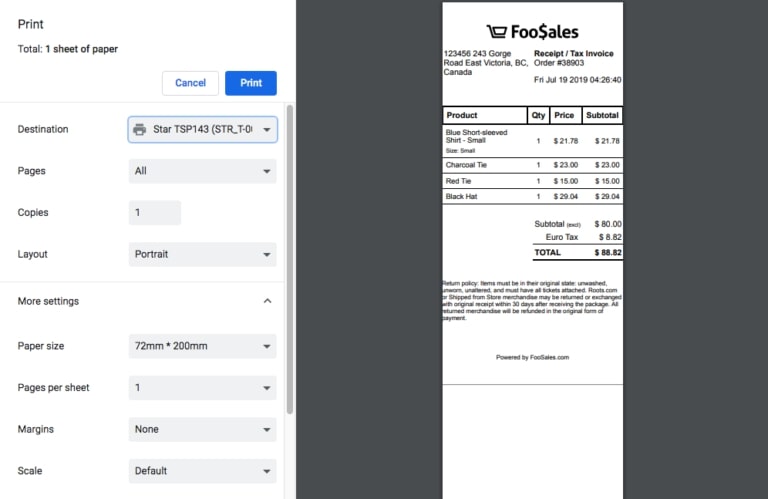
You may use your normal print settings to print invoices in Letter/A4 format on common desktop printers. Here are the procedures for setting and printing your receipts if you have a thermal receipt printer:
- Select a receipt printer.
- Print the whole document.
- Choose a portrait layout.
- Choose the width of your receipt paper. The paper length may be the longest choice since the printer will print until it reaches the bottom of the receipt and then cut the paper automatically.
- Set the page count per sheet to one.
- Headers and footers should be disabled.
- With the margin set to “default” Google Chrome will display the checkbox.
- Set the header and footer choices to “blank” in Mozilla Firefox.
- Uncheck the header and footer option in Apple Safari.
- Set the margins to “none”.
- Set the scale to “default” or 100 percent.
This is how your screen will look like when previewing the printing:
Step 6: Customize your invoices
Locate your FooSales > Settings in the sidebar menu and all online store owners will be capable of modifying the texts for these sections of the receipts and invoices:
| Store name | Order number prefix | Price column title |
| Header content | Product column title | Subtotal column title |
| Receipt title | Quantity column title | “Inclusive” abbreviation |
| “Exclusive” abbreviation | Tax title | Billing Address title |
| Discounts title | Total title | Shipping Address title |
| Refunds title | Payment Method title | Footer content |
Top 4 best plugins for WooCommerce POS integration
If you have a WooCommerce site, you can use the finest WooCommerce POS plugin to synchronize all product billing and stock calculation data. To help you fasten this WooCommerce POS integrating process, we have done research on the top 3 best plugins you can not miss out on.
These extensions have all been tested for their functionality, payment options as well as the cost and, most importantly, customer satisfaction. Therefore, there is no need to be doubting their reputation.
ConnectPOS

ConnectPOS is a prime global award-winning omnichannel solution that makes in-store operation simple and digitized. It empowers retailers to centralize data in one platform, manage multiple sales touchpoints, and provide impressive inventory control. ConnectPOS offers an easy-to-use and tailor-made system for businesses at all scales, especially for retail chains and enterprises. Being used in 150 countries, ConnectPOS has contributed to the success of ASUS, Eyewa, SCG, and thousands of brands in the retail industry. Other outstanding features of ConnectPOS are:
- Work with PC, tablet, mobile
- Compatible with iOS, Android, ChromeOS, macOS
- Loyalty program and Gift cards
- Tax management
- Payment gateways integrations
- Real-time report and forecast”
Point of Sale for WooCommerce
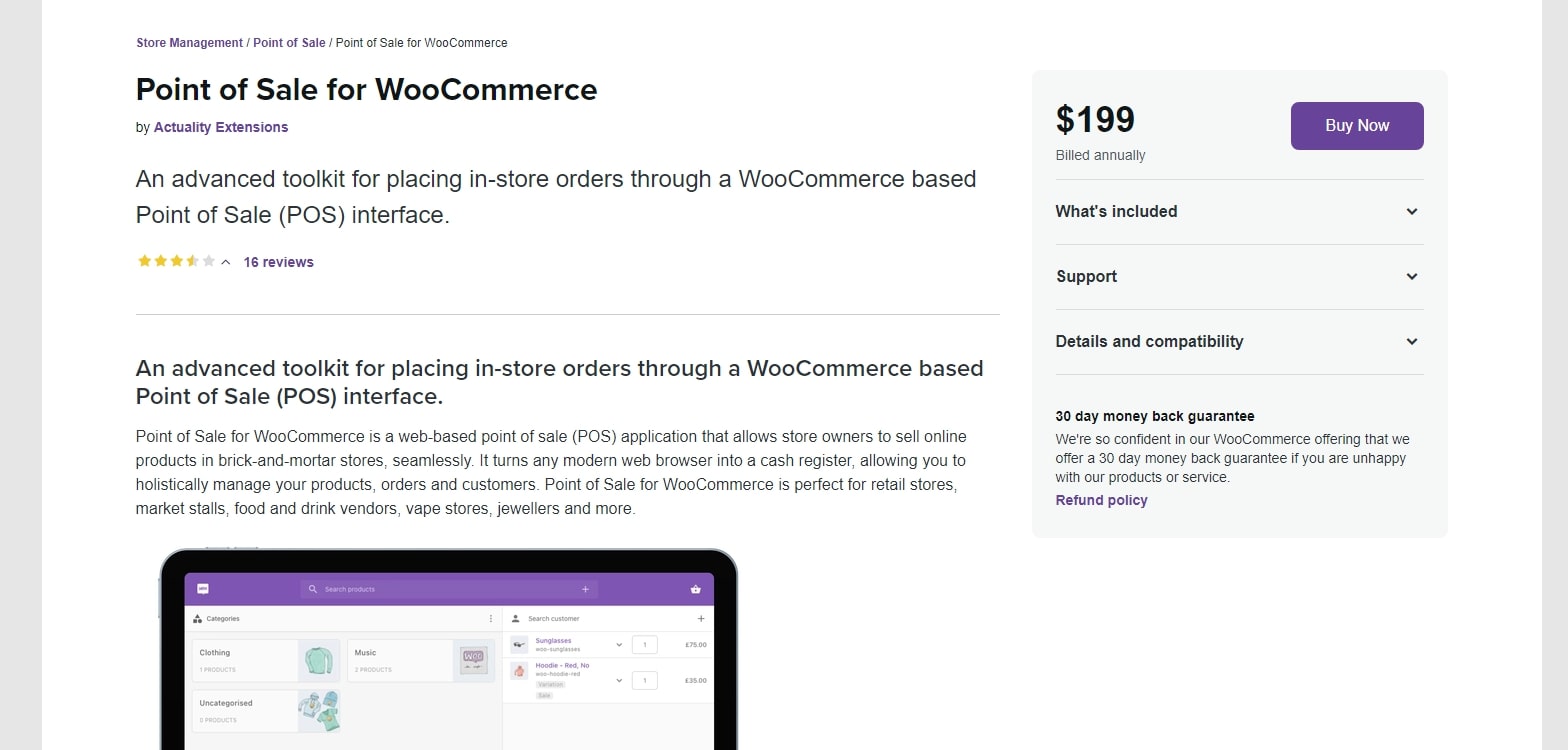
With the Point of Sale for WooCommerce plugin, managing various retail channels will be a snap. You can simply sell goods online as if they were in a real shop, with stock, orders, and customers all in sync. The plugin allows you to easily handle numerous outlets and registers. It also allows you to add items that are only accessible at the POS.
With only $199, these are the features you can get while using Point of Sale for WooCommerce:
- Multiple POS setups make it versatile.
- Sell across physical and online retail platforms with ease.
- Custom items may be added via the point-of-sale system.
- Third-party card terminals may be used to accept payments.
- Calculate taxes automatically.
- Each shop department’s POS experience may be customized.
wePOS
wePOS is a WooCommerce POS plugin that is rapidly gaining popularity. If you are managing a WooCommerce website, integrating a smart solution with wePOS is as simple as clicking a few buttons. It streamlines the process of keeping track of inventories and efficiently handling orders.
You can improve all of the POS features on your WooCommerce store and quickly handle all orders and transactions within one click only. As a result, your company’s growth and customer experience will be boosted.
Other outstanding features of wePOS are:
- Special points for WooCommerce
- Capable of handling several orders at once
- Integrate your online and physical retail stores with ease.
- Super responsive and adaptable to any device size
- Advanced user interface design
Square for WooCommerce
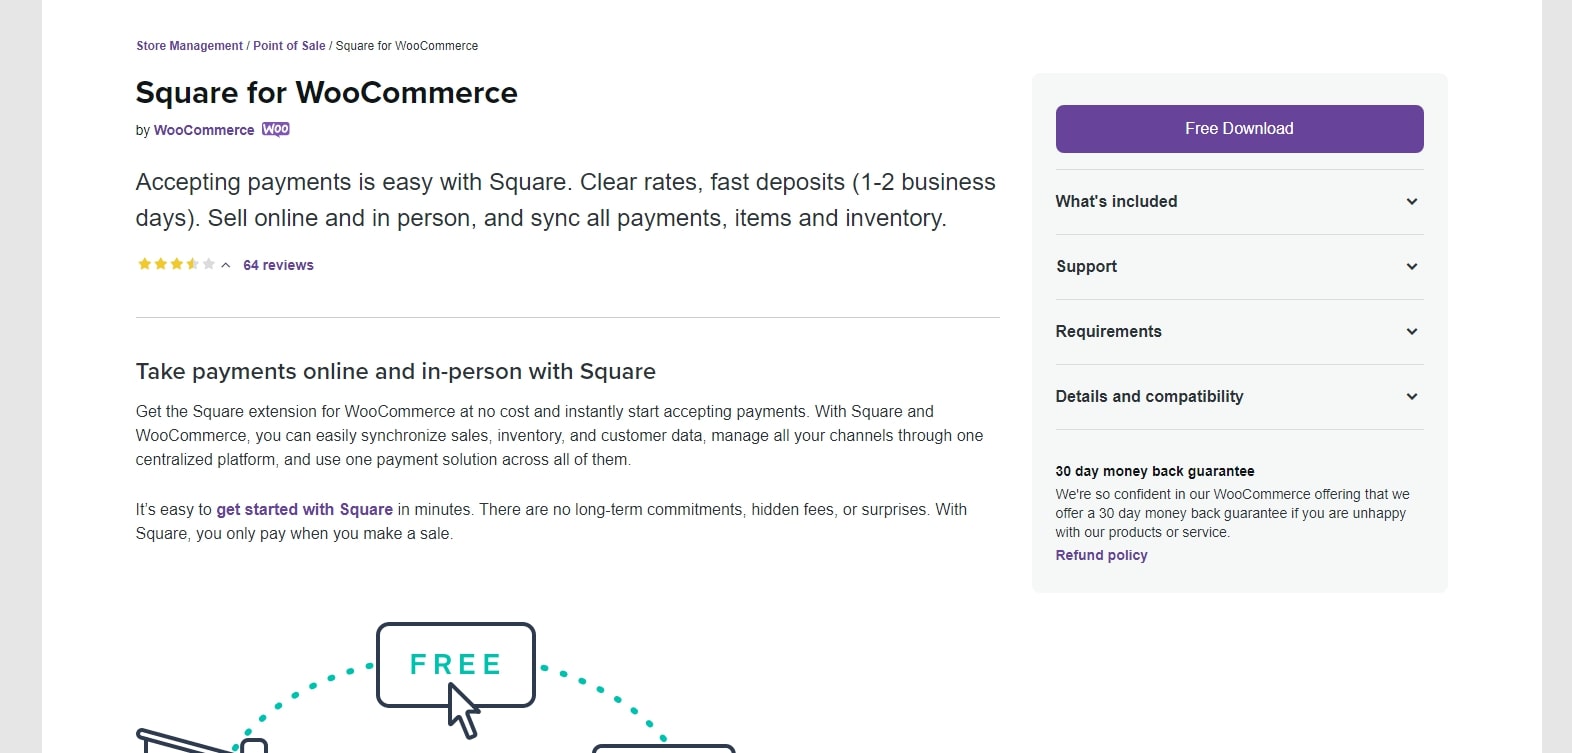
Square for WooCommerce is a cloud-based point-of-sale system that can be connected into your WooCommerce shop to provide retail point-of-sale capabilities. It enables you to link WooCommerce and Square POS to sync inventory and product data. This plugin will automatically update and synchronize all changes in your inventory from Square to WooCommerce once you install it in your WooCommerce shop.
This plugin comes in with a much lower price - $79 and you will be access to a wide range of astonishing features, including:
- On a single platform, track your sales and listings across all applications.
- Chargeback protection is available.
- All major debit and credit cards are accepted for online payments.
- Funds are deposited quickly.
Conclusion
To sum up, in today’s competitive eCommerce environment, integrating various sales channels is a must. That’s where the idea of linking your WooCommerce shop to one or more of your physical stores becomes attractive. Due to this, WooCommerce POS integration will become more necessary than ever. It will help online retailers reduce their time and money in managing such an enormous amount of orders and customers simultaneously.
We hope our topic has answered your question on How to set up WooCommerce POS integration and upgrade your online business to bring back the best shopping experience. Eventually, this contributes significantly to the rise of your conversion rate and annual revenues.


