
How to Customize a Product Page in WooCommerce Using Beaver Builder

Managing a WooCommerce store may be difficult, particularly if you are not a coder. If you’re looking for a way to personalize your WooCommerce product pages further to meet your specific needs, there’s a powerful plugin called Beaver Themer that can let you create your own site in a matter of seconds.
With this in mind, in today’s article, we will give you detailed instructions on how to customize a product page in WooCommerce using Beaver Themer.
Beaver Themer Overview
The Beaver Themer add-on plugin utilizes Beaver Builder to build layouts that can be applied all across the page other than the content area.
Beaver Themer gives Beaver Builder a lot of power in a variety of ways:
-
Beaver Themer broadens Beaver Builder’s layout options to include pages or parts of sites that are typically limited by your theme.
-
Beaver Themer efficiently produces “theme templates” that you can apply to your entire site or to specific areas. This means you can use a single layout (header, footer, banner, etc.) for numerous articles, pages, or WooCommerce products.
-
Beaver Themer enhances Beaver Builder with two essential features: field connections and conditional logic, both of which include WooCommerce-specific settings.
-
Beaver Themer offers a variety of WooCommerce-specific modules that allow you to use WooCommerce layouts with complete WooCommerce capabilities.
-
You can customize your WooCommerce product pages with the familiar and user-friendly Beaver Builder drag-and-drop interface. Also, you won’t have to modify any lines of code in your theme.
Beaver Themer is reasonably charged at $147 per year (with a 40% discount every year upon autorenewal).
It’s worth noting that Beaver Themer is only available with the premium versions of Beaver Builder, which start at $99 per year.
How to Customize a Product Page in WooCommerce Using Beaver Themer
In this part, we will show you how to customize a WooCommerce product page layout using the plugin Beaver Themer.
Step 1: Set up Beaver Builder and Beaver Themer
Apart from having the WooCommerce plugin set up, you need to purchase, download, and install any premium version of the Beaver Builder plugin and the Beaver Themer plugin.
Step 2: Add a new Themer layout
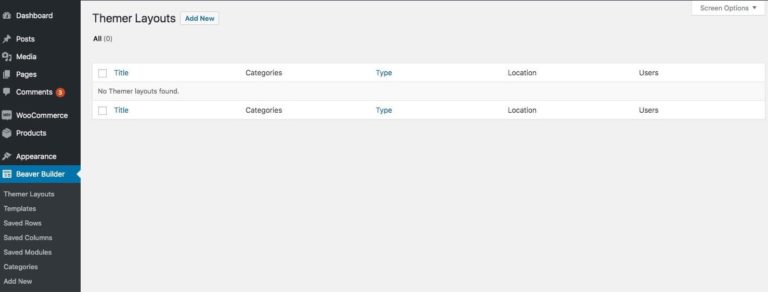
Here we need to develop a Themer layout to display a single product. From the WordPress admin sidebar, go to Beaver Builder > Themer Layouts, then click the Add New button at the top of the page:
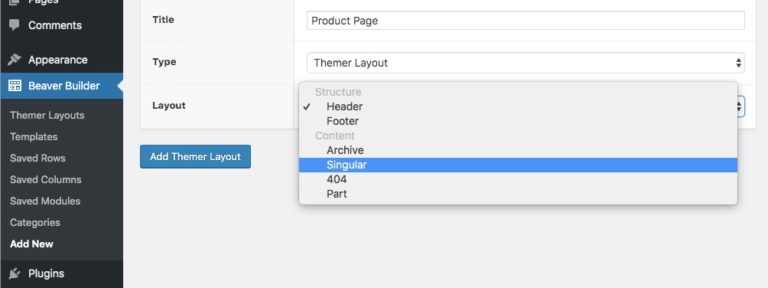
In the Layout section, give your layout a name and click on Singular, which applies to any sort of single post. After that, click on the button Add Themer Layout.
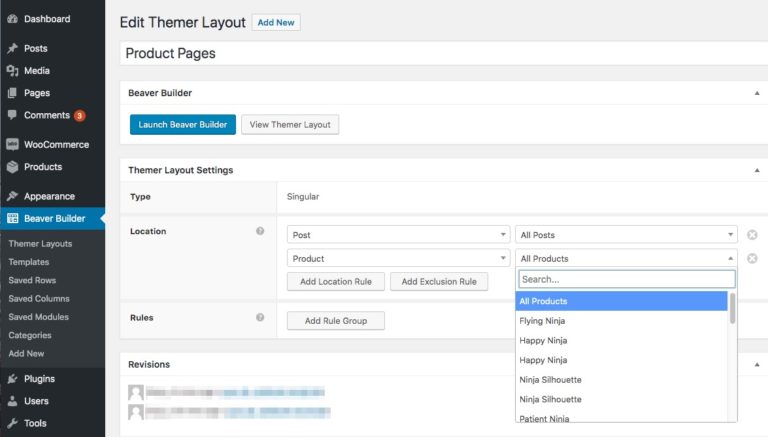
Now we need to take this layout and apply it to each product page. To do that, at the field Location, you need to choose Product and All Products.
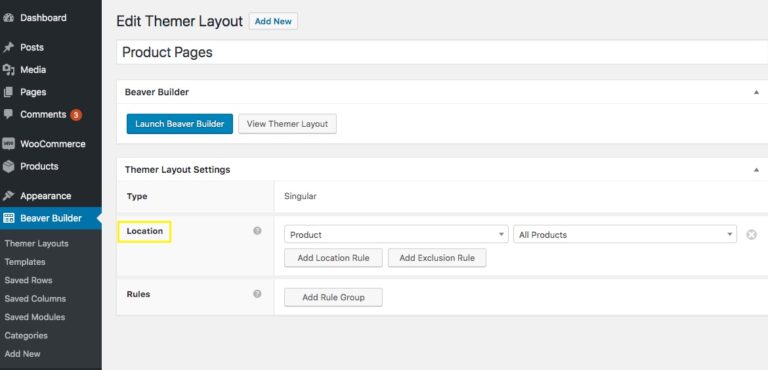
When you’ve finished choosing a location, click Update.
Step 3: Choose the Template option from the Themer menu
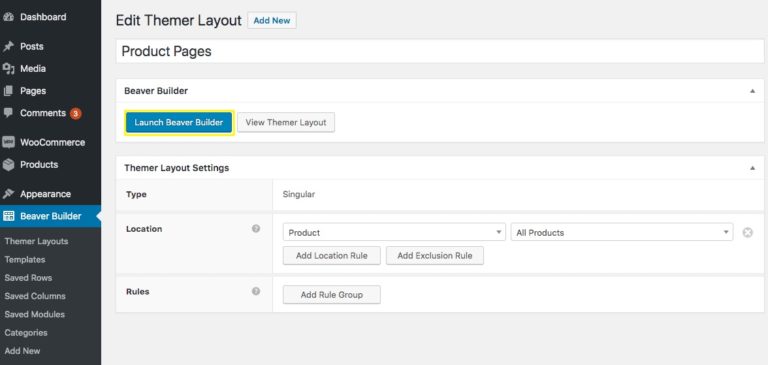
To access your layout in Beaver Builder, click on the button Launch Beaver Builder:
The first layout is more suited to a post than a product page. Therefore, to modify this, you have to click the plus (+) icon in the upper right corner of the screen to access the Content panel.
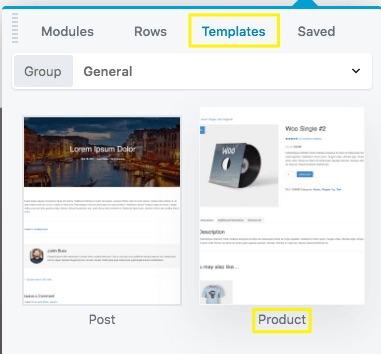
Then, choose Templates, and the Product template. Following that, decide to replace the existing template.
You can select a specific product page to preview as you build your layout by clicking Preview in the editor’s top bar.

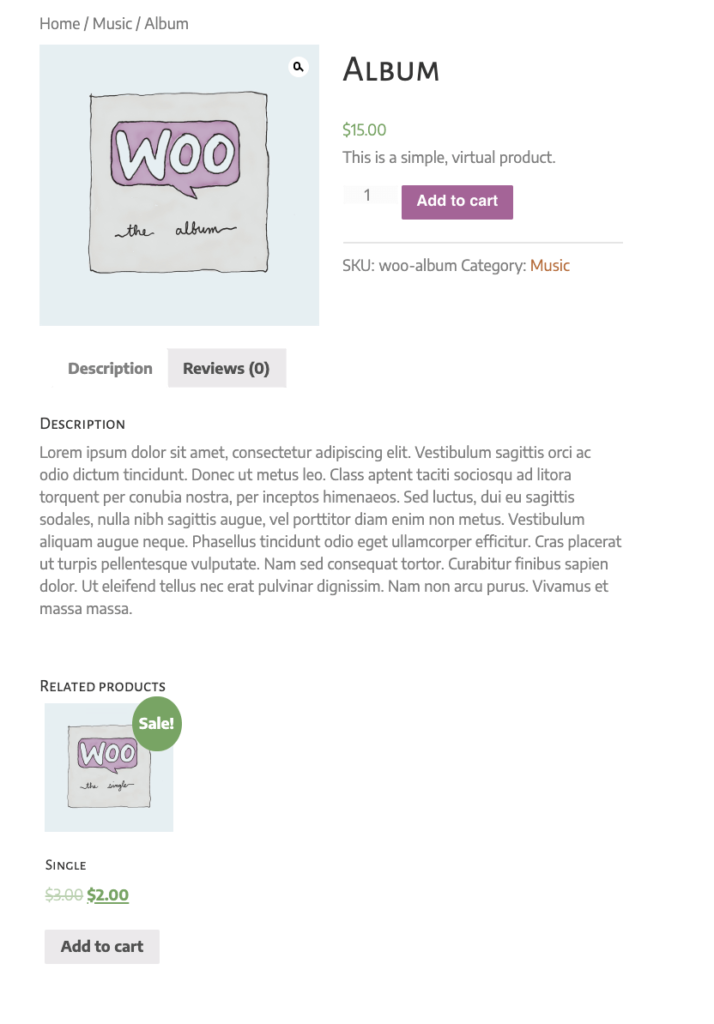
Although the design may not precisely match your plan, many of the unique Themer WooCommerce plugins are already included in the template with their attribute connections in place, allowing you to rearrange and customize the modules on the page rather than starting from scratch.
With this in mind, let’s move on step 4.
Step 4: Customize the layout of your product page
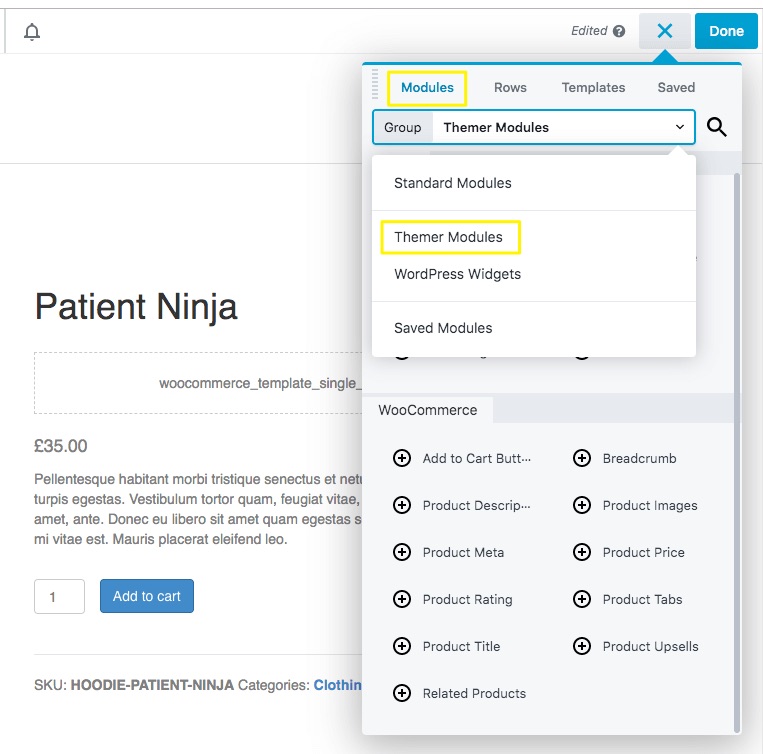
Now you can start moving, removing, and adding rows, columns, and modules to your layout to customize our product page layout. There are several WooCommerce-specific modules to choose from in the Themer modules category, as shown in this screenshot:
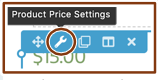
The majority of these modules are already added in the Product template, and you can identify each module by hovering your cursor over its Wrench icon:
There are some WooCommerce modules you might wish to try out on your site to get the most out of Beever Themer. Here is a list of them:
- Product Rating
This module is a useful feature that shows the average customer rating as well as the number of reviews for a certain product. It’s already included in the Product template, and you will find a code placeholder if there aren’t any product ratings yet:

- Add to Cart Button
Because the Add to Cart area of WooCommerce includes product variations and quantities, the Add to Cart Button module also has those settings.
- Related Products
Cross-selling is a great method to boost income, and the Related Products module makes it easy to do so. It shows a list of goods with the same tags and categories.
- Product Upsells
The Product Upsells module displays items that have been designated as “upsells” in your WooCommerce product settings under the title “ You may also like….” This is a simple technique to show your consumers more costly items instead of the item they’re looking at, resulting in more revenue for you.
To show a description, image, price, title, and other data about your goods, you can utilize additional WooCommerce modules from the Themer modules category.
Remember that you aren’t restricted to WooCommerce modules. Any of the Beaver Builder modules can be used in either the Standard modules or Themer modules groups.
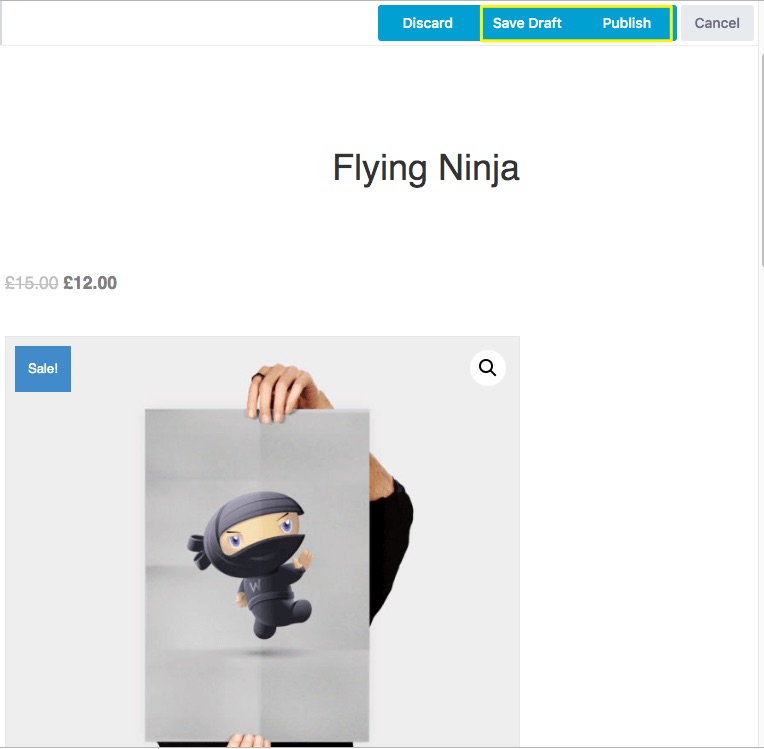
Step 5: Save and publish your page layout
Click the Done button once you’ve completed all of your modifications and adjustments. After that, you can save your layout as a draft or publish it so that it can be used on your product pages:
You can also go back to your Beaver Builder > Themer Layouts menu and optimize the settings for your new layout at any time. This is where you’ll make the modification if you simply want to apply it to some particular items rather than all of your products:
That’s all you need to do to customize a WooCommere product page using Beaver Themer.
Final Words
Beaver Themer provides you with great features to customize your WooCommerce product pages. You can take your product pages to a whole new level by leveraging various WooCommerce modules.
We hope that you can customize your WooCommerce product pages in a simple and quick manner with the help of Beaver Themer.
Please feel free to ask any questions you may have in the comments section below.
Thank you for reading and we’ll see you in the next article.


