
How to Integrate UPS Shipping with WooCommerce

Are you seeking to send products to your customers with UPS in your UPS in your WooCommerce store? If yes, then you have come to the right place. Because in today’s article, we are going to show you How to integrate UPS Shipping with WooCommerce.
Let’s dive right in!
UPS Shipping overview
UPS - United Parcel Service - was founded in 1907 as a messenger service in the United States and has since developed into a multibillion-dollar organization by explicitly focusing on allowing global trade.
The corporation is the world’s largest package delivery corporation and a publicly listed enterprise. So, in a nutshell, UPS is a reliable brand that is a market leader in its field.
UPS Online Shipping allows you to book a shipment from the comfort of your own home and provides freight forwarding and logistical services. It is designed for international transportation of large goods and provides superior tracking, making it an excellent solution for businesses wanting to ship internationally.
Benefits of integrating UPS shipping with WooCommerce
Many business owners use UPS as a shipping provider because of its reliability. When it comes to shipping, it’s one of the most trustworthy companies.
It not only produces shipping labels but also displays real-time shipping rates. Furthermore, it operates globally, so you don’t have to limit your shipment to your own nation. Integrating UPS services with your WooCommerce store will only take a few moments. But it brings great benefits, making shipping easier for both your employees and your customers.
- Provide your consumers with the option of shipping to a UPS Access Point location.
- Set the shipping prices that you prefer.
- Create shipping labels and handle orders in bulk all in one location.
- During the checkout process, display an accurate and scheduled delivery time based on a customizable order cutoff time.
- With real-time tracking information, you can keep your consumers informed and decrease inquiries.
How to Integrate UPS Shipping with WooCommerce
There are 3 main steps you need to follow in order to integrate UPS Shipping with WooCommerce.
Step 1: Install WooCommerce UPS plugin
The first step is to install the WooCommerce UPS plugin that you want.
To do that, you have to:
- Download the plugin.
- Go to Plugins > Add New > Upload Plugin button in your WooCommerce admin panel. Then, select the ZIP file you just downloaded.
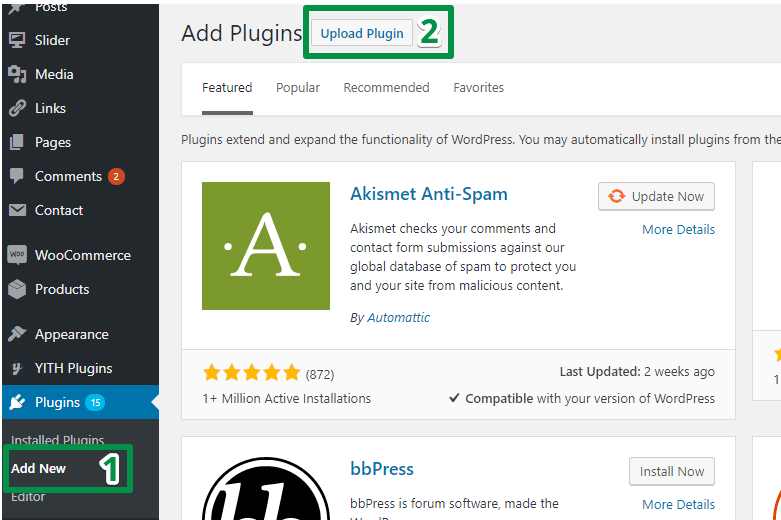
- Click Install Now, and then Activate.
Step 2: API and Debug
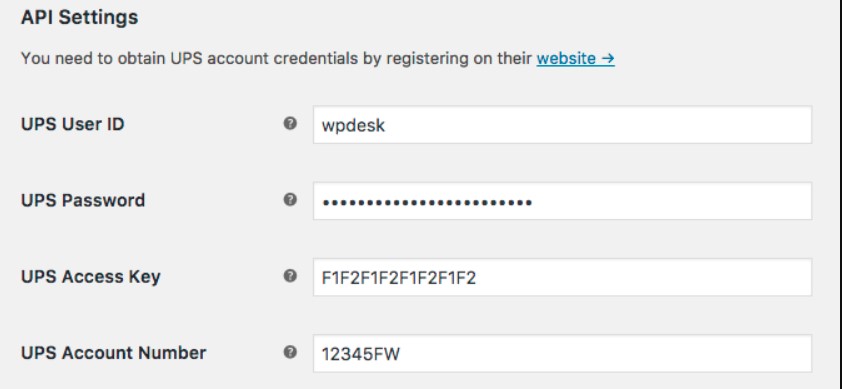
- Go to WooCommerce > Settings > Shipping > UPS.
- UPS Password: You can set a UPS password during your signup.
- UPS Access Key: The UPS Access key will be sent to you after signup.
- UPS Account Number: The UPS account number will also be sent to you after signup.
- Customer Classification: Customer classification determines what rates are returned. It’s also worth noting that Retail Rates will match the online calculator.
- Debug Mode: Here, you need to enable or disable debug mode to show debugging information on your cart/checkout.
- After finishing all the API and debugging, remember to save changes.
Step 3: Configure the settings
-
Navigate to WooCommerce > Settings > Shipping.
-
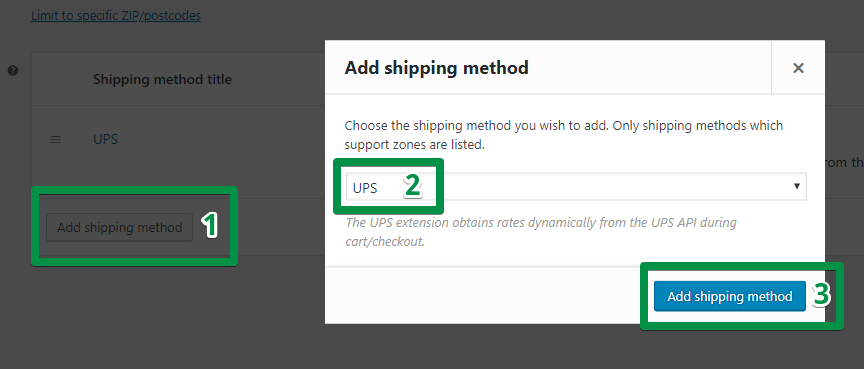
Choose the Shipping Zone to which you wish to add the method, and then click on the Add shipping method + button on the right.

- Select UPS from the dropdown and click on the button Add shipping method.
- Configure the settings.
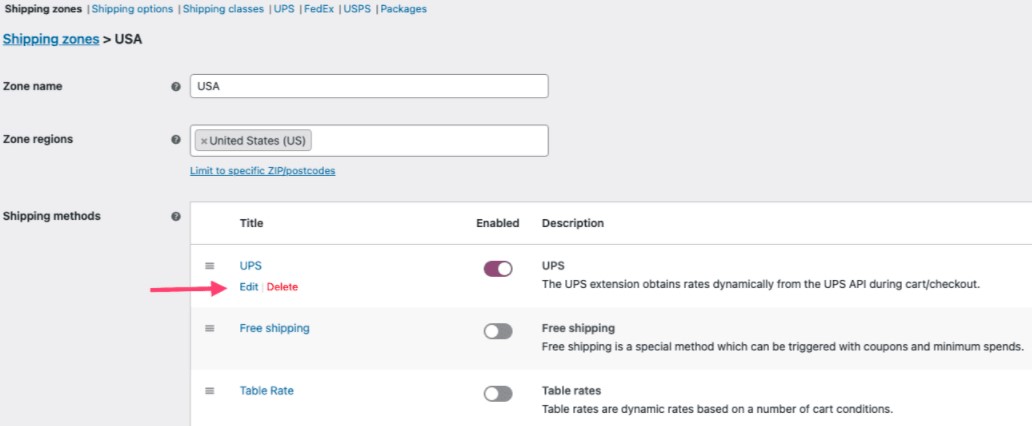
Hover your cursor over UPS and click Edit inside a zone where the UPS shipment method has been added.
4.1. Method & Origin Settings
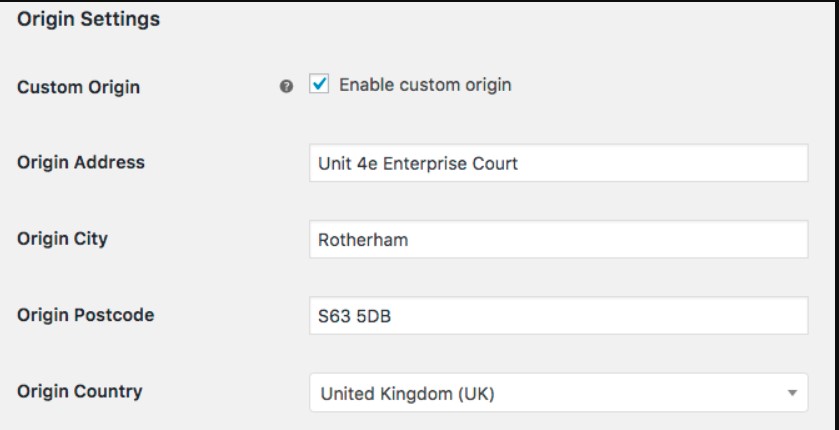
- Method Title: Provide a name for the delivery method. Customers can see this.
- Origin City: Enter the city from which you are sending.
- Origin Postcode: Enter the postcode from which you are shipping. It is forwarded to the UPS API.
- Origin Country: Select the country from which you are shipping. It is forwarded to the UPS API.
4.2. Services and Packaging
- Services: Rename and/or rearrange the order of UPS shipping prices.
- Offer Rates: Choose whether to show all available rates or only the cheapest.
- Negotiated Rates: Enable or disable negotiated rates. The API will return an error if this is not allowed by UPS. It is forwarded to the UPS API.
- Delivery Confirmation: You can charge consumers for delivery confirmation if you want to. This just adds the provided amount to the rates returned.
- Parcel Packing Method: UPS offers two parcel packing methods, each of which has an impact on the packages you send to the API, namely, pack items individually (default) and pack into boxes with weights and dimensions (recommended).
- UPS Packaging: You can choose standard UPS packaging from a built-in list.
- Custom Boxes: Add custom box sizes to pack into here.
4.3. Advanced Options
- Origin Address: You may be required to provide the address for the sender/origin at times.
- Residential: Indicate if deliveries are to residential or commercial addresses. Users can put PO Boxes as shipping addresses, despite the fact that UPS does not allow it.
- Insured value: Request insurance to be added to UPS rates.
- Fallback: Enter a shipping fallback amount if no rates are available.
- Weight/Dimension Units: Only update this if you receive the error message “This measurement system is not valid for the selected country method”.
5 Best UPS Shipping Plugins for WooCommerce
In this part, we will introduce to you the five best UPS shipping plugins for your WooCommerce store.
1. UPS Shipping Method by WooCommerce
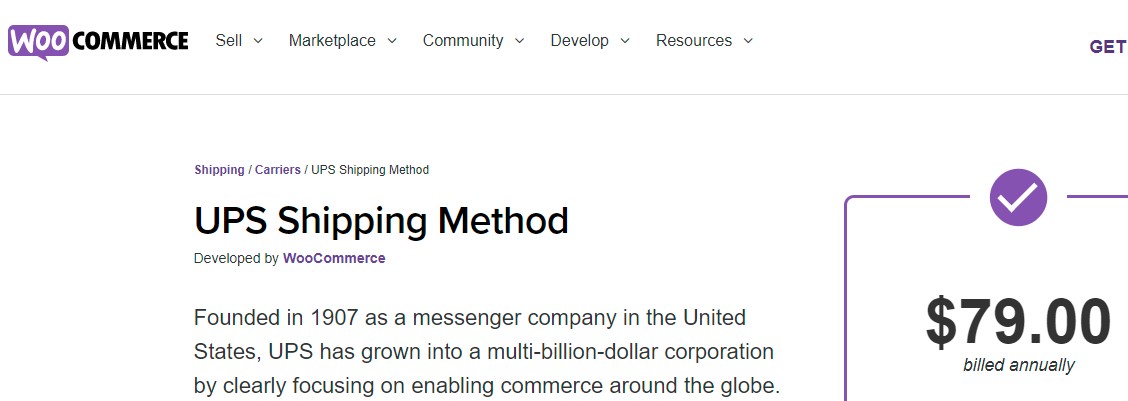
WooCommerce UPS Shipping Method requires SimpleXML to be installed on your server. It’s also important to mention that this plugin does not support freight delivery and has a weight restriction of 150 lbs.
This plugin allows you to retrieve rates from the UPS API and display them on your website, allowing your customers to check real-time shipping rates before making a purchase. It also aids in the packaging of boxes and the calculation of charges for both local and international shipments.
FEATURES
- Customize the UPS services
- Display the cheapest rate
- Display negotiated rates
- Charge customers for delivery confirmation
- Parcel packing options
- UPS on-call pickup
PRICING
The plugin’s single site subscription would cost you $79. The 5-site license costs $99, while the 25-site license costs $199.
2. WooCommerce UPS Shipping Plugin with Print Label
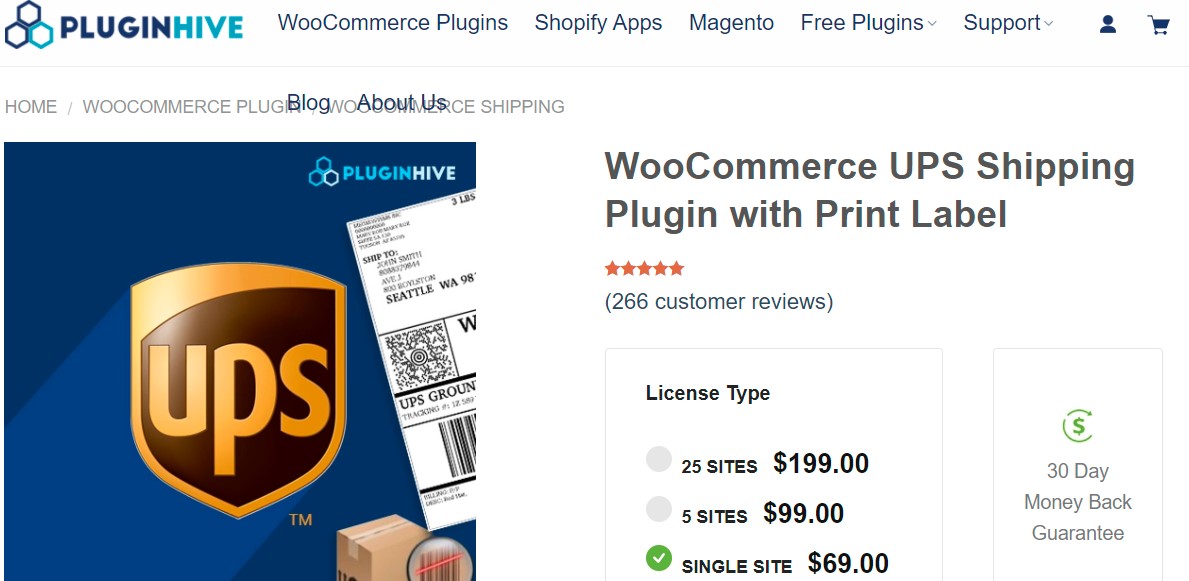
WooCommerce UPS Shipping Plugin is a WordPress / WooCommerce extension that allows you to completely optimize UPS shipping by demonstrating real-time rates in the cart/checkout page, paying postage and printing labels from within your WooCommerce store, automatically selecting boxes, and enabling tracking. It can also handle both domestic and international deliveries.
FEATURES
- Receive email notifications when a UPS label is generated.
- The ability to create bulk shipments
- Supports UPS Freight and Surepost services, as well as allowing your customers to drop off their packages at a UPS Access Point.
- Estimated delivery options and volumetric weight
PRICING
The single-site, five sites, and 25 sites license cost $69.00, $99.00, and $199.00 respectively.
3. WooCommerce UPS Shipping Pro
WooCommerce UPS Shipping Pro is another viable method for displaying real UPS rates to your WooCommerce clients. It’s easy to set up since all you have to do is add the UPS API key to your WooCommerce store and define the rates you want to show. The plugin calculates rates depending on the weight and dimensions of the goods. UPS Negotiated prices, as well as all regular UPS Parcel rates, are supported. With this plugin, you can charge additional fees for UPS services and specify a backup rate in the event that the UPS API does not return a rate.
FEATURES
- Include Declared Package Values in shipping estimates
- Automatically determine shipping destination type
- Support all UPS package prices, including SurePost (Residential or Commercial, works in the USA only)
- Establish a fallback rate in the event that UPS is unable to return a rate.
- Include costs that are included in UPS pricing. Fees might be set at a fixed amount or as a percentage of the shipping cost.
PRICING
The single-site, two sites, five sites, and 25 sites license cost $69.00, $79.00, $89.00, and $169.00 respectively.
4. WooCommerce UPS Shipping by WP Desk
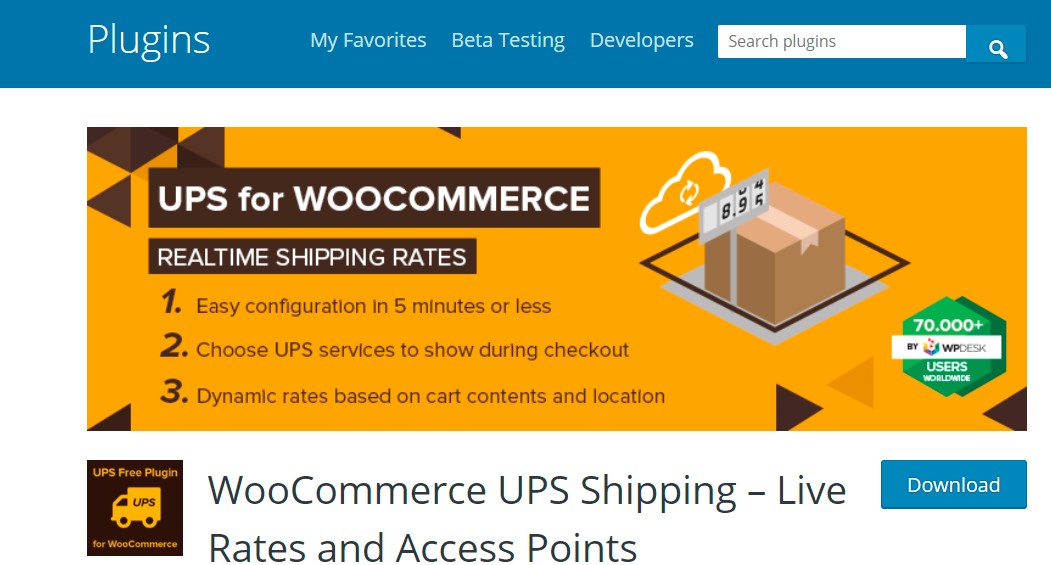
It only takes 5 minutes to set up WooCommerce UPS Shipping by WP Desk . Through a UPS API connection, you can offer your customers all UPS shipping options on the checkout page, with real-time pricing calculations. Furthermore, your customers have the option of picking up their items at a UPS access point near them.
FEATURES
- Calculate shipping expenses automatically using UPS live rates.
- Different sorts of pickups
- Ability to allow UPS negotiated rates depending on cart weight and shipping address
- Shipping cost for UPS services based on cart weight and shipping address
- Restricting services to those that are available for the customer’s address
- Pro features include displaying an expected delivery time, omitting specific days from delivery, and many other improvements.
PRICING
The basic pricing plan for starters is totally free. The professional plan for single-site costs you $69. Meanwhile, the 25 sites license is charged at $199.
5. ELEX EasyPost Shipping And Label Printing Plugin
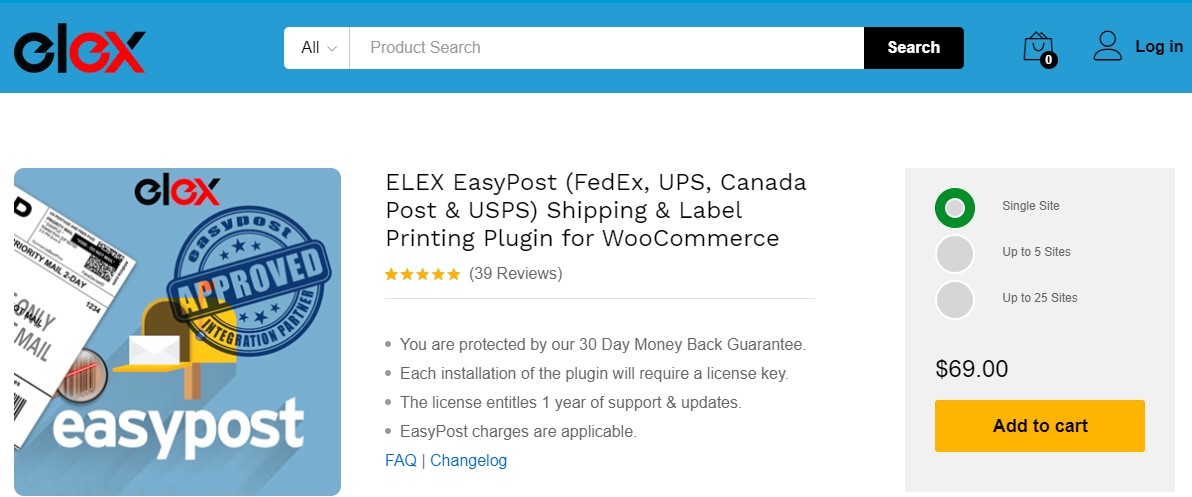
ELEX EasyPost Shipping And Label Printing Plugin for WooCommerce is a WordPress/WooCommerce extension that allows you to completely optimize WooCommerce UPS, WooCommerce USPS, WooCommerce FedEx, and WooCommerce Canada Post shipping by presenting shipping rates on the cart/checkout page, paying postage, and printing labels from within your WooCommerce Store. It also assists you in creating a tracking code, which you can give to consumers along with the purchase completion email.
FEATURES
- Use the mass printing label add-on to create labels in bulk.
- Modify the box’s size and shipping options.
- Indicate the expected delivery dates.
- For each shipping, add a handling charge.
- The shipments can be tracked by both the admin and the customers.
- Specify a pickup date for each type of shipping service.
PRICING
The single-site license costs you $69. Meanwhile, the 5 sites and 25 sites licenses are charged at $99 and $199 respectively.
Final words
UPS shipping gives businesses of all sizes and types a lot of flexibility when it comes to automating the shipping process. Furthermore, if you have a WooCommerce site, you can quickly integrate UPS services into your business and provide fantastic possibilities to your consumers.
Hopefully, our tutorial on how to integrate UPS shipping with WooCommerce has brought you useful information. If you have any questions, feel free to reach out to us via the comment section below. We would love to help you.
Thank you for reading and we will see you in the next post.


