
How to Add SSL Certificate to WooCommerce

It is critical to maintaining your WooCommerce store secure if you’re running one. WooCommerce SSL comes in handy here. Even if you’re referring them to a third-party site to process payments, you’ll be collecting data about them, and that data mustn’t get into the wrong hands. Adding SSL to your WooCommerce store will help protect both your site and your customers’ personal information. For any store owner, this is a must-do step.
In this article, I will show you How to add an SSL certificate to WooCommerce to upgrade your online store ultimately!
What is SSL?
Secure Sockets Layer (SSL) is an acronym for Secure Sockets Layer. It’s a technology that makes it more difficult for anyone who shouldn’t have access to data gathered or processed by your website to do so.
To authenticate website access, SSL uses key pairs. A public key, which anybody can see, and a private key, which is kept private, are the two keys. Because of the link between the two, only the website owner — who also has the private key — may encrypt data sent over the public key. It also means that anyone can check the site’s security using the public key.
Reasons to add SSL certificate to WooCommerce
SSL is not just vital for WooCommerce; it aids in the security of all websites. It also has SEO benefits, as Google favors SSL-enabled sites over non-enabled sites.
SSL is very critical for sites that perform any type of eCommerce, including WooCommerce. This is due to the fact that you are gathering data from users in order to complete transactions.
Even if you transfer people outside your site to pay with a payment gateway like Paypal, you’ll still need to collect information like their address for deliveries and their email address for downloads.
Installing SSL on your WooCommerce store will improve security and lower the danger of data being accessed by anybody other than you and your customers.
How to add SSL certificate to WooCommerce
Step 1: Set up SSl plugin
Let’s Encrypt is a certificate authority (CA) that offers free SSL certificates to the general public in order to promote a more secure and private Internet. This endeavor is well-liked by WordPress and WooCommerce. Learn more about Let’s Encrypt and how it works at: About Let’s Encrypt and How It Works.
Let’s Encrypt offers two options for getting a free SSL:
1. Install through a hosting company
Bluehost, Pressable, and SiteGround, All three of our WooCommerce hosting providers give free SSL certificates for WordPress customers, which can be installed in a matter of seconds.
Other hosting providers: Check with your existing or prospective hosting provider to determine if they offer a free Let’s Encrypt SSL, and then follow the steps. If they don’t have this option, direct them to the following part and have them install themselves.
2. Install yourself
You can still use Let’s Encrypt if you choose or currently have a hosting company that doesn’t have a click-and-install tool but does give the opportunity to install a free SSL certificate.
Get a domain name from a domain registrar if you don’t already have one. Let’s Encrypt free SSL certificates are domain-based, which is required.
Then choose a hosting company and a hosting plan.
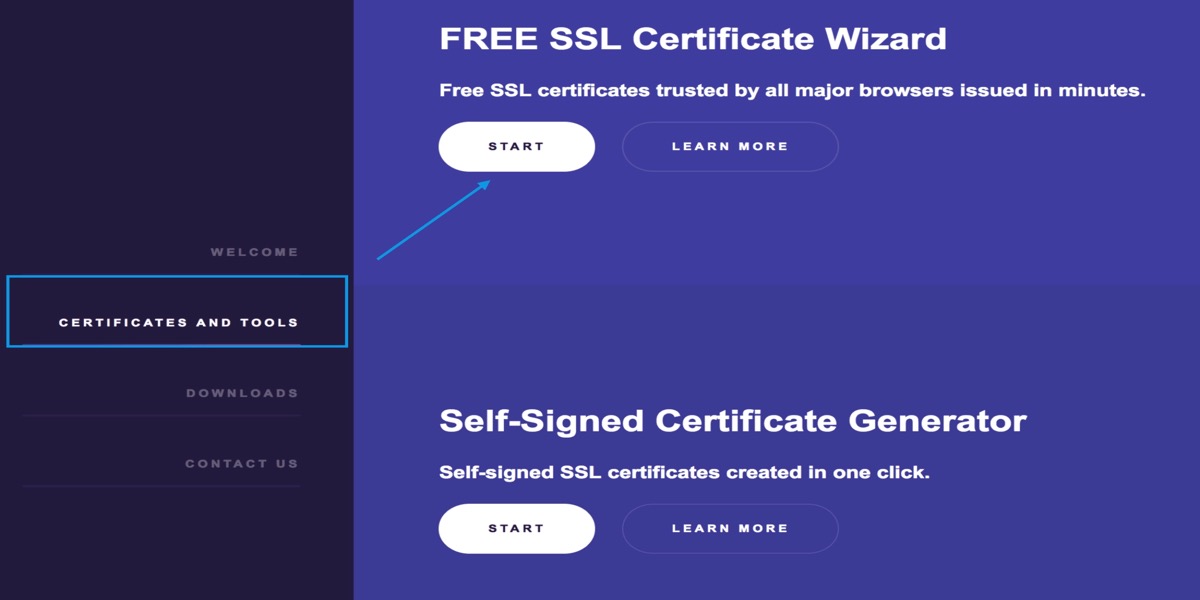
Go to ZeroSSL ZeroSSL to learn more.
Start by selecting Certificates and Tools.
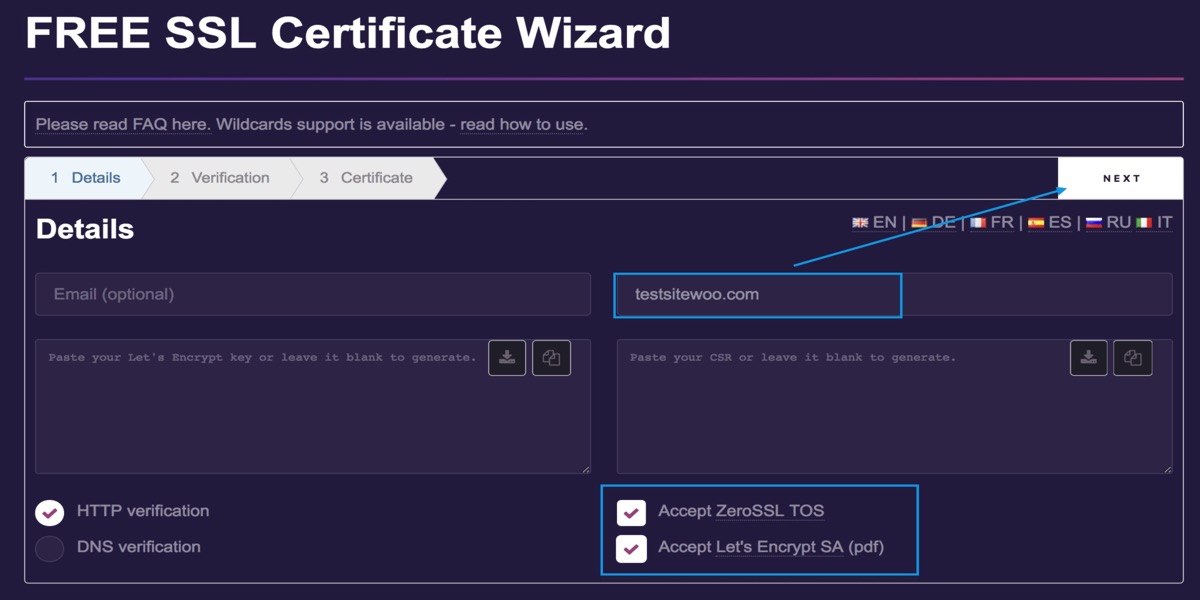
After you have entered your website/domain store’s name and accepted the Terms of Service, click Next (TOS). As a result, a Certificate Signing Request is created (CSR).
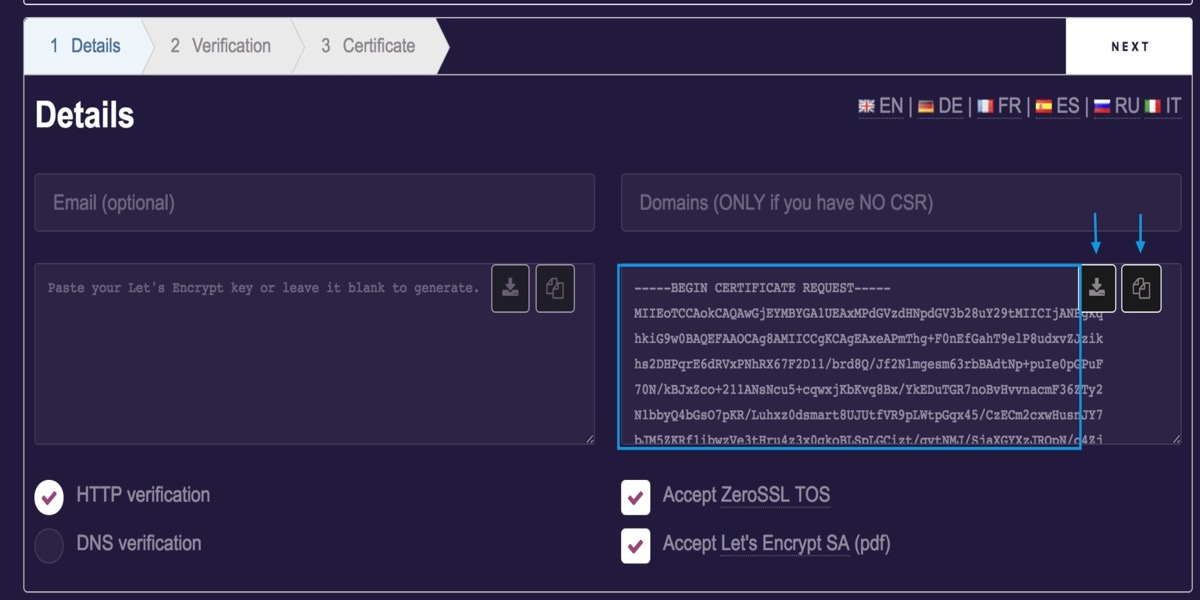
Get a copy of your CSR.
Select Next to generate your RSA private key.
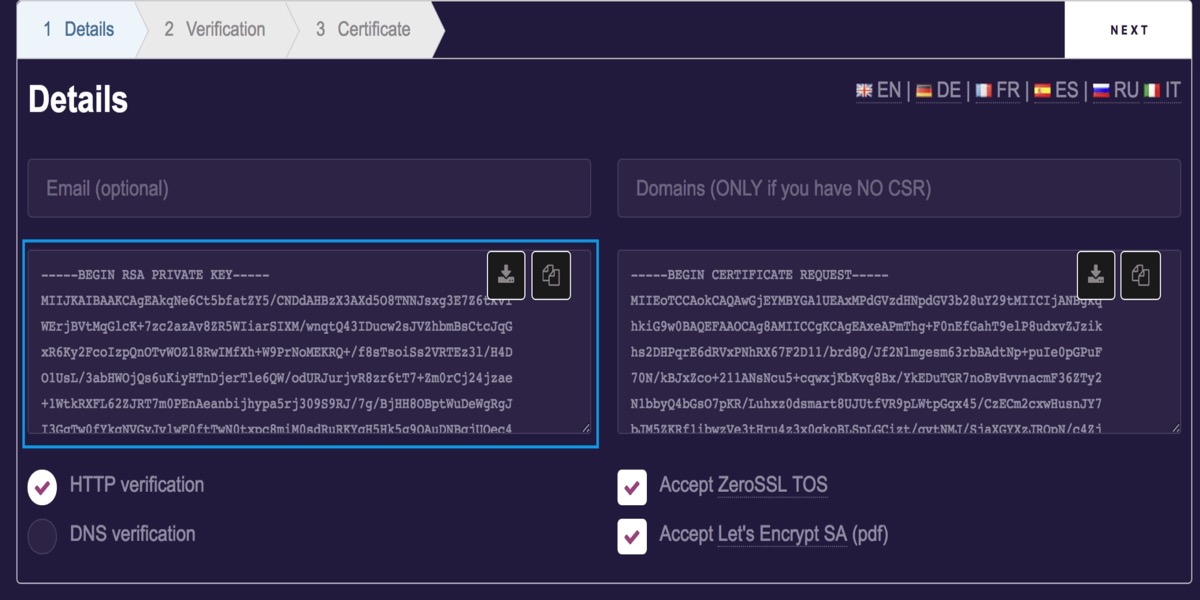
Your RSA Private Key can be downloaded now. Once you’ve downloaded both your CSR and RSA Private Key, you can safely close the browser tab. If you exit the program before saving these two bits of data, you’ll have to restart it.
Contact your hosting company for additional details. Each hosting firm has its own protocol for submitting the free SSL certificate (CSR and RSA Private Key).
Step 2: Activate SSl certificate
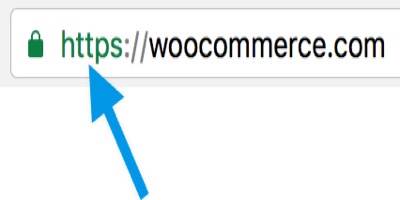
You can access your store via https://yoursite.com after installing the certificate on your server. Your browser may display a lock icon in the address bar to signify that the page is safe.
After installing an SSL certificate, WordPress/WooCommerce URLs must be adjusted for new websites/stores:
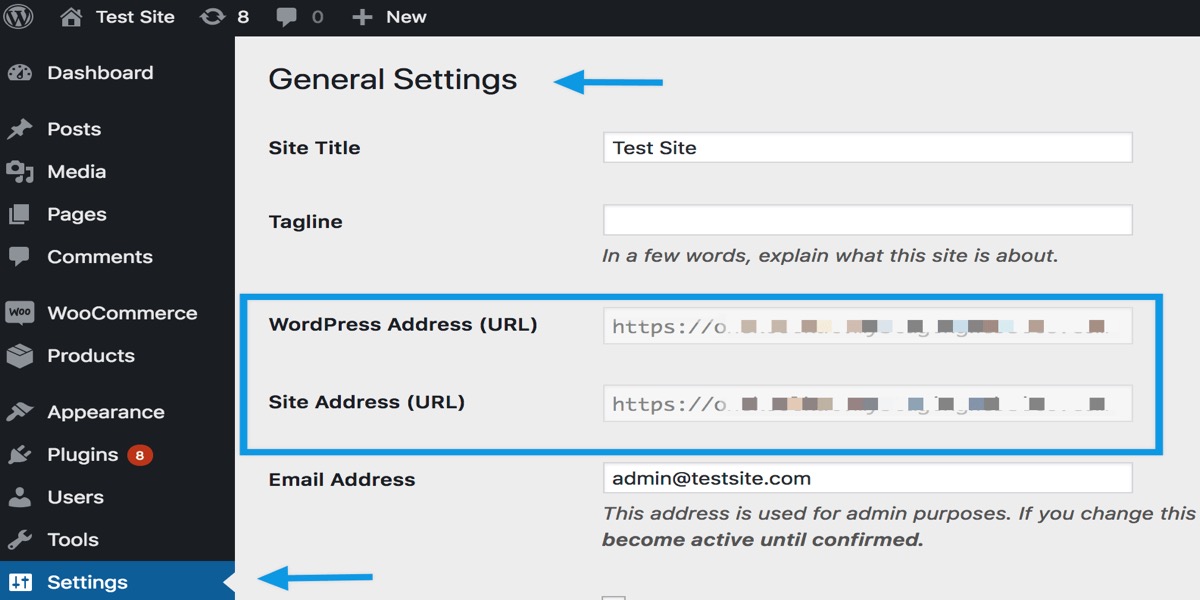
Go to Settings > General
Update the WordPress Address and Site Address to include https://
Save changes
For existing websites/stores: Because your website/store has already been indexed under http://, it must now be redirected to https:// in order for visitors and customers to locate you. A plugin called Really Simple SSL can help with this.
5 Best WooCommerce SSL Plugins
1. Really simple SSL
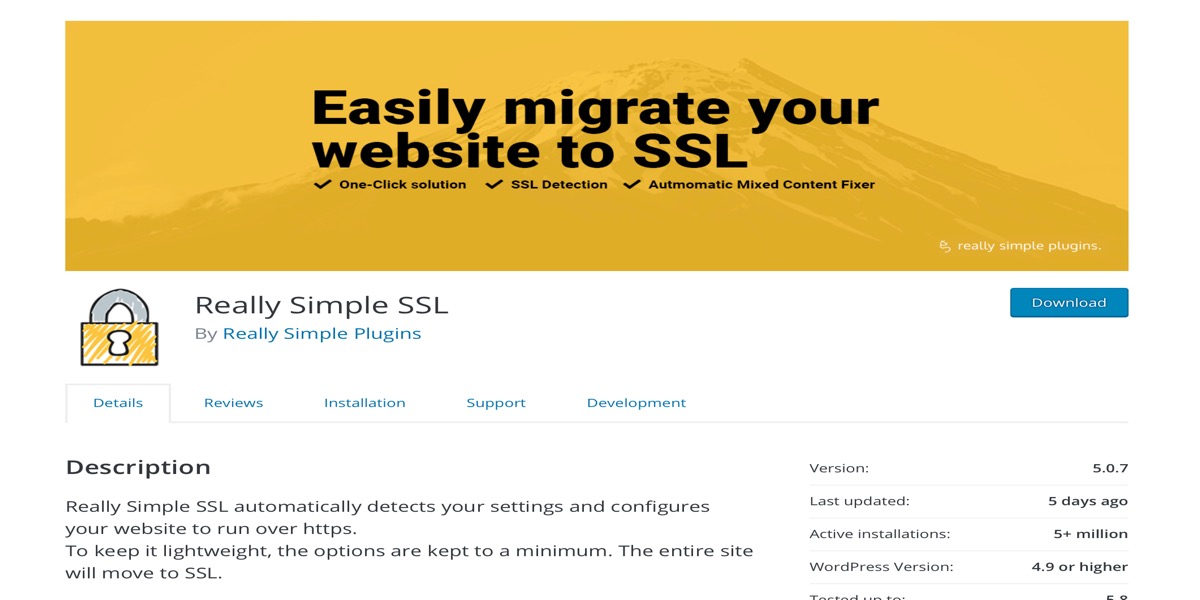
Really simple SSL plugin is the first of the SSL plugins. This plugin can detect all of your settings automatically and configure your website to use https. In addition, all inbound requests will be sent to HTTPS. Unfortunately, this plugin’s choices are restricted, but the makers did so in order to keep Really Simple SSL lightweight, allowing your site to function more smoothly. With only a single click, you may enable SSL.
Features:
- The mixed content scan, which shows you what you have to do if you don’t have the secure lock yet
- The option to enable HTTP Strict Transport Security
- The option to configure your site for the HSTS preload list
- Advanced security headers for additional security
- Mixed Content Fixer for the back-end
- More detailed feedback on the configuration page
Price: Free
2. WP Force SSL & HTTPS Redirect
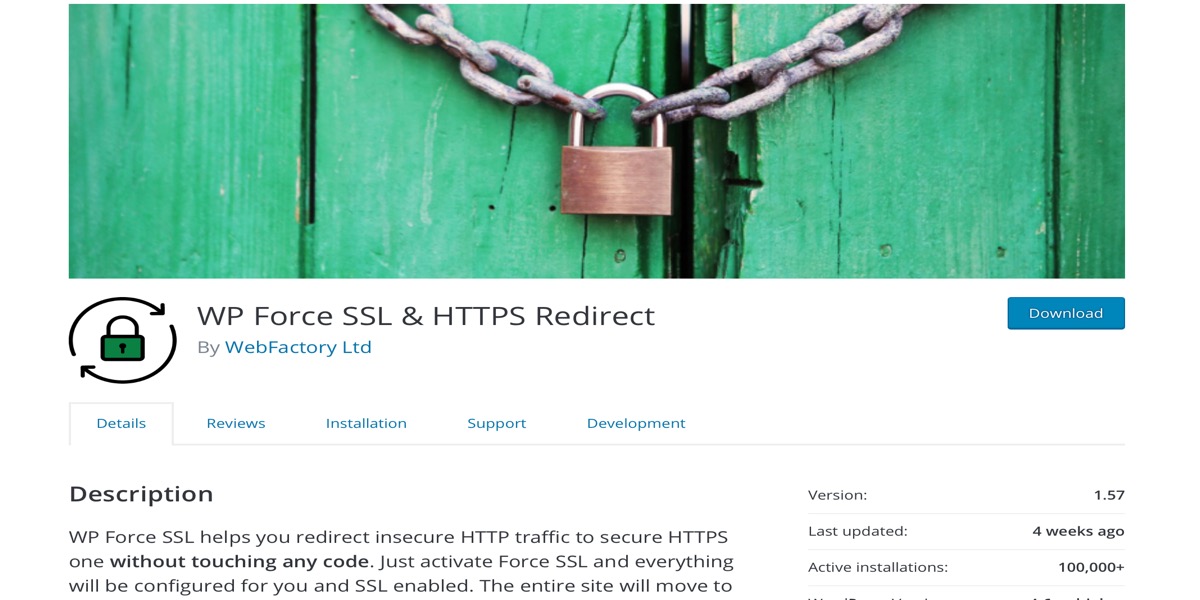
WP Force SSL & HTTPS Redirect plugin is comparable to some of the others we’ve examined previously. This plugin redirects any HTTP URL to an HTTPS version, fix any insecure static resources without affecting the database, and filter any external links to make them secure. However, before you can use Force HTTPS to achieve any of this, you must first ensure that your server has an SSL certificate loaded.
Features:
- Any external hyperlinks are skipped.
- Working with picture srcset is possible.
- Benefits of Search Engine Optimization
- There are no database queries or configuration pages.
- To address the unsafe resources, no need to install any more plugins.
Price: Free
3. SSL Insecure Content Fixer
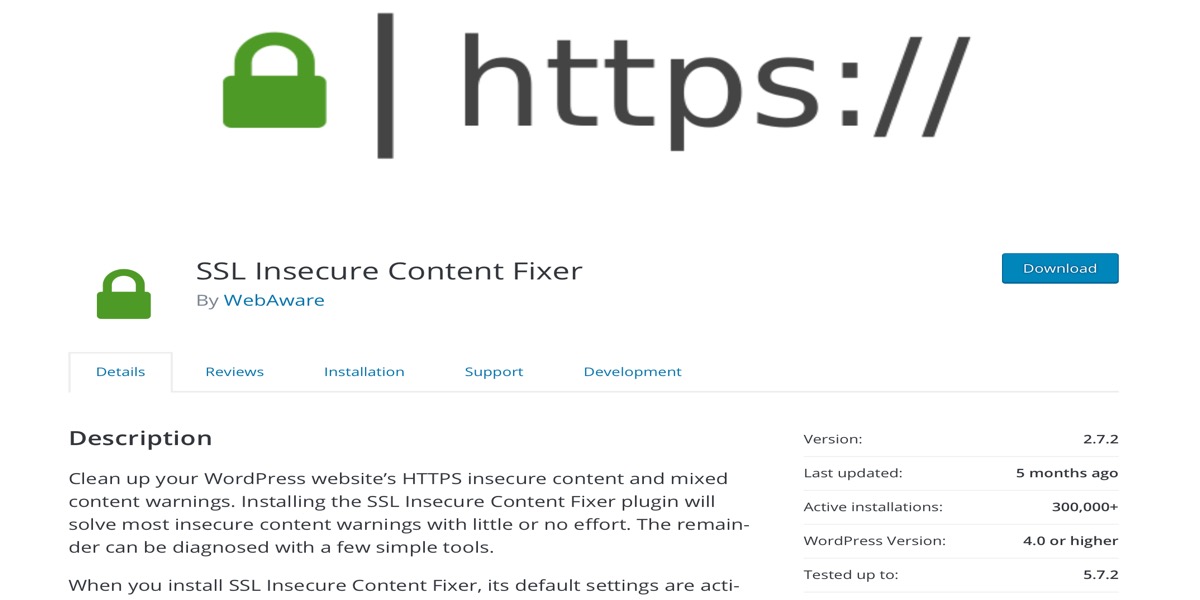
SSL Insecure Content Fixer plugin does exactly what its name implies: it cleans away any unsafe HTTPS content and mixed content warnings on your website. Most insecure content warnings on your WordPress site will be readily fixed with this plugin. If the SSL Insecure Content Fixer plugin is unable to remedy all issues, the remainder can be resolved using a few easy techniques. Once you’ve installed this SSL WordPress plugin, it’ll work on a basic level by default, but you may adjust the settings to make it do more depending on your site’s demands.
Features:
- Activate its default settings
- Automatically perform some basic fixes using the Simple fix level
- Provide more comprehensive fix levels as needed by your website
- Provide a network settings page
- Set default settings for all sites within a network.
Price: Free
4. WP Encryption
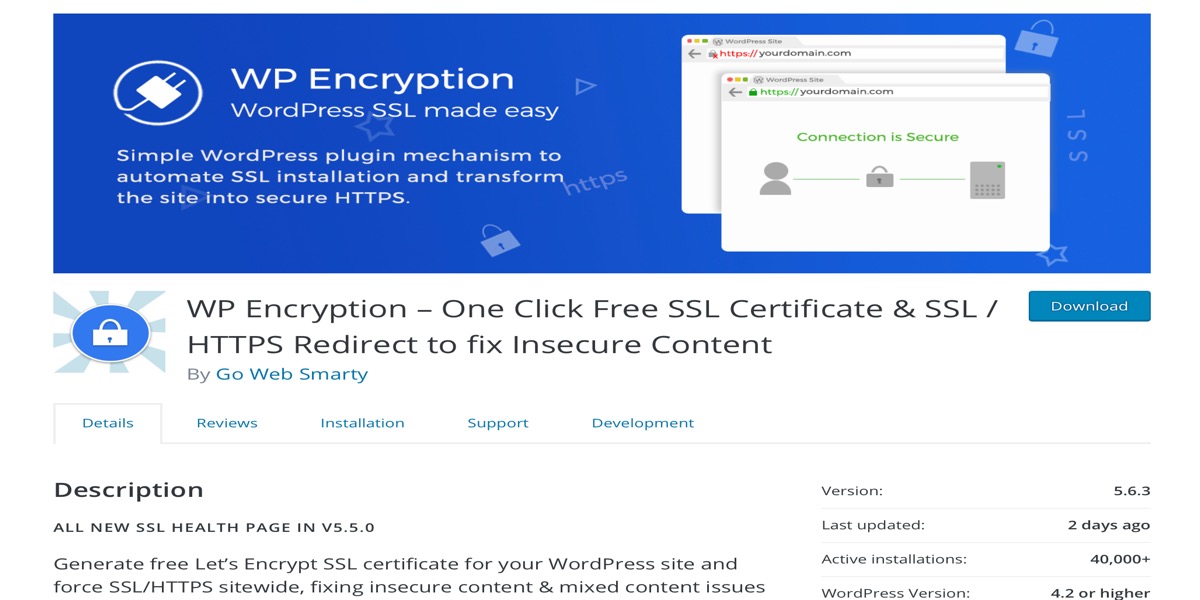
WP Encryption plugin is incredibly simple and straightforward to use, allowing you to set up SSL with just one click. This plugin works by redirecting any non-SSL pages to SSL, as well as ensuring that any and all of the resources on your SSL pages are likewise loaded over SSL. WP Encryption plugin comes with a highly user easy setup wizard once the plugin has been activated. The setup wizard will verify if SSL is supported on the hosting or server before it permits the SSL to become activated.
Features:
- Redirect to non SSL if SSL is not enabled
- Can convert all non-SSL resources like images or scripts to https:// on all of your site’s pages
- Redirects all non-SSL URLS to https://
Price: Free
5. Verve SSL
To get started with this plugin, all you have to do is make sure your site has an SSL certificate. Verve SSL plugin enables HTTPS login and management in WordPress (SSL). Once you’ve logged out of WordPress, the plugin will automatically switch it back to HTTP. Verve SSL also allows you to read your WordPress blog through HTTPS while remaining signed in. While you are logged in, this plugin can also immediately delete any insecure material from your WordPress site and update it to secure.
Features:
- SSL encryption for the duration of your logged-in session
- For greater compatibility, use PHP code
- There are no changes to WP-Config.php required
- To improve SEO, it converts URLs to lowercase
Price: Free
Conclusion
SSL establishes a secure connection between two workstations or devices via the Internet or an internal network, protecting sensitive data and allowing it to be transmitted privately. The ‘S’ in https indicates that an SSL certificate has been issued after confirming the authenticity of a website and the identity of its owner.
It is required by many payment gateways. It comes highly recommended. Customers who visit your WooCommerce store consider the padlock in the address bar as a symbol of reliability and expect to see it whether browsing, buying, or entering their account and payment information.
I hope you find this topic about How to add SSL certificate to WooCommerce fundamental!


