
How to Setup the WooCommerce Sidebar

You may want to add custom sidebars to your WooCommerce eCommerce website for a variety of reasons. If a visitor lands on the shop page, for example, you’d like to convert him. To put it another way, you’d like him to make a “buy.” For the same reason, you’d like him to browse the products, narrow the search, add items to the cart, and complete the transaction. The idea of having an opt-in form, related posts, and search widgets in the sidebar fails in this instance.
In this article, I will show you How to set up the WooCommerce Sidebar to upgrade your online store ultimately.
Reasons to Set Up The WooCommerce Sidebar
If a visitor comes to the blog page, you could want to urge him to subscribe, read more fascinating pieces, or search the web for useful information. As a result, the Related Posts and Search widgets, both of which include an opt-in form, are excellent candidates for the blog view’s sidebar.
You want a visitor who has arrived at the shop page to convert. To put it another way, you want him to “buy”. You want him to peruse the goods for the same reason, refine the search, add items to the cart, and complete the transaction. In this situation, the idea of putting an opt-in method, related posts, and search widgets in the sidebar fails.
Alternatively, you may use WooCommerce’s widgets to apply custom sidebars to numerous pages and views on your website:
- Products
- Product Search
- Product Categories
- Products by rating
- Product Tag Cloud
- Cart
How To Set Up The WooCommerce Sidebar
Step 1: Install WooSidebars Plugin
Go to your WordPress Dashboard and log in.
Go to Plugins > New Plugin.
WooSidebars can be found by searching for it.
Remember to activate it when you’ve completed the installation by clicking “Install Now.”
Step 2: WooSidebars Plugin Setup
Once you’ve activated the plugin, the “Widget Areas” menu item will appear on the Appearance Menu. To access Widget Areas, go to Appearance » Widget Areas.
Now, select “Add New.” This will allow you to create a new widget area.
Here’s how to add a sidebar to your WooCommerce shop page that will only appear on that page.
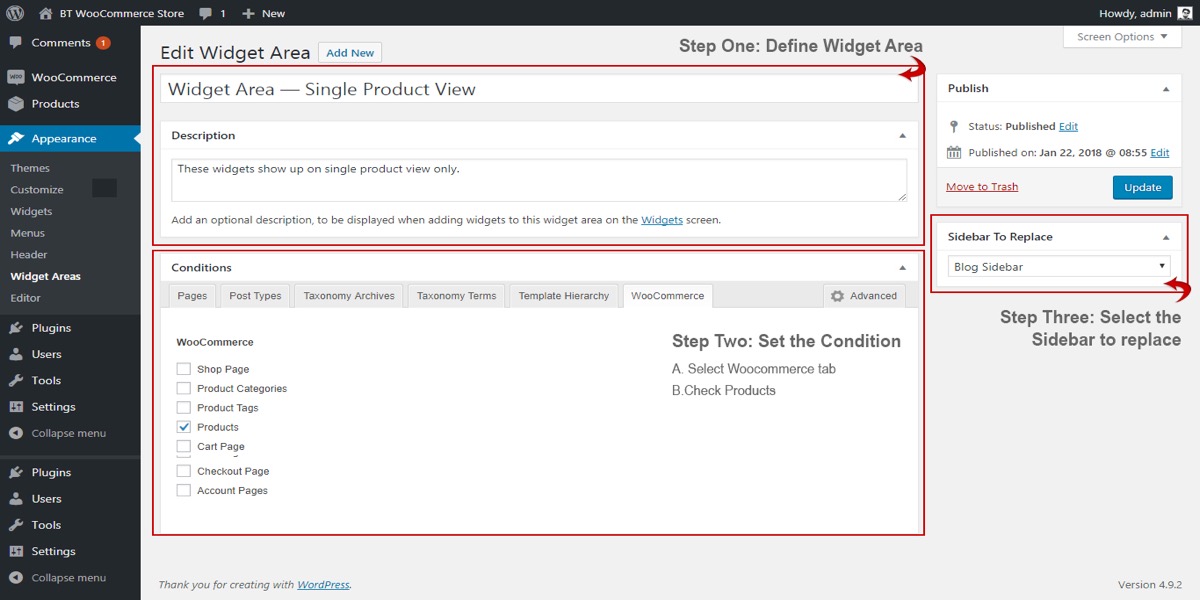
Step 3: Add a custom sidebar to the WooCommerce Single Product page
Similarly, only single WooCommerce product pages will have a new custom widget space (or any other view).
This is how to create and view a new widget region on WooCommerce’s single product page.
5 Best WooCommerce Sidebar Plugins
1. SiteOrigin Widgets Bundle
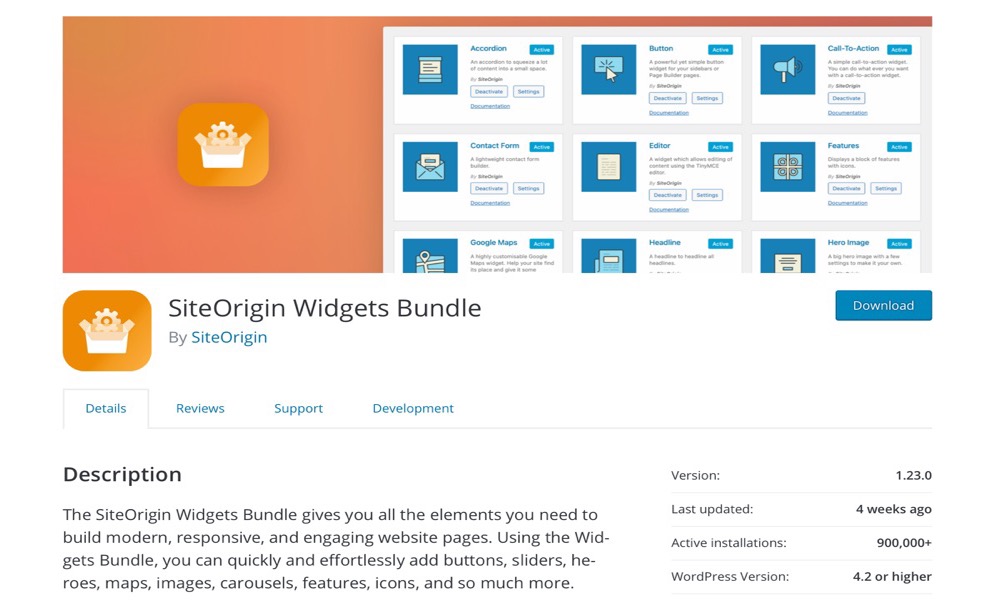
SiteOrigin Widgets Bundle has everything you’ll need to create modern, responsive, and engaging website pages. With the Widgets Bundle, you can quickly and easily add buttons, sliders, heroes, maps, photos, carousels, features, icons, and much more.
SiteOrigin Widgets are ready to use in Page Builder by SiteOrigin, the Block Editor, or the widget sections of your theme. Other popular page-building plugins are also compatible with the Widgets Bundle.
Features:
- Call-to-action buttons
- Contact form
- Google Maps
- Pricing table
- Testimonials
- Image slider
Price: Free
2. Content Aware Sidebars
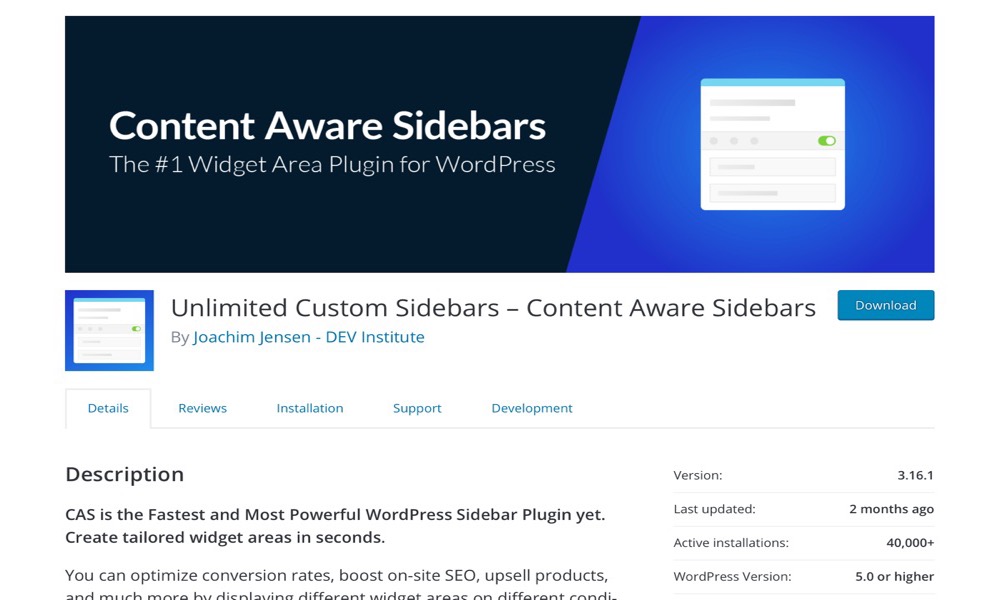
Content Aware Sidebars is a useful plugin that allows you to use different widgets and sidebars for different types of content. You can, for example, show one set of widgets for posts in one category and another set for posts in another category.
You can use this feature to build a more personalized and targeted sidebar. You’ll be able to create conditional logic sidebars using a simple UI, and you’ll have a total of 13 options for showing them, including post type, taxonomy, author, template, and more.
Features:
- Posts, Pages & Custom Post Types
- Content with Tags, Categories, or Custom Taxonomies
- Content written by select Authors
- Page Templates
- Blog Page & Post Type Archives
- Author Archives
- Taxonomy Archives
Price: Free
3. Relevanssi

Relevanssi is a superior search engine that replaces the default WordPress search with a lot of features and configurable parameters. You’ll receive better results and a better presentation, and your users will appreciate it. This is the free Relevanssi version. Relevanssi Premium, which includes more features, is also available. Visit Relevanssi.com for more information on Premium.
Features:
- Search results are sorted in the order of relevance, not by date.
- Fuzzy matching
- Find documents matching either just one search term (OR query) or require all words to appear (AND query)
- Search for phrases with quotes
- Create custom excerpts that show where the hit was made, with the search terms highlighted
- Highlight search terms in the documents when the user clicks through search results
Price: Free
4. Testimonials Widget
Testimonials Widget plugin now includes our popular Testimonials Widget Premium plugin. This plugin includes all of the premium features.
Allow others to assist you to enhance your conversion rates and lead generation by demonstrating your credibility through their own words. Testimonials Widget Premium is a powerful WordPress testimonials plugin that includes forms, lists, ratings, shortcodes, sliders, widgets, and more.
Features:
- Carousel, fade, and slide transitions
- Random display
- Read more and single view compatible
- Shortcode compatible
- Wordpress Galleries and Gravity Forms
- Simply styled for easy theme adaption
- Slide images
- Slide mixed content
Price: Free
5. Contextual Related Posts
Contextual Related Posts is a WordPress plugin that lets you show a list of related posts on your website and in your feed.
The list is based on the posts’ title and/or substance, making them more relevant and likely to pique your readers’ attention. This helps you to keep users on your site longer, lower bounce rates, and update old information.
Features:
- Automatic
- Block Editor support
- Widgets
- Shortcode
- The algorithm
- Caching
- Exclusions
Price: Free
Conclusion
If you manage a WooCommerce-powered e-commerce site, you will want to know How to set up the WooCommerce Sidebar.
Your e-commerce website contains a wide range of perspectives and parts. There are several other types of pages, such as a home page, a blog page, a blog view, a store view, a single product view, and so on. Furthermore, having the same widgets on the site has an impact on both the user experience and the conversion rate of your online store.


