
How to Setup a Shipping Strategy for WooCommerce Store

The last process a customer needs to go through in any purchase is shipping, which means it’s your last chance to leave a good impression. So, there’s no doubt you should set up a shipping strategy for WooCommerce Store to satisfy your customers and engage them in a long-lasting relationship with your company.
A fun fact is that, the more customers love your products, the faster they expect their orders to be delivered.
As it is the last process but not a very simple one for your customers, you as a WooCommerce store owner should know how to Create a Shipping Strategy for WooCommerce Store to optimize the customer delivery experience.
Let’s see what we can do right now!
Why should you set up a WooCommerce Store shipping strategy?
Though the importance of prioritizing customer experience is quite obvious, there are certain benefits of preparing a good shipping method that you need to mainly focus on to make the most use of the strategy.
Below are 4 main reasons why you should employ a suitable delivery plan for your WooCommerce stores. Let’s check it out!
- You can optimize customers’ shipping experience to enhance your sales.
- A good WooCommerce shipping strategy leads to cost-effectiveness.
- Customer’s happiness from their sense of benefit can build trust and loyalty.
- It enables you and your customers to track the delivery process.
Now you see how a Shipping Strategy setup benefits your WooCommerce Store. Are you ready to dig deeper into our step-by-step instructions to create one for yourself?
Let’s move on to the next section!
How to create a Shipping Strategy with WooCommerce built-in settings?
For WooCommerce users, this eCommerce platform is already equipped with a built-in shipping settings that allows you to set up three basic shipping methods, including free shipping, flat rate and local pickup. The process is simplified into 3 steps, each of which is explained in detail below.
Please turn on your WordPress, choose settings and start this journey with us!
Step 1: Choose locations for shipping methods
To begin with, you should set off the shipping settings by creating a shipping zone, select a delivery method for that zone, and specify the cost of each shipping option to the client.
You may also customize other options, such as including specific shipping classes or requirements for earning free shipment.
But it all starts with the shipping zones.
First, you have to point at WooCommerce in the left-side column in the WordPress dashboard, leading to a list of options. Right here, choose Settings.
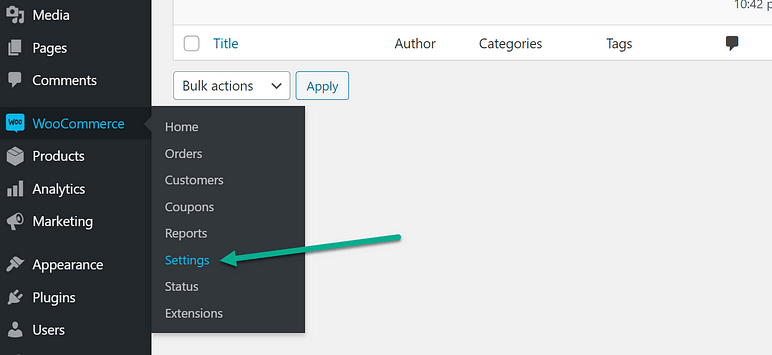
Now you can see all WooCommerce settings, choose the third tab named Shipping. This is where you set up the Shipping strategy for your WooCommerce store. Under the tab are 3 steps of the process. The first must be Shipping zones. Click at the Add shipping zones button to set a new one.
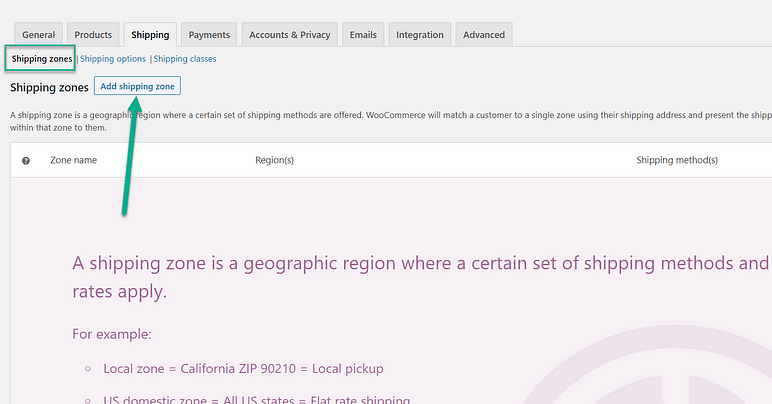
A shipping zone is a defined geographic area for your shop. You may then attach specific delivery methods and fees to each area. In this case, we set the United States as an example.
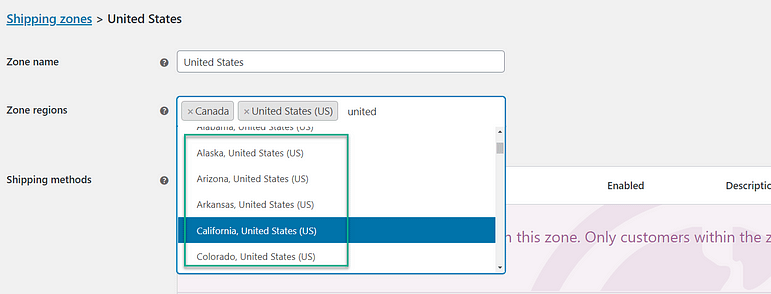
After choosing the Zone name, the Zone regions field will be suggested by a dropdown menu. All you have to do is to search for your specific area. For instance, we choose Canada and the US.
Once you select specific shipping zones for your WooCommerce store, it’s time you choose a suitable shipping method for each zone. Let’s take the next step!
Step 2: Select delivery options for each shipping zone
With the built-in delivery settings of WooCommerce, you’re offered 3 most fundamental types of shipping, as we’ve already mentioned. However, you can only choose up to 2 options for each shipping zone. Make sure you won’t disappoint your customers by selecting the wrong shipping methods.
Now, let’s take a few minutes to look through these 3 default shipping options!
- If delivery is free : The free delivery option means that the buyer does not have to pay anything in order to get the item. This is usually triggered in WooCommerce by coupons or when a buyer spends a minimum amount.
- If shipping is at a fixed price: You may charge a single cost for all shipments, giving customers and your firm straightforward, predictable pricing. However, this may result in you or the consumer overpaying for delivery. _ If customers arrive to pick up the product: The consumer picks up the products without using delivery services such as USPS or UPS. Local pick-ups are normally free for the customer, but they do need your shop to have a real place where those things may be stored and handed over.
When you already understand the meaning of each shipping method, you’re going to be instructed on how to set up a shipping strategy for each zone.
After choosing Zone regions in the previous step, you can see the last field to be filled in the window, the Shipping methods.
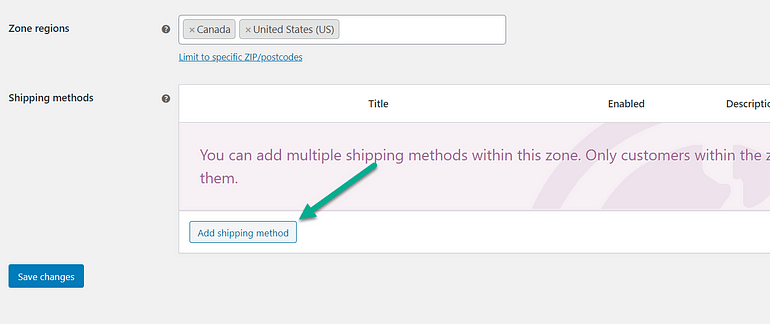
As soon as you click the Add shipping method button, a window will pop up on your screen, from where you can choose the first delivery plan in a dropdown list.
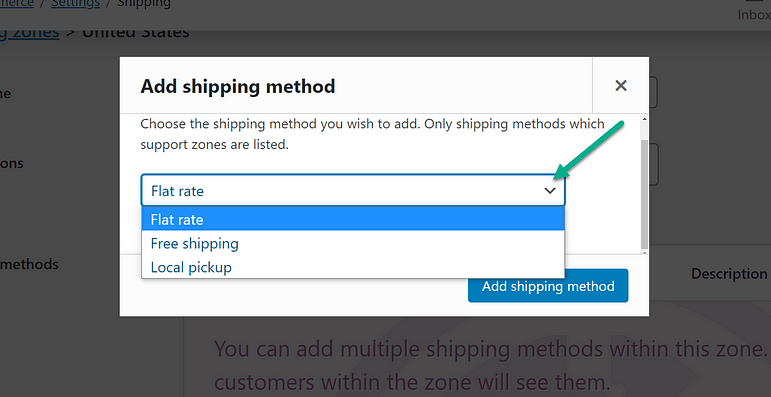
Click the Add Shipping Method button to save and continue.
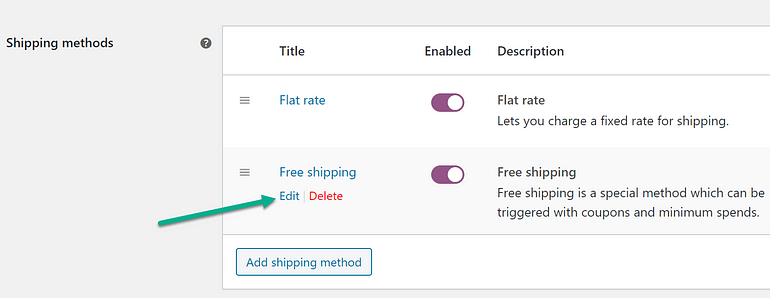
Now the first chosen delivery option is saved. If you want to add the second one for that zone, just retake this step once again.
In other cases, if you want to make changes or get rid of one saved method, point at it so you can see the Edit and Delete options.
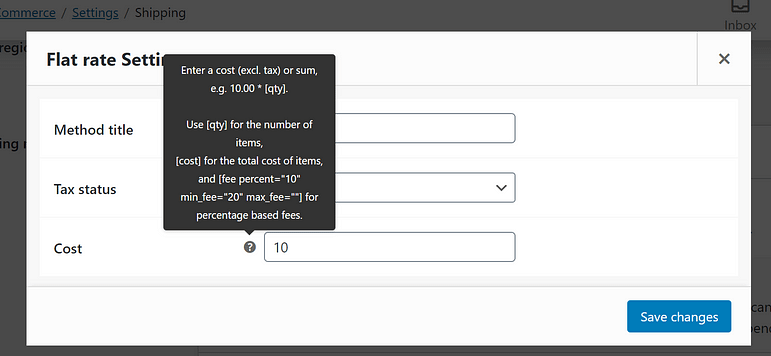
In the Flat rate Settings window, you can see 3 fields named Method title, Tax status, and Cost. For the last field, WooCommerce supports not only setting fixed costs but also customizing costs based on Quantity and Percentage. You should click the Question mark symbol to see the formulas for this type of cost.
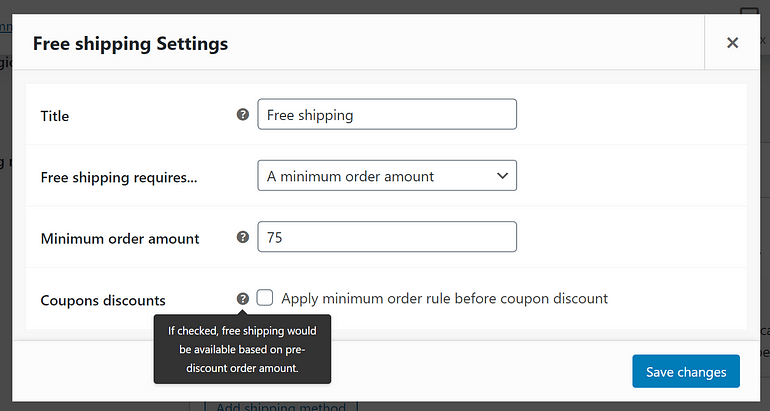
For Free shipping Settings, you will see 2 original fields which are Title and Free shipping requires… to add the Freeship requisition. Setting a minimum order amount, for example, allows customers to get free delivery whenever they reach a certain dollar number in their basket.
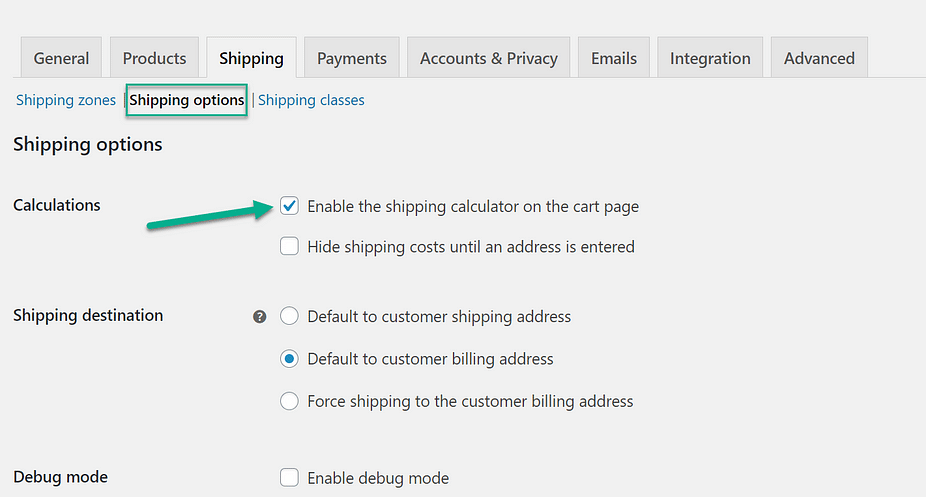
To finish the procedure, you must specify a few more options. You need to go back to the Shipping tab, choose Shipping options under the tab.
You don’t have to tick all boxes in the window, but make sure you click the Save changes button at the bottom of it.
Step 3: Sort products into classes to apply shipping methods
The last step is Shipping classes.
Similar sorts of items are grouped together in shipping classes, which all have the same shipping methods and pricing. T-shirts, for example, may be eligible for a reduced delivery fee than larger or heavier items.
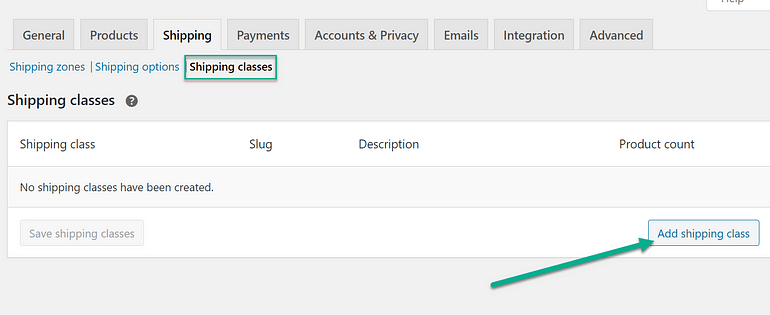
In the same line with Shipping zones and Shipping options, you can easily see the last section is Shipping classes. Click the Add shipping class button at the lower right corner of the window to continue.
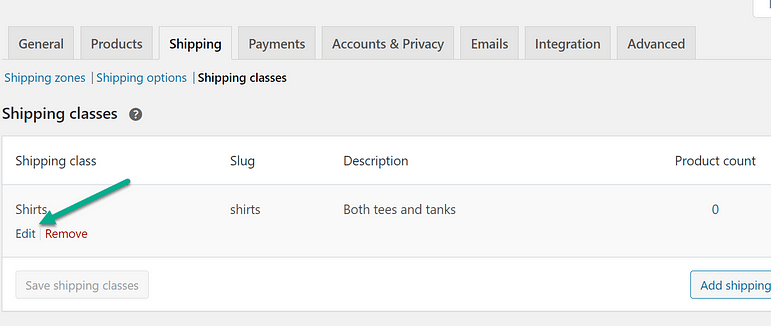
Each shipping class should have a name and a URL slug, as well as a description.
After clicking the Save shipping classes, you can either add new shipping classes or Edit/Remove the existing one.
Lastly, you can Edit, Add or Delete any Shipping method set up for that shipping class. Just make sure to save all settings at the end of the process.
Top 4 plugins for creating a shipping strategy in WooCommerce
It appears to be simple using the built-in shipping settings to set up a shipping strategy for your WooCommerce Store. However, the number of default delivery options is still limited, which can not meet the demands of big companies with a wide range of customers from diverse market segmentations.
In this part of the blog, you will get access to 4 WooCommerce shipping plugins that are among the top, high-rated plugins in the delivery market. With these 4 names, you can choose the most suitable one for your business scale and budget.
Don’t worry if you have a small budget for a shipping plugin; there are some free options for you, and you still stand a chance of benefiting from the advanced shipping strategies.
Interested? Let’s take a look at the below Top 4 WooCommerce shipping plugins.
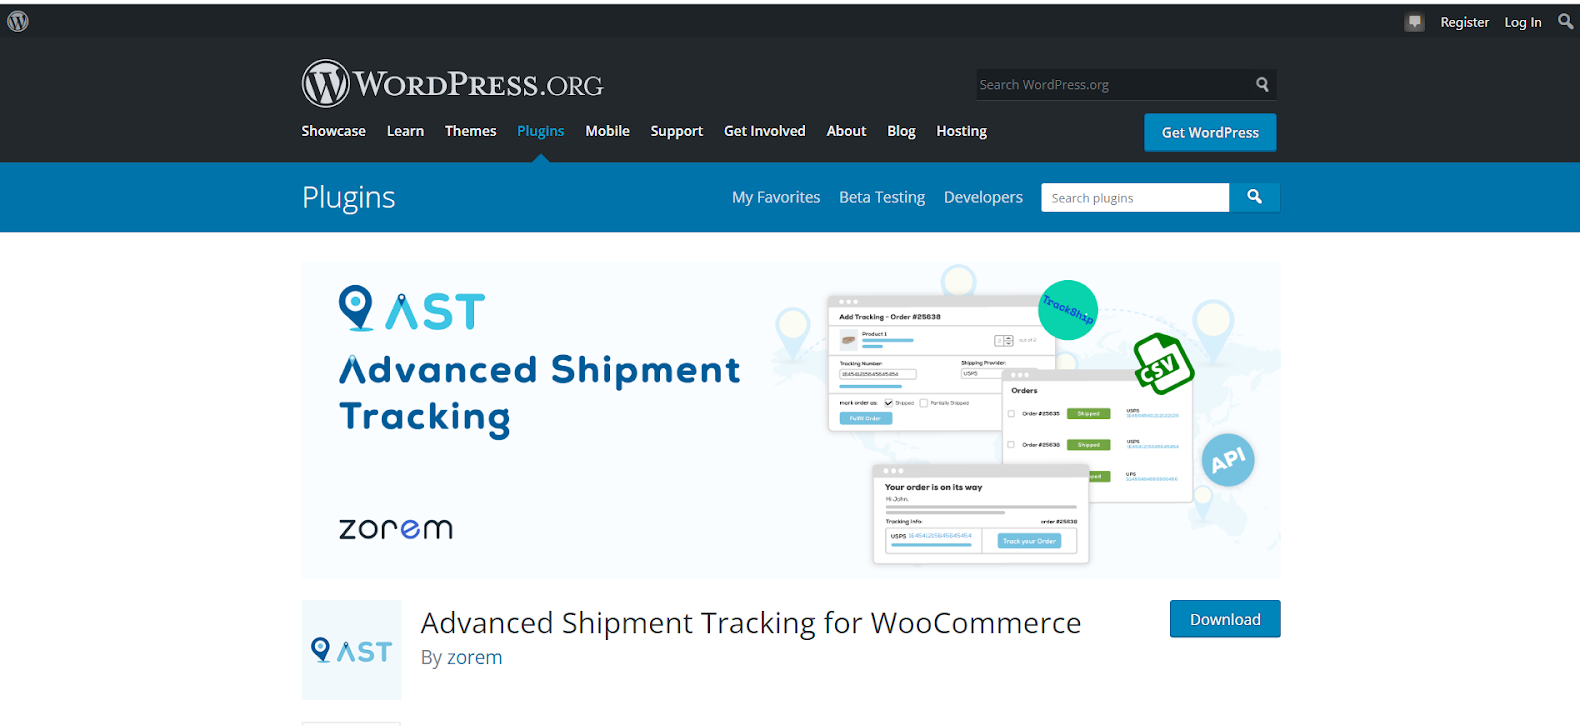
Advanced Shipment Tracking for WooCommerce
Advanced Shipment Tracking for WooCommerce comes with everything you’ll need to manage and automate your WooCommerce fulfillment process. With this plugin, you can keep your customers informed, save time spent on post-shipping inquiries, and improve overall customer satisfaction by quickly adding tracking information and fulfilling orders.
Key Features
- WooCommerce order completion emails may now contain advanced tracking information from over 300 shipping providers and carriers across the world.
- It also includes a tracking information widget in order status emails and on the View Order page for consumers.
- Multiple tracking numbers can be added to the same order.
- Allows you to fulfill orders and add tracking numbers at the same time
- Support importing tracking information from CSV files
- Helps you update tracking numbers produced by third-party services and fulfill orders from external systems.
Pricing
Advanced Shipment Tracking for WooCommerce can be free. But if you want to get the Premium version, you need to pay $129 per year.
Rating: 4.7/5
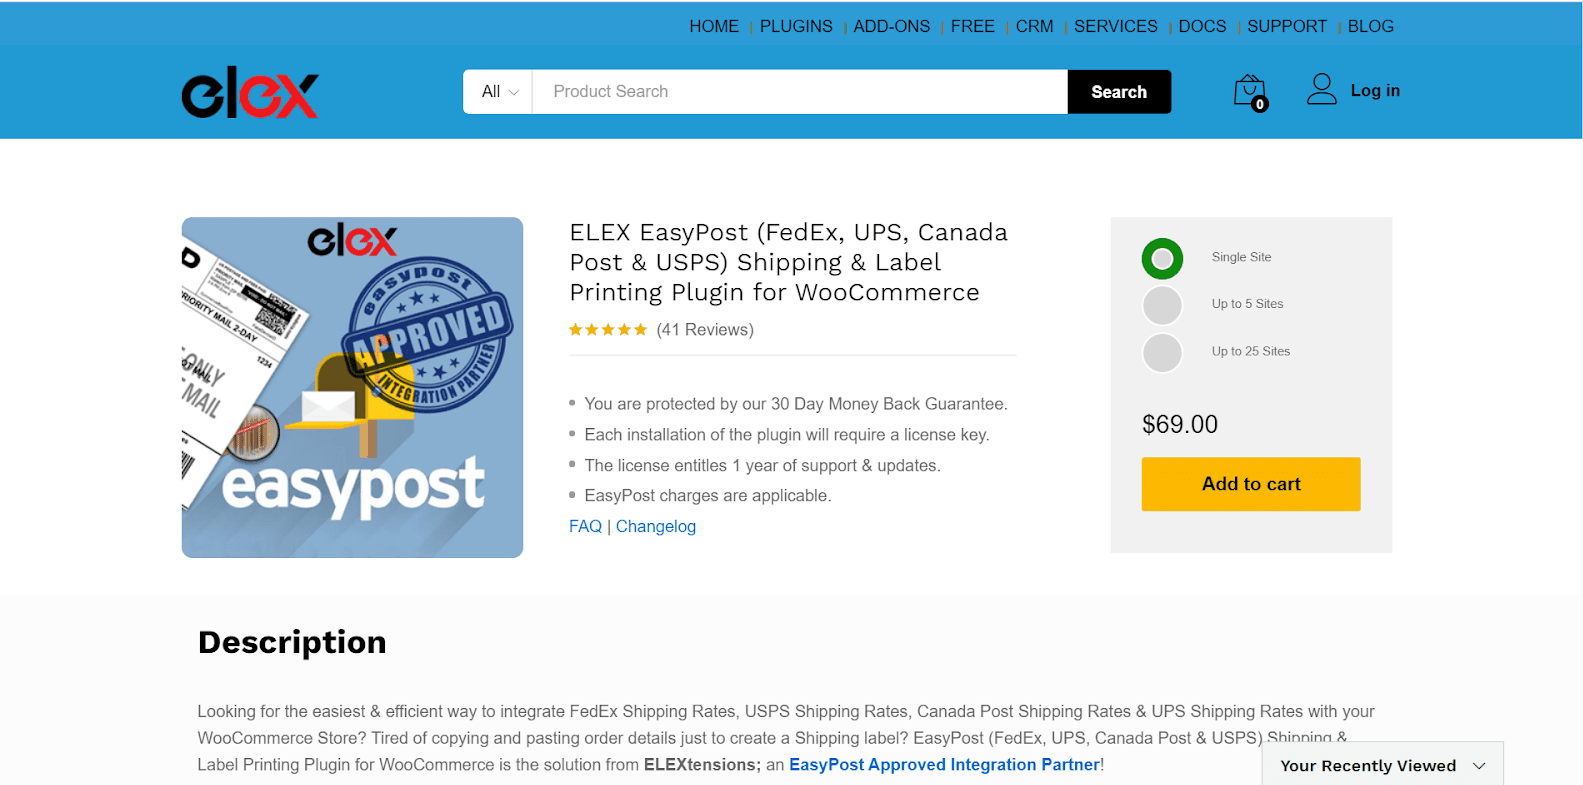
ELEX EasyPost Shipping Method Plugin for WooCommerce
ELEX EasyPost (FedEx, UPS, Canada Post, & USPS) Shipping Method Plugin for WooCommerce is a WordPress/WooCommerce extension claimed to handle multiple difficult issues among WooCommerce Store owners.
Key Features
- Allows you to receive shipment details through EasyPost online account, then the printable shipping label will be created
- Your customers can benefit from flexible billing options of UPS, including third-party payment.
- With ELEX, you and your customers can see the approximate number of days that you will be waiting for the parcel to arrive.
- It also provides your customers with 3 package options
- You can easily generate USPS SCAN forms returned from EasyPost With the ELEX WooCommerce EasyPost Generate SCAN Forms Add-On
Pricing
ELEX Easypost Plugin offers you 3 pricing plans, each of which applies a 30-day money-back policy with license required in each installation and ** 1-year support and updates**.
- Single site: $69
- Up to 5 sites: $99
- Up to 25 sites: $199
Rating: 4.8/5
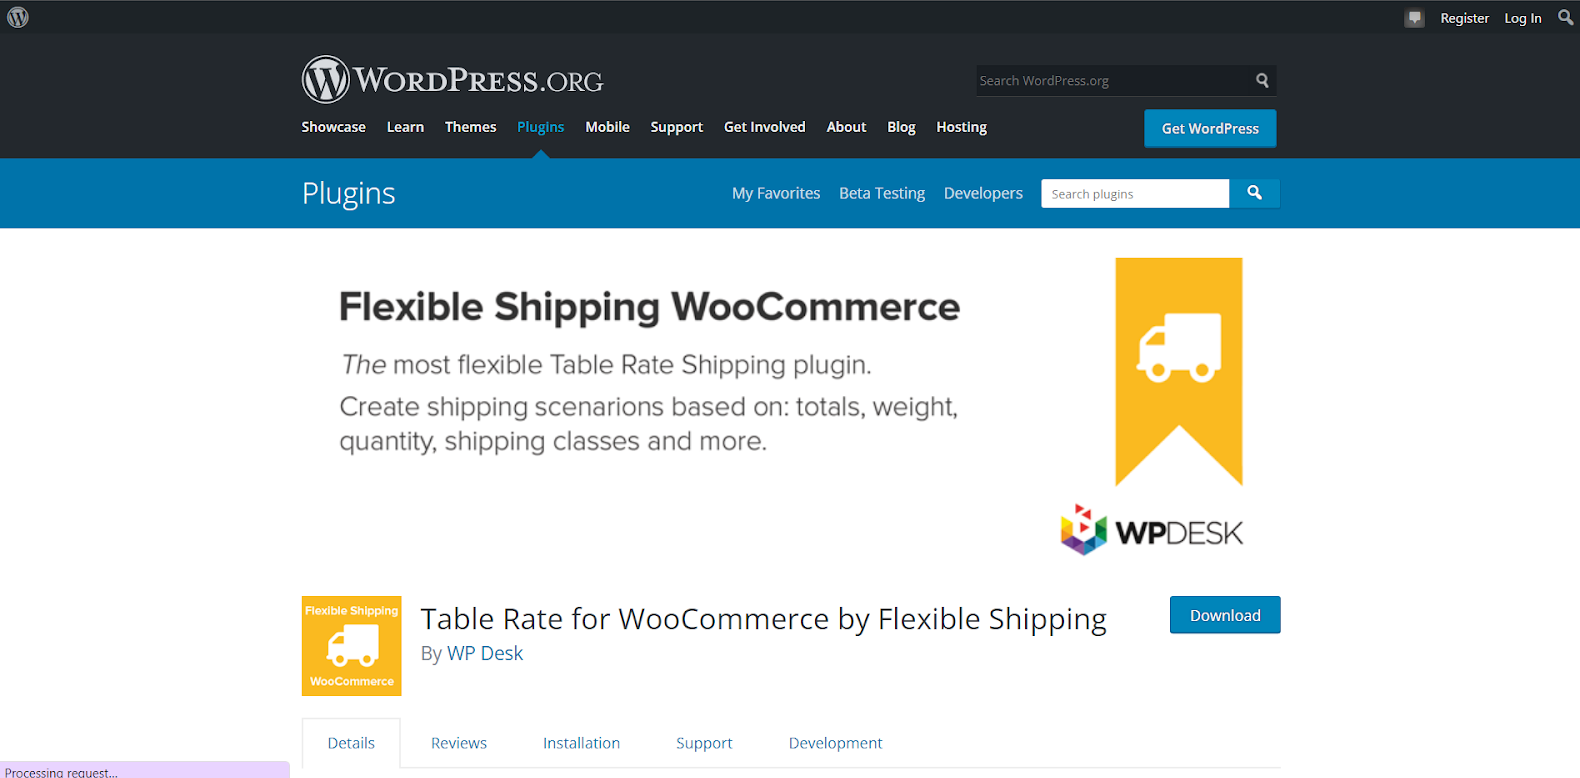
Table Rate for WooCommerce by Flexible Shipping
If you’re looking for a perfect weight-based or cart total-based shipping method, Flexible Shipping for WooCommerce shops must be the best choice. It is the most sophisticated delivery plugin available. With its PRO version, it becomes the most effective WooCommerce shipping plugin you’ve ever seen.
Key Features
- It has the option of showing a shipping strategy that is already set up for logged-in visitors.
- It also supports an unlimited number of delivery plans and cost calculation formulas
- Customers can calculate the cost based on several factors, such as cart total and weight, at the same time
- It will automatically notify you and your customers when any issues of shipping zone configuration come up
Pricing
Table Rate for WooCommerce by Flexible Shipping offers you a free version on WordPress. However, suppose you want to benefit from more outstanding features like delivery costs based on dimensional weight, product types or user role. In that case, we recommend you to go for its Pro version named Flexible Shipping Pro by WPDesk on the official website, which costs you $89 annually.
Rating: 4.9/5
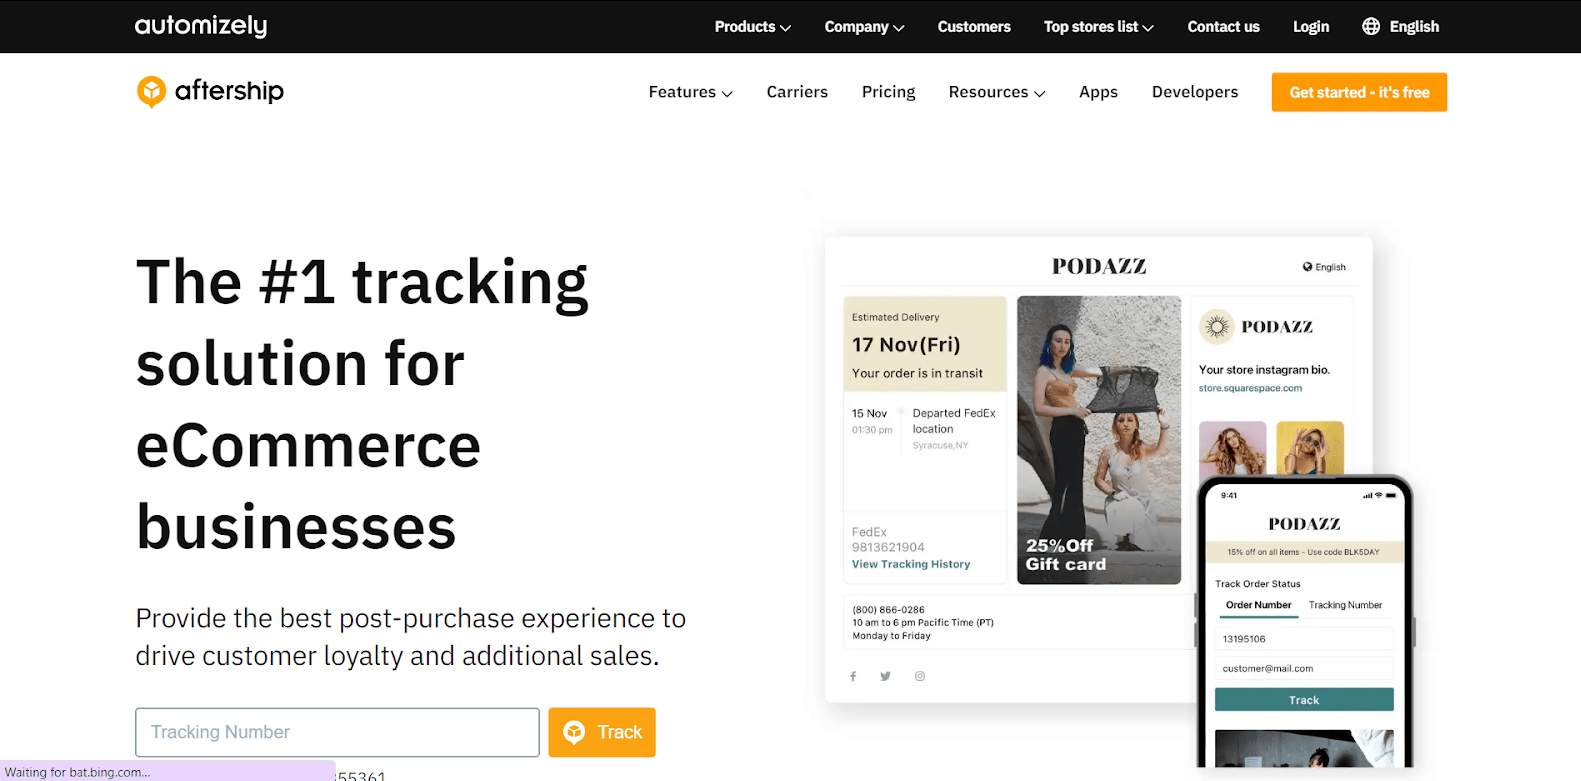
AfterShip
If you just want to add an optimal shipment tracking solution to your WooCommerce stores, it’ll be a good idea to choose AfterShip. It is among the best solutions to track your shipment. It keeps your clients engaged by tracking pages, delivering proactive order progress emails, and quickly adding the tracking capability for over 700 carriers.
Key Features
- All shipping data from various carriers may be managed in one spot.
- The expected delivery time is shown.
- CVS export is supported.
- You can customize email alerts based on delivery statuses such as in transit, ready for delivery, and so on.
- On the order history page, it enables tracking.
Pricing
AfterShip offers you 4 pricing options, among which you can start with the basic - Free version. However, if you want to optimize the shipment tracking experience for your customers and your crew, you can update this plugin.
Rating: 4.7/5
Conclusion
To sum up, it’s of paramount importance that you should set up a wise shipping strategy for your WooCommerce stores, which can help you leverage customer satisfaction. However, while WooCommerce itself provides users with basic delivery options, there’s a long list of available WooCommerce shipping plugins that can fit with your store and budget - 4 top-rated plugins are mentioned above.


