
How to Set up WooCommerce Freight Shipping

The customer’s experience is directly impacted by shipping, making it a critical element of a WooCommerce business. Technical and logistical obstacles make it one of the most challenging areas for eCommerce shop owners to succeed. The challenge keeps becoming harder when you have to deal with large-sized and overseas orders. That’s when WooCommerce freight shipping will be more helpful than ever.
In the article today, we will be informing you about another type of shipment called freight shipping and guide you on How to set up WooCommerce freight shipping. If this is what you and your customers are searching for, keep reading to find out!
Everything you need to know about freight shipping
WooCommerce freight shipping refers to the bulk cargo being transported via road, sea, or even air delivery system. Most of the products are placed onto pallets or big and robust containers then being delivered through a variety of transportation.
Types of freight shipping
Typically, on the basis of the weight and how the system works, online store owners can pick out one of the following five basic methods of WooCommerce freight shipping:
- Full Truckload (FTL): Anything that takes up the whole trailer, whether it’s a normal dry van or even a tanker, is considered full-load. The weight of the cargo often surpasses 15,000 pounds. A single big item or up to 26 pallets are possible. FTL shipments do not need a freight class to be assigned.
- Partial Truckload (PTL): Partial truckloads are shipments that aren’t large enough to fill a whole trailer with goods and supplies. As a result, transportation costs may be shared across many carriers. In the same way that full truckloads are typically point-to-point, half truckloads are usually loaded on one truck and remain there until they reach their destination. PTL freight is priced per mile, but your shipment’s size and weight are factored in. A PTL cargo does not require a freight class assigned to it.
- Less-than-Truckload (LTL): This is one of the most common types utilized for freight shipping. A shipment of less-than-truckload (LTL) contains anything from one to six pallets. In LTL freight transportation, eCommerce merchandise is often moved around from truck to truck as it makes its journey to its final destination.
- Intermodal: Although rail and truck intermodal transportation is most common, it may also include a mix of rail, trucks, and ships. Using rail as a freight transportation method may save money by reducing fuel consumption and shipping expenses.
- Expedited: If your cargo has to get there quickly, you’ll want to make use of Expedited freight, which often includes both trucking and flying. Expedited shipping is the most costly option for freight shipments.
Benefits of using freight delivery system
Up to the present, the total number of merchants using WooCommerce freight shipment is rising substantially more than ever. Let’s us explain why freight shipping is suitable for every eCommerce business in just a few bullet points:
- Secured: There is nothing more frustrating than shipping something only to find out later that it was delivered to the incorrect person. Also, if anything is on its way to you, there’s nothing worse than discovering someone has stolen your belongings. Freight shipping, contrary to popular belief, is one of the safest modes of transportation. Even while robberies on large cargo ships seem appealing to criminals, they are very uncommon, and your personal things are well-secured anyway. Specialized for large products: You probably need freight shipping since you are transporting heavy or bulky goods. Many essential delivery services have a weight restriction, even if it fits on a normal postal vehicle. However, with freight delivery, you don’t have to limit yourself to just one or two kinds of movement; instead, you may pick and choose according to your preferences.
- Customer service: There is a higher chance that you may lose your mail rather than your freight-shipping items. If that’s the case, the rarity of contacting someone who can assist you inside the postal service. In the event that a customer’s lost property is never found, customer service is a major issue. On the other hand, if you select freight shipping, you will be able to communicate with the individuals responsible for your delivery. You’ll be able to get in touch with them easily, and they’ll take care of any issues you have.
- Flexibility: The great thing about freight transportation is that you may opt to spend a little more money or a bit less to obtain what you need to be done. Choose to ship it via sea if you have extra time. Ocean transport is much less expensive than air transport. But if you’re on a tight schedule, it is maybe preferable to deliver by plane. Plus, with freight shipment, you may plan months to ensure that you receive the finest choice for you.
How to set up WooCommerce freight shipping
With all of the above outstanding factors, there is not a single reason for missing out on WooCommerce freight shipping, right? If you agree with us, it’s time to dig a little deeper.
This section will guide you through a tutorial on How to set up WooCommerce freight shipping within some basic steps. Along the way, there are detailed instructions and example images to compare the results easily.
Step 1: Install a plugin
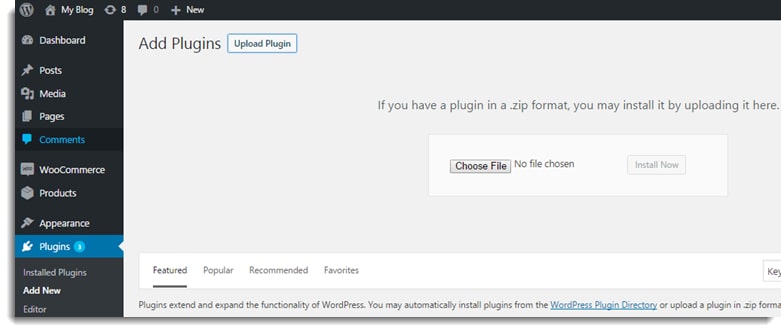
This must be the easiest step, especially if you have worked with WooCommerce for a while. For those of you who are newcomers, click on “Add to Cart” in the link right here and navigate back to your WooCommerce > Plugins > Add New page, click on the “Choose File” box in the center of the screen, just drag the .zip file that you have purchased previously:
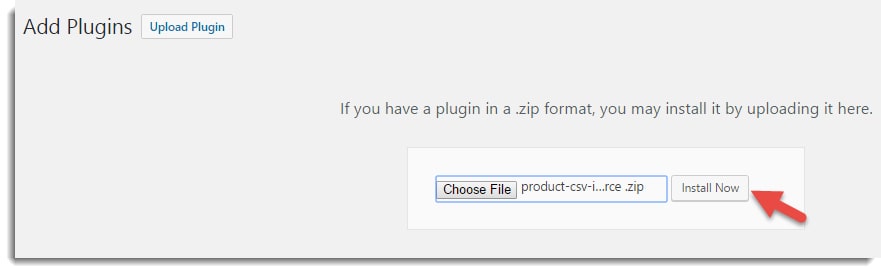
Then choose “Install Now” just like what we did here:
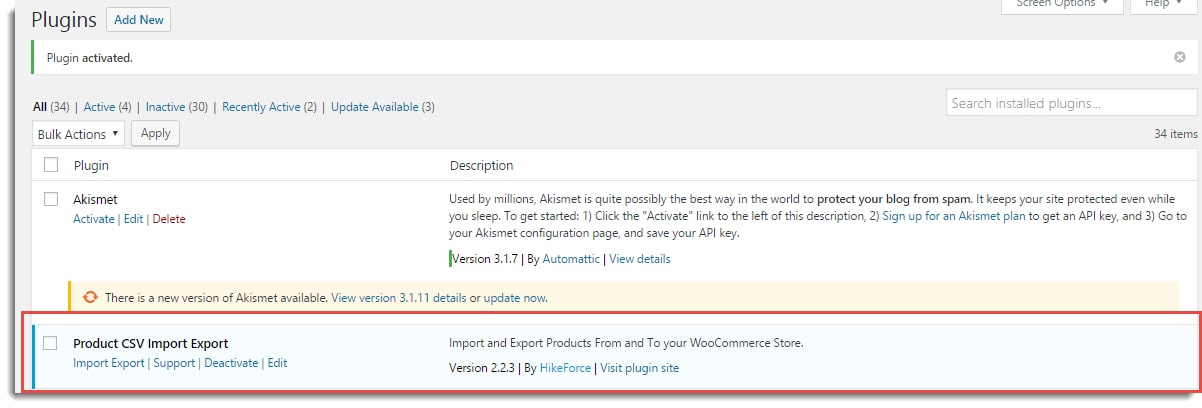
Continue to activate your plugin by selecting the “Activate plugin” option:

Once the installation is successfully completed, here is how your screen is going to look like:
Step 2: Activate the license (premium account only)
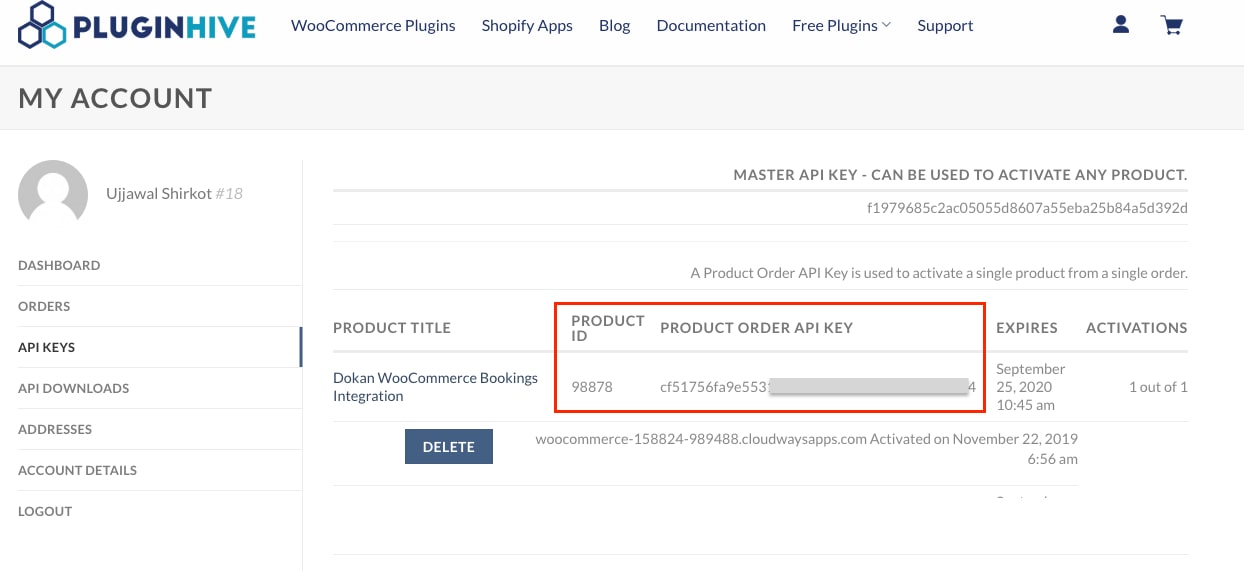
Once the plugin is installed, go to My Account > API Keys and enter the API Key & Product ID you received from PluginHive to activate it and start receiving timely notice about plugin updates:
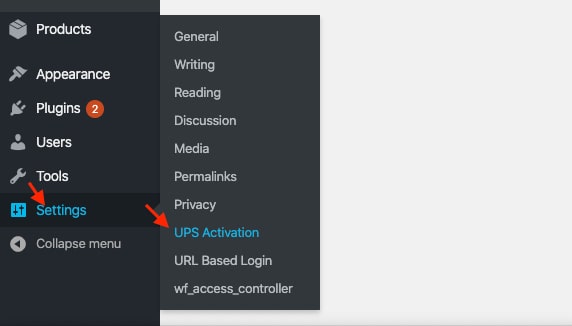
The next thing we need to do is go back to the WooCommerce Dashboard and choose Settings > UPS Activation from the left-handed sidebar:
Click on “Save Changes” after entering the API License Key and Product ID in the API Keys Activation section:

Step 3: Register for UPS
You must first register with UPS to get access to UPS real-time data. In order to do so, go to UPS.com and sign up for a new account to collect your account detailed information. When you’ve finished the process of registering, UPS will send you an email with your User ID, Password, Access Key, and Account Number.
With those details, continue to create an account for My UPS. That’s when you will be able to access the User ID, password, Access Key and UPS Account Number. These are the generic settings fields that need to be filled up:
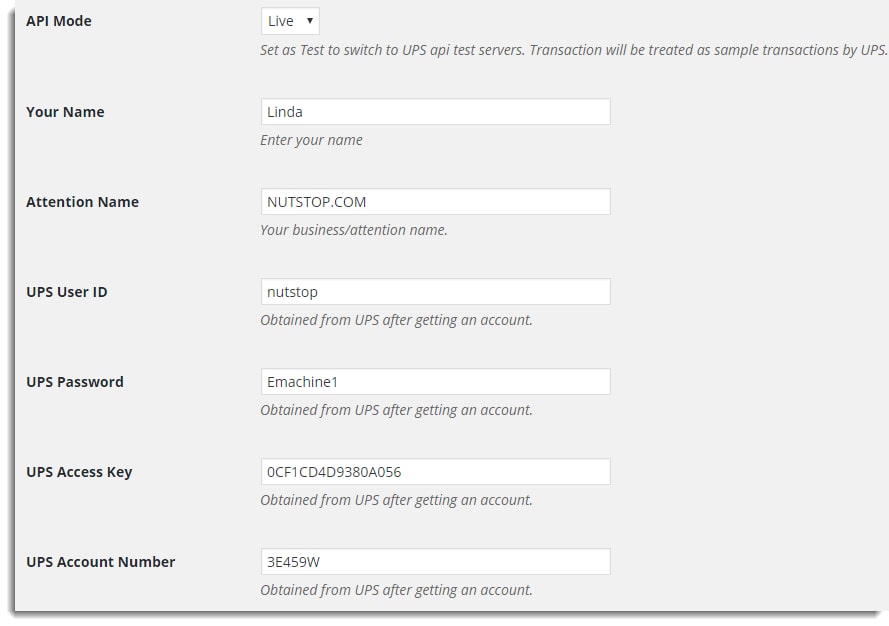
- API Mode: This option allows you to specify whether or not real-time rates and printed labels should be obtained through API. The choices that are open to you are as follows:
- Test: The UPS API is used in test mode to make some test purchases and print some sample labels, but no actual money is exchanged.
- Live: When making a purchase or printing a label, the Live mode is what you want to utilize.
- Your Name: Identify yourself by using the name you used when you enrolled for UPS services.
- Attention Name: you may put your company name for this field
- UPS User ID, Password, Access Key, Account Number: fill in the information that UPS has provided previously.
Step 4: Enable Freight Settings
By navigating to Settings page from your WooCommerce Dashboard, you can see there is an “Enable” checkbox for the “Freight Services” as in the below image:
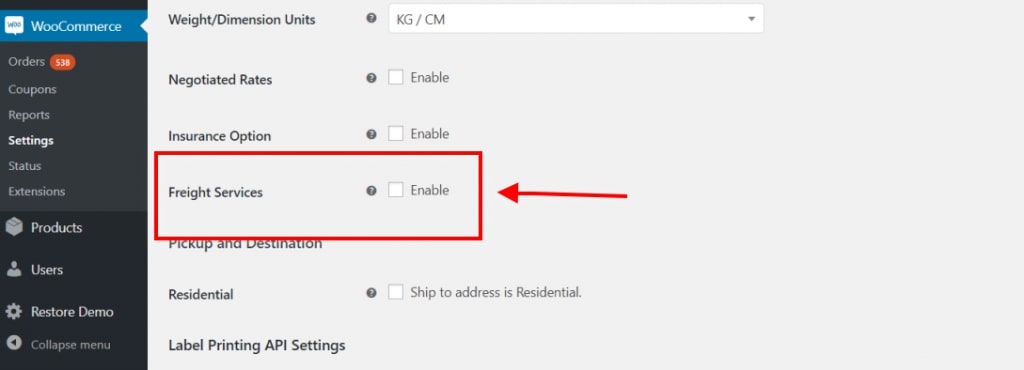
The following UPS Freight shipping services will be activated automatically after you select this option and save your preferences:

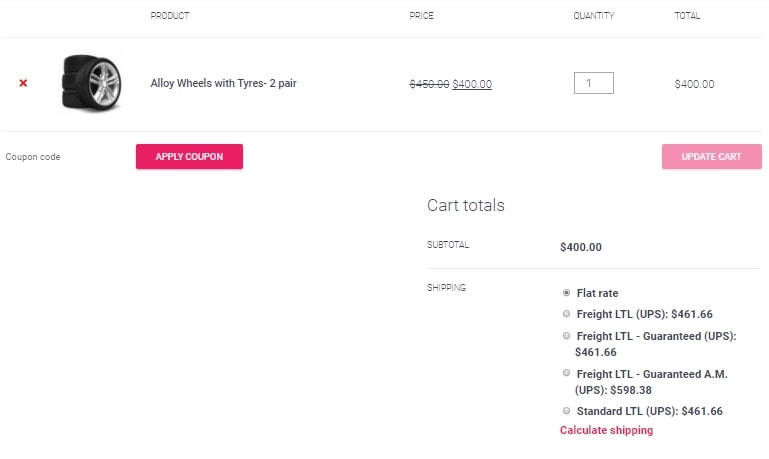
You should see the shipping costs on the Cart/checkout page after you’ve finished setting everything up. Here’s what your shopping cart page will look like after you’re done:
Step 5: Limit the product weight
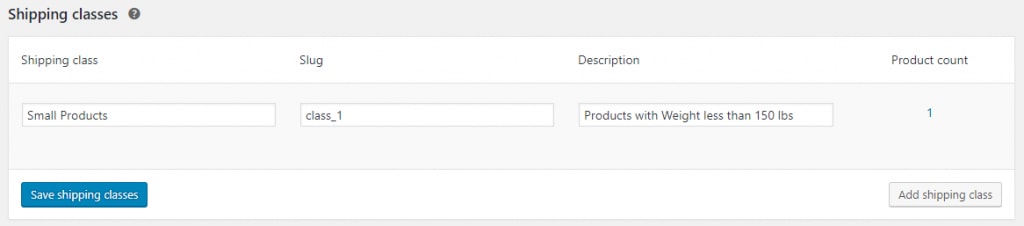
Besides solely activating the WooCommerce freight shipping mode, online store owners can limit the weight and size of any product shipped via freight delivery. You can create your own a “Shipping class” with any item less than 150lbs just like what we did here:
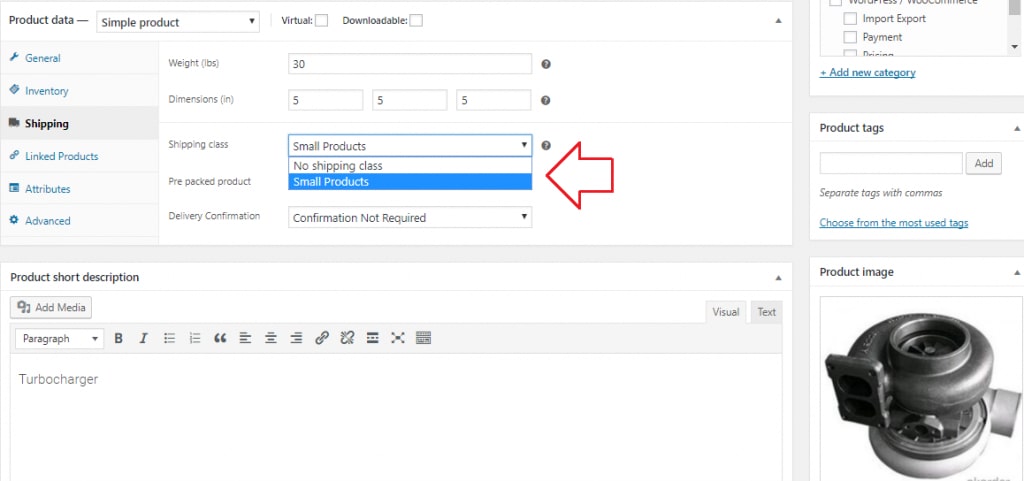
Add goods to the shipping class you just created:
You’ll need to include a code snippet from this site if you want to make UPS Shipping Plugin work better for freight services.
Step 6: Check out the result
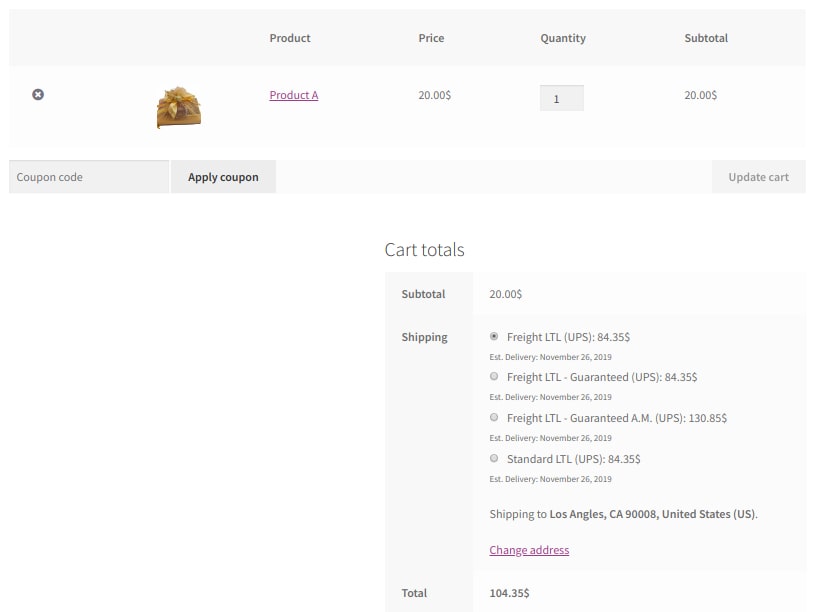
As a result, customers may see both standard and freight shipping choices when they pick an item from the Shipping Class- Small Products. Here’s an example of what I mean:
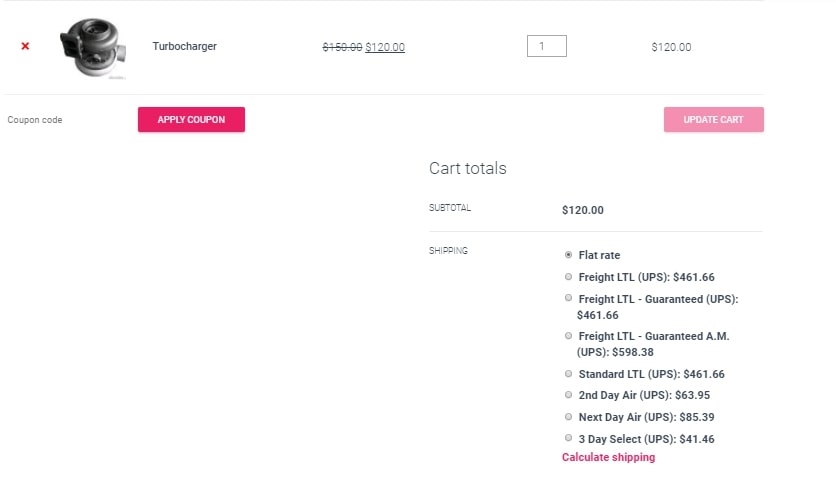
But when the source codes are added, the cart might look a little bit different. Different UPS Shipment options will be available to clients depending on their weight and shipping class, such as in the image below:
Top 4 best plugins for WooCommerce freight shipping
WooCommerce customers may choose from a wide range of freight shipping plugins, since almost every respectable vendor has developed one for the platform. Just in case, the “WooCommerce UPS Shipping Plugin with Print Label” we used in the tutorial did not exactly match with what you are looking for, these might be their best alternatives:
ELEX USPS Shipping Plugin with Label Printing
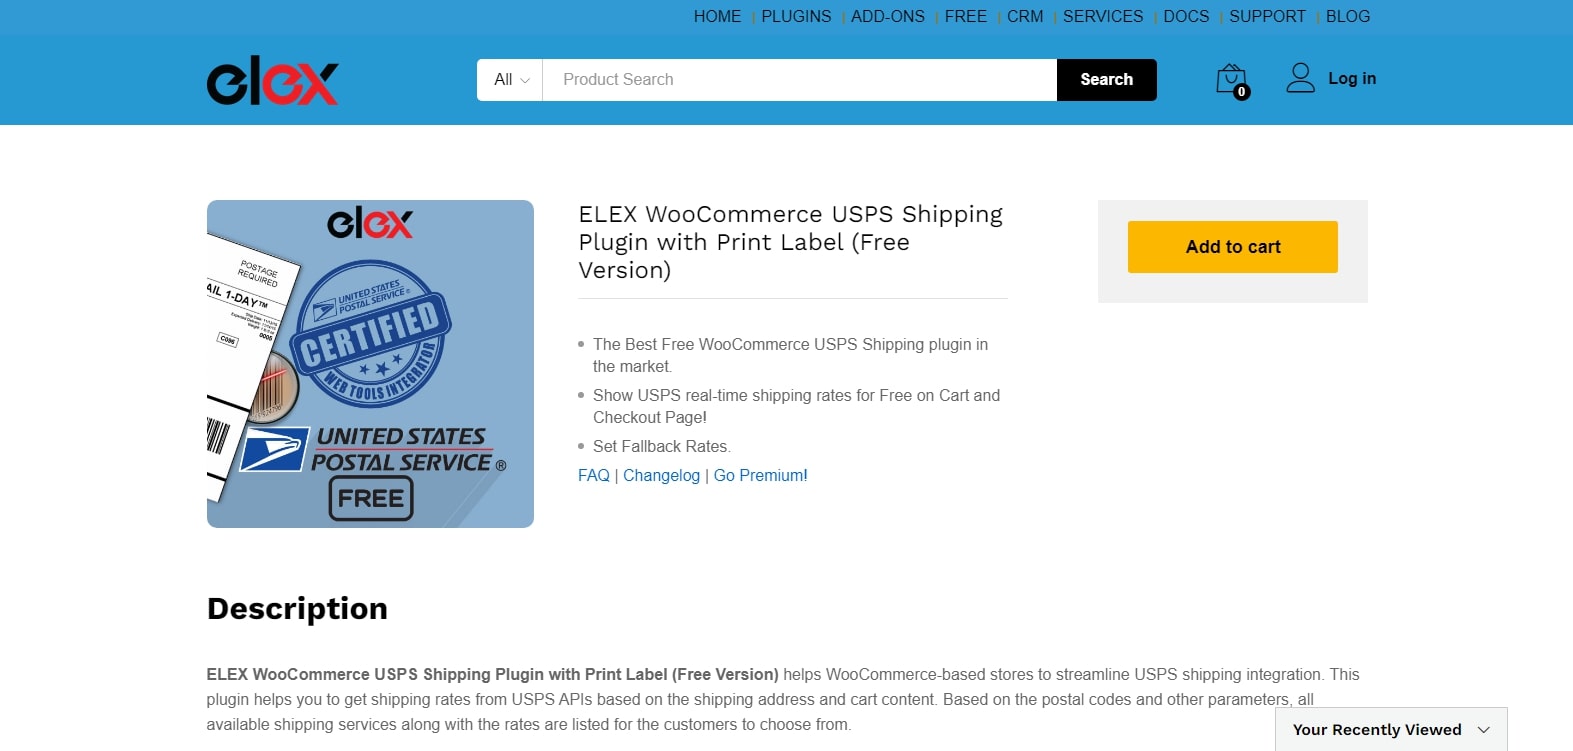
With ELEX USPS Shipping Plugin with Label Printing, free USPS API rates are shown on your shopping and checkout pages. Normal and reduced prices will be available for usage in your business. If the API does not provide rates, a fallback rate may be specified. Additionally, you’ll have the choice of seeing all tariffs or only the lowest ones. When using the premium ELEX USPS Shipping plugin, you can print eVs labels and track shipments. If your shipment volume is modest, you may integrate USPS shipping completely using the ELEX Stamps.com plugin.
Outstanding features:
- Make shipping costs available to your consumers in real time, depending on the location and weight of their orders, and the dimensions of the items being sent.
- With the premium version, you’ll also have access to excellent extras like an in-depth USPS package tracking tool.
- If the API does not provide live rates, set a fallback rate to keep consumers happy.
Flat Rate Shipping Plugin For WooCommerce
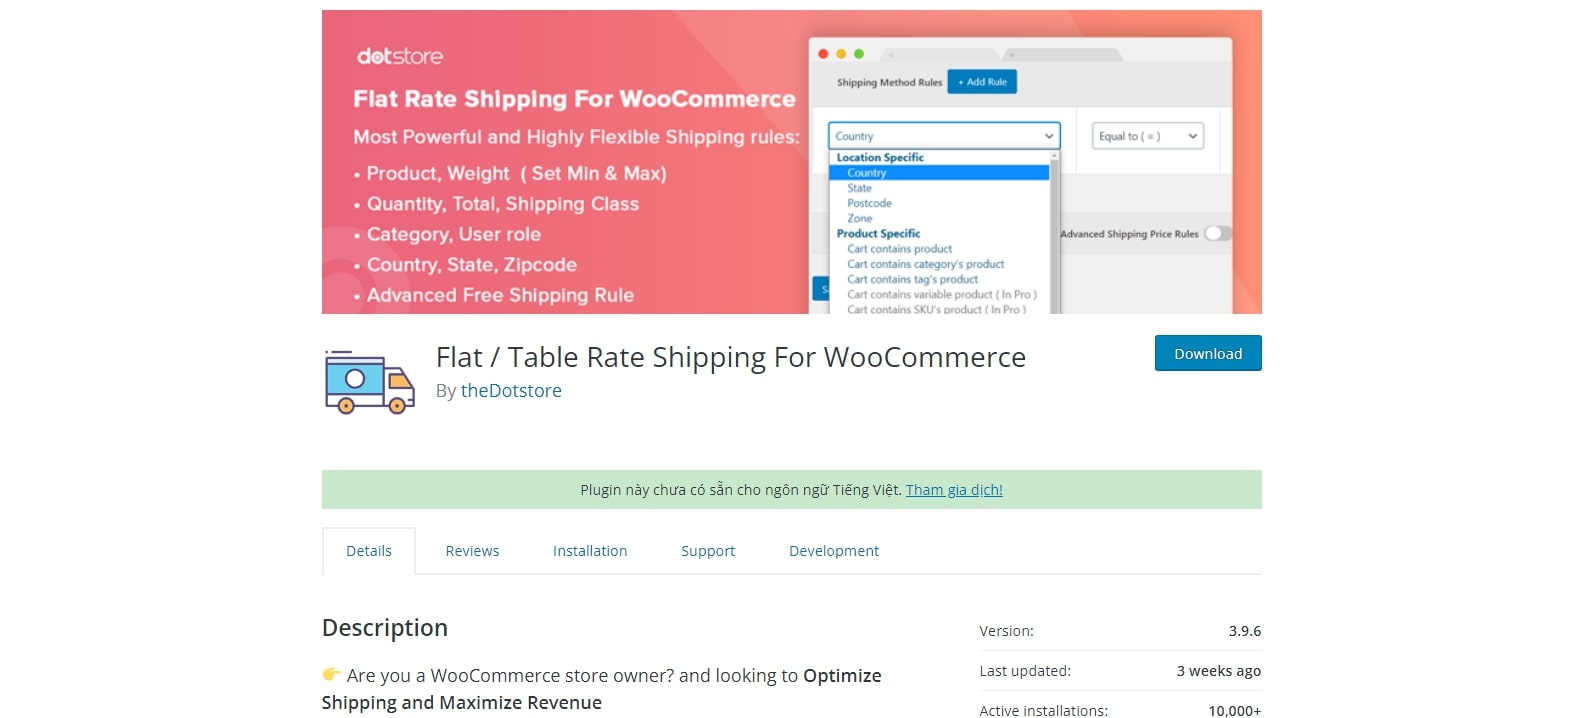
Flat Rate Shipping Plugin For WooCommerce lets you establish various shipping options depending on many criteria, like the product, category, country and quantity. If your business sells a wide range of goods and services, this plugin may assist you in keeping track of shipping costs.
Outstanding features:
- Estimate the tax based on the chosen shipping method.
- Supports a range of delivery options, including cost-based and flat-rate options.
- Remove any shipping methods that were previously set up in the backend.
- Set the shipping method’s tooltip explanation.
WooCommerce Advanced Shipping
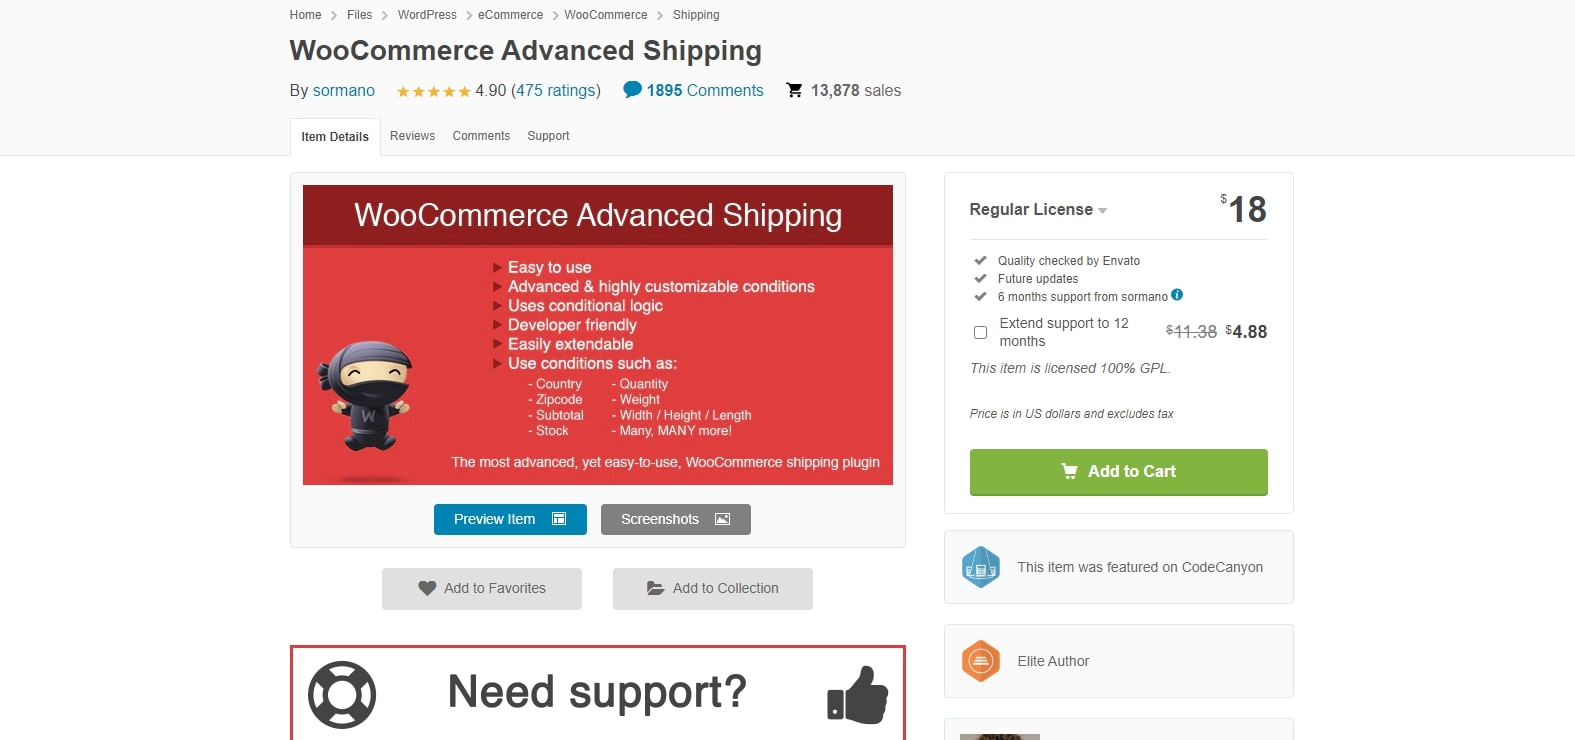
At WooCommerce Advanced Shipping, a variety of WooCommerce freight shipping conditions for prices are supported, including the number of items, user roles, shipping class, and category, as well as product weight. Extensions like Shipping Zones and Advanced Pricing improve the plugin’s performance even more.
Outstanding features:
- This plugin does not need any coding knowledge on the part of the user.
- Allows for an infinite number of shipping options to be used.
WooCommerce Shipping Plugin for FedEx with Print Label
Using the WooCommerce Shipping Plugin for FedEx with Print Label, you can fully automate FedEx shipping from your WooCommerce store. In addition to displaying shipping prices on the cart/checkout page, the module allows you to pay for postage and print mailing labels directly from WooCommerce, automatically identify boxes for packing goods, and monitor shipments. If you are using FedEx, this module is a great choice for setting up WooCommerce freight shipping.
Outstanding features:
- As soon as the order is placed, generate FedEx shipping labels manually or automatically.
- Find out how much FedEx Shipping will cost you right now.
- Owners can ship both domestically and globally.
- Provide FedEx Services with an estimate of delivery time.
- Personalize Customer and Store Email Notifications
- Delivery tracking in real-time by FedEx
Wrapping up
Hopefully, our article on How to set up WooCommerce freight shipping has helped you gain a deeper understanding of freight shipping and execute an excellent shipping plan in the future. Leave a comment below if you have any questions related to the topic we covered above.


