
How to Create a Course on WordPress with Sensei Plugin

If you have specific knowledge on a field, you may want to consider an eLearning site as an eCommerce option. To teach your students online, develop a website. Many tools are available to assist you in creating an eLearning website. Many intriguing plugins are available for WordPress sites that will help you build eLearning courses in an organized manner. If you want to develop courses quickly, you can try out Sensei, a popular WordPress Learning Management System.
In this article, I will show you How to Create a Course on WordPress with Sensei Plugin to upgrade your online store ultimately!
Benefits of Sensei plugin
Sensei is a learning management system platform as well as a WordPress Learning Management System plugin from WooThemes. It interacts seamlessly with WooCommerce to control the sale of courses as part of the WooThemes range of plugins and extensions. Many websites choose Sensei because of the benefits indicated below:
- They already have WooCommerce set up for their business, so adding Sensei to design, deliver, and administer online training courses is a natural fit.
- Sensei allows students and teachers to continue with school, professional training, and other online learning systems from the comfort of their own homes, which is one of the most timely advantages despite the fact that we had to go into quarantine and practice social distancing.
- Because Sensei does not have the same overhead requirements as in-person learning, it can also help schools and organizations save money on training.
- You can learn from anywhere, including when your personnel is on the road. These methods can also help you track your employees’ progress and encourage a culture of continual learning.
Features of Sensei plugin
- Go with any theme:
Unlike most plugins, Sensei works alongside your current theme rather than replacing it. It works particularly nicely with WordPress’s “Definition” theme.
- Lessons and Courses:
You will be working with lessons rather than courses with Sensei. As a result, ‘Lessons’ is the most popular menu item. This often leads to misunderstanding.
- Make fantastic quizzes:
You may use Sensei to develop courses with fantastic material and videos incorporated in them. It also allows you to build quizzes to track your students’ progress.
- System of Certification:
Another extension for distributing certificates is required by Sensei. Certificates can be managed so that they are only given to students who have completed the course.
- User-friendly:
Both you and your students will find Sensei to be simple to use. The registration process is simple, and each user has their own account dashboard.
- Excellent User Interface:
Creating courses with Sensei is as simple as writing articles or blogs in WordPress, and there are no other tools required.
- Take care of your safety and security:
For security reasons, Sensei understands the importance of knowing your learners’ identities. The plugin ‘Duo Two Factor Authentication’ takes your users through a two-step verification process.
It is a perfect match for WooCommerce: Integrating WooCommerce and Sensei, which are both built by the same business, is a breeze. You may use the WooCommerce Paid Extension to not only teach but also earn money from your courses.
How to Create a Course on WordPress with Sensei Plugin
Step 1: Sensei plugin installation and activation
You must first purchase and install the Sensei plugin on your site. It may be installed in the same way as any other WordPress plugin. After you’ve installed it, you will need to activate it using the WooCommerce key.
1. Sensei pages
Select ‘Install Sensei Pages’ after activation to add the specific Sensei pages to your site. This looks just like the WooCommerce pages you view when you first install the plugin. By default, Sensei creates two pages.
2. Courses
This page will show you all of your courses on the site. This can be added to your site’s navigation menu. It’s basically a blank page that Sensei automatically identifies and displays correctly. On this page, there are numerous filter options to help students discover the courses they are looking for. ‘All,’ ‘Featured,’ ‘Free,’ and ‘Paid’ are some of the filter possibilities.
3. My courses
My Courses is another new feature that Sensei adds to your site. If a user is logged in, this will show their course history and current courses. It will prompt the user to log in if they are not already logged in. A shortcode called [sensei user courses] will be immediately added to the My Courses page when you install the Sensei pages. However, this page won’t have any content until you publish classes and courses on your site.
4. Courses addition
Adding courses is one of the first things you can do with Sensei.
Go to Courses > All Courses, to make a new course, click Add New.
You can construct a title and content in the designated fields, just like any other post. You will also have the option of including an excerpt. You can add any type of stuff here, such as text, images, videos, and so on. Essentially, it should provide users with a clear picture of what they may expect to find in the course.
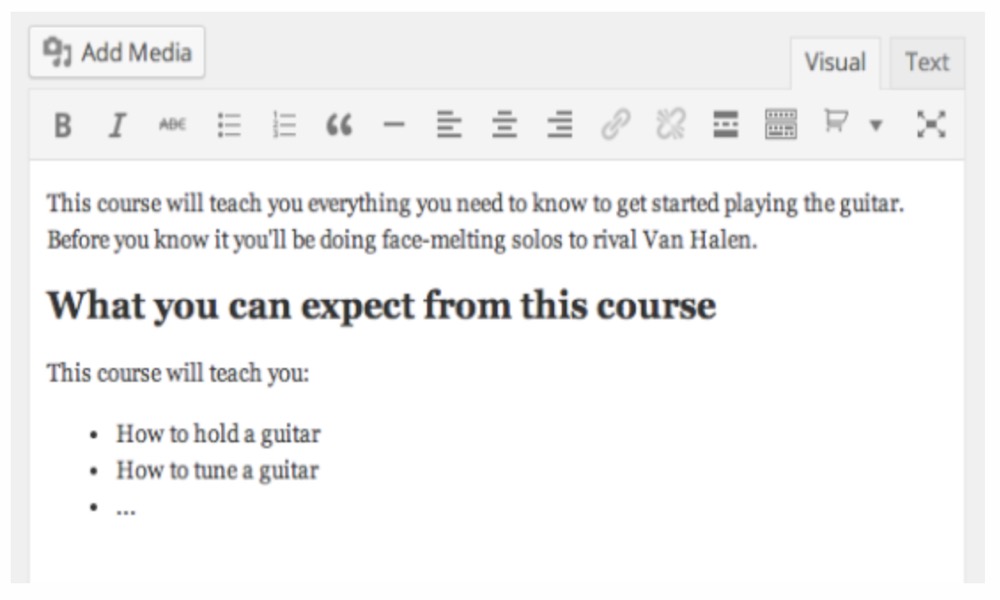
Meanwhile, the snippet will be a brief summary of your services that will immediately inform the audience.
You have control over how the course content is displayed to visitors to your site’s front page. It can be the entire description or only a portion of it. From the drop-down menu, select the desired choice.
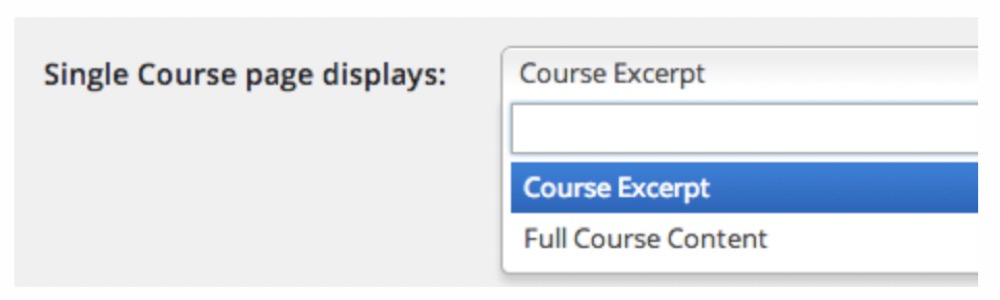
You can choose to show the complete course description or simply the extract, depending on your strategy. You can assign a course to a certain category in the same way that you can add categories to a WordPress article. If none of the existing categories fit, you can create a new one.
Step 2: Prerequisites for the course and the featured image
You can choose an appropriate one if you want to set pre-requisites for your course. Only users who have completed the prerequisite will be eligible to enroll in this course.
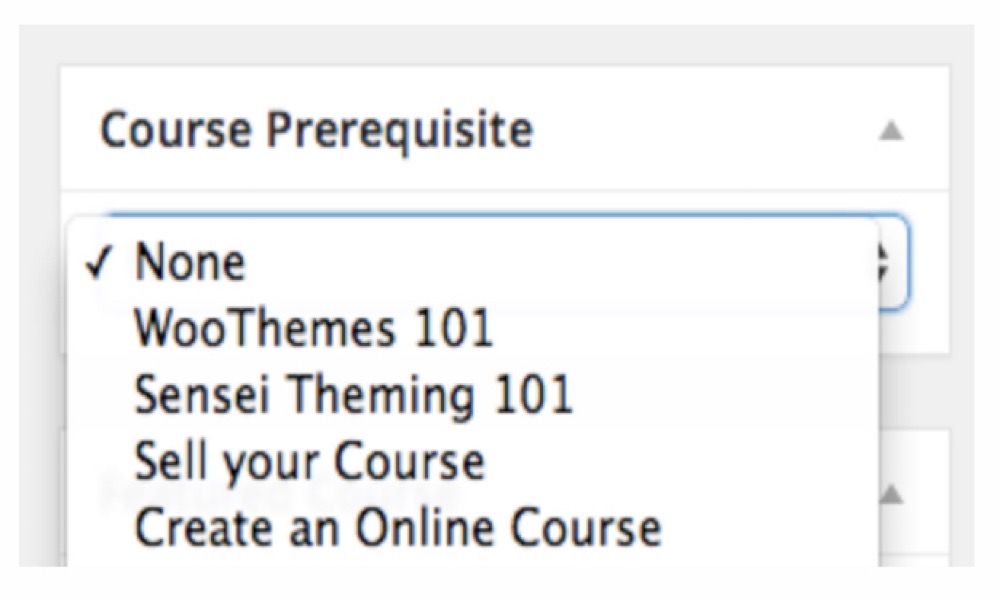
You may also choose an image to display as the course’s featured image. You can also make the course featured so that it appears when someone uses the ‘Featured’ filter on the courses page.
Step 3: Lessons creation
You can create Lessons in the same way that you can build Courses. Go to Lessons > Add New to do so. This will result in the creation of a new lesson. You have the option of adding a title, text, and excerpt. The excerpt will be available on the single course page under the specific lesson title.
1. The length of lessons
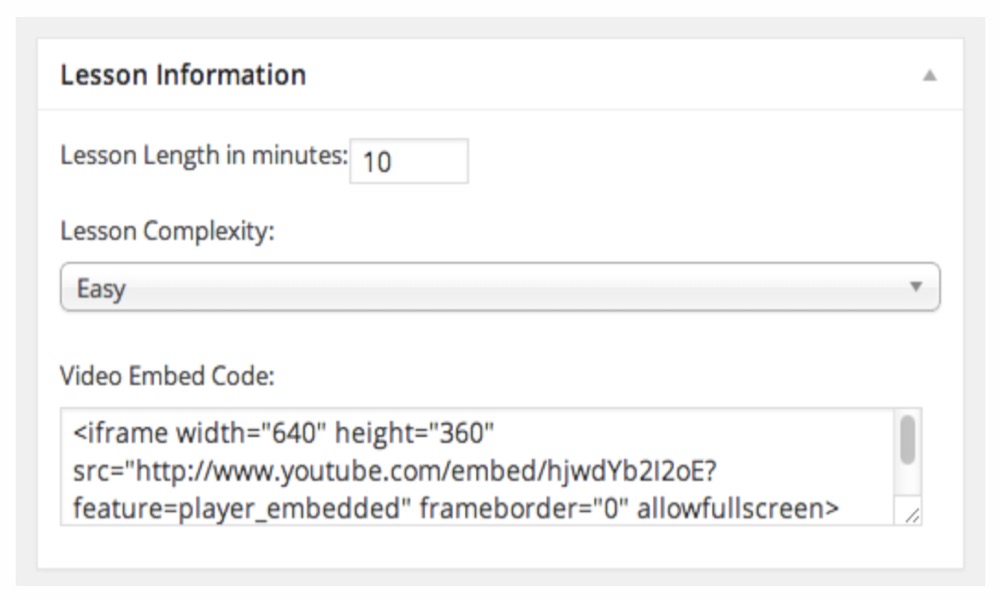
Sensei also gives you the option of adding extra information to each class. This manner, you can include both the length of the lesson (in minutes) and the level of difficulty. The difficulty levels are selected from a drop-down menu and include Easy, Standard, and Hard. It also has a space for entering a video embed code. This is useful if you want to include a video that is related to the lesson. You should keep in mind, however, that Sensei cannot protect video content. You may need to find another solution if you want to make the film available only to premium clients.
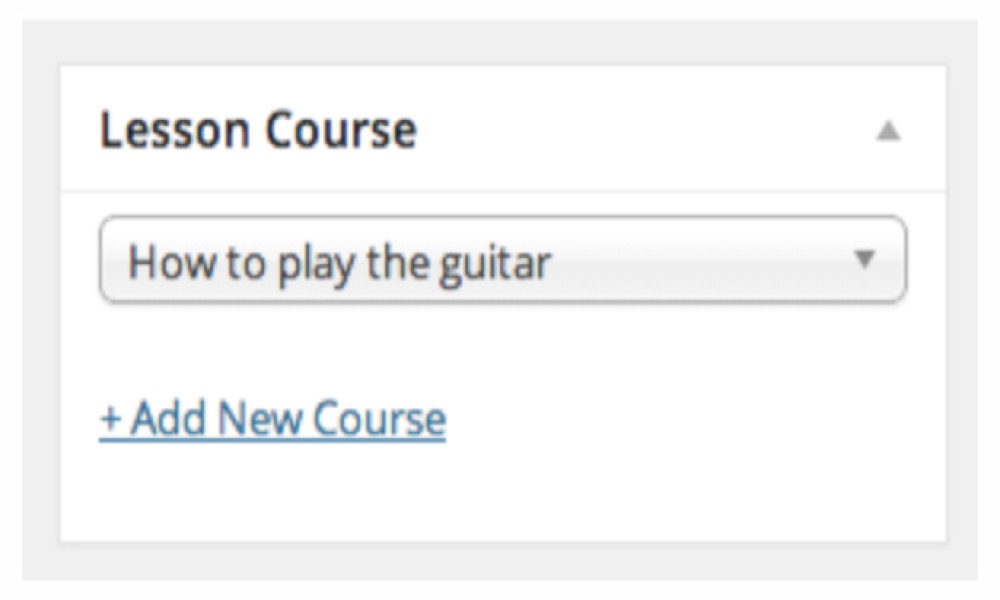
2. Lessons connection to a course
After you’ve created a lesson, you will need to associate it with a course. Before beginning the lesson, you may have already established a course. If you haven’t yet established a course, you can do so by clicking the Add New Course button. The drop-down menu that allows you to link a lesson to a course will show all of the available courses.
3. Prerequisite settings
You can specify a prerequisite for each lesson in the same way that you can for courses. This can be done in the ‘Lesson Prerequisites’ section. Once you’ve established a prerequisite, learners who haven’t met it will see a notice instructing them to do so first.
4. Modules addition
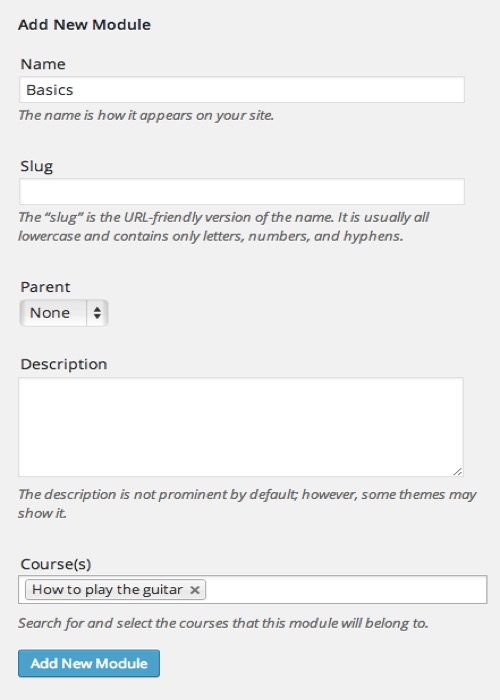
Courses > Lessons is the primary Sensei hierarchy. Modules, on the other hand, can be used to add a third level between the two. Each course may contain an unlimited number of modules, and each lesson within a course may be assigned to just one module. Modules are essentially used to group classes together. You might, for example, have a course that teaches people how to play an instrument. Beginner, Intermediate, and Expert modules are possible. According to the nature of the lesson, you can place the course’s lessons in the relevant module.
By going to Courses > Modules > Add New Module, you can do a module. Here you can select routine options such as name, description, and so on. You’ll also notice an opportunity to specify the course that can use the particular module. This can also be done via the Course edit page.
5. Lessons integration with a module
To do so, go to the lesson’s edit page and make the necessary changes. There is a drop-down menu of possible modules under the option ‘Lesson Module’. You can select the most relevant option.
By default, Sensei presents modules in a course in alphabetical order. Simply navigate to Courses > Order Modules to modify the order in which they are shown. You can drag and drop the modules into the appropriate order for your course.
This is the core setup for using Sensei to create an online course. After that, you can design quizzes and question banks to help you analyze each student’s progress. Additionally, Sensei extensions can be used to provide features like as completion certificates and content pouring. In a later piece, we’ll go over other features of a Sensei eLearning course.
Wordpress Sensei plugin error
There are several plugins and themes that Sensei may conflict with. This will result in 404 errors or other unexpected behavior on your website if you have these themes/plugins active at the same time as Sensei.
Conclusion
Sensei is a fantastic plugin for creating an eLearning course on your website. It provides you with a great deal of versatility and scope for dealing with various types of courses. You may use WooCommerce to offer your classes a paid option for students. You can also utilize the Sensei extensions to add further functionality to your courses. The most crucial thing to remember about Sensei is that its interface will be very intuitive and attractive to WordPress users.
I hope you will find this article about How to Create a Course on WordPress with Sensei Plugin fundamental!


