
How to Add a Product Filter in WooCommerce

For many visitors to your e-commerce site, it isn’t easy to know precisely what they are looking for. On the other hand, even if they know what they want, it might take an amount of time to look for the exact product. Filtering options let customers get to a particular product fast in either scenario. A decent search option may do the job, but organized search options help customers find specific items and groups of products. Currently, most eCommerce store owners have not recognized such problems to solve or deal with them. Don’t worry, you have come to the right place!
Today, the article will inform you about How to add WooCommerce product filters to your website, along with several plugins for you to choose from. Keep reading to find out more!
Why should you use WooCommerce product filters?
Finding precisely what you are searching for at an online shop is sometimes challenging since there are many items. It will become a turn-off in your customers’ eyes as they have to scroll a lengthy list of products instead of filtering what they want.
When this problem arises, WooCommerce products filters are what you are looking for. With the help of these filters, your consumers can locate the precise product in a shorter period of time.
One more reason why there should be WooCommerce products filters on your website is that it is an excellent strategy for growing profits and revenues.
How to add WooCommerce product filters to your store?
Understanding the importance of WooCommerce product filters may make you curious about how to set up these helpful features for your store. Fortunately, we have made a comprehensive tutorial divided into small basic steps for you to follow. Let’s get right into it!
Step 1: Install the plugin
First of all, you need to have the “Product Filters” filter added to your WooCommerce account in order to make use of them. All you have to do is go to Plugins > Add New from WooCommerce Dashboard and fill in the name of the plugin into the search bar. Continue clicking on “Install Now” and “Activate” then you are ready to move on step number 2!
Step 2: Adding the element to your filter
Now you can go to WooCommerce > Filters and see two panels like in the image below:
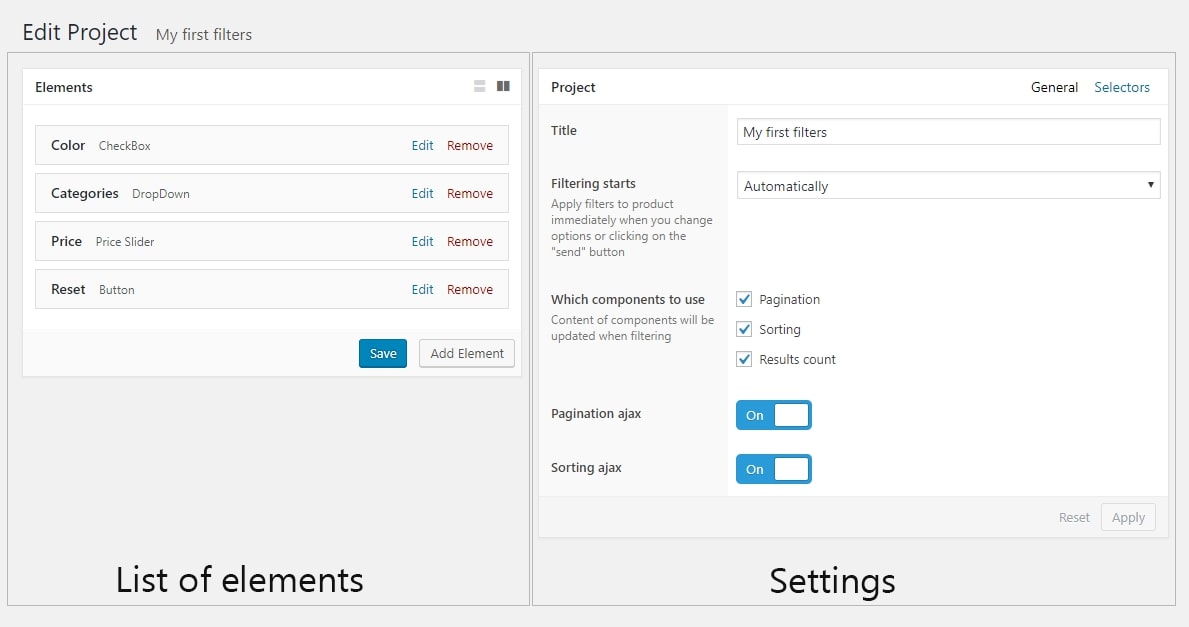
For the left side, if you click on “Add Element” then WooCommerce will introduce you to a list of elements separated into “Field” (components involved in screening goods) and “Layout” (elements that are responsible for layout). All of the contained elements will be explained clearly in the next step.
And for the right side, you will be able to adjust the current element or project settings. They have all been set as the default mode, so feel free to customize them based on your preferences. Don’t forget to click “Save” before leaving the site!
Step 3: Explaining the elements
As you can see in the previous step, there are a plethora of elements and fields for online merchants to decide. Here are some of their most iconic ones:
List Element
- Title: the header of the list that will be shown at the top of the screen Clients that have gained a deep knowledge of the element filter apply it.
- Query Type: give your customers the permission to apply multi filters at once.
- Multi select: Turn multiple selection on/off.
- Source of items: choosing a source of goods to build a filter out of that list
- Attribute: the attribute of which the items be chosen
- Category: provide them the option to choose subcategories for the chosen primary category, or display all subcategories of all primary categories.
- Taxonomy: select the taxonomy category of the wanted items.
Price Slider Element
- URL format: the URL links of attributes
- Display Title: how the titles for elements are displayed
- Display toggle content: a toggle to turn on/off the content displayed
Button Element
- Action: a button on-screen command
- CSS Class: CSS Class for the elements
Simple Box Element
- Default toggle state: hide or unhide the state of elements
Columns Element
- Width: adjusting the width of each column in percentage or pixels
Step 4: Set up a product filter for Archive page
Last but not least, this is much quicker than designing your WooCommerce product filters previously. Entering the “Filters” tab on your WooCommerce > Setting > Products page, scroll down until you see the “Product archive filters” section. At this stage, choose the project that you wish to make available on your Product Archive page. Once you are done with that, “Save changes” and you are good to go!
Top 4 Best WooCommerce Product Filters modules
While there are a number of WooCommerce product filter plugins you may integrate into your shop, you have the freedom to choose any of them. In WooCommerce plugins store both free and priced versions, the decision on which plugin to use relies on your specific needs and budget. You can check out our list of the top 4 best WooCommerce product filters modules to pick out the best one for your store:
Products Filter for WooCommerce (WOOF)
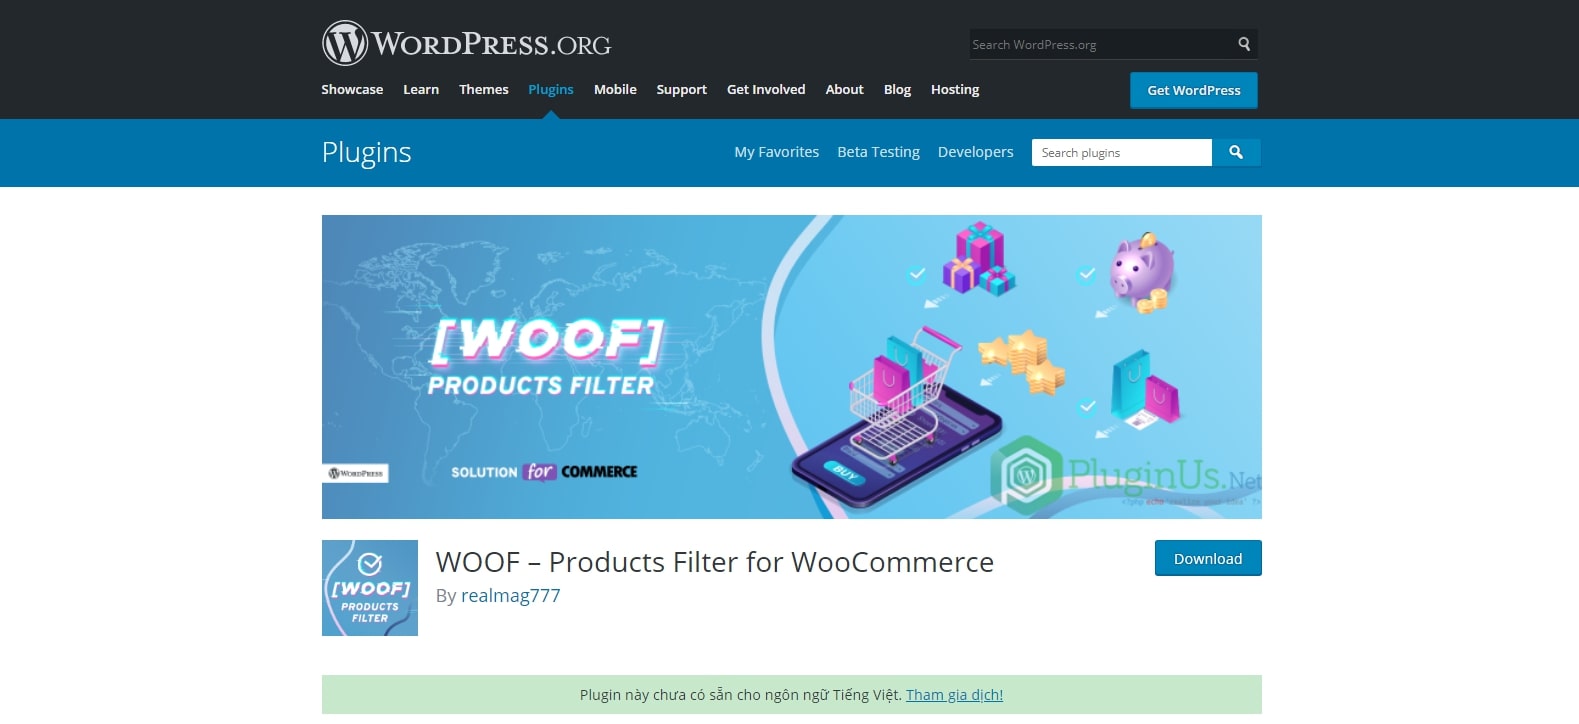
This is also the plugin that we have used to set up WooCommerce Product filters in the previous section of the article. Up to the present, WOOF is currently one of the best-selling plugins for WooCommerce online merchants. With no penny having to be paid, users can filter their search bar by categories, tages, taxonomies, prices and attributes. Some of its most outstanding features are:
- Your site will seem more professional with interactivity such as a price slider, checkbox list, radio list, drop-down, color list, box list, text list, etc.
- Extra widgets for displaying elements purposes
- Only offered native WooCommerce API
- Compatibility with WooCommerce Currency Switcher and Products per Page
Advanced AJAX Product Filters
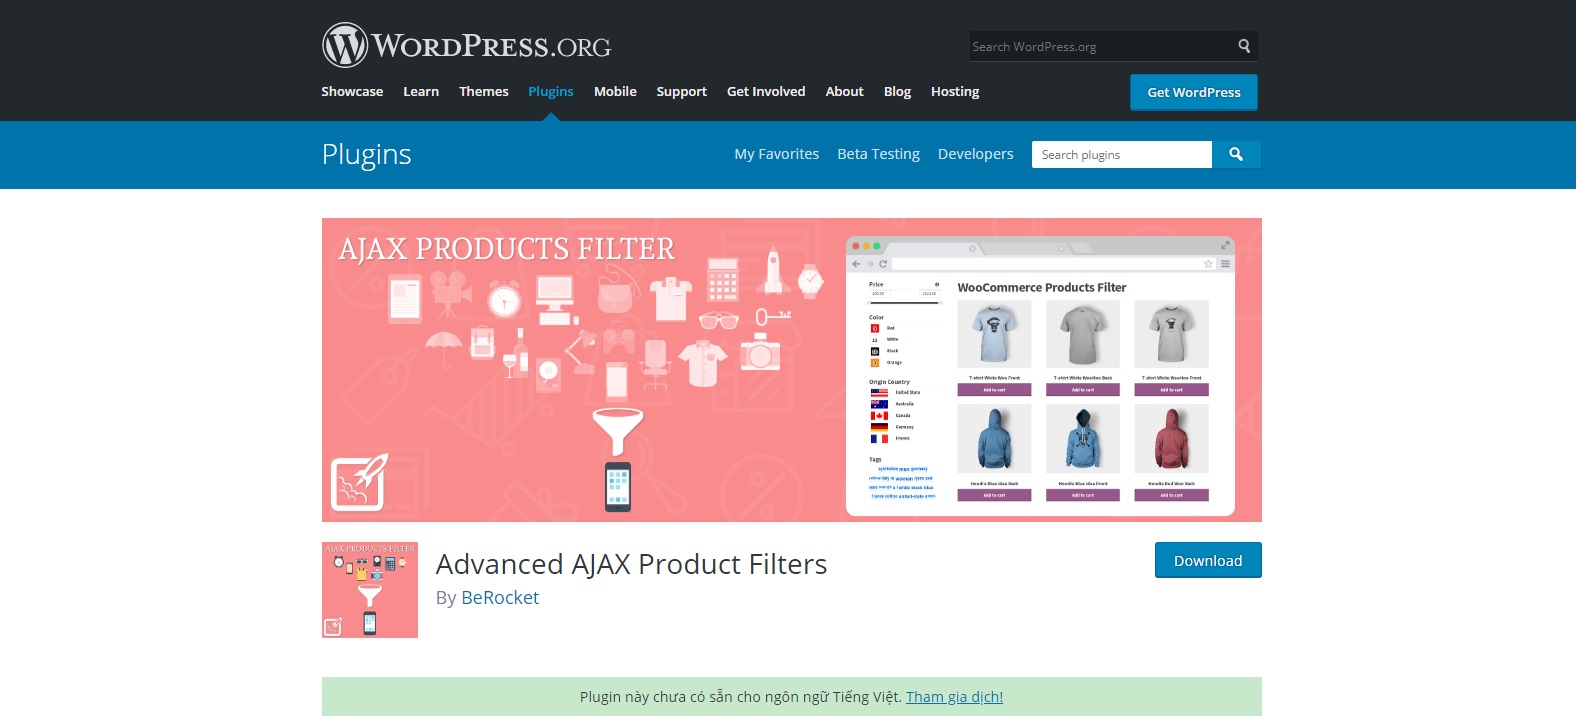
Another plugin designed to provide WooCommerce product filters that must be included in your list is Advanced AJAX Product Filters. E-tailers can quickly add up unlimited filters using widgets as well as create custom taxonomies, tags, and categories. One more thing, these features coupled with the following are completely free:
- SEO and user friendly
- Administration-page custom CSS may be applied.
- In order to establish prices, a user may set a value for the Price Slider.
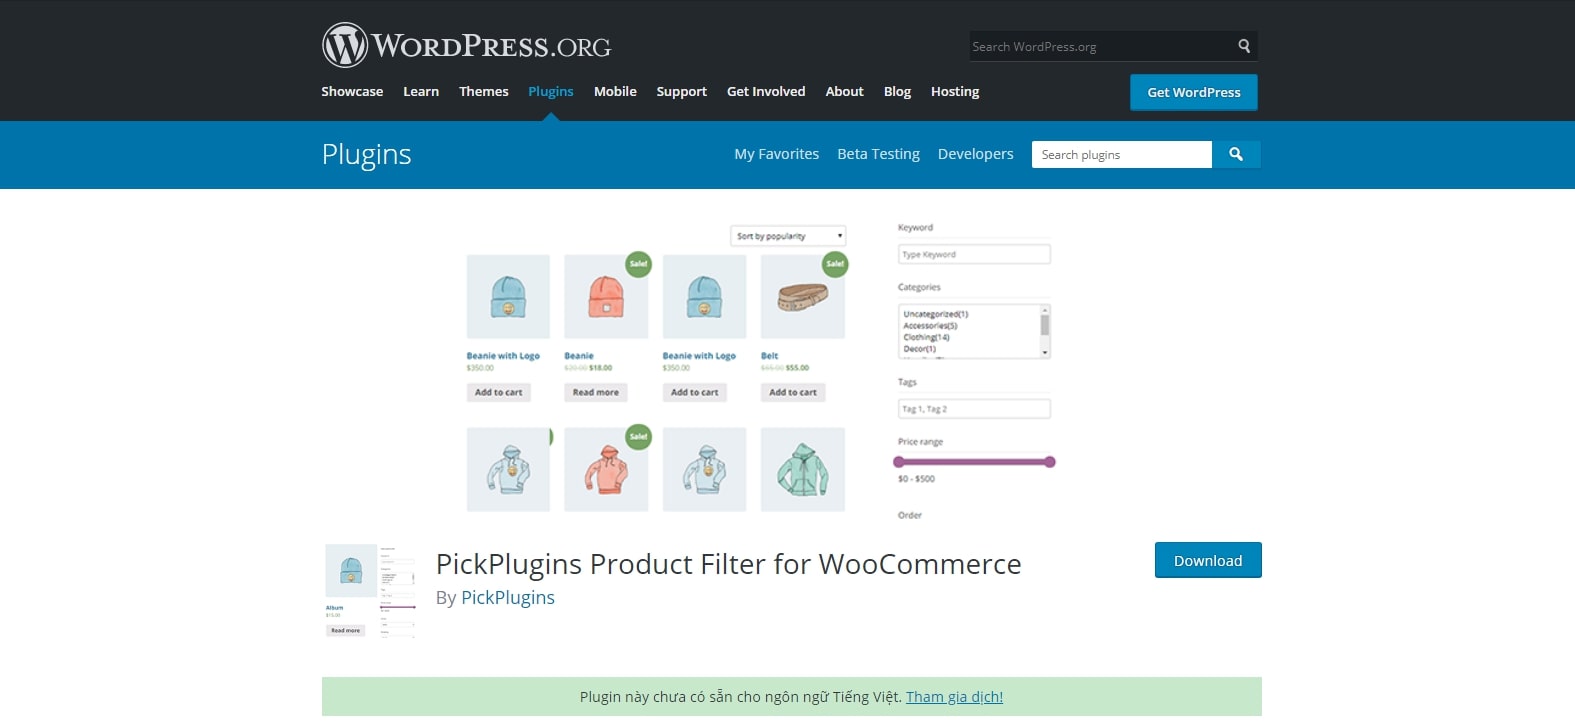
PickPlugins WC Product Filter Plugin
This new newcomer, the PickPlugins WC Product Filter Plugin, is very simple to use. This plugin allows consumers to search your shop using a wide variety of criteria. The plugin is beneficial since it allows you to provide many filter criteria, including product categories, tags, characteristics, price range, SKU, etc. It enables filtering on sale items, too.
Conclusion
To sum up, making good use of WooCommerce product filters not only increases the conversion rate for your website but also the number of loyal customers. In this way, yielding higher profits, in the long run, is no longer a challenge. We hope that this article has answered your question of How to add WooCommerce product filters to your online store and reach the ultimate goal of succeeding in the eCommerce industry.


