
How to Integrate Freshbooks to WooCommerce Store

Suppose you lead a small business in WooCommerce. In that case, it’s a good idea to get yourself an accounting software, with which you can better manage your business performance, or even take your business to the next level with accounting analysis. For this purpose, FreshBooks must be on top of the list.
FreshBooks is created mainly to meet the requirements of small businesses, with the maximum number of employees being 50. Even though it’s thought to be most suitable for small businesses, the FreshBooks creators optimize users’ experience with many outstanding features.
In today’s article, we’ll take you through simple steps to Integrate Freshbooks to WooCommerce Store. Before that, let’s see some of our objective assessments about this software. This can be helpful if you’re new to FreshBooks or a WooCommerce user with small stores.
Okay, let’s get started!
What is Freshbooks?
FreshBooks is accounting software geared at small enterprises with up to 50 workers. Thanks to its user-friendly design, this software is usable even by individuals with little accounting education or expertise. FreshBooks is a good choice for new freelancers who require an easy-to-use invoicing and accounting system.
Key features
FreshBooks provides comprehensive support to almost every aspect of invoicing and accounting. Let’s take a look at some key features of this software.
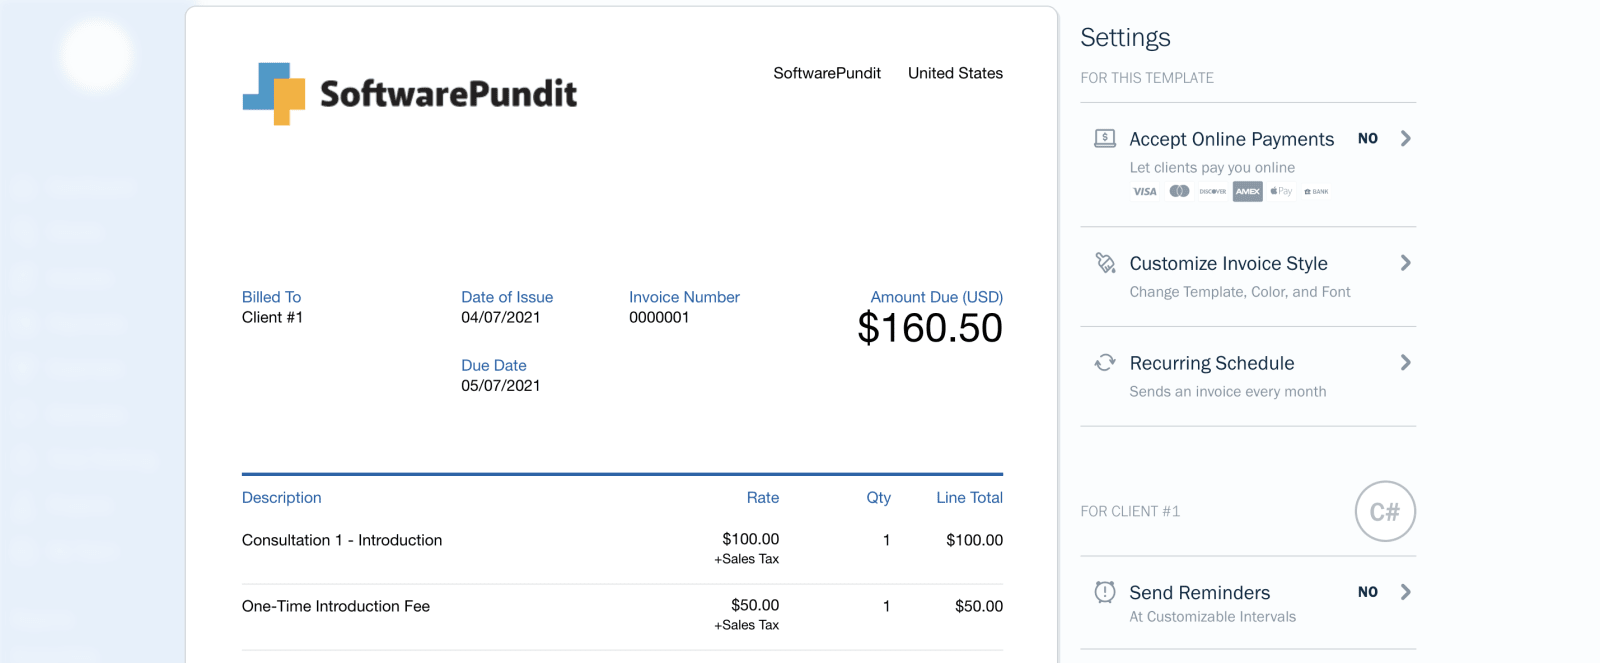
Invoicing
You may personalize the layout of each invoice, establish automatic payment reminders, choose to charge late penalties, choose alternative currencies, add your company logo, bill a client from your stored clients’ list, and add line items.
We recommend generating tax categories ahead of time since each line item you add will have to add a tax and specify all tax choices related to your goods and services.
In addition, you will be able to include Discounts, Payment plans, Notes Terms of payment, Deposit requests, and Attachments to your invoices.
Invoices may be sent by email or a shareable link that you can distribute to clients. Regardless of the option, you select, you will be able to modify the email using dynamic fields. This automatically enters information into the invoice and email, making it easy to set bills on autopilot.
FreshBooks also allows you to make invoices one at a time or design recurring invoice templates that are issued on a regular basis, schedule the issue dates, how frequently the invoices are sent, and limit how many are sent.
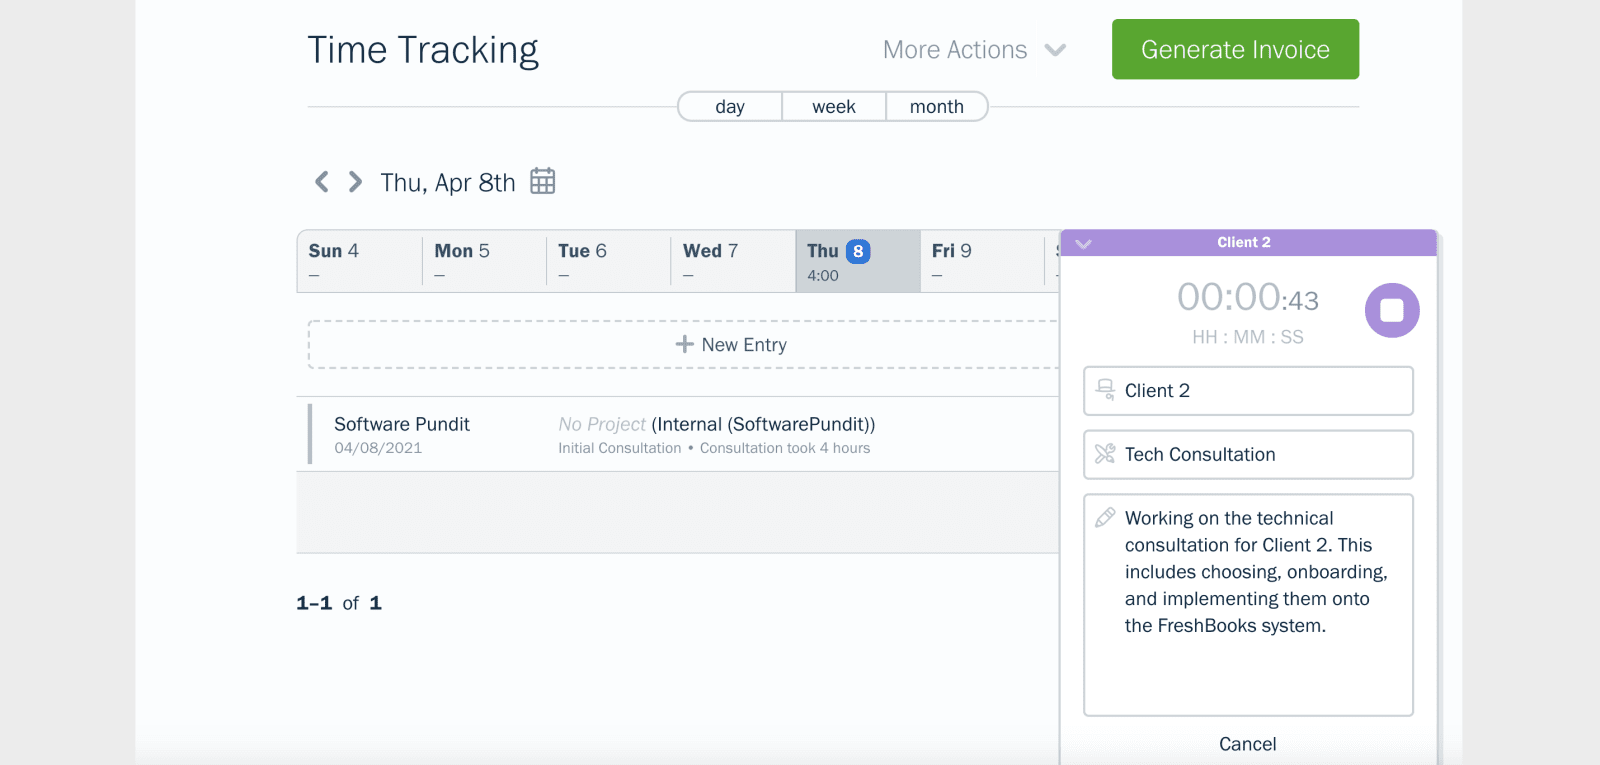
Time Tracking
You will be able to keep track of time and get your clients charged for hours worked. If you want a precise record of working time, you may use a timer to track your work or add a manual entry once your services have been done.
Although this component is basic, it will be informative enough for most small businesses to track the time they’ve spent on client tasks. Creating invoices and sending them immediately from this part may cut down the time spent on navigating through different sections of the tool.
Expenses
FreshBooks can monitor the money your business spends on products and services in the same way it can track sales through invoices. Adding new costs is straightforward since you may include the merchant and description, an image of a receipt as evidence of purchase, and any taxes. You will also be able to classify your spending using FreshBooks’ pre-selected categories.
Now, have you made up your mind about installing FreshBooks?
How to Integrate Freshbooks to WooCommerce Store
In this section, we’ll give you a detailed instruction on How to Integrate Freshbooks to WooCommerce Store in 2 different ways, which are both easy to follow. After this process, FreshBooks will be ready to serve your WooCommerce business.
Without third-party plugin
First, if you don’t want to install any other plugin to facilitate the process, you can follow this conventional method to get yourself FreshBooks.
Step 1: Meet the requirements of the process
Before installing FreshBooks, make sure you have a FreshBooks Classic account.
If you’re using the updated version of FreshBooks, it’s necessary to contact FreshBooks’s customer service to shift your account. In case you’re new to FreshBooks, it’d be ideal to do this before configuring your account.
Remember, this practice must be done as early as possible.
Step 2: Prepare for Freshbooks smooth running
After that, you’ll be able to get FreshBooks installed. The installation appears to be quite simple. Just go to your dashboard, download the ZIP file of this extension. From your WordPress, choose Plugin, click Add New. After clicking the Install Now button, make sure to Activate FreshBooks.
Then, get your FreshBooks ready by going through some settings.
Check out the Settings section by going to your WooCommerce, choose Settings and then **FreshBooks&.
You should sign in FreshBooks > My Account > FreshBooks API to get your API URL. Then enter the API in the WooCommerce Settings.
Now, if it’s time for you to make changes to the plugin configuration.
As you can see, below is the Settings window of FreshBooks. It contains a lot of fields, some of which are supported by a small guide or explanation when you move your mouse pointer to the Questions mark.
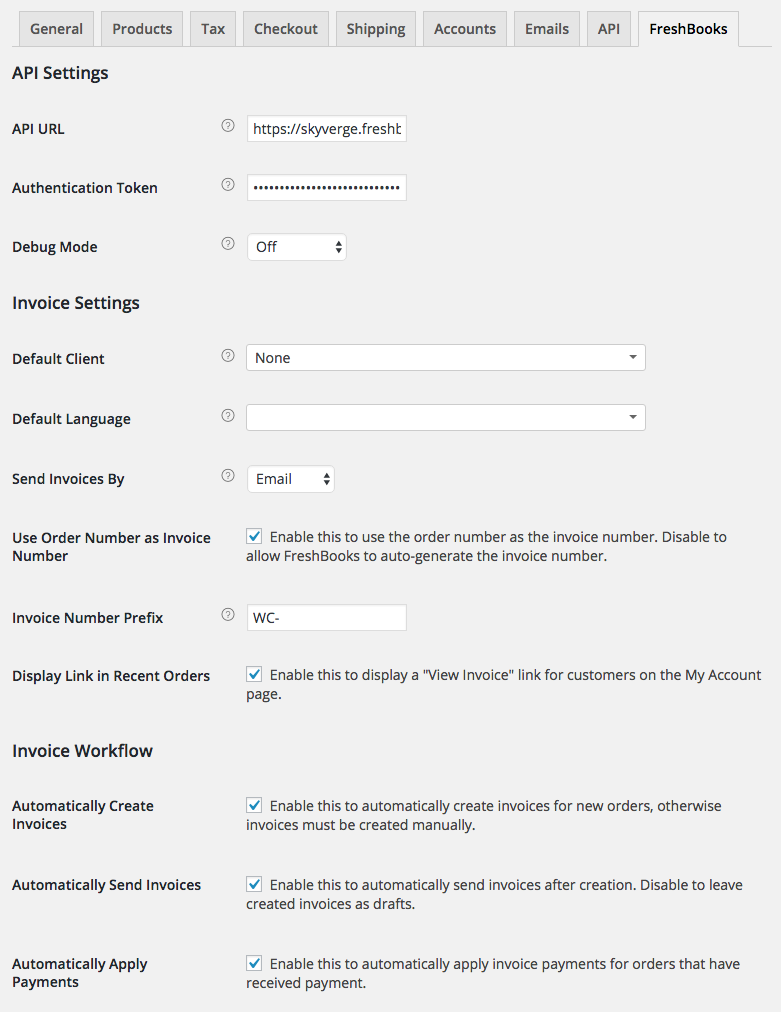
Here, we explain to you each field more clearly and simply:
- API URL: This is the URL you’ve just got from your FreshBooks account in the previous step.
- Authentication Token: You can get this information the same way as the API URL.
- Debug Mode: This can support you when having problems with the plugin. Though all sensitive information isn’t included in debugging messages before display, we recommend you not turn on the mode.
- Default Client: This is where you may select a client for whom you want to produce all invoices. If you wish to establish a new client for each customer, simply choose “None.”
- Default Language: This is where you choose the default language for your invoices and site.
- Send Invoices By: Through which you want your invoices to be sent, Email or Snail Mail. For the “Snail Mail” option, you’re required to own a certain number of stamps in your FreshBooks account.
- Use Order Number as Invoice Number: Utilize the order number to be the invoice number or have it generated automatically.
- Invoice Number Prefix: You can leave this field blank or add a prefix. Just make sure that the number of characters in “Prefix + Order number” isn’t more than 10.
- Automatically Create Invoices: Generate invoices automatically or manually.
- Automatically Send Invoices: Submit invoices automatically or save them as drafts and send them manually.
- Automatically Apply for Payments: Apply for invoice payments automatically or manually.
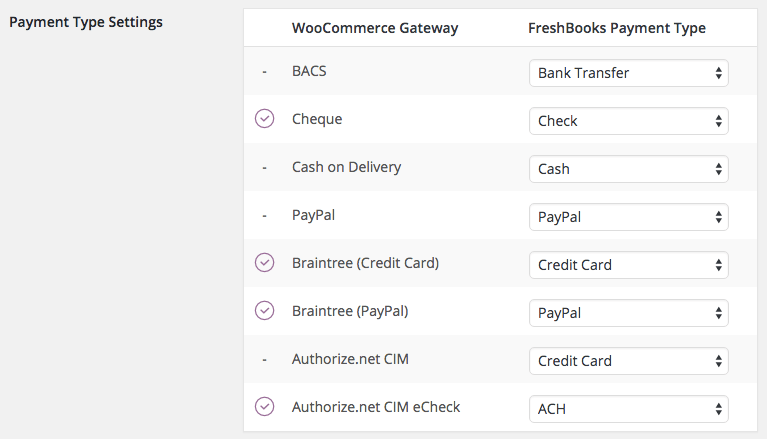
- Payment Type Settings: Choose how each WooCommerce payment method should be reported in FreshBooks as the payment type. Below is the window.
With a third-party plugin ( Gravity Forms )
Apart from the traditional method to Integrate Freshbooks to WooCommerce Store, you have another option, in which you’ll use a third-party plugin to go through the process. Though there are a number of plugins that support this, we choose Gravity Forms in this article.
Before going to start, there’s a small requirement that you need the Gravity Forms FreshBooks add-on on Pro and Elite plans.
Okay, now you’re ready to start!
Step 1: Get ready with Gravity Forms
If you already have Gravity Forms, skip this step. If not, continue reading.
Because Gravity Forms is a premium WordPress plugin, it isn’t not accessible in the WordPress plugin repository. That means you cannot download it straight from the WordPress dashboard.
Download the most recent versions of the Gravity Forms core plugin and the FreshBooks add-on from your Gravity Forms account.
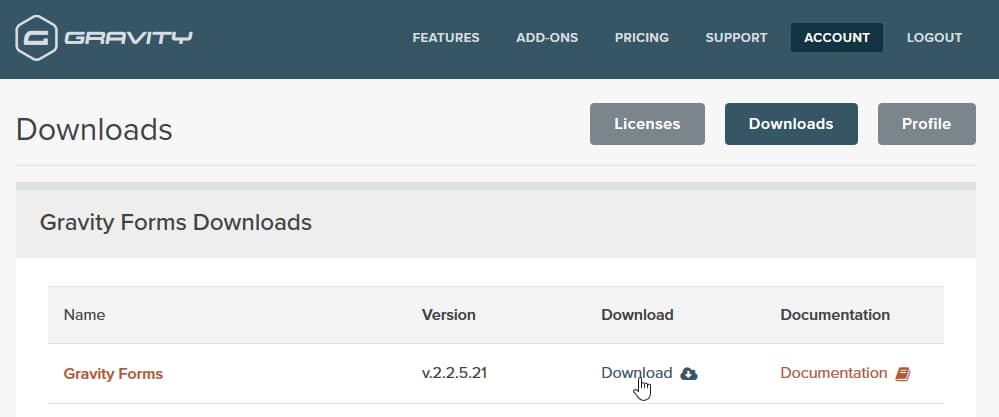
Now you have Gravity Forms in the form of a file.
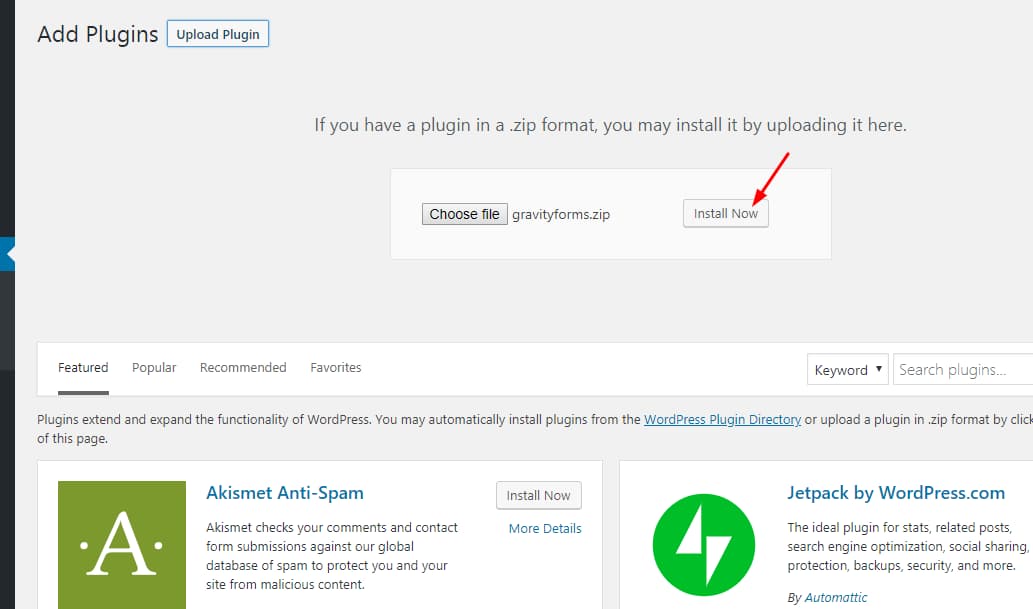
Back to the WordPress dashboard. You need to go to Add Plugins, upload the newly downloaded ZIP file, and click the Install button.
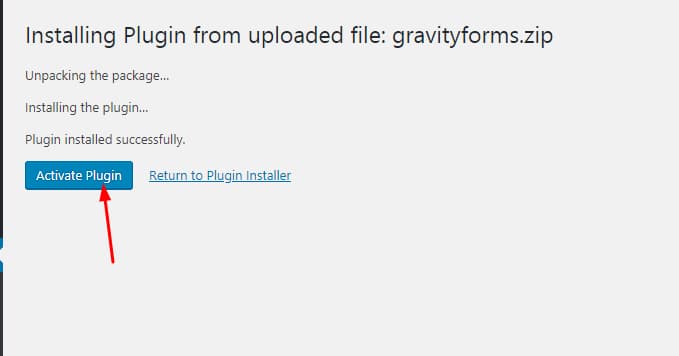
Make sure you activate Gravity Forms.
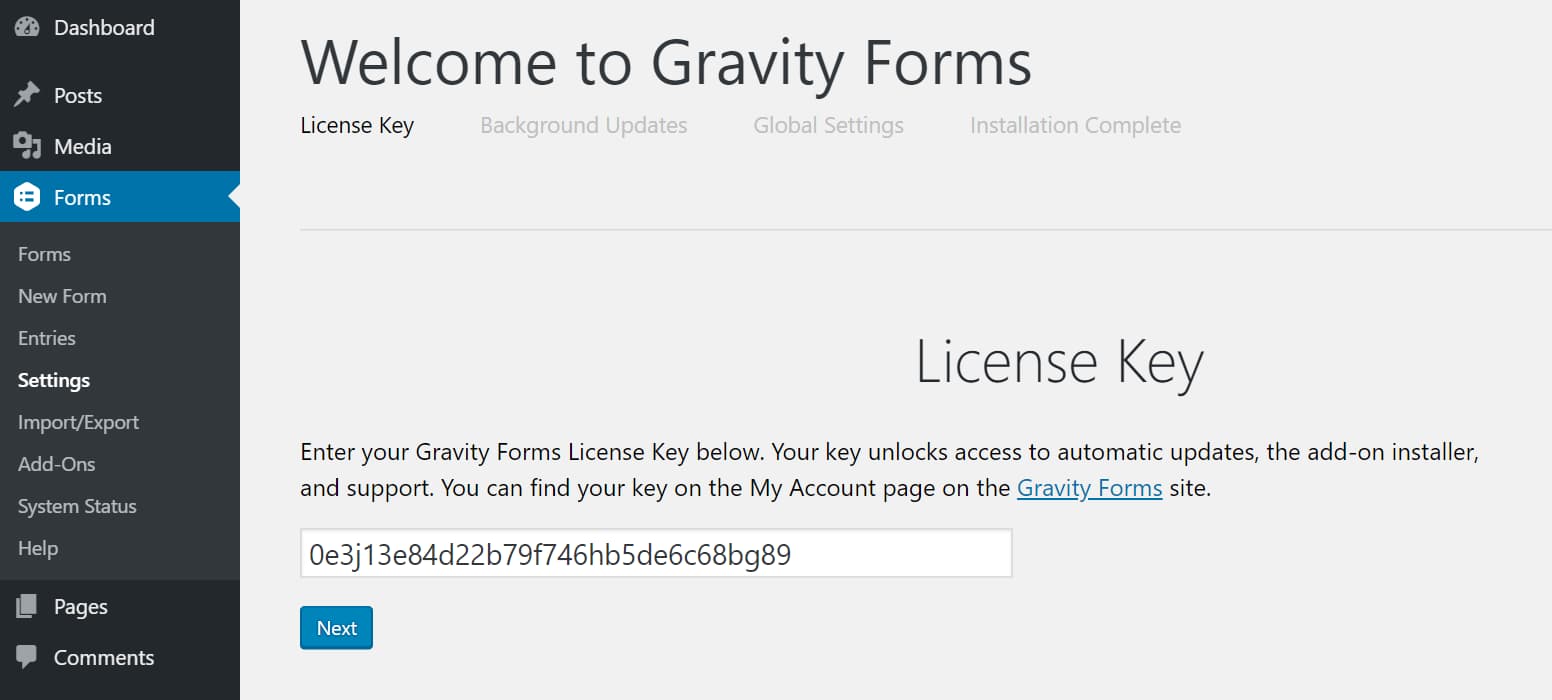
After that, you’ll have to enter your license key, which you can get by going to My Account on the Gravity Forms site.
Step 2: Get your Freshbooks add-on
When Gravity Forms is ready with your WordPress, it’s time to integrate FreshBooks. From Gravity Forms dashboard, choose the Add-Ons section where you can not only find FreshBooks but also other highly recommended add-on. This is also the advantage of using Gravity Forms to Integrate Freshbooks to WooCommerce Store rather than install it conventionally.
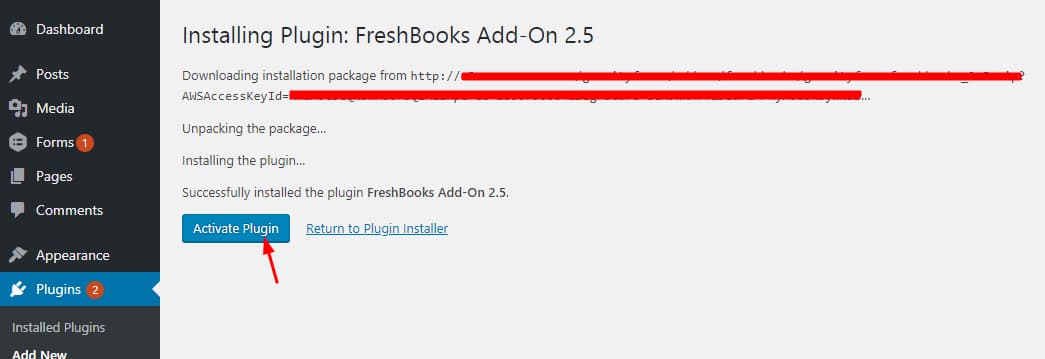
Find FreshBooks Add-On and click the Install button to get it integrated into your WooCommerce store.

Step 3: Make Freshbooks ready for using
Before you can start using FreshBooks in your WooCommerce store, the last step is to take some small actions to get it ready to use.
After the previous step, FreshBooks is installed in your WordPress. This is when you need to activate it.
Then you need to go to the FreshBooks Settings.

Last but not least, you’re required to enter your Site Name and Authorization Token, which you can get from the FreshBooks API section in My Account. This is an important step, so you need to be careful when entering this information.
To end the process, click the Update Settings button.
To Sum Up
FreshBooks is a fantastic plugin for WooCommerce small businesses. Therefore, it’s a good idea to choose this plugin to process and help you with invoicing and accounting issues if you’re new to WooCommerce. With its reasonable price, we think FreshBooks must be the best choice to start with.
To use this plugin, you definitely need to go through some steps to get it integrated into your WooCommerce store. We’ve mentioned 2 most popular methods, which are also among the simplest to follow. After all, it’s an undemanding but useful process to Integrate Freshbooks to WooCommerce Store.


