
How to Import Products with Images in WooCommerce

Product images have become an essential part of any eCommerce platform. As comes with an online shopping feature, product images will contribute to deciding if your customers would buy your products or not. Therefore, it is necessary that product images be displayed clearly, beautifully, and genuinely.
In case you have a WooCommerce business, you should pay attention to images of your products, thereby ensuring sales. However, it is not easy to configure your product images within WooCommerce because this platform comes with limited features to import your product images. Understand your need and concern; we have written here an instruction on how to import products with images in WooCommerce.
How to import products with images in WooCommerce
When it comes to importing products with images in your WooCommerce, the Product Import Export Plugin for WooCommerce is a good option. So, follow us strictly to enjoy a step-by-step guide, and then you will be good at importing your products with images.
Step 1: Preparation
Besides importing your products with images, you will also get an opportunity to generate thumbnails for the image of a specific product. In case, you are fond of importing myriad product images or downloading images from your CSV file’s URL. This plugin would meet your requirements.
First and foremost, let’s see what you need to prepare before using the Product Import Export plugin for WooCommerce. To import images for your products, you need to enter every product image in the provided image column to the uploaded CSV file.
| It is also necessary to separate the URLs by a character like a vertical line **‘ | ’**. You should also remember that the 1st image that is imported will be taken as your product image while the others will be added to your Product gallery. |
The below screen will show your CSV’s image column:

Step 2: Install and activate Product Import Export Plugin for WooCommerce
Once you have owned this plugin, you can download its ZIP file before accessing the section “License keys” fright from the order confirmation of WebToffee.
If you have purchased it successfully, you will receive such an order confirmation as below:
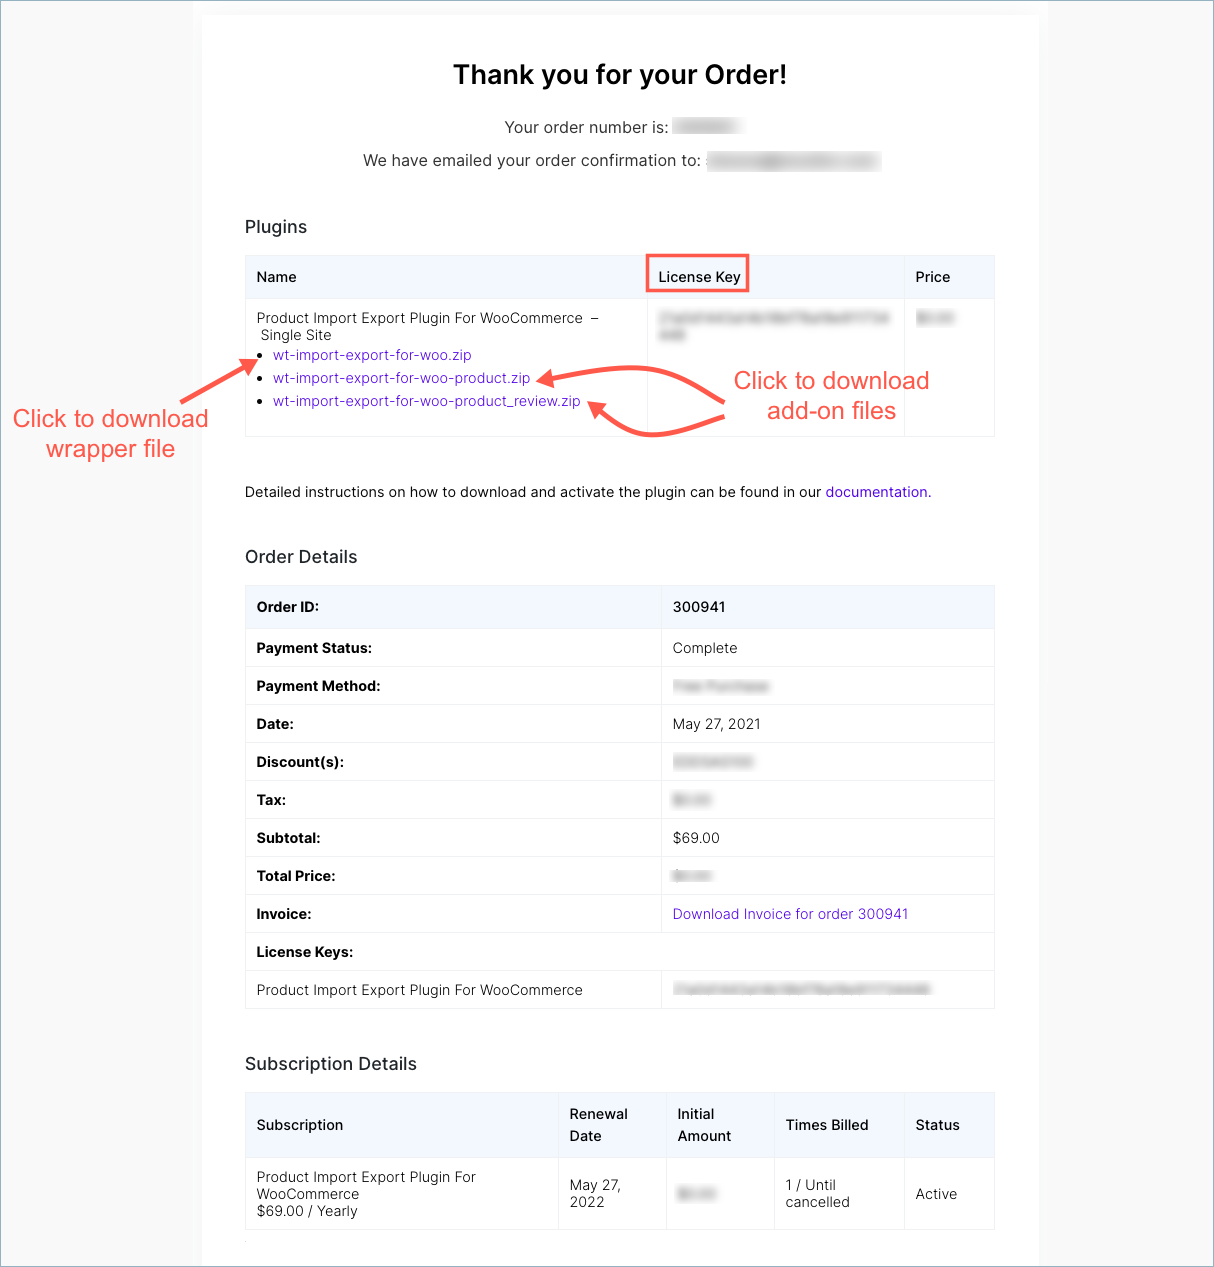
Next, move on to download your wrapper plugin with the name wt_import_export_for_woo.zip. Moreover, you should also download the zip file add-on. It could be any or all of the following, depending on your purchase: wt_import_export_for_woo_product, wt_import_export_for_woo_orders, wt_import_export_for_woo_reviews, and wt_import_export_for_woo_users.
Then, another step is to navigate to the section “Plugins” to hit on the “Add new” section from your WordPress dashboard. Your next task is to upload zip files that you have just downloaded.
After that, you need to activate this plugin. Now you could use it to import products with images in your WooCommerce.
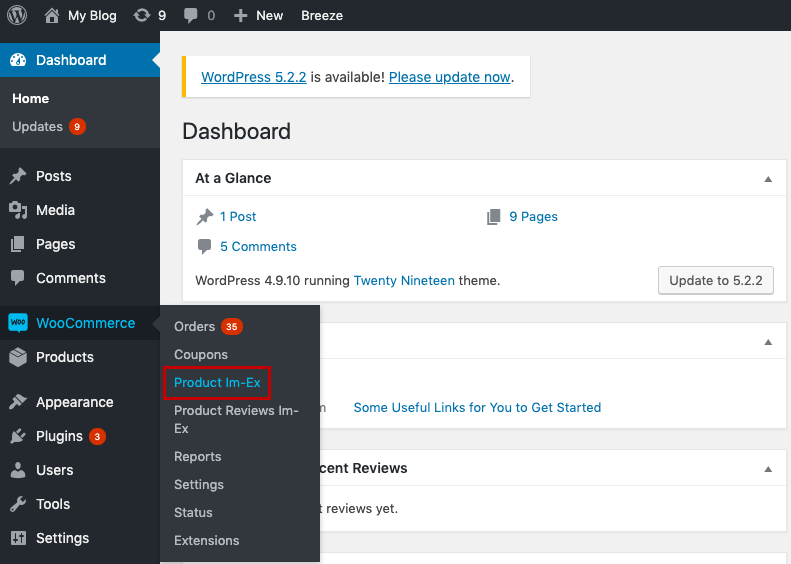
Step 3: Head to the page “Import Settings”
You could penetrate your dashboard in WordPress before heading to “WooCommerce” when you are here. This is when you will select “Product Im-Ex”. Look at the below screen and you will understand deeper.
Step 4: Configure your import settings
Consider what you need in terms of your product images, and you can configure those fields according to your requirements. It is time for you to select any image of your CSV file that you want to import.
It will offer you plenty of options, including selecting the file from the computer, entering your file URL, or through FTP. As soon as you have finished choosing the file, your job is to pick up a mapping file that had been previously stored from your dropdown or keep going with choosing “Upload file and Import” for creating the new one.

Step 5: Check your import file’s mapping
Your mapping window will be displayed as below:
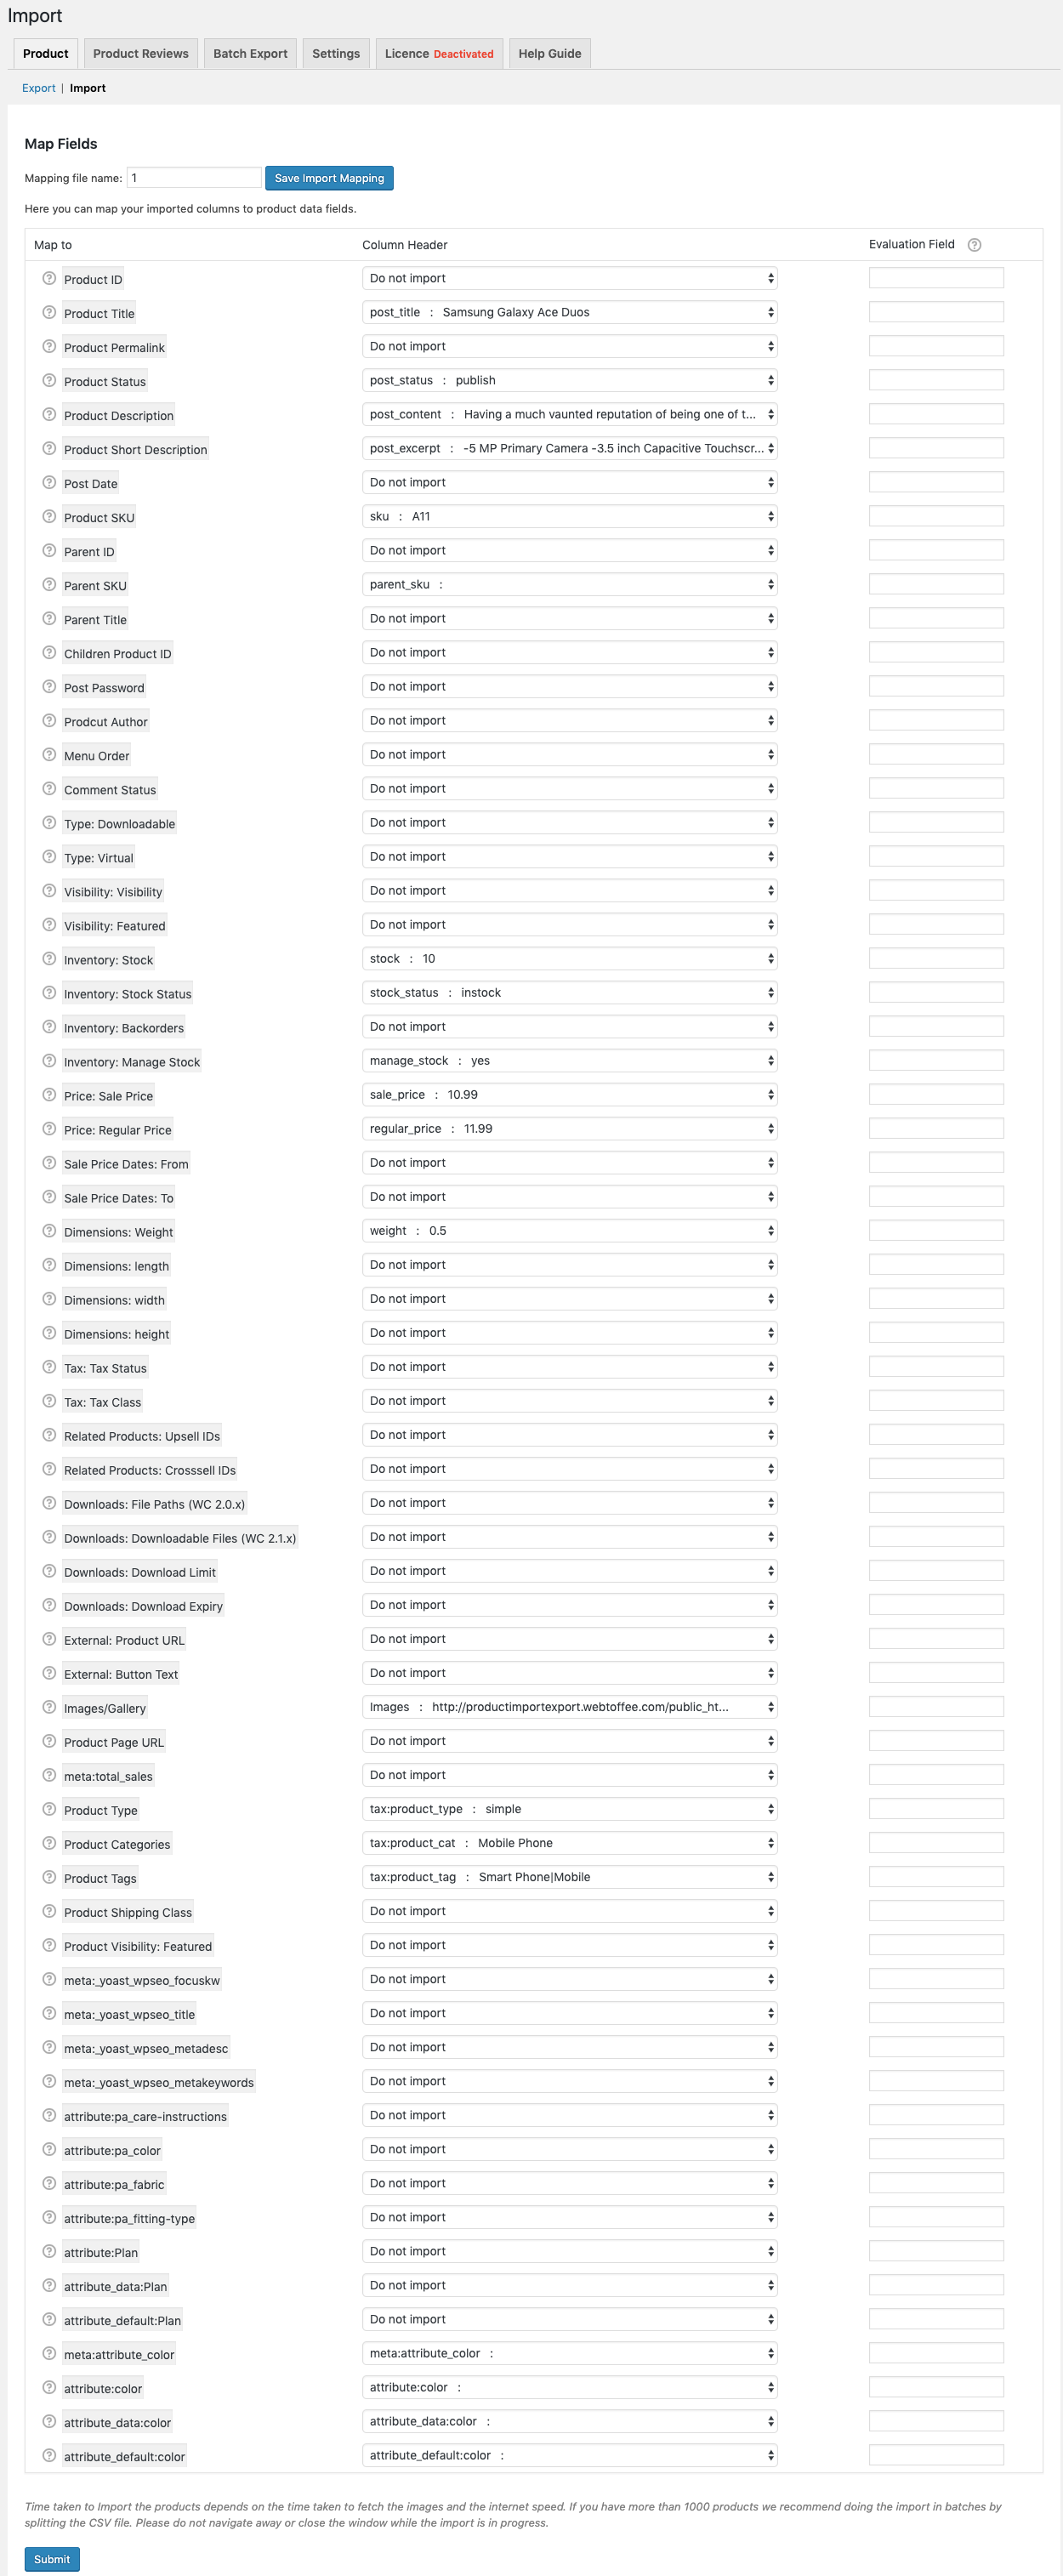
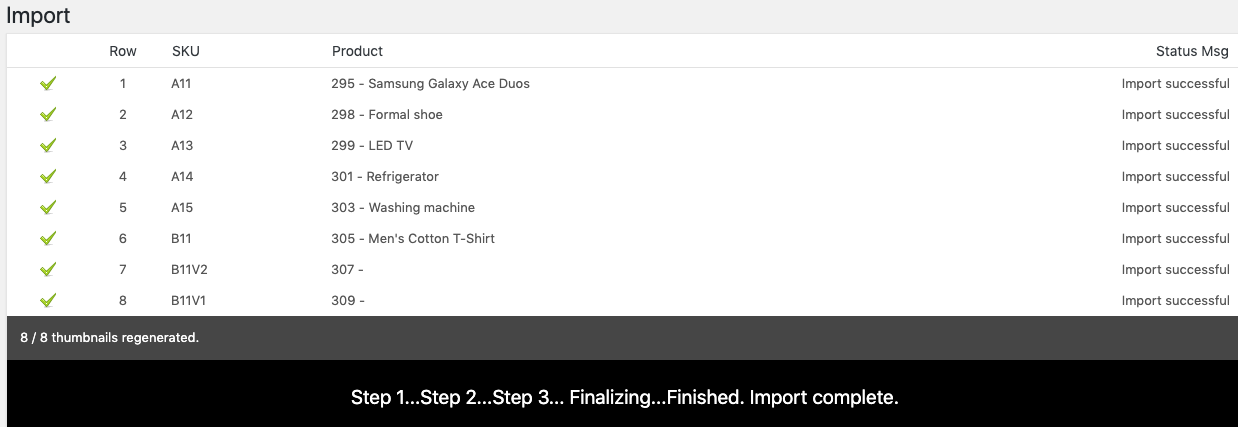
When you have checked it out, you will click on the button “Submit”. This action starts the process of importing products with images in your WooCommerce. Congratulations! You have successfully imported not only WooCommerce products but their attached images as well. If you are successful, the import screen will be as below:
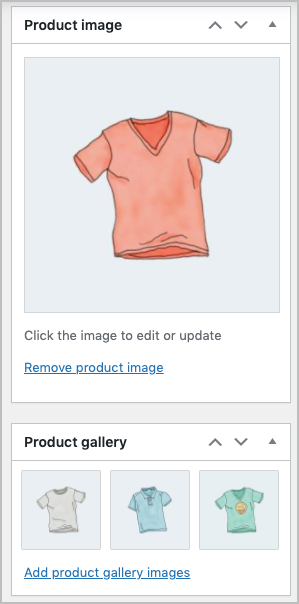
And you could also create your product thumbnail, which will be shown on the following screen:

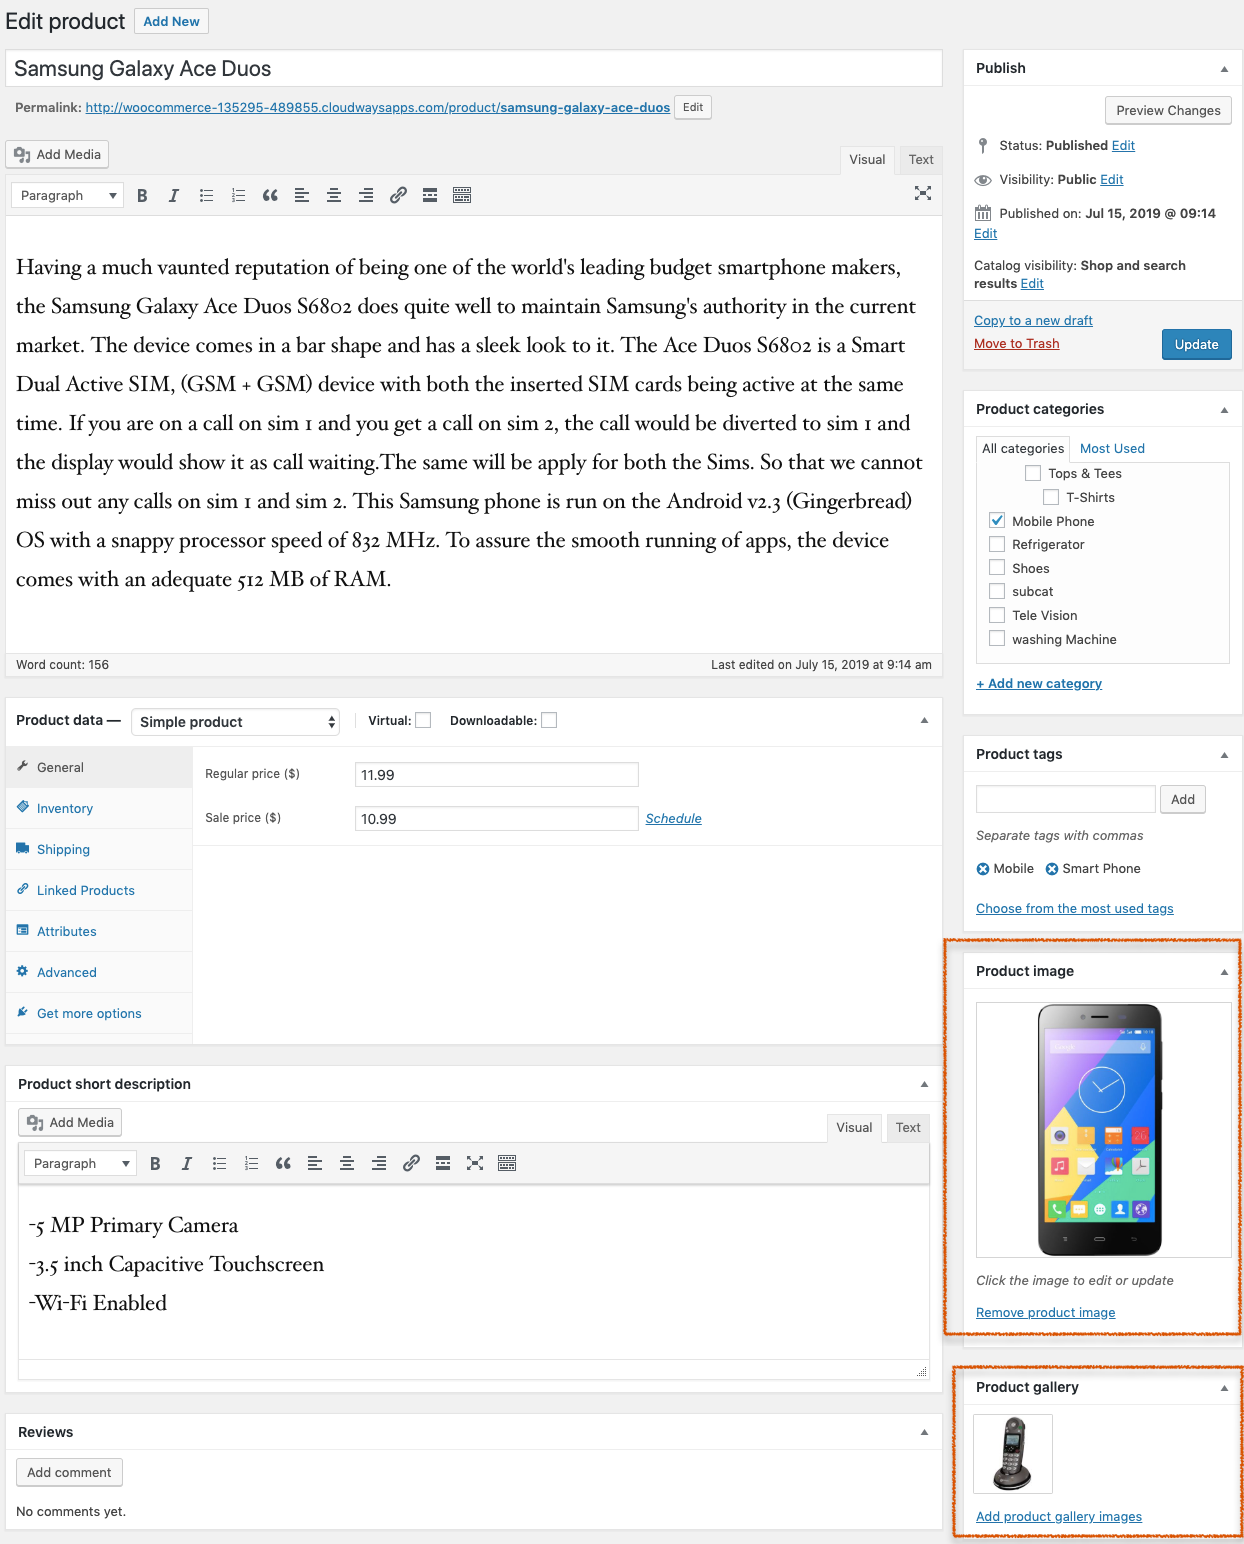
Now, it is time for you to navigate to one of your imported products’ product pages. There, you could notice the image as well as gallery images for imported products:
Step 6: View the images of your imported products
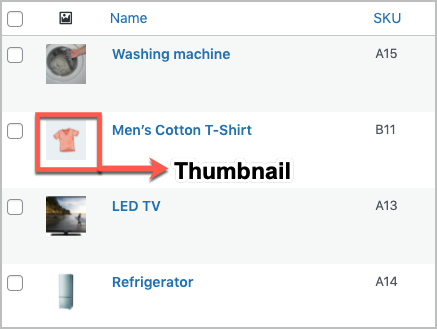
It is a must to have a preview of how the images of your imported products will look like. In doing so, you can access your admin panel in WordPress, then go to the menu “Products” to click on the button “All Products”. Furthermore, your product page lists all imported products that come with respective thumbnails.
In order to see the product gallery or product image, you can edit your individual product. For instance, the below screen can show how imported images will look like:
Top 3 plugins to import products with images in WooCommerce
There is no denying that plugins are always a helping hand for any WooCommerce store owners. It makes no exception to importing your products with images in WooCommerce. Here, we have come up with the three best plugins for your reference. Check it out and pick up the one that fits your needs and requirements. So, you can save time and perform the job much more effectively.
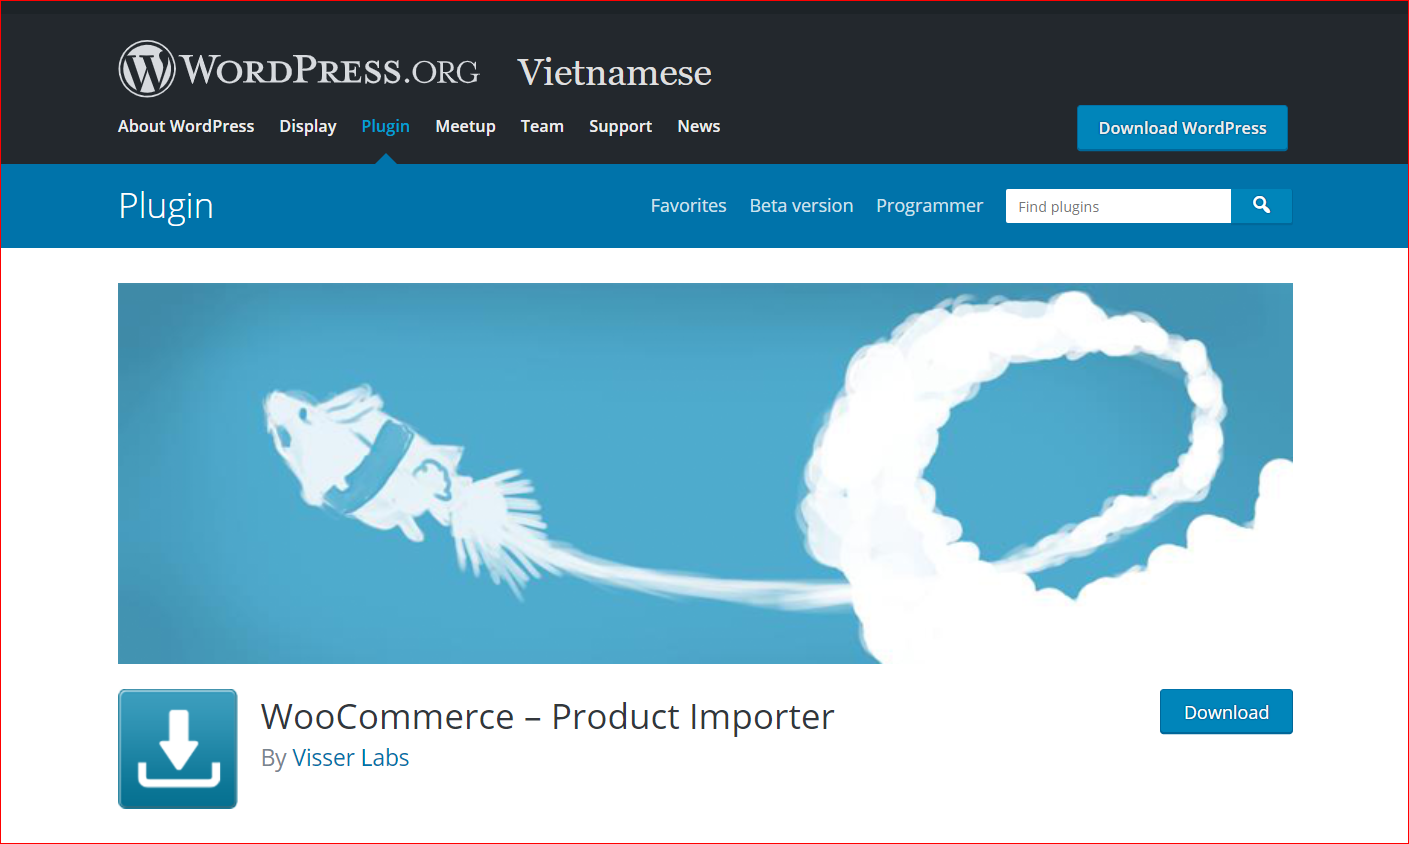
1. WooCommerce – Product Importer
WooCommerce – Product Importer has been popular for a long time thanks to its flexibility and effectiveness in importing products in not only CSV files but also TXT format. What you could do with it is to import product images, tags, categories, and so on. Moreover, you can be able to delete your existing products with the use of SKU or update the store’s product data in bulk.
Main feature
-
Import all your WooCommerce data effortlessly, quickly, and accurately
-
Support users with bot TXT and CSV file formats
-
Be able to import or update data in bulk, thereby saving time and gaining high efficiency
-
Import product images, tags, and categories without any hassles
Pricing: Free
2. Import WooCommerce
Another great plugin for importing your products with images is Import WooCommerce. Regardless of your product types, this plugin will assist you in performing it effortlessly. More than that, you could also make use of different types of files such as ZIP, XML, TXT, or CSV. And you could even include your featured images, coupled with gallery images to your imported module.
Main feature
-
Import every type of product, file format, and so on
-
Be able to import both galleries images and featured images
-
Use export add-on without paying
Pricing: Free
3. WP All Import – Import any WordPress data to XML/CSV
The last plugin that we want to mention here is WP All Import – Import any WordPress data to XML/CSV. Thanks to it, you now can import multiple WooCommerce and WordPress post types. With its drag-and-drop interface, you are allowed to enable your entire import process quicker and simpler. Especially, you can approach two types of file formats, including XML and CSV.
Main features
-
Import all types of data easily
-
Support users with both XML and CSV file formats
-
Come with the option drag-and-drop interface
-
Provide the support of custom filter
Pricing: Free
Conclusion
You are highly recommended that product images are so vital that they should not be taken lightly. This is to say; it will be an integral part of the success of your business. Whether the size of your business, you still need an extension or plugin to tackle this issue for you. Therefore, this guide will walk you through details to help you a deeper understanding. Hopefully, you could enjoy our article and find it helpful. Share those words with anyone who is concerned. Stay tuned for our upcoming great instructions!


