
How to Hide/ Disable/ Remove Related Products in WooCommerce

WooCommerce-related products are created with the clear purpose of introducing your WooCommerce store visitors to a wider variety of your products. Unfortunately, these related products may not always perform as well as business owners expect. They might be counterproductive and perplex customers, resulting in no sales at all.
Therefore, this article will show you how to hide, disable, and remove related products in WooCommerce.
Let’s get started!
Why need to Hide/ Disable/ Remove Related Products in WooCommerce?
Related products in WooCommerce are suggestions that are related to the product the customer is seeing and aim to complement the main item. They often appear at the bottom of your product pages and help your company in increasing sales and profit. There are a few reasons why you would need to hide/ disable/ remove related products in WooCommerce:
-
If you offer a few unrelated products, you may not want to display them.
-
If your theme doesn’t go well with the related products section, you may consider removing it from your store.
-
CSS code from some themes or plugins might occasionally break your website or parts of it. You might want to delete the related products section if there is a conflict.
-
Related products may overload and frustrate buyers, resulting in no purchases.
How to Hide Related Products in WooCommerce?
In this part, we will give you comprehensive instructions on how to hide related products in WooCommerce in three different ways.
Method 1. Using custom CSS
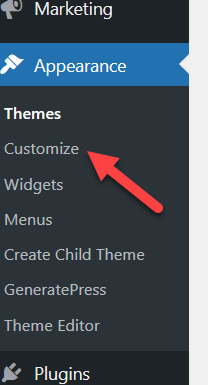
Step 1: Go to Appearance and Customize
From your WordPress dashboard, you need to go to Appearance > Customize.
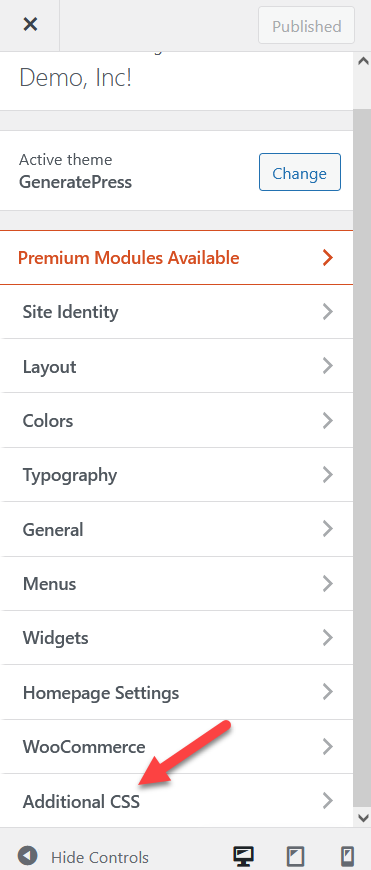
Step 2: Open the Additional CSS section
Step 3: Add the CSS code
Here you need to add the following CSS code:
.related.products {
display: none;
}
Once done, click on the button Publish
Then, you will be able to see all the updates in real-time thanks to a live preview wizard of the WordPress customizer.
As you can see, this is a pretty simple approach for non-tech people to hide the related products. However, this is not the preferred technique because the CSS snippet just hides the related products from website users while the actual PHP code continues to run in the background and loads all of the recommended products data.
Method 2. Using a plugin
You can hide related products using a variety of plugins. However, in this guide, we’ll be using NS Remove Related Products .
Because the free version only allows you to hide related WooCommerce products, you must subscribe to the Pro version to access further features.
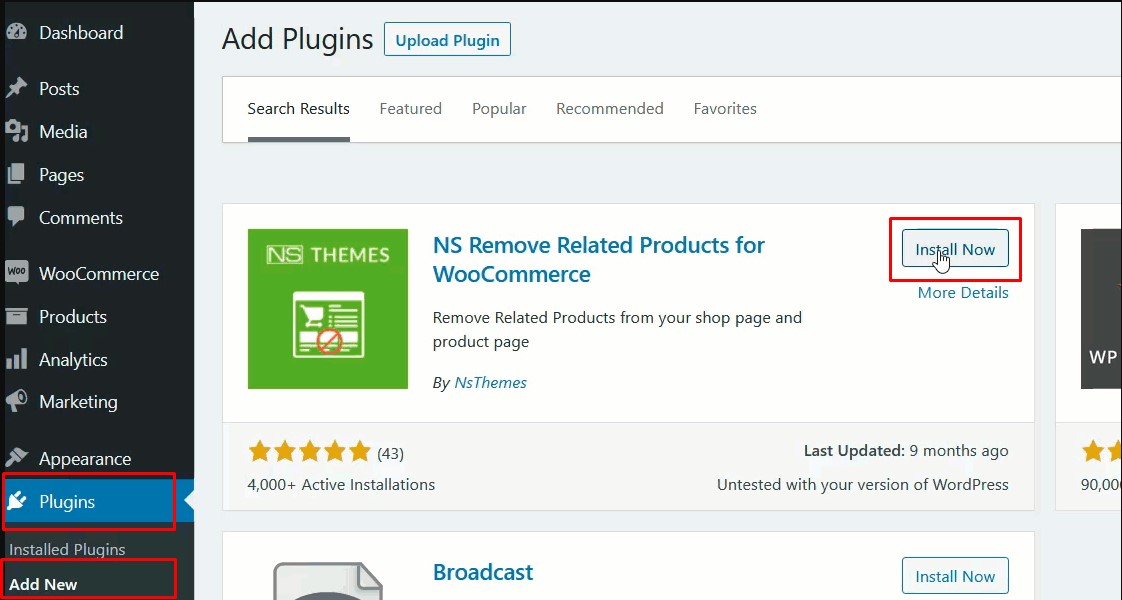
Step 1: Install the plugin
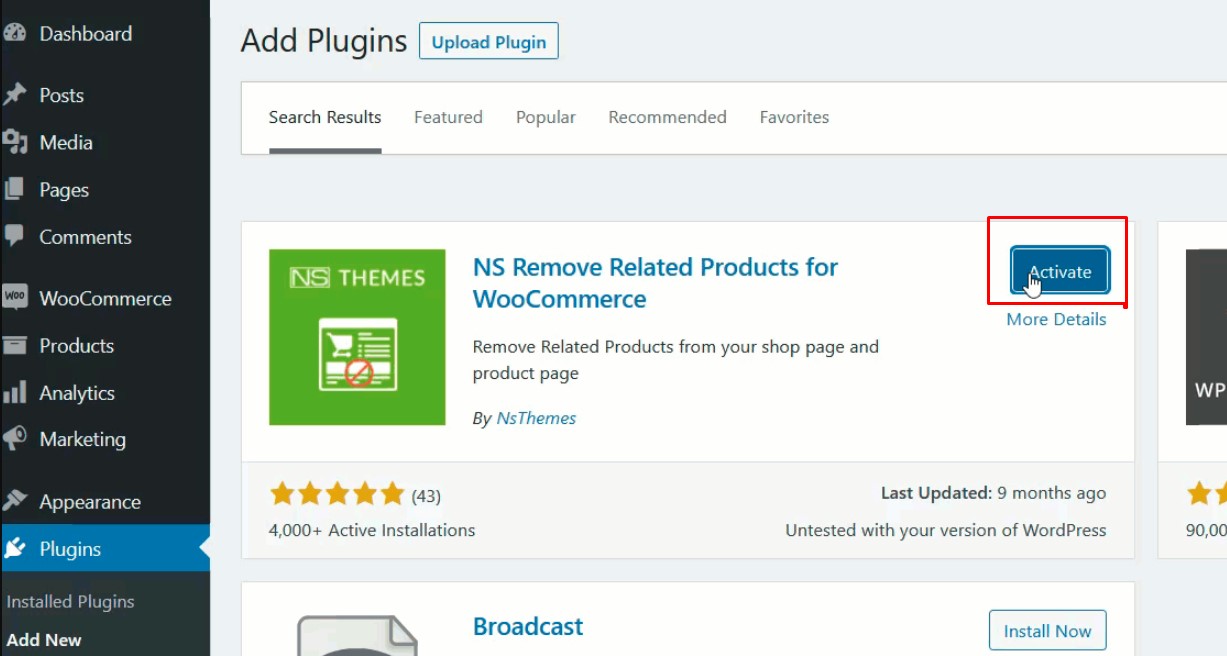
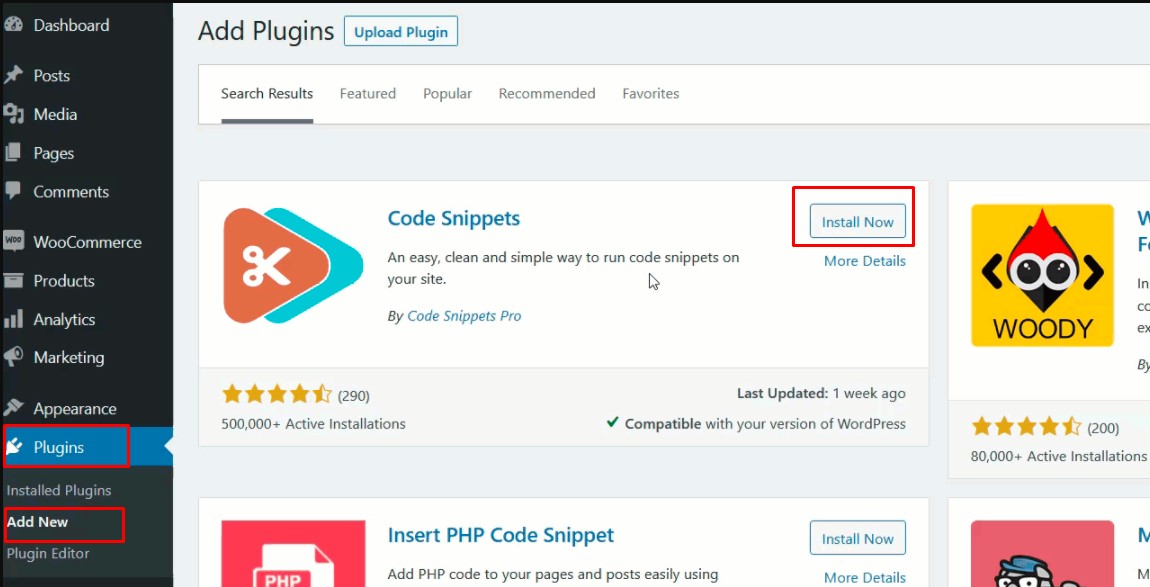
Go to Plugins > Add new in your WordPress dashboard menu. Then, search for the tool NS Remove Related Products in the Keyword box, and install it on your site by clicking on Install Now.
Step 2: Activate the plugin
Click on the button Activate to start activating the plugin.
Step 3: Remove Related Products
You then need to click on the Remove Related icon inserted in the sidebar.

After that, check on Enabled Plugin and click Save to save your changes
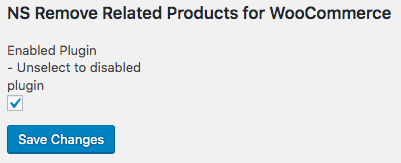
When you’re finished, you’ll notice that you’ve successfully hidden all of the related items from your single product pages. This is a plug-and-play plugin that requires no extra settings.
You can deactivate the plugin if you wish to see the related products again. Because NS Remove Related Products is a lightweight plugin, keeping it installed will have no effect on the speed and performance of your website.
Method 3. Using a page builder
Using a dedicated page builder plugin is another effective solution for hiding related products from individual WooCommerce product pages.
For this guide, we’ll be using the Divi page builder , which is one of the most prominent and user-friendly page builders available today.
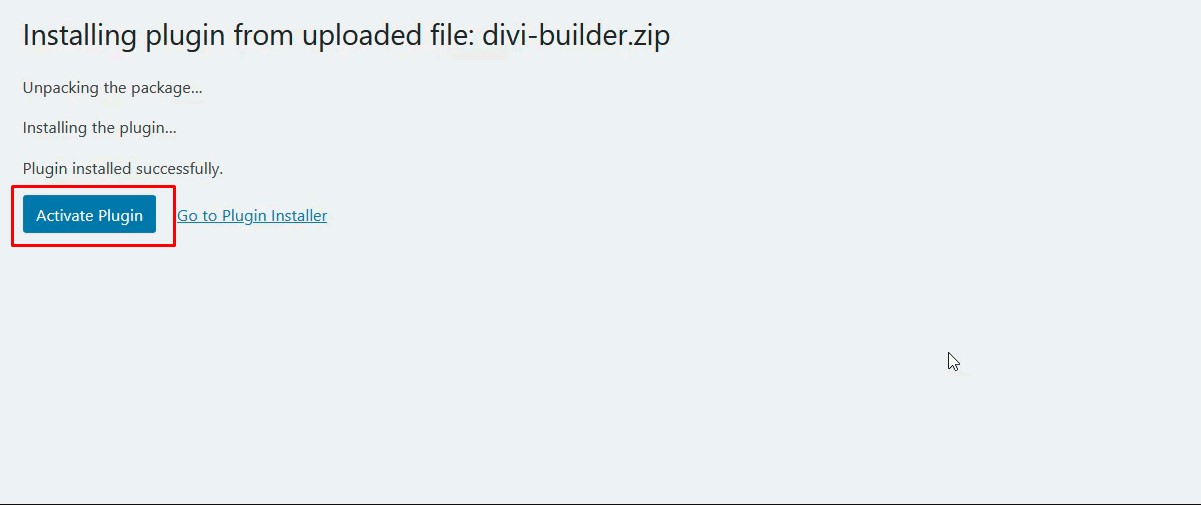
Step 1: Download, install and activate the plugin.
You must first install and activate the plugin on your site. Because it is a premium product, you must purchase it from the Elegant Themes website.
Install and activate the plugin after downloading it from your Elegant Themes account.

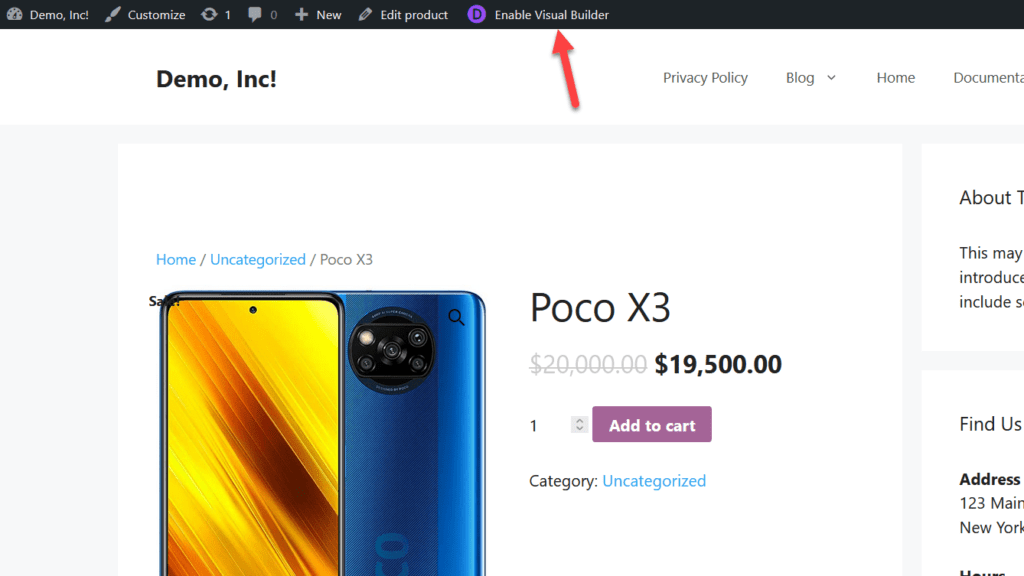
Step 2: Enable Visual Builder.
The Divi builder offers a visual editing experience that allows you to change your pages from the front end.
So, you need to open any product page and then click the Enable Visual Builder option in the top bar.
Step 3: Remove the Related Products section
WordPress will then launch the Divi builder, from which you will be able to edit the page templates.
Now you click on the Related Products element, you will be presented with a number of choices. Simply click the delete button to remove this section.
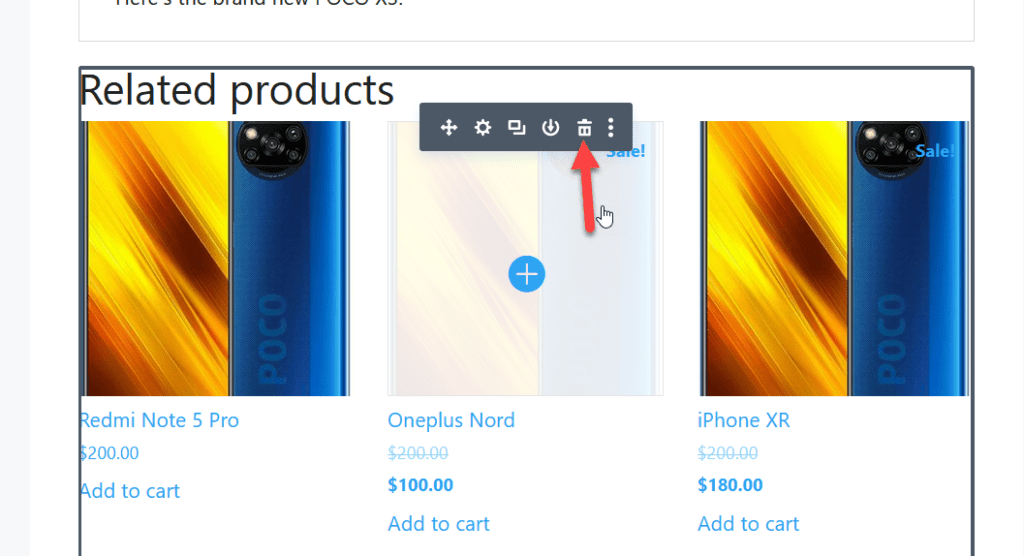
That section will immediately disappear from the page.
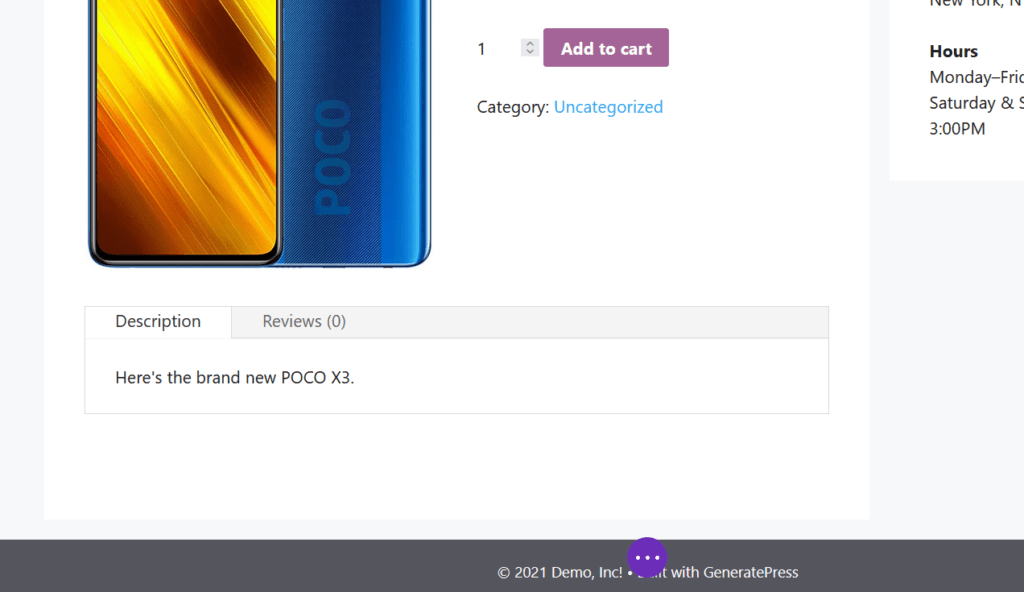
You can also modify other parts of your product page, but let’s just stop at the Related products section for now.
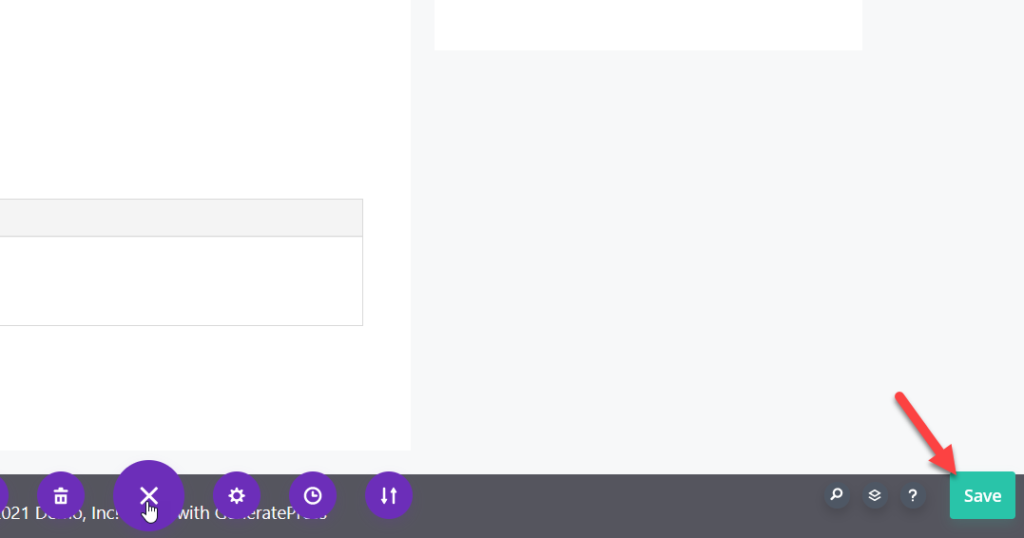
Step 4: Click Save
Click Save to save all the changes you’ve just made.
How to Disable Related Products in WooCommerce?
This section will show you how to disable related products in WooCommerce by using a plugin to add code to the main functions.php file.
By doing this, you cannot only address the issue of Theme updates overriding the code but also don’t need to implement a Child Theme if you don’t already have one.
Step 1: Install a code snippets plugin
There are numerous free and robust code snippets plugins available in the WordPress repository.
My Custom Functions by Space X-Chimp and Code Snippets by Code Snippets Pro are two plugins that we recommend.
Just install a code snippets plugin that you want to use and we’ll move on to the next step.
Step 2: Insert the code
Once you’ve installed the plugin, copy and paste the following code into the main functions.php file:
/**
 * Remove related products output
 */
remove_action( 'woocommerce_after_single_product_summary', 'woocommerce_output_related_products', 20 );
Carefully follow the guidelines given by the plugin developer (which are generally as easy as a piece of cake and mainly involves pasting the code into a box) and you will quickly, efficiently, and properly disable WooCommerce Related Products from the Product Page.
How to Remove Related Products in WooCommerce?
Method 1. WordPress Dashboard Settings
The related products can be determined by a variety of factors, according to the WooCommerce documentation. This includes categorizing similar items in the same category or using the same tags.
It is an automated procedure, and there is no direct method to control the list of related products connected with a given product.
You can, however, take advantage of the Cross Selling option in WooCommerce to remove the Related Products section. Go to Appearance > Customize > Product Page and set up Cross Selling products from the WordPress dashboard settings.
Cross Selling products are manually linked to each product by you. And this way you’ll have complete control over what users see under related items.
Method 2. From the theme options
This is the simplest method for removing related products, however, it is dependent on the WordPress theme you are using. If you are using a dedicated WooCommerce theme, it’s highly possible that the theme developers have already included an option to enable/disable WooCommerce related products on single product pages.
This option can be found on the single product page, in the themes settings panel, or in the WordPress theme customizer panel, based on your theme. If this option is accessible in your theme options, you just need to disable it from your theme’s settings.
Therefore, we suggest that you check your theme or contact their support staff to find out if necessary.
Method 3. Editing the theme’s functions.php file via a child theme
As you might know, if you modify the parent theme files, all of your changes will be lost when the theme is updated. In other words, your customized files will be replaced with the new version’s files.
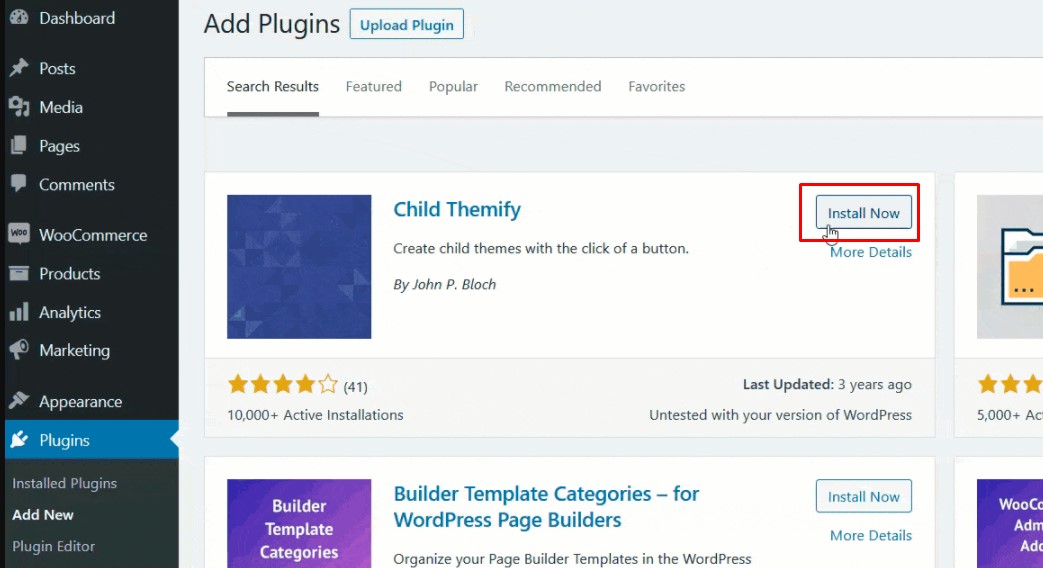
That is why, if you need to add custom code to your theme, you should utilize a child theme. Creating a child theme is a simple process. We’ll be using a plugin called Child Themify for this tutorial.
Step 1: Install and activate Child Themify
First of all, you need to get Child Themify installed and activated.
Step 2: Create a child theme
Under the Appearance section, you will see a new option called *Create Child Theme.
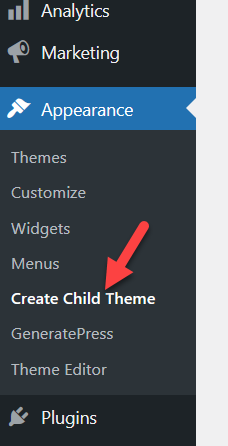
You can then create a child theme for your parent theme.
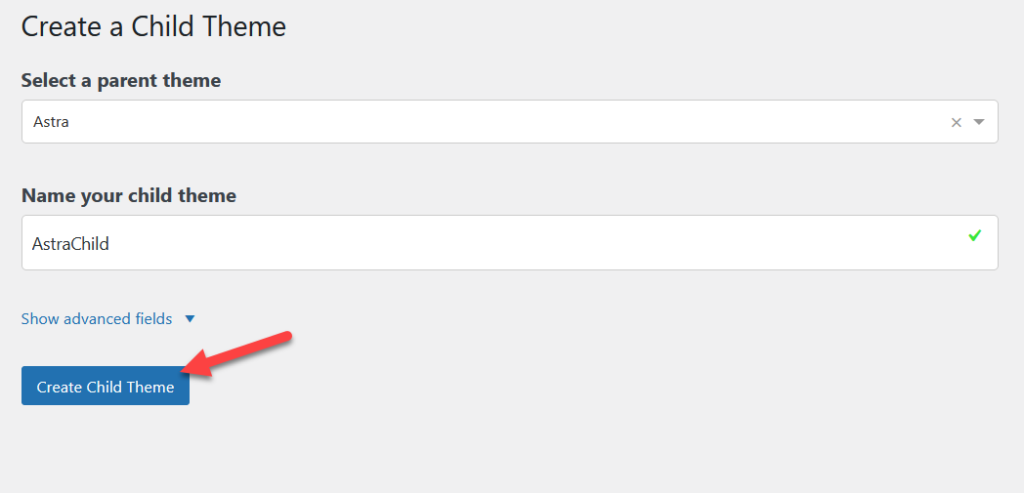
Simply click Create child theme after filling up the name of your new theme.
Step 3: Navigate to the theme editor.
After you’ve created a child theme, activate it and go to the theme editor.
Step 4: Edit the functions.php file in the theme.
Here, we’ll add some code to the theme’s functions.php file. WordPress shows the style.css file by default in the editor, but you can change this by selecting the functions.php file from the right column.
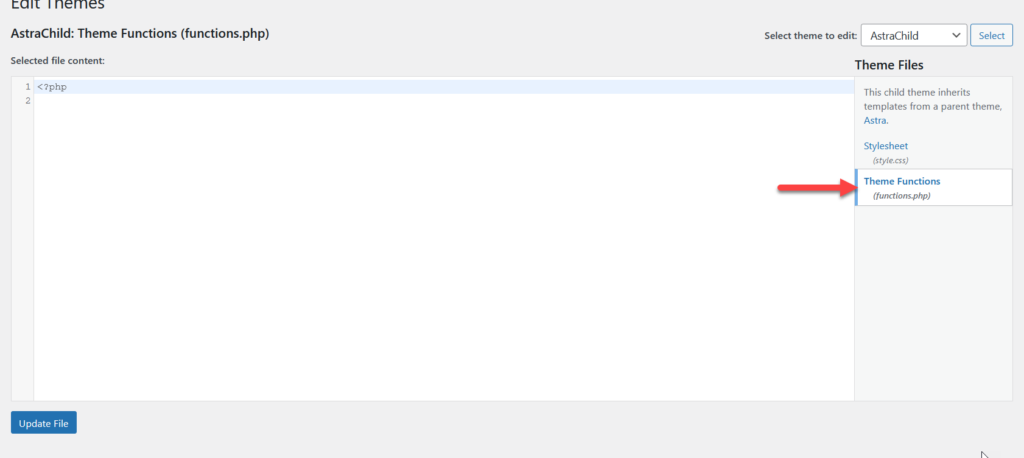
Copy the code from below after you’ve selected the file.
remove_action( 'woocommerce_after_single_product_summary', 'woocommerce_output_related_products', 20 );
Following this, paste it into the editor and update the file.

Now when you view your product page from the front end, you will see that the related products section is no longer available.
Method 4. Editing the theme’s functions.php file via a site-specific plugin
Another solution is to use a plugin to add a custom code snippet. For this tutorial, we’ll use Code Snippets , which is one of the market’s free site-specific plugins.
Step 1: Install and activate the plugin
First of all, you need to install and activate the plugin on your site.
Step 2: Add a new snippet
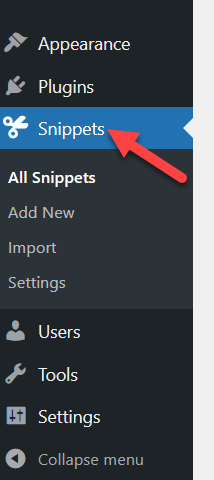
After activating, you will see new settings called Snippets on the left-hand side. Click on the menu Snippets.
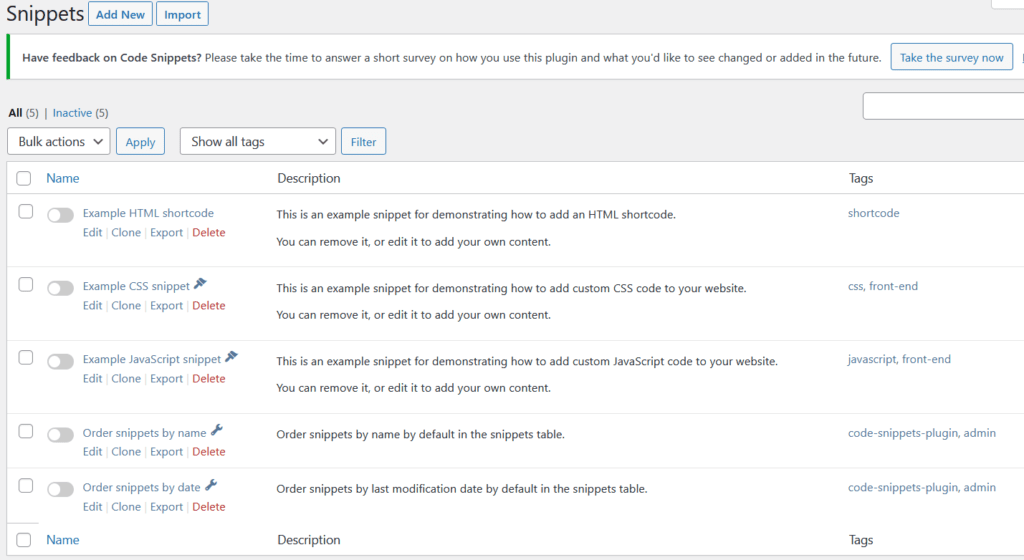
By default, the plugin will show some custom code snippets here, but they aren’t active and thus have no effect on your website.
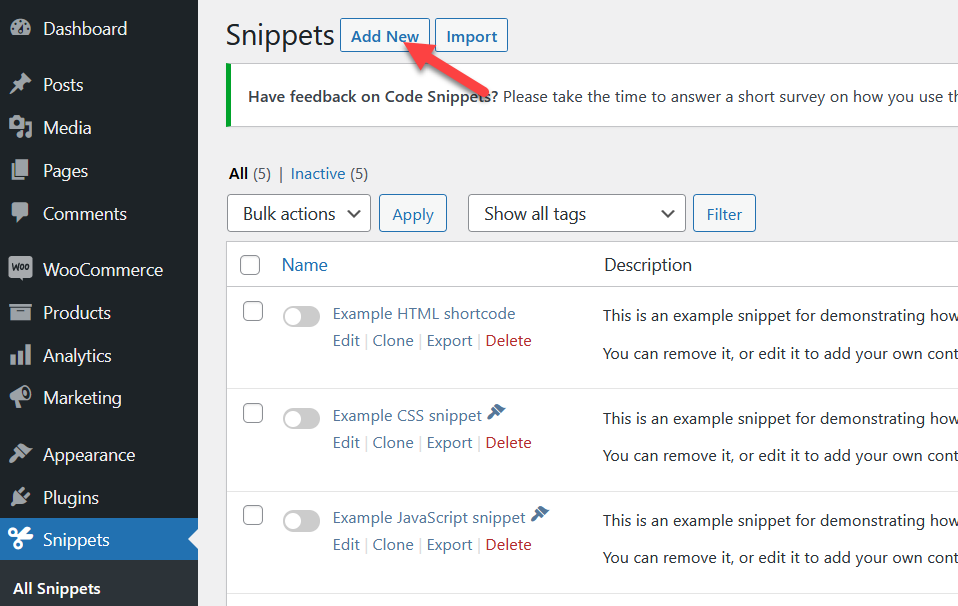
In order to remove related products in WooCommerce, you will need to add a new snippet to the site. Simply click on Add New.
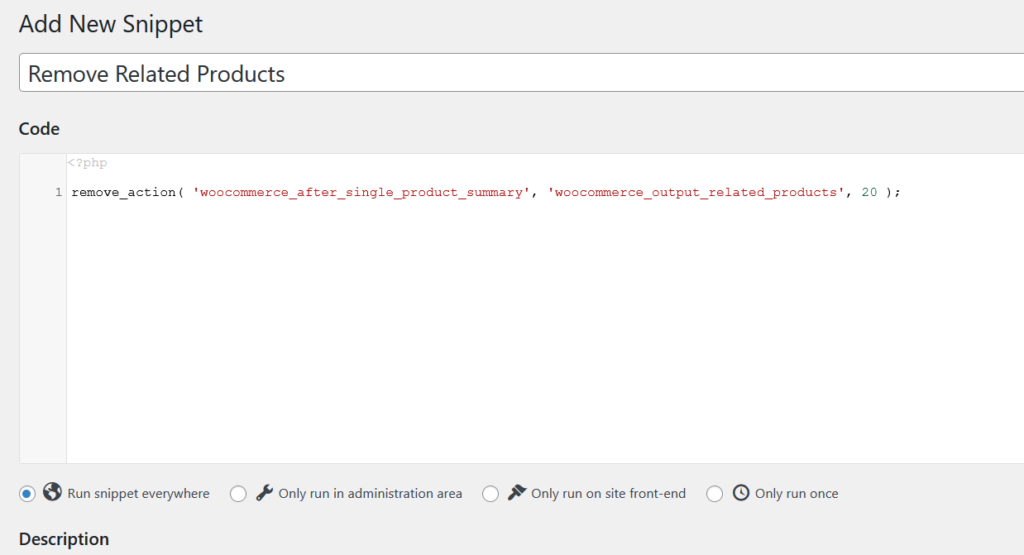
After that, you need to give a name to the snippet.
Step 3: Copy and paste the code
Now, you have to copy the below code:
remove_action( 'woocommerce_after_single_product_summary', 'woocommerce_output_related_products', 20 );
After that, paste it into the Code section and check the box Run snippet everywhere.
Step 4: Activate the code snippet
It’s time to activate the code snippet. Once your snippet is activated, go back to your single product site and you’ll notice that the related products have been removed.
Final words
Hiding, Disabling, and Removing related products might be necessary in some cases and fortunately, there are quite a few ways that can help you achieve those goals.
We hope that you find our in-depth tutorial on how to hide/ disable/ remove related products in WooCommerce useful.
Please feel free to comment down below if you have any questions on this matter.
Thank you for reading and we’ll see you soon.


