
How to Fix a Pending Payment on WooCommerce

Every merchant has to keep track of their order statuses. As an eCommerce merchant, you have to stay on top of all sorts of order statuses, since doing so is vital for keeping an eye on each order and knowing whether it needs to be tracked. However, a new order usually makes it difficult to track a pending payment order, especially using PayPal.
That is why in this article, we will discuss How to fix WooCommerce pending payment PayPal problems. On the basis of that, enhancing your online store’s performance will no longer be a big issue. Keep reading to find out more!
Why are you dealing with WooCommerce pending payment?
If you receive money from orders made on your site through PayPal, money from such transactions may not be immediately available. Typically, the resolution phase will take 21 days if the problems are resolved. These orders will be marked as WooCommerce pending payment Paypal.
Normally, a Paypal pending transaction may be due to one of the following reasons:
- You’ve been out of stock for quite a while on your site. When this happens, you’ll need to establish a strong positive sales or purchase history again.
- Negative reviews: Charge-backs, refunds, and disputes will affect the availability of money in your PayPal account if they are excessive.
- You have just newly used Paypal. This means that you have to do a certain number of transactions to convince PayPal that you are both a legitimate buyer and a genuine seller. It takes time, but doing all the identification work and making sure you frequently use PayPal can help get payments out of the “pending” status faster. Be sure to validate your email address, too.
In some other scenario, the use of your plugins might also cause several unwanted errors while processing Paypal pending payment, such as:
- Absent of a correct address
- Manual authorization has been enabled
- The money was sent through eCheck.
- Non-U.S. account holders may have to wait for payments that are “pending” unless they remove the money manually.
- You may see a “pending” payment if you don’t have enough of the currency received in your balance and you haven’t configured your Payment Receiving Preferences to convert and accept it automatically.
How to fix a Paypal pending payment on your WooCommerce website?
As you have read our first section, explaining the possible reasons that may lead to the appearance of WooCommerce pending payment Paypal. Therefore, in just a few seconds, we will look at How to fix these annoying problems.
We have divided the tutorial into small steps to understand and catch up with the process easily. No more beating around the bush, let’s get started!
Step 1: Install the plugin
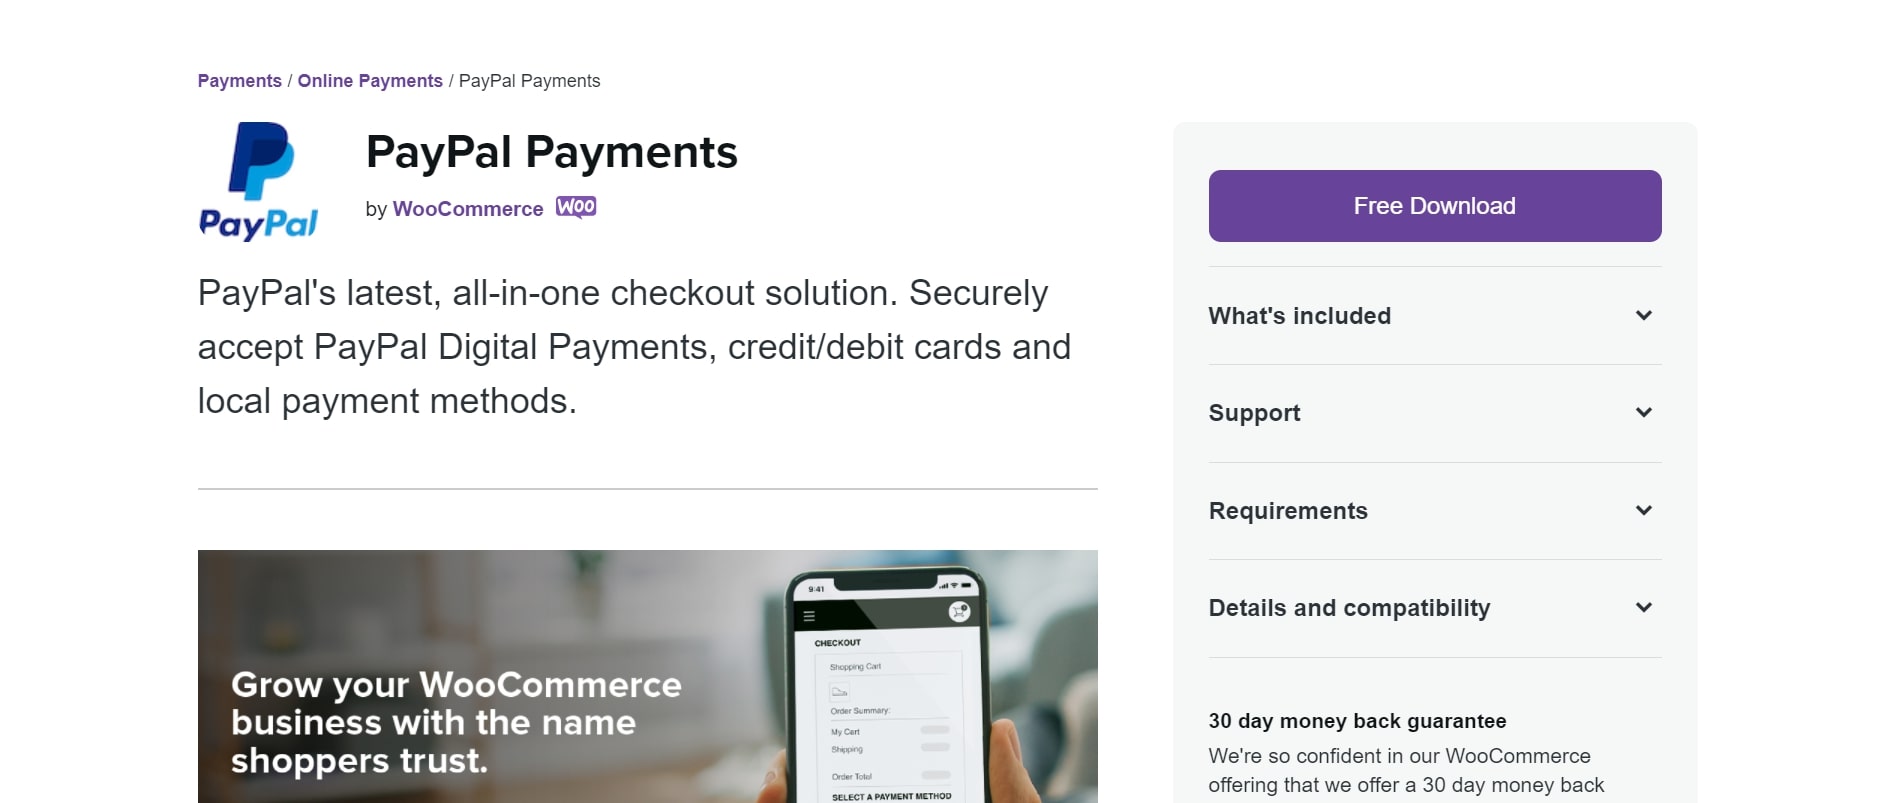
We will be using a plugin called “PayPal Payments” to solve every WooCommerce pending payment PayPal issue. For those of you who have worked on WooCommerce platform for a while, it will be much quicker and easier to install the plugin than the newcomers. In order to do so, navigate to this link and click on “Free Download” button to download the .zip file for the extension:
Then, go back to your WooCommerce dashboard and move your mouse over the Plugins > Add New section and select “Choose File” at the center of the screen:

Continuously choose “Install Now” and “Activate” to finish the first step!
Step 2: Configuration
WooCommerce settings
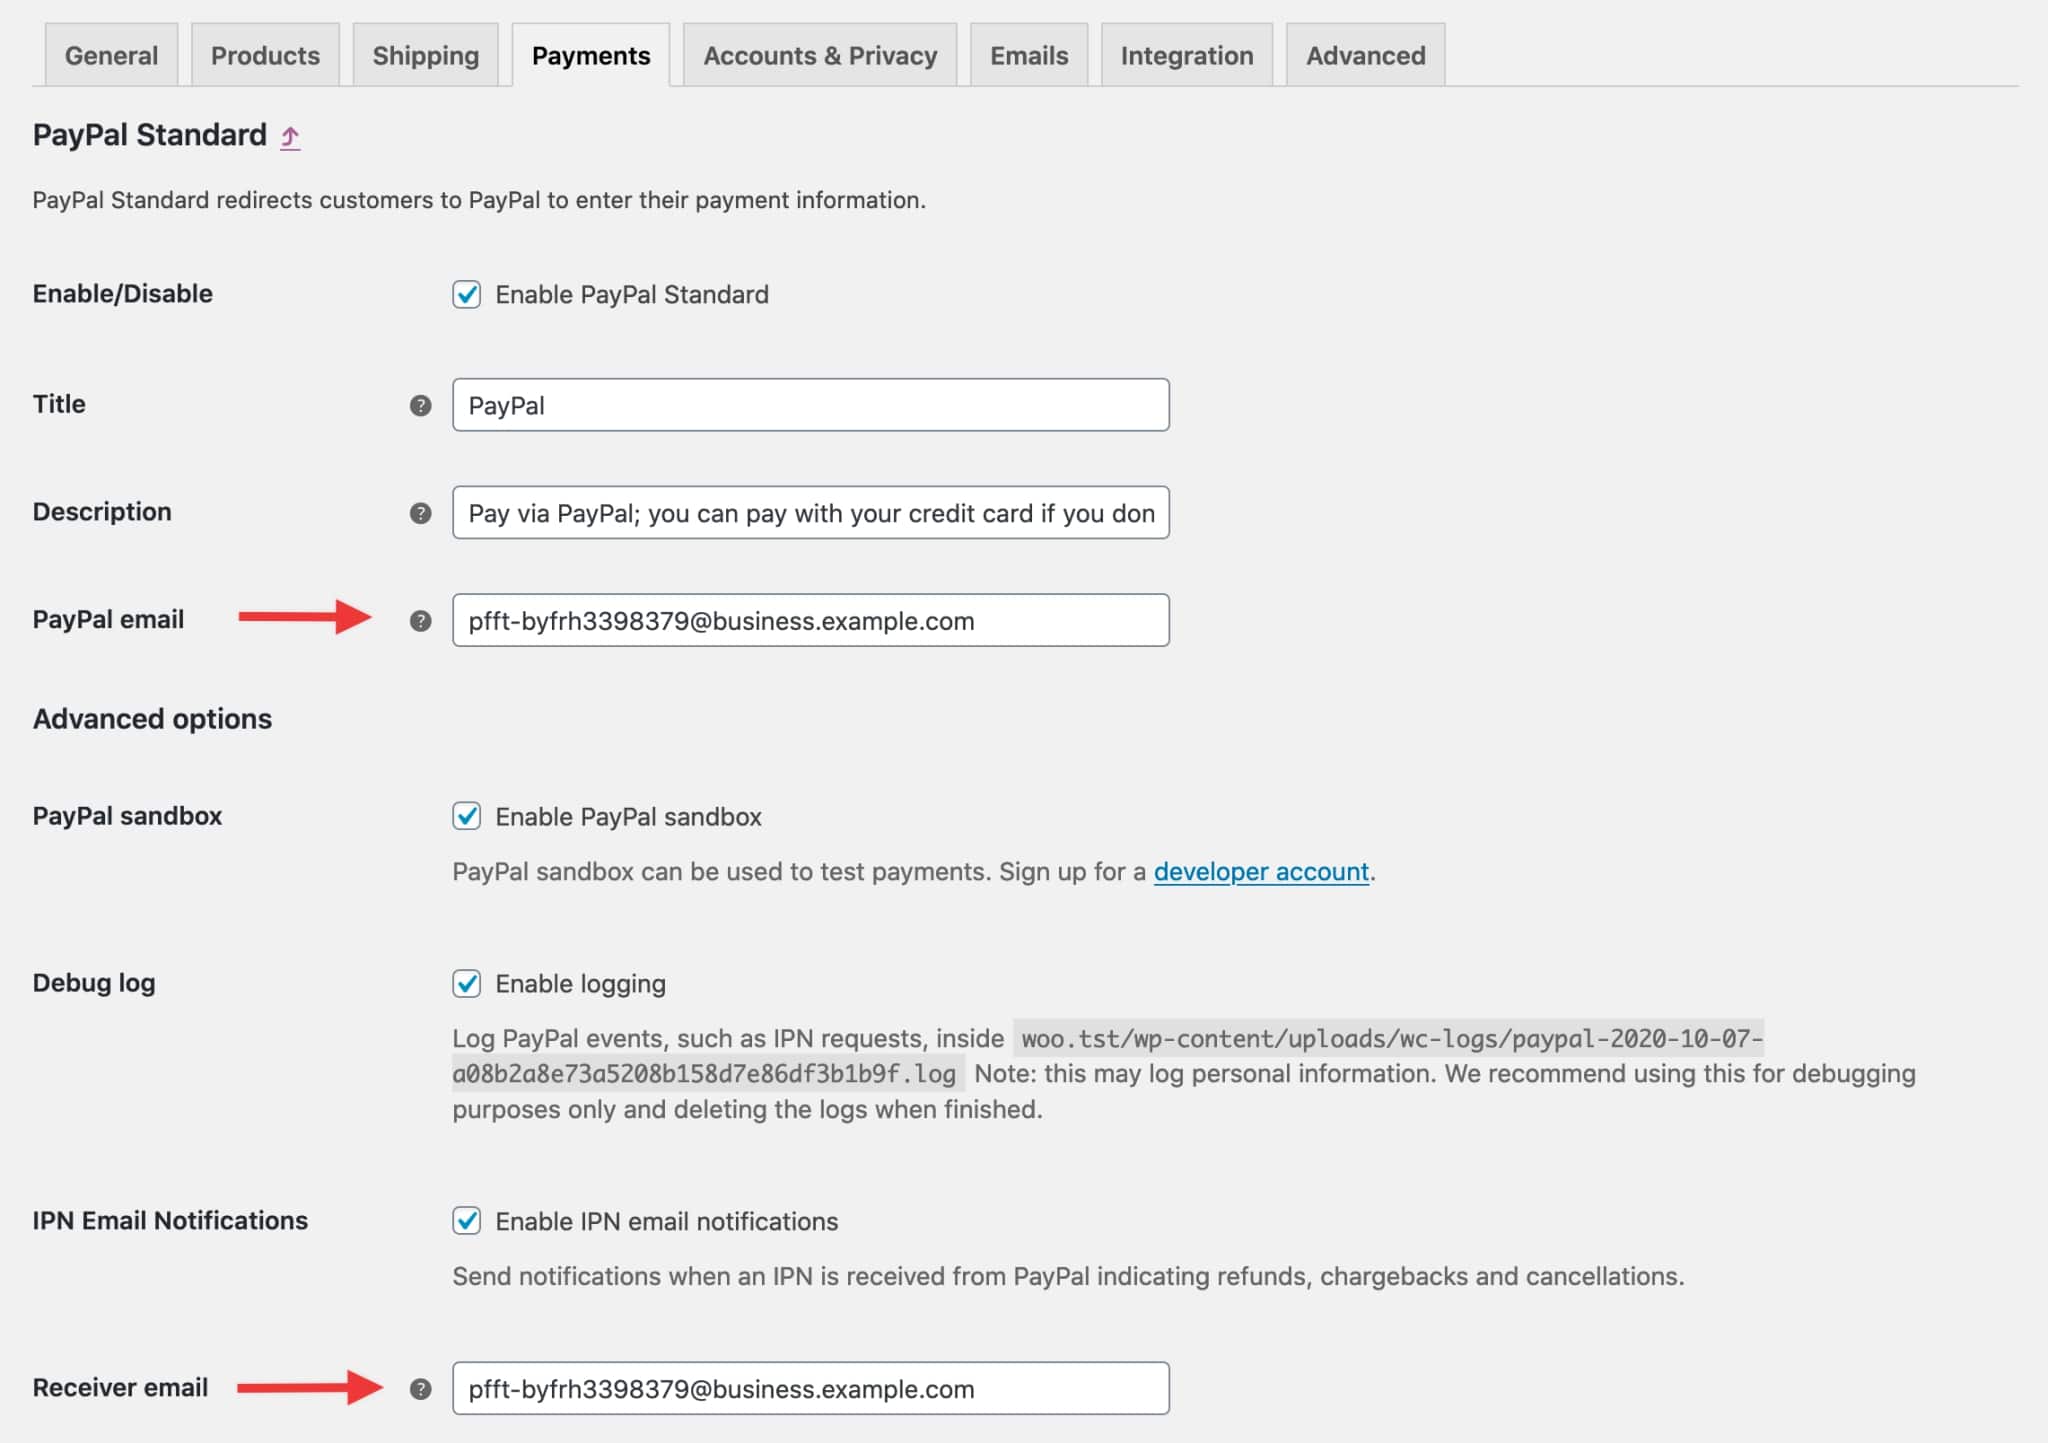
After setting up the plugin, it’s time to modify the configuration so that it works well on your website. The first thing all online merchants have to do is to enable the plugin by going to WooCommerce > Settings > Payments page:
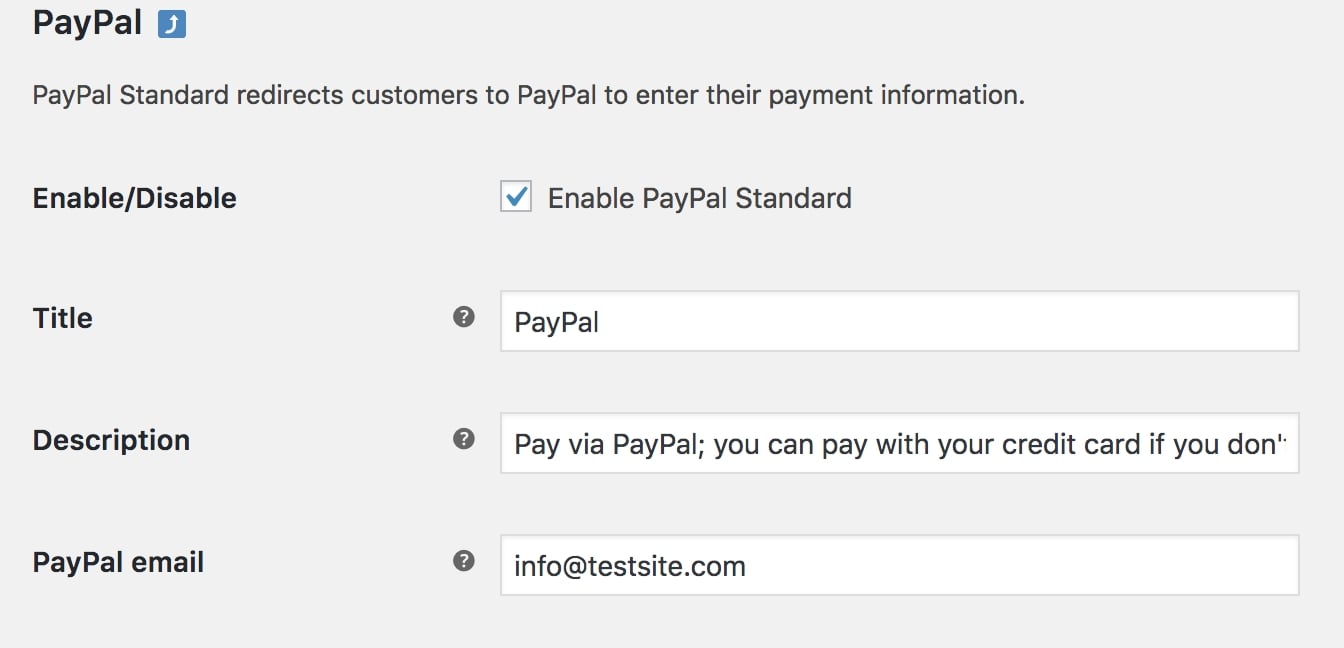
Fill in all of the missing fields, including the title, description and even your email in the PayPal app.
Scroll down and there will you see the “Advanced Options” where you have to make decisions for these factors:
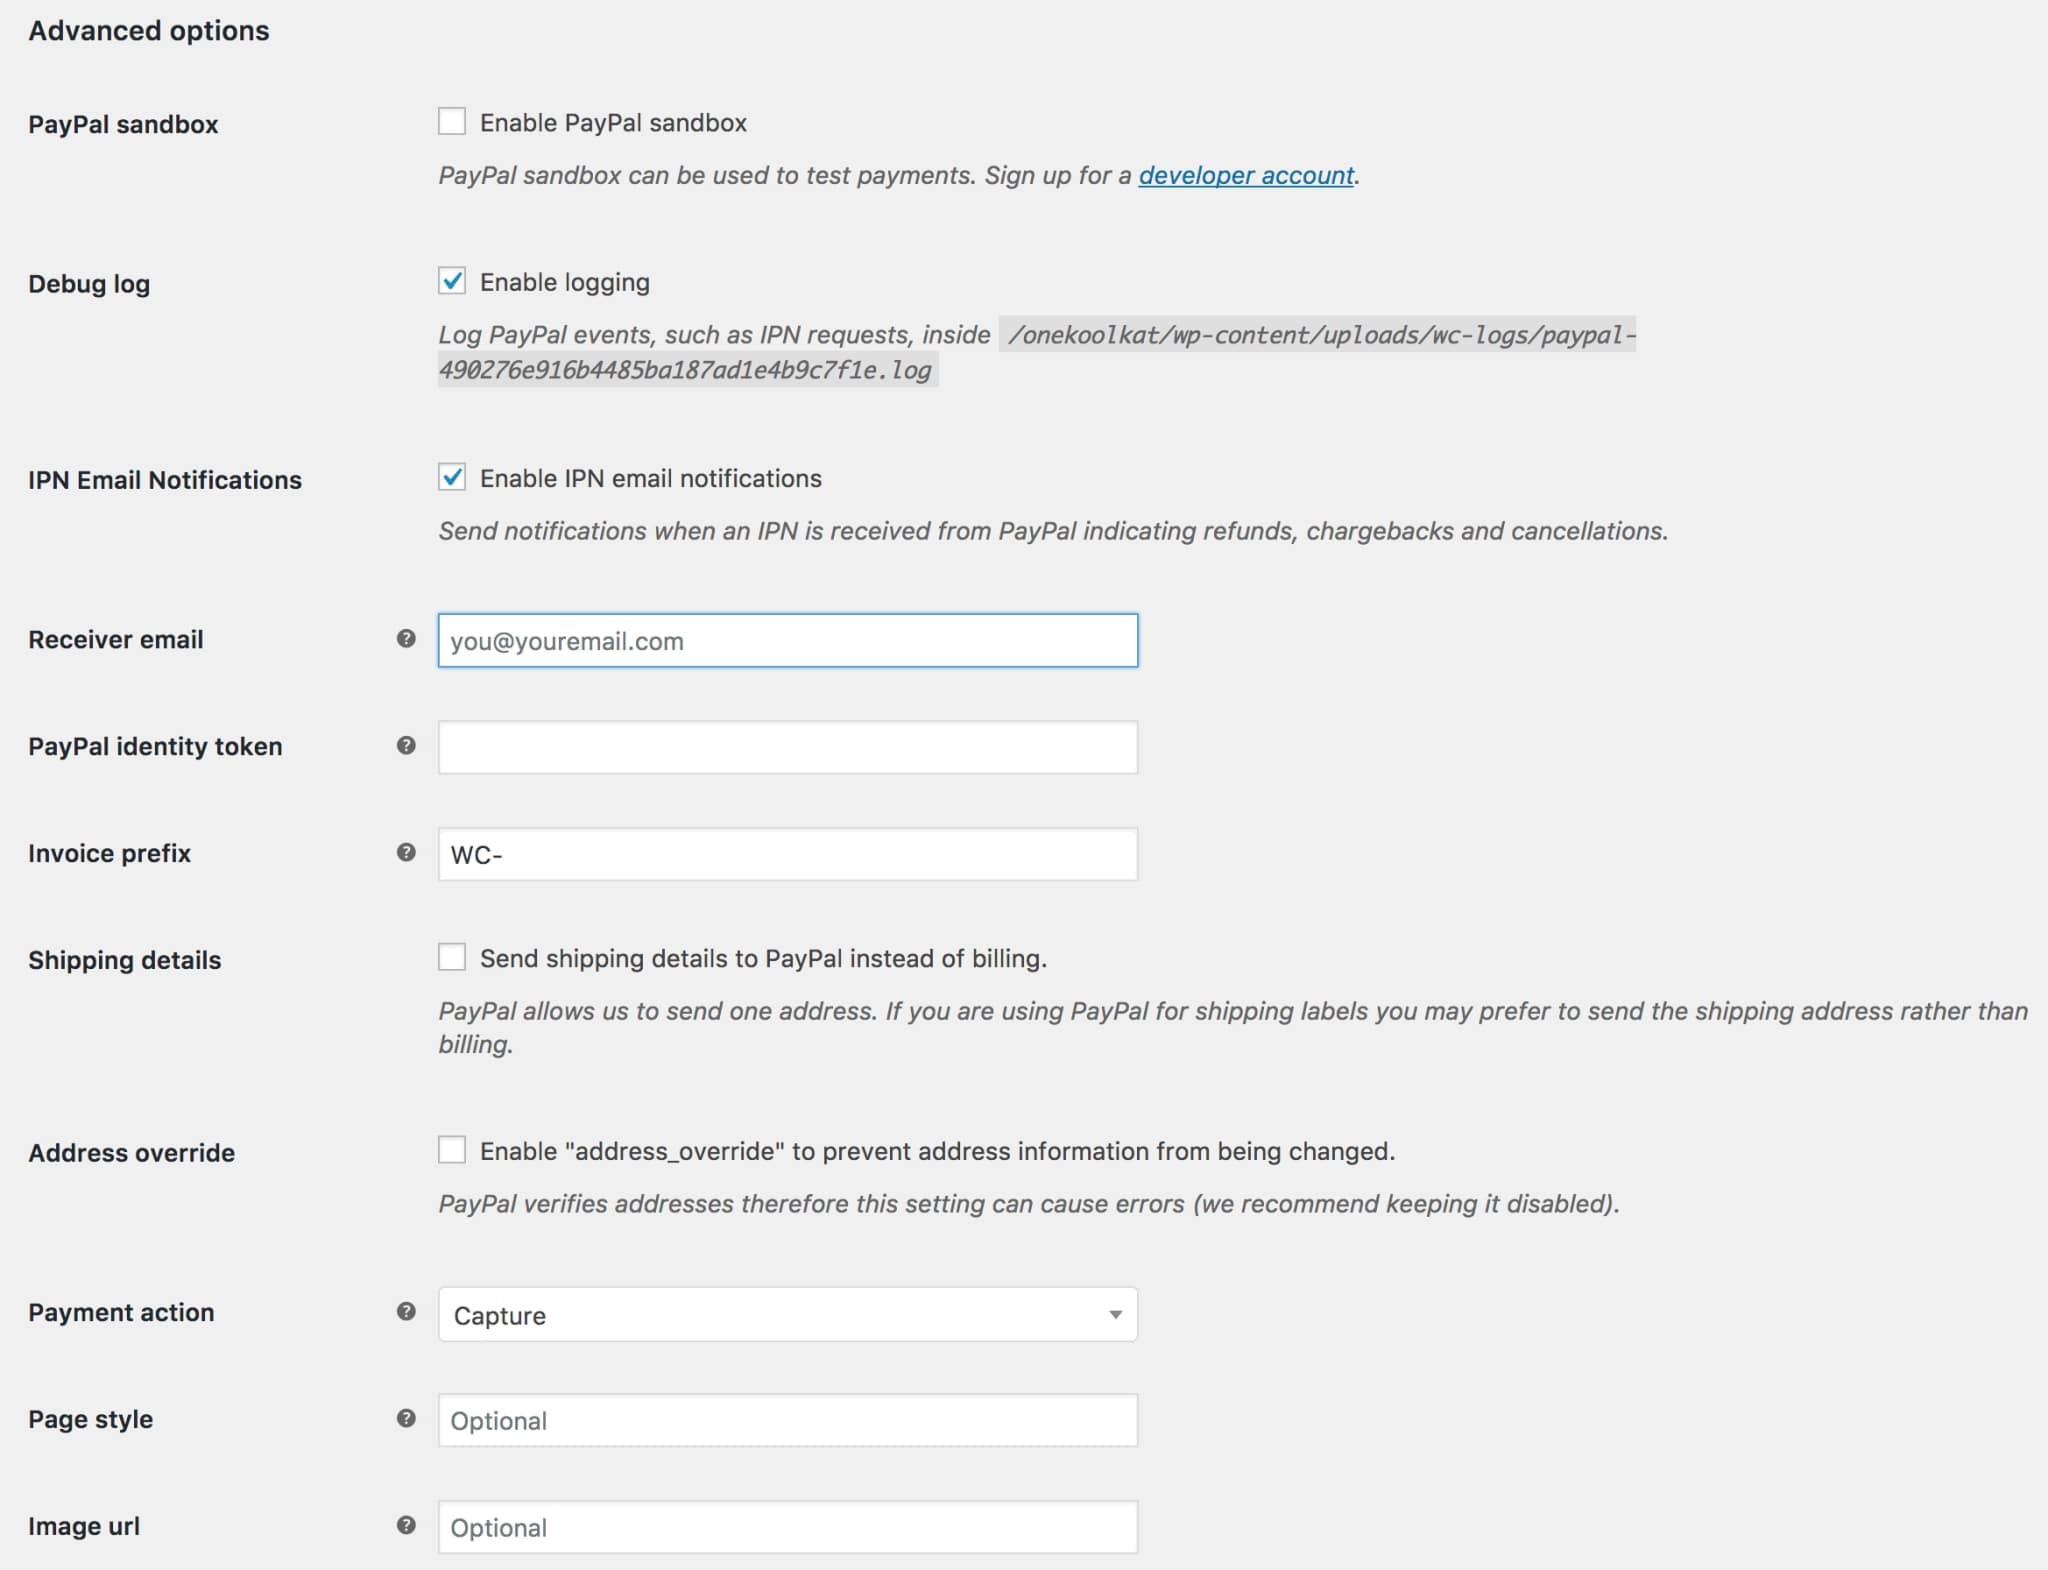
- Enable PayPal sandbox: To verify the purchase procedure while you build your shop, tick the box next to Enable PayPal Sandbox. When the sandbox setting is switched on, you won’t have to pay.
- Debug Log: During development, you may also switch on the debug log, which is a really helpful feature. A writable wc-logs folder may be needed to start with, in order to establish a wc-logs folder. Check your logs by navigating to System Status > Logs in WooCommerce and selecting the PayPal log from the dropdown menu.
- IPN Email Notifications: PayPal will notify you of payment, refund, or chargeback/cancellation status through IPN.
- Recover email: your backup email address in case you can not access through the origin one.
- Identity token: This information is only necessary if you’ve set up the Data Transfer feature in your PayPal account. You should use it to validate payments if you have any problems with IPN.
- Invoice prefix: this one is recommended if you are managing many storefronts at once. WC is what WooCommerce uses for transactions by default.
- Shipping details: you may choose to let WooCommerce email PayPal and generate shipping labels, rather than charge, for shipments.
- Address override: Because PayPal checks addresses, putting up an address may lead to problems. We advise leaving it disabled, although it may be helpful in stopping users from altering the address.
- Payment action: gives you a choice to make, with the ability to instantly take money or only approve them.
- Page style: With this tool, you may choose a custom name for your PayPal account page.
- Image URL: include a 150×50 picture will offer your customers the opportunity to use it on their PayPal checkout pages.
Moving on, we have the “API credentials” section that looks like the below image:
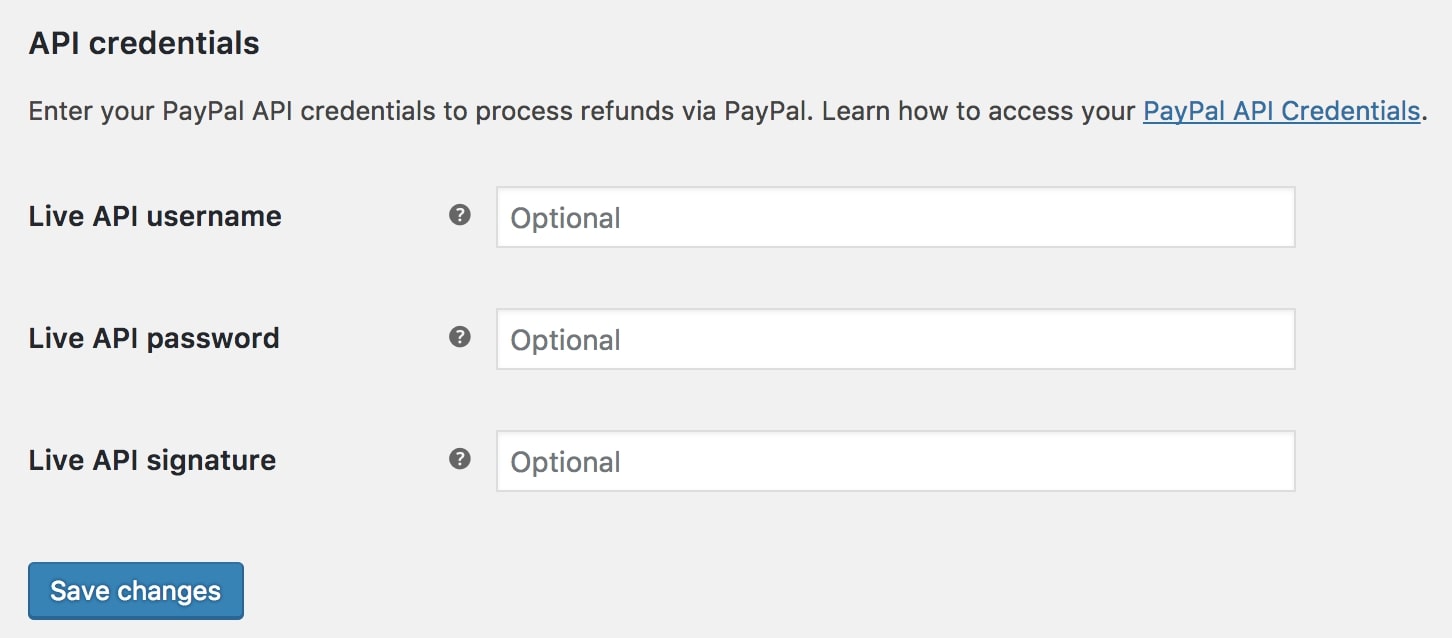
Follow our instructions here and pastedown your Live API information:
PayPal Dashboard setting
The steps are pretty easy for this one, just log in to your PayPal account and locate the Settings > Account Settings > Notifications > Instant Payment Notifications section. Fill in your store URL link in this form after clicking on the “Choose IPN Settings” button:
https://example.com/?wc-api=WC_Gateway_Paypal
Then enable the “Receive IPN messages” selection and “Save changes”. You can compare the results with ours in this gif:
With a single PayPal.com account and IPN (Internet Protocol Network), one may open numerous shops. The default IPN listener URL is used if you don’t include an IPN listener URL with your transaction, but if you include one, it takes precedence. All you have to do is make sure to include the notify url option in each transaction with the second URL you’re sending notifications to.
When using PayPal, you may designate a page for receiving payments that automatically sends a client back to your site with the “Auto Return” setup. Also, replace your URL link instead of the example.com in the following form while accessing Settings > Account Settings > Website payments > Website preferences. Here is how we did it:
https://example.com/checkout/order-received/
Step 3: Sandbox mode testing
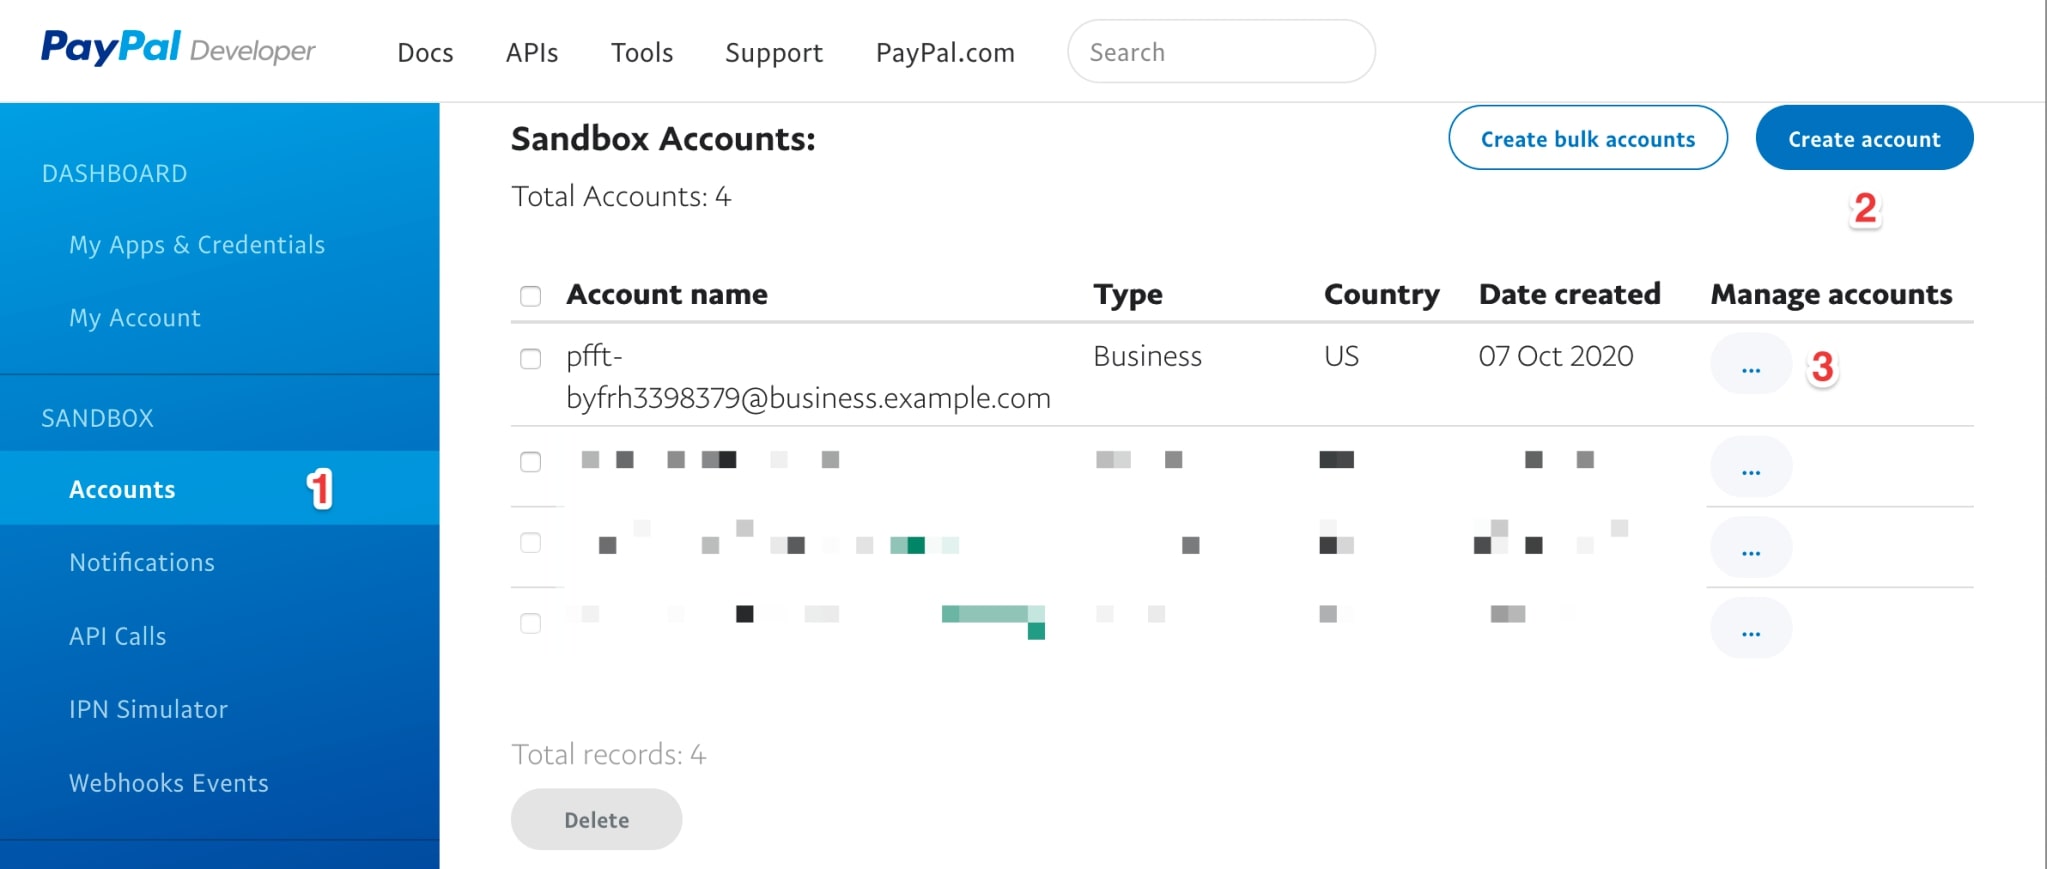
To get the most out of your PayPal checkout and payment experiences, you may consider testing them in a sandbox before launching them to your customers. Because of this, sign up for a PayPal developer account and go to your Sandbox > Account and find the “Create Account” button.
To ensure a perfect match, be sure to provide the account type and country/region. Go back to the “Manage Accounts” column and choose the “View/Edit Account” option that you will see underneath the new account to see the information of the sandbox account:
When you use the modal to access your account, you’ll see that the “Email ID” that PayPal created for you is in the “Profile” tab. While your site is in sandbox mode, use this email address:
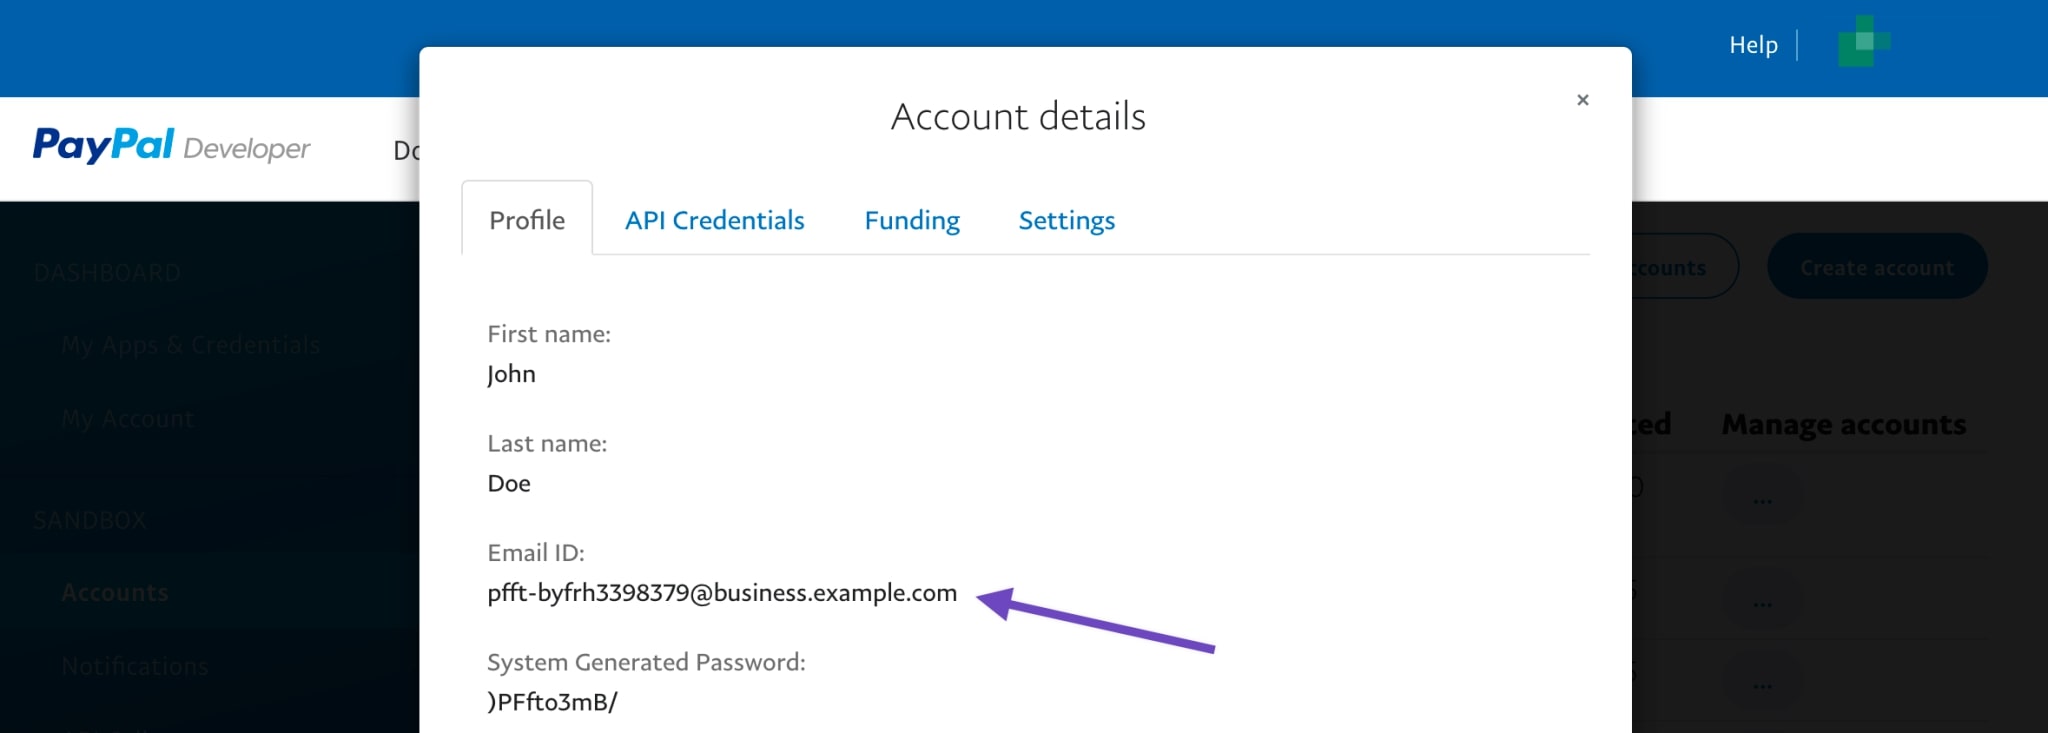
If you are using the PayPal email, the status will be marked as “On Hold” and there will be a pop-up message saying “Payment pending (unilateral). Order status changed from Pending payment to On hold”:
Step 4: Adding the source code
Once all the configurations, it’s time to move on the coding part. It might require you some technical knowledge to perform the task so it is best when asking for someone who is skillful in this area. From your WooCommerce dashboard, seek for the Appearance > Theme Editor mode. On the right sidebar of the screen, you can quickly notice the “Theme Functions” where we will be pasting the source code inside:
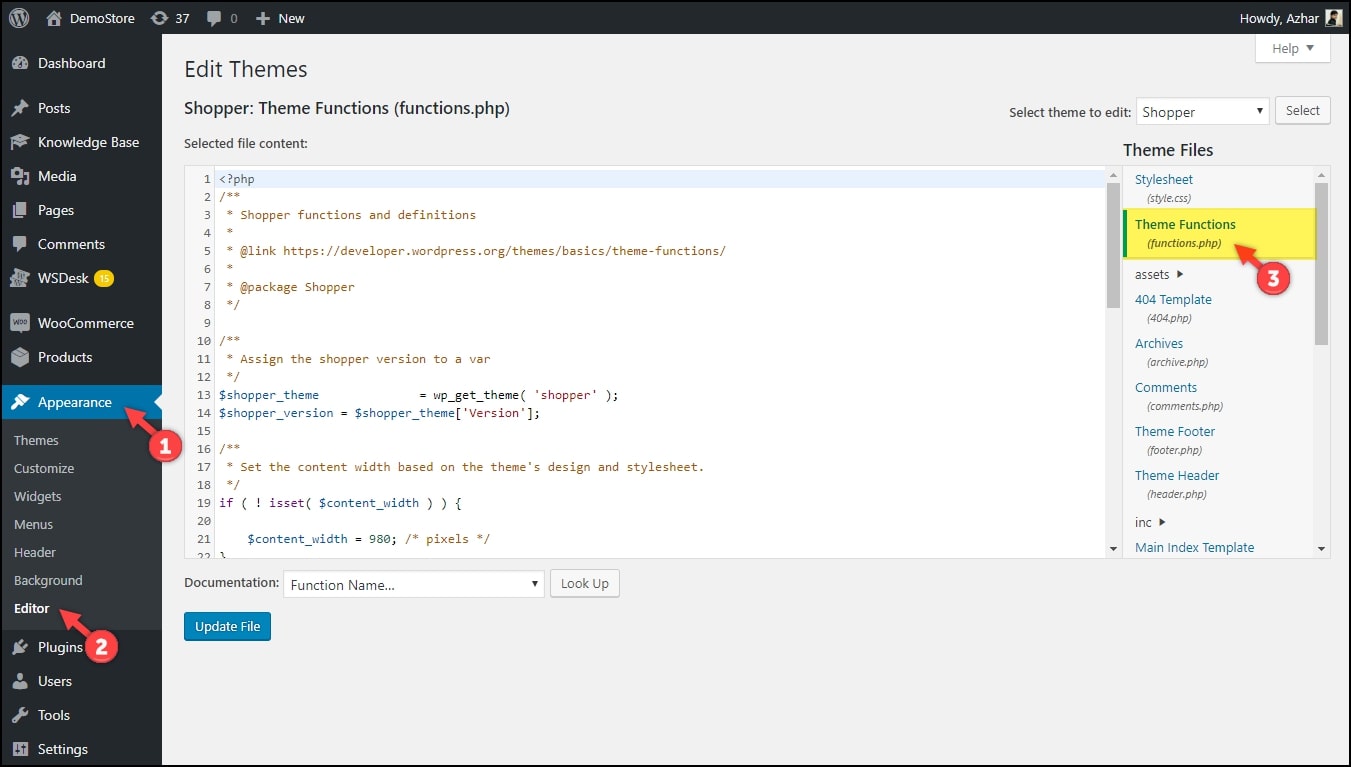
This snippet is going to fix your WooCommerce pending payment PayPal problem by automatically processing them:
add_action('paypal_ipn_for_wordpress_payment_status_completed', 'angelleye_update_wc_order_status', 10, 1);

function angelleye_get_paypal_order($raw_custom) {
    if (( $custom = json_decode($raw_custom) ) && is_object($custom)) {
        $order_id = $custom->order_id;
        $order_key = $custom->order_key;
    } elseif (preg_match('/^a:2:{/', $raw_custom) && !preg_match('/[CO]:\+?[0-9]+:"/', $raw_custom) && ( $custom = maybe_unserialize($raw_custom) )) {
        $order_id = $custom[0];
        $order_key = $custom[1];
    } else {
        return false;
    }
    if (!$order = wc_get_order($order_id)) {
        $order_id = wc_get_order_id_by_order_key($order_key);
        $order = wc_get_order($order_id);
    }
    $order_key_value = version_compare(WC_VERSION, '3.0', '<') ? $order->order_key : $order->get_order_key();
    if (!$order || $order_key_value !== $order_key) {
        return false;
    }
    return $order;
}

function angelleye_update_wc_order_status($posted) {
    if (!empty($posted['custom']) && ( $order = angelleye_get_paypal_order($posted['custom']) )) {
        $order_id = version_compare(WC_VERSION, '3.0', '<') ? $order->id : $order->get_id();
        if (!empty($order_id)) {
            $order = new WC_Order($order_id);
            $order->update_status('completed');
        }
    }
}
Don’t forget to “Save” before leaving the tab!
Step 5: Troubleshooting
Following these procedures may help you get IPN to properly update your orders. You may wish to set a flag to prevent orders from cancelling while under review since IPN is used to notify customers of completed transactions. To finish, go on “Products” under the WooCommerce settings and then change the “Hold Stock (minutes)” set to zero (leave the field empty):
- Check your firewall settings: A secure HTTPS URL communicates with PayPal. To allow your firewall to make outbound connections, port 443 should be open.
- Email addresses: Check the PayPal gateway’s email address and ensure it matches the email address provided by IPN. When you open a PayPal account, you should always use your own email address. They have to be identical.
- Turn on logging: To verify whether everything is running well, you should ensure if you’re getting answers to your requests. If they aren’t, then your WordPress setup or a plugin conflict may be the cause of the issue. Make sure you switch off your other plugins.
Conclusion
To sum up, it is inevitable that you have to run into the WooCommerce pending payment PayPal stumbling blocks, but we hope that our article today has answered all of your wonders surrounding such matters and help you to bring back the best shopping experience to customers.


