
How to Enable Force SSL (HTTPS) In WooCommerce

SSL is the foundation of our secure Internet, protecting your sensitive data as it travels across the world’s computer networks. Even if your website does not handle critical information such as credit cards, SSL is necessary for its security. It ensures the privacy, essential security, and data integrity of your websites as well as the personal information of your users.
That is why in today’s tutorial, we will show you how to enable Force SSL (HTTPS) in WooCommerce. There will be a detailed explanation that comes along with two different methods and additional plugins that are helpful for your online store.
Benefits of getting an SSL certificate for your WooCommerce store
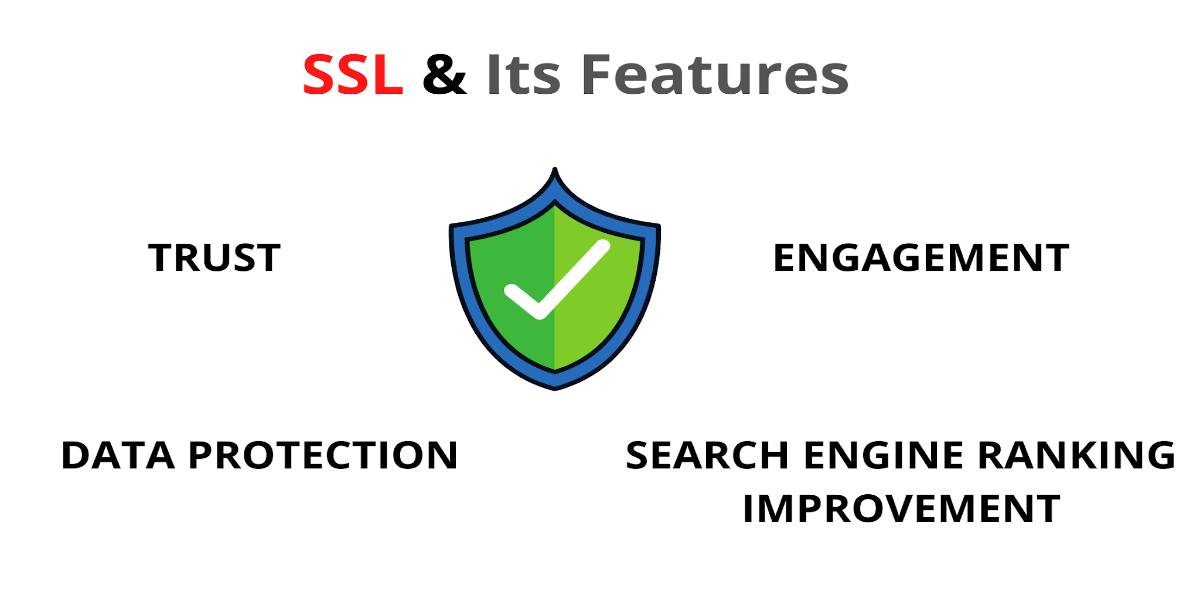
SSL certificates are required for websites to safeguard user data, authenticate website ownership, prevent attackers from constructing a false version of the site, and express trust to users. Here are some critical benefits of getting an SSL certificate for your WooCommerce store:
- Ensure website security: This certificate makes it possible to avoid security breaches on websites. It offers secondary authentication since the PKI (public key infrastructure) aids in transmitting information only to the appropriate server, and the data is not accessible from any other device on the same server.
- Improve search engine ranking: To guarantee visitors have a safe surfing experience, Google will boost the search engine ranking of websites with an SSL certificate.
- Enhance trustworthiness from customers: One aspect that may boost your website traffic is demonstrating to your consumers that you care about their security. An SSL certificate is the best method to do it.
- Better web browsing: The truth is that HTTPS helps your websites load much faster, which improves website performance. This enhances search engine optimization and assists you with internet marketing.
- Protect sensitive information: By creating a secure website, you may encrypt any critical information sent between two computers and from a computer to a server.
How to set up SSL with WooCommerce
You must get an SSL certificate to utilize SSL on your website. In the next part of this article, we will show you two different methods that depend on your situation. Let’s dive in!
Method 1: Getting an SSL certificate from your WooCommerce hosting
The first method is to take advantage of the free SSL certificate from your WooCommerce hosting provider. WooCommerce hosting partners such as Bluehost, Pressable, Kinsta, and SiteGround - provide free SSL certificates for WordPress users that can be deployed in minutes.

If you use other hosting companies, check with your current or preferred hosting provider to see whether they provide a free SSL from Let’s Encrypt and follow the procedures provided. If they do not offer this option, proceed to the following stage that we will give you later.
Method 2: Setting up by yourself
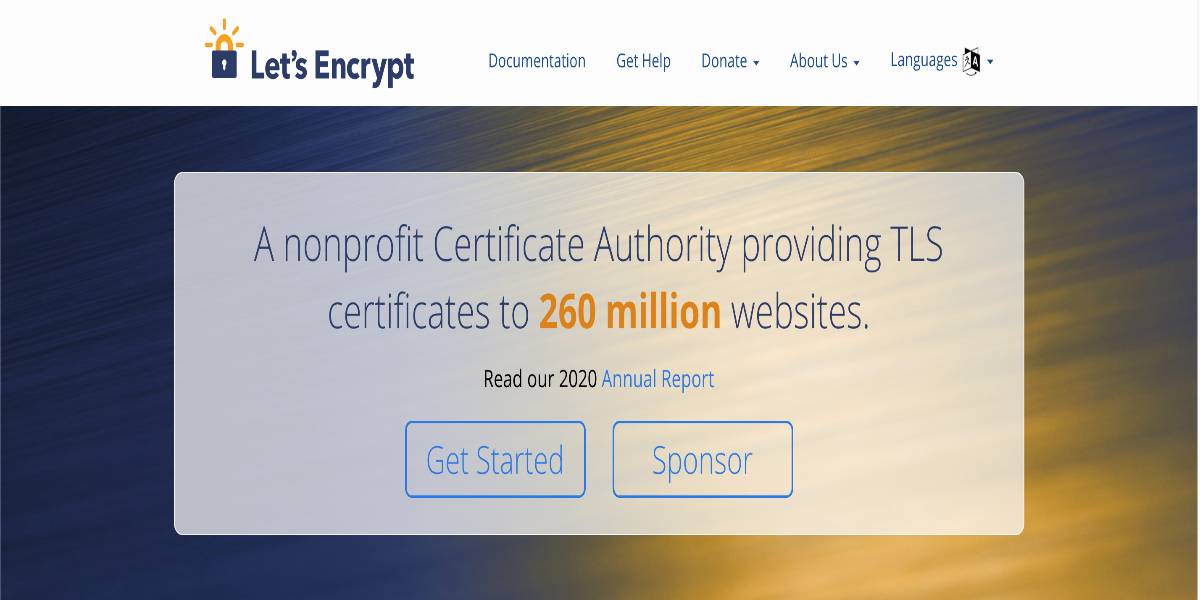
The second method is to obtain an SSL certificate from Let’s Encrypt. Let’s Encrypt is a certificate authority (CA) that offers free SSL certificates to the public to enable a more secure and privacy-protected Web. This project is well-liked by WordPress and WooCommerce.
Step 1: Set up your domain and hosting
First of all, you need to get a domain name. The free SSL certificate from Let’s Encrypt is domain-based so, this step is a must. After that, set up your WooCommerce store with a particular hosting provider.

Step 2: Install a free SSL provider
Once you already have your domain and hosting, go ahead and install Let’s Encrypt to your computer. The installation process is quite complicated and has different paths for several types of servers. Therefore, we recommend you to check out the Set Up Tutorial from Let’s Encrypt to install it.
Step 3: Get a free SSL certificate
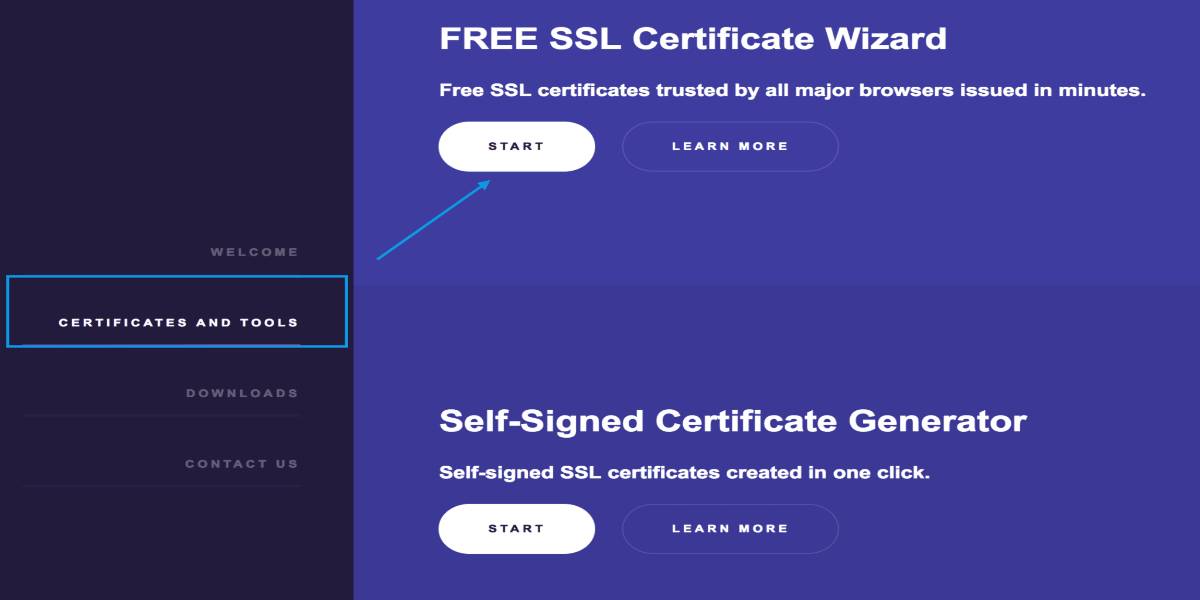
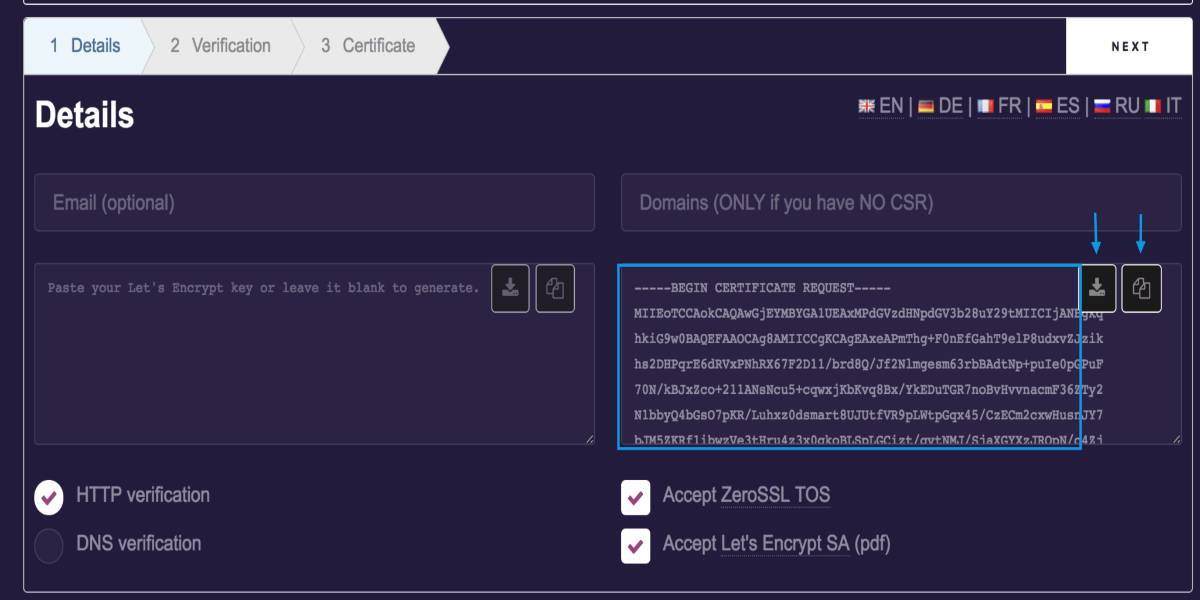
After successfully installing Let’s Encrypt, go to the website named “ZeroSSL” on your browser. On the homepage, navigate to the Certificate and Tools section on the dropdown menu. Find and select the Start option.
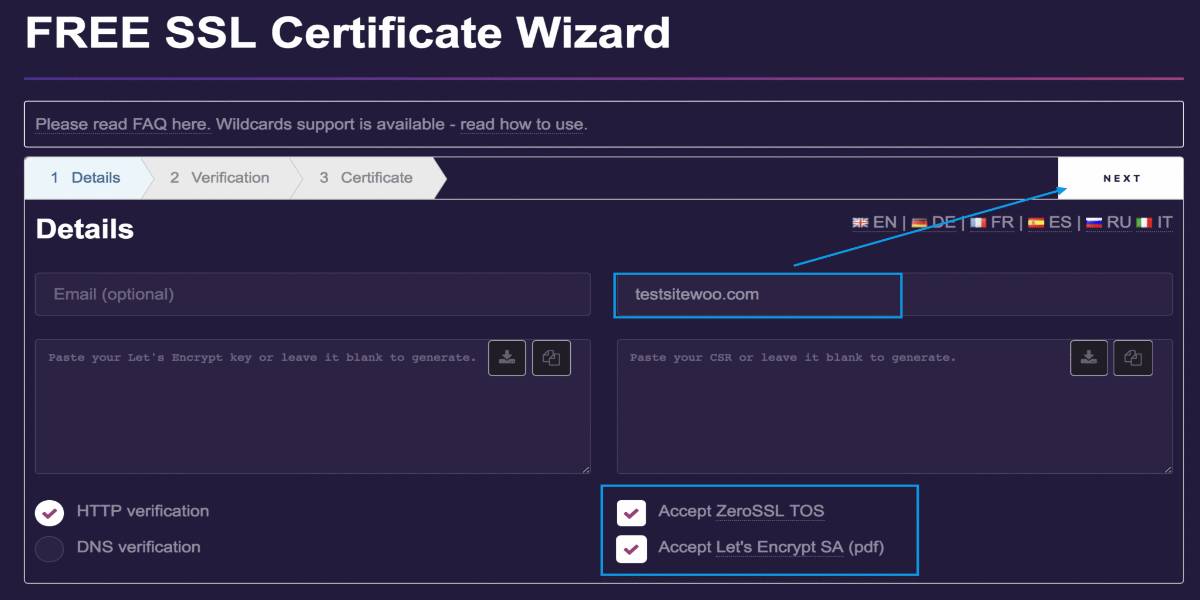
Next, fill in your domain name and tick the two blank boxes below to accept the Terms of Services from the provider. Then click on the Next button to get a Certificate Signing Request(CSR).
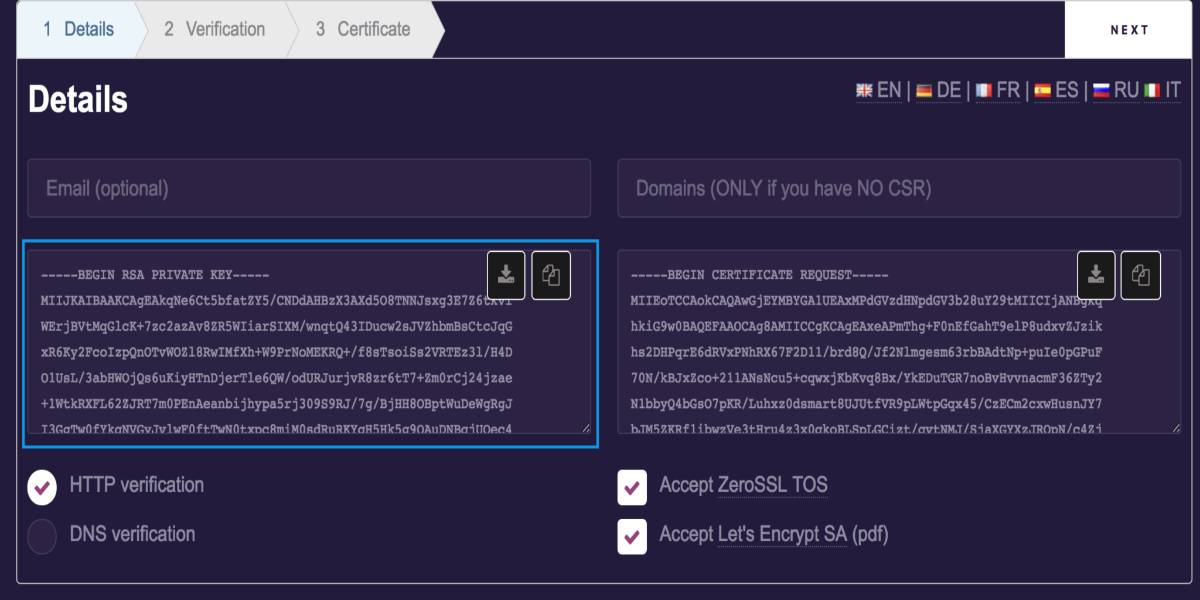
Copy and download your provided CSR and select the Next button again to generate your RSA Private Key.
Finally, download the RSA Private Key to your computer. It is safe to dismiss the browser tab once you have downloaded your CSR and RSA Private Key. If you close it without storing these two pieces of information, the procedure will have to be restarted.
Step 4: Connect with your hosting provider
The last step is to contact your hosting provider for detailed guidelines for setting up your SSL(HTTPS) in WooCommerce. Each hosting provider has a unique process for submitting the free SSL certificate (CSR and RSA Private Key) you generated. In today’s tutorial, we will show you how to do it with Kinsta: In MyKinsta, go to the Tools page for your site and choose the Force HTTPS option. Select the domain for which you wish to impose HTTPS, and this option will be activated. If you are not using Kinsta, you may force HTTPS by using a plugin or adding a few lines of code to your Nginx or Apache server.

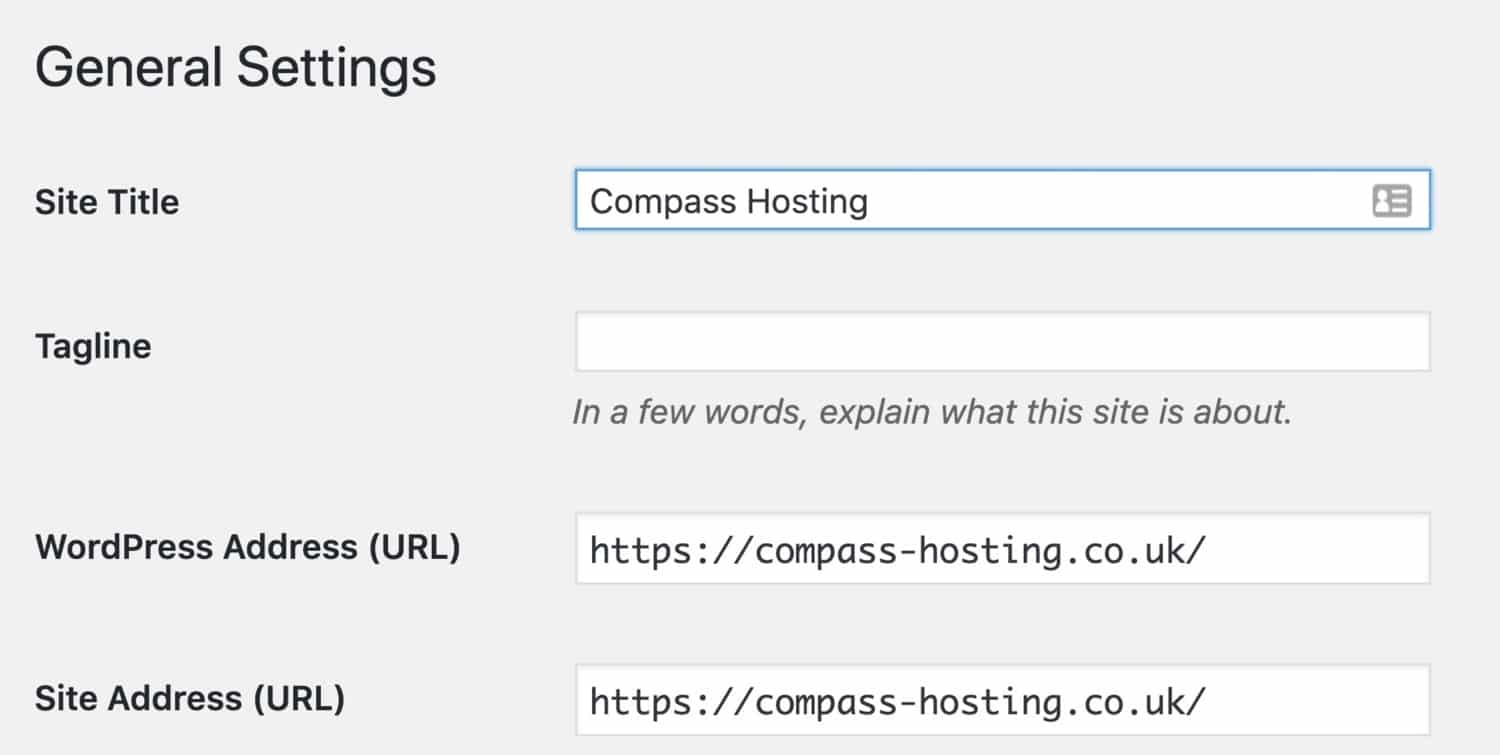
You may also alter your WordPress settings, add code to your wp-config.php file, and make changes to your .htaccess file. To begin, navigate to Settings > General on your site. Change the site URL and WordPress URL to contain https:// instead of http://.
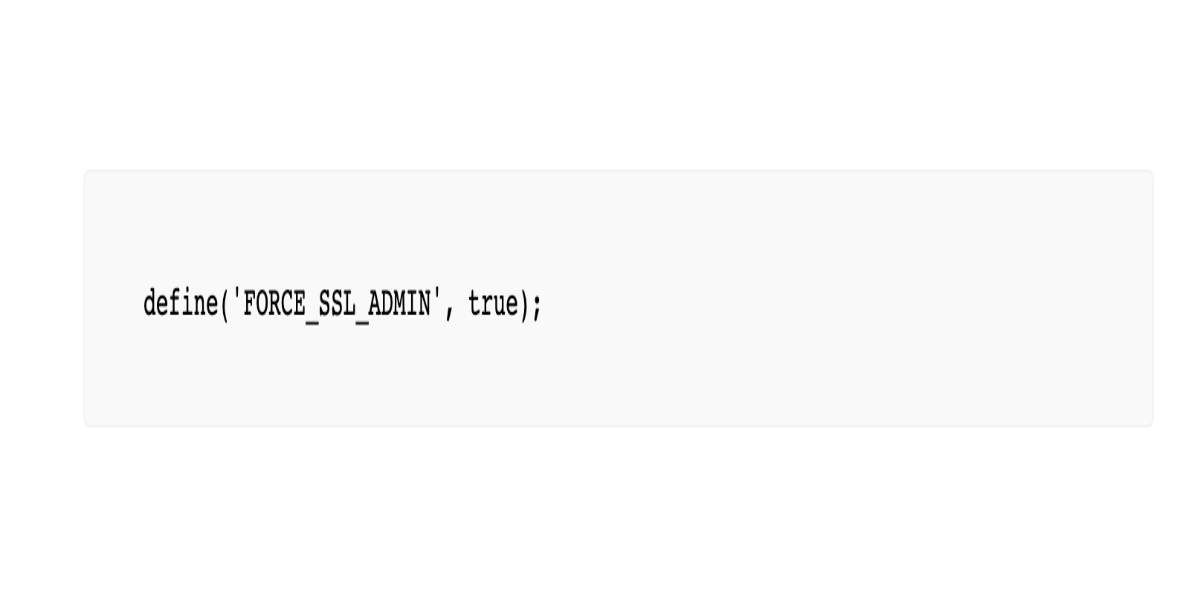
Then, for the admin panels, you will need to force SSL as well. Add the following line to your wp-config.php file, just before the line that indicates ‘That’s all, stop editing!’:
The last step is to modify your .htaccess file. Open it in a coding editor and look for any lines that include the site URL. Save the file after replacing all instances of http:// with https://. And from now on, you have made SSL mandatory for your website.
3 best premium plugins to enable force SSL (HTTPS) in WooCommerce
Really Simple SSL
With few settings and the ability to enable SSL with a single click, Really Simple SSL tries to keep SSL accessible. When activated, this plugin converts your entire site to SSL. All inbound requests are routed over HTTPS. This plugin’s Pro version adds support for mixed content, the ability to activate HTTP Strict Transport Security, and more thorough feedback.

Outstanding features:
- When your certificate is due to expire, you will receive an email and a notification on your SSL dashboard.
- Because this plugin is designed as an add-on for Really Simple SSL, you do not need to uninstall Really Simple SSL.
- Licenses are renewed yearly at a 20% discount and are cancellable at any time.
- The developers use the HttpOnly and Secure settings to make cookies safe and encrypted to maintain your connection.
Price: The plugin offers three different subscription plans. For those new to the industry, we recommend the Single license at the fee of $29. The Professional license - $59 - is the most popular one, which will include SSL certificates for five domains. And the last license is for an agency with unlimited domains at the price of $159.
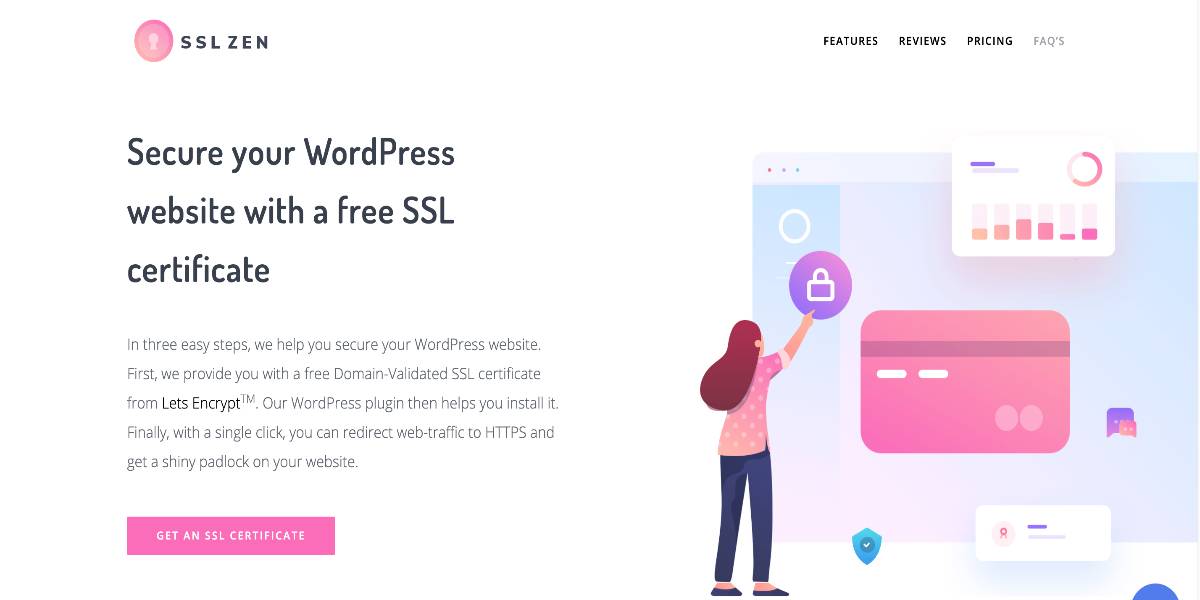
SSL Zen
SSL Zen assists you in securing your website, protecting your customers’ data, and demonstrating to your visitors that you are trustworthy and legitimate. You must manually verify your domain name with Let’s Encrypt by uploading a file to your server in the free version. You’ll also need to install and configure the SSL certificate on your server. Let’s Encrypt SSL certificates are only available for 90 days and must be manually renewed. If you do not renew, your website will begin to notify visitors that it is not secure. Please check out the premium edition of the plugin if you want the plugin to install and renew your SSL certificate automatically.
Outstanding features:
- Automatic Domain Verification
- Automatic SSL Certificate Generation
- Automatic SSL Certificate Renewal
- Display real-time threat intelligence for IP addresses, source location, and malicious IP information.
- Allow you to enable a collection of rules meant to prevent common WordPress vulnerabilities.
Price: SSL Zen provides a free version for limited functionality. If your website foundation is cPanel, the default license is $29 per year. You also can purchase $49 per year for the premium license with various web-based supports and great features.
WordPress HTTPS SSL
WordPress HTTPS SSL redirects to HTTPS and contains a scanner for detecting and correcting insecure content. In this manner, the precise position may be determined. You may compel your entire domain or just specific website pages to use HTTPS. It includes multi-site support, URL mapping, testing tools, and an easy-to-use dashboard. It not only simplifies the SSL procedure and resolves any difficulties, but it also contains tools to ensure that your WordPress website remains safe and delivers the most significant user experience possible. Furthermore, it comes with excellent customer service in the chance that you have any questions.

Outstanding features:
- With a single click, you may generate a free Let’s Encrypt certificate.
- Force your whole domain to be automatically converted to the HTTPS version of the URL, or choose which pages to redirect to HTTPS.
- After installing an SSL certificate, it scans all files on the site for unsafe content.
- A metabox on each page, post, or custom post allows you to select HTTPS mode, allowing HTTPS to be deployed exclusively to specific sites.
- Scan your website’s template files and content for items that are interfering with HTTPS secure mode.
Price: There are three subscription levels available for the plugin. We propose the Essential license at the cost of $29 for individuals new to the business. The most popular is the Advanced license, which costs $59 and includes SSL certificates for three domains. The last license is for an agency with ten supported sites at the cost of $119.
Conclusion
SSL is a popular and effective method of securing your WordPress website. It is especially crucial to deploy SSL and redirect pages to an HTTPS safe URL if you work with client information on your WooCommerce store.
We hope that this article will carefully explain all the information about how to enable Force SSL (HTTPS) in WooCommerce. Installing an SSL certificate is a must-do step for each owner of a WooCommerce site. It will secure your clients’ data, increase their faith in your business, and enhance your SEO.


