
How to Customize the WooCommerce Thank You Page

We’re sure you appreciate how critical it is to express gratitude to your consumers. You can provide an excellent product or service, but if you please your consumers with a lovely customized message that they will view once the purchase is complete, they are more likely to become repeat customers.
Moreover, the Thank You page is a highly effective promotional tool. For one reason, it’s the only page on your site that you can ensure will be viewed by all of your clients. By using some of the tactics discussed in this post, you may enhance your knowledge about How to customize WooCommerce Thank You page.
How to customize the WooCommerce Thank You Page by creating a Redirect
Step 1: Go to content file
Navigate to wp-content/themes/your-theme-name/
Step 2: Open the file “functions.php”
Step 3: Enter the code to the end of the file
You can get the code here .

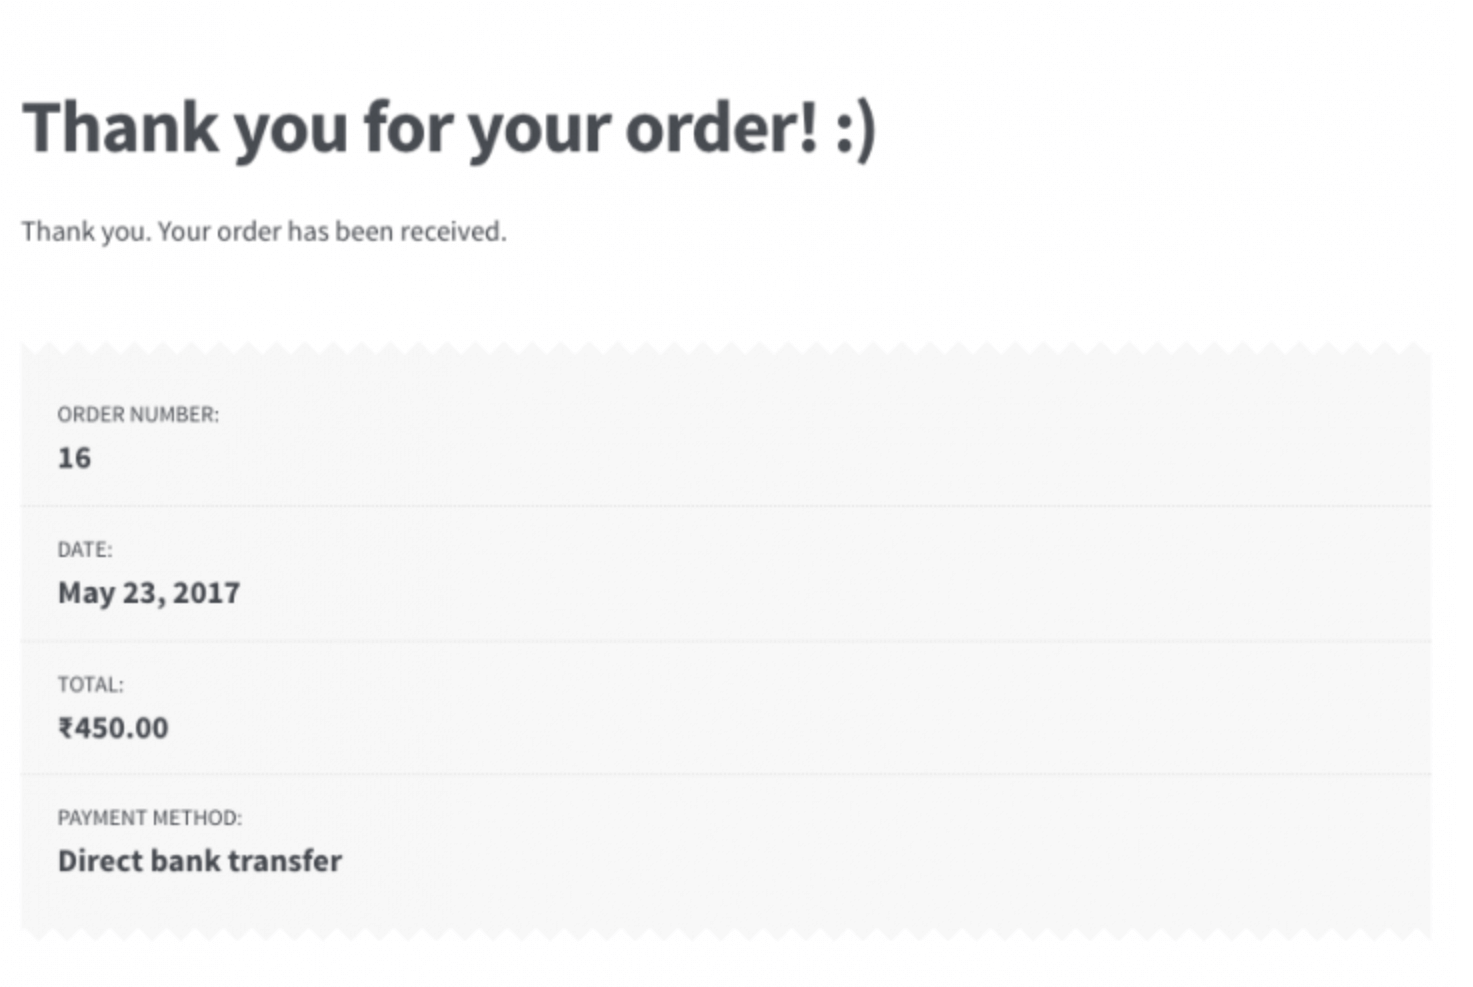
The following is the customized page that appears after you place an order.

Note:
While redirecting is a viable approach, the above page is missing critical elements such as the order summary table and other information that WooCommerce already provides.
How to Customize WooCommerce Thank You Page with Filters
Step 1: Modify the Thank You Page title
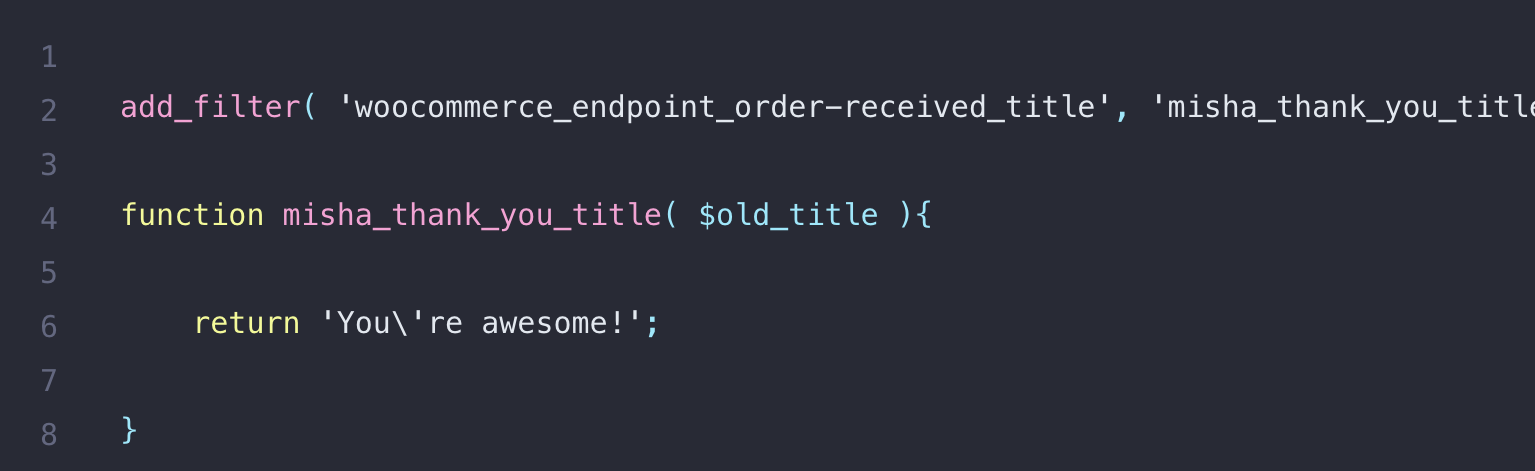
Rather than developing a Custom Thank You page as illustrated above, you may like to simply change the page’s title. You can include the following code in a plugin or in the functions.php file of your theme.

In the includes/wc-conditional-functions.php file, WooCommerce includes the function is_order_received_page(). This is how the title would seem if it were changed:
Step 2: Personalize the Thank You Page title
You may take it a step further and customize the headline of the Thank You page by including details such as the customer’s name or anything else. You can include the following code in a plugin or in the functions.php file of your theme:
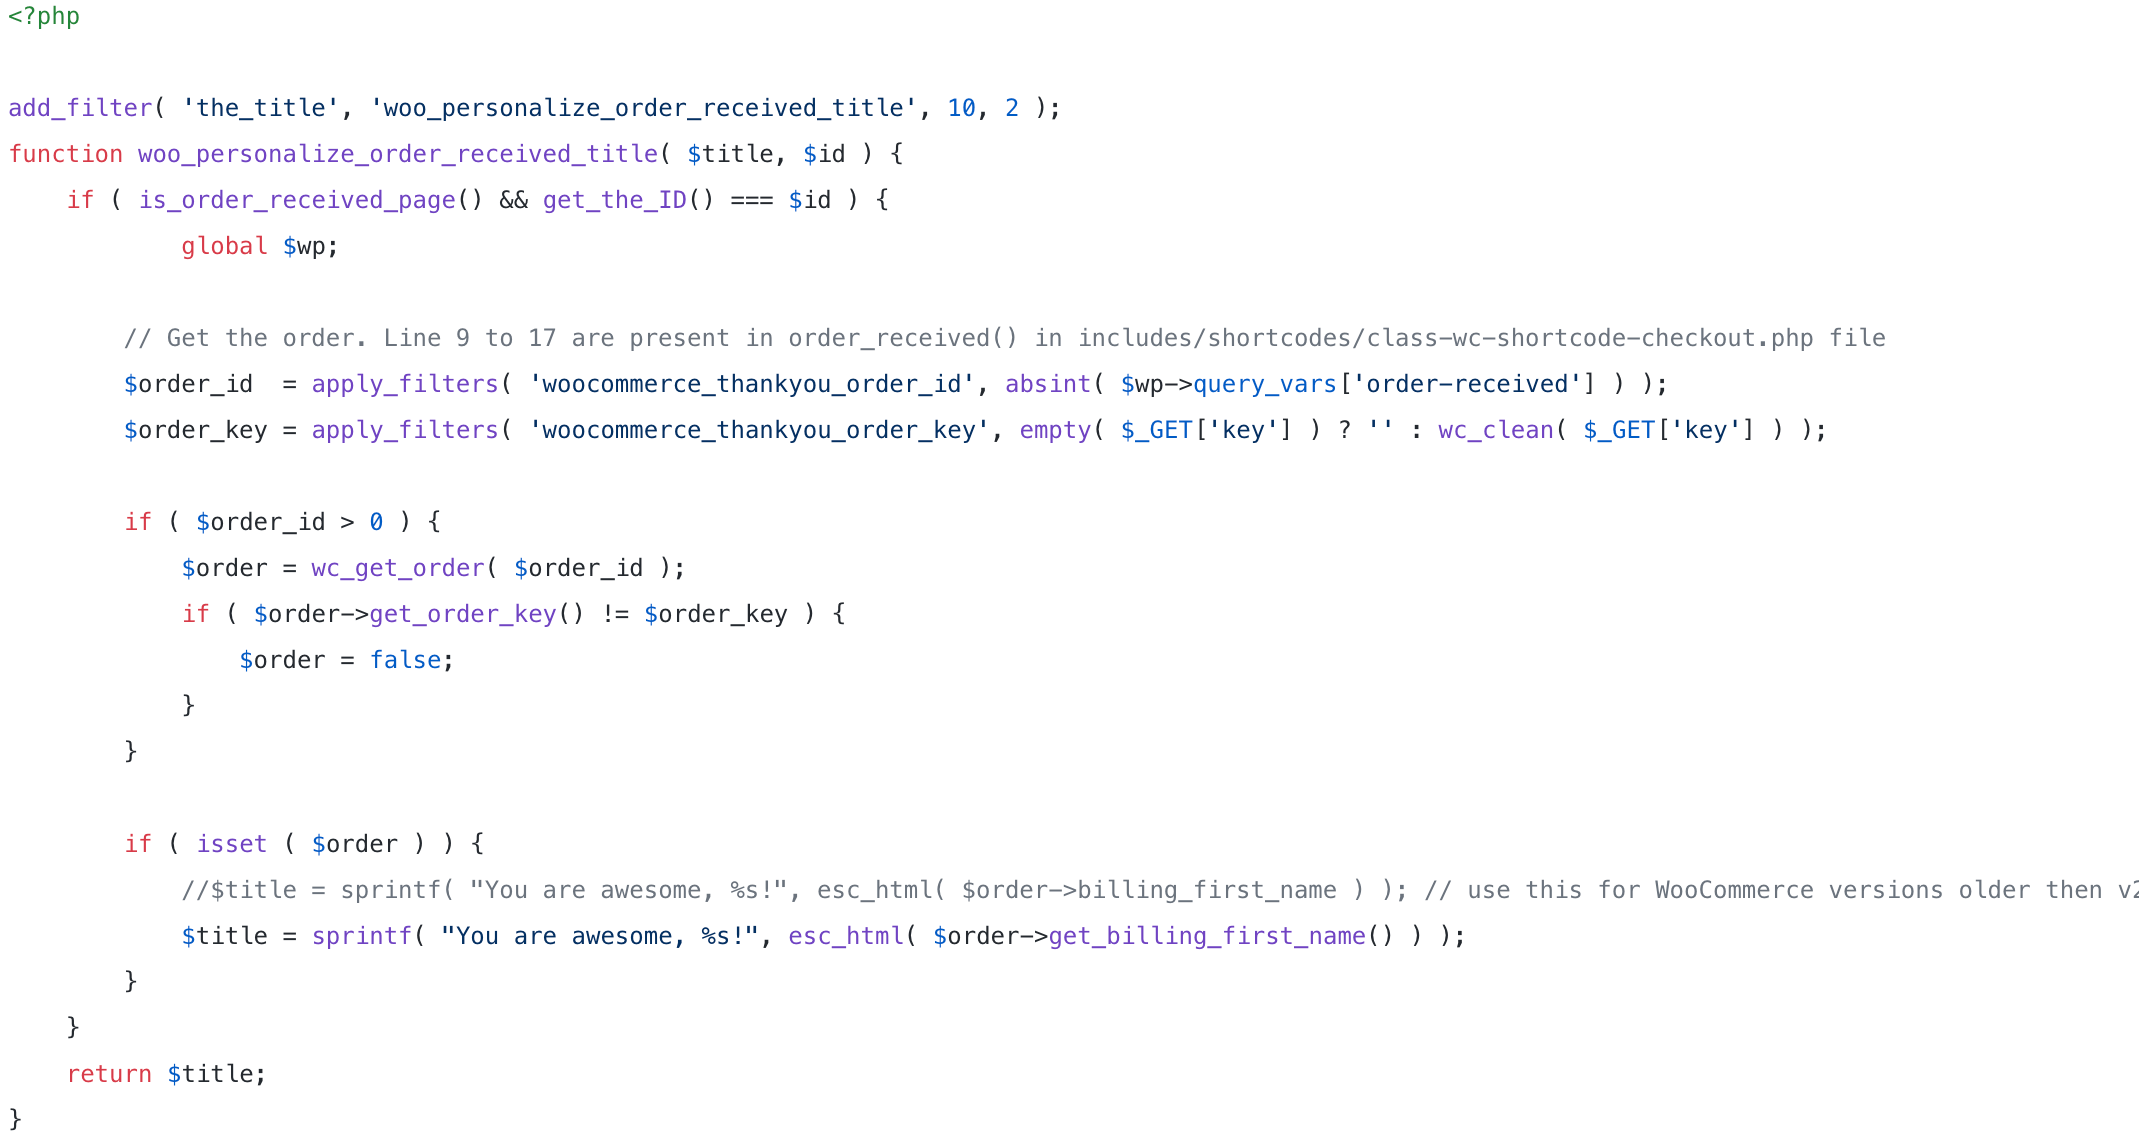
The customized title might look like this:

Step 3: Modify the text before order information
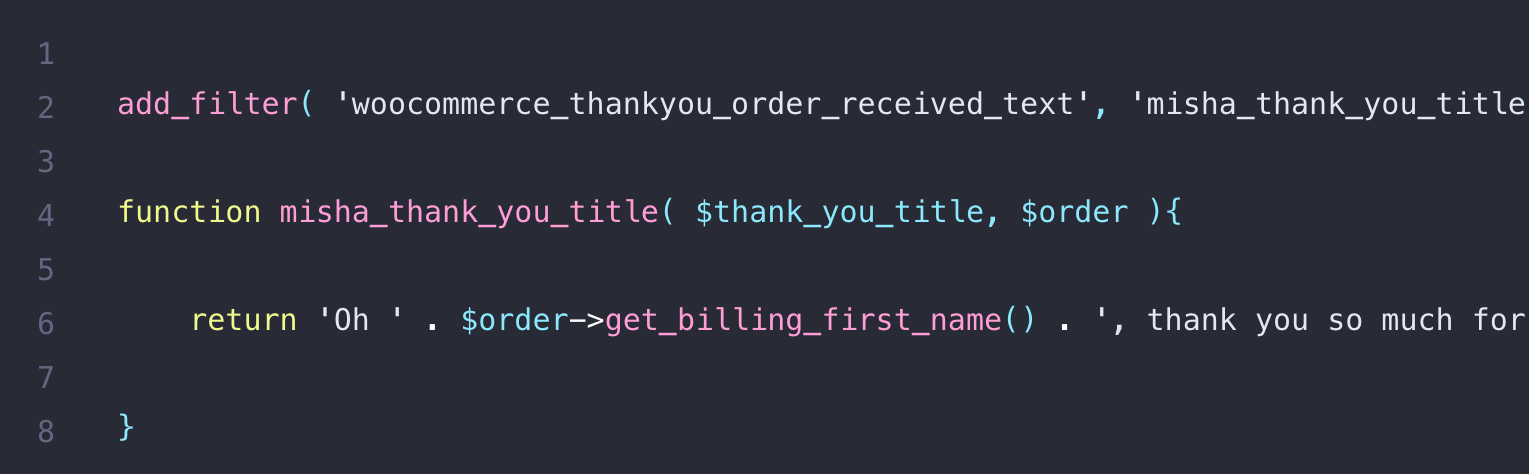
In WooCommerce, there are filters that allow you to customize the wording displayed on the Thank You page. “Thank you. We have received your order” is the default text displayed before the order details.
This text can be found in the template/checkout/thankyou.php file. The woocommerce_thankyou_order_received_text is the available filter to customize this text.

How to Customize WooCommerce Order Thank You Page by overwriting WooCommerce templates
We’re going to use hooks in the examples in this guide. The hooks are extremely simple to implement - simply include them in your** functions.php** / child theme’s functions.php / custom plugin’s functions.php file. However, hooks do not always enable us to customize our applications. The templates directory is located in the WooCommerce plugin’s folder.
Naturally, you do not need to modify the contents of these files directly within the WooCommerce plugin folder. Simply select the file you wish to modify and duplicate it in your current theme’s WooCommerce folder.
Step 1: Modify the Thank You Page title
You can incorporate all of the code from this article into your current theme’s functions.php file.
As you can see from Line 3, this hook takes a single argument – $old title – but what about the order details? To begin, obtain the order id from the key $_GET variable $order_id = wc_get_order_id_by_order_key( $_GET[‘key’] ); and then obtain the order object $order = wc_get_order( $order_id ).
Line 3 – take a look at the $order variable, and guess what? It is the object of order! This means that we can dynamically alter the thank you page’s subtitle based on the order’s data and purchased products.
And this is the outcome:

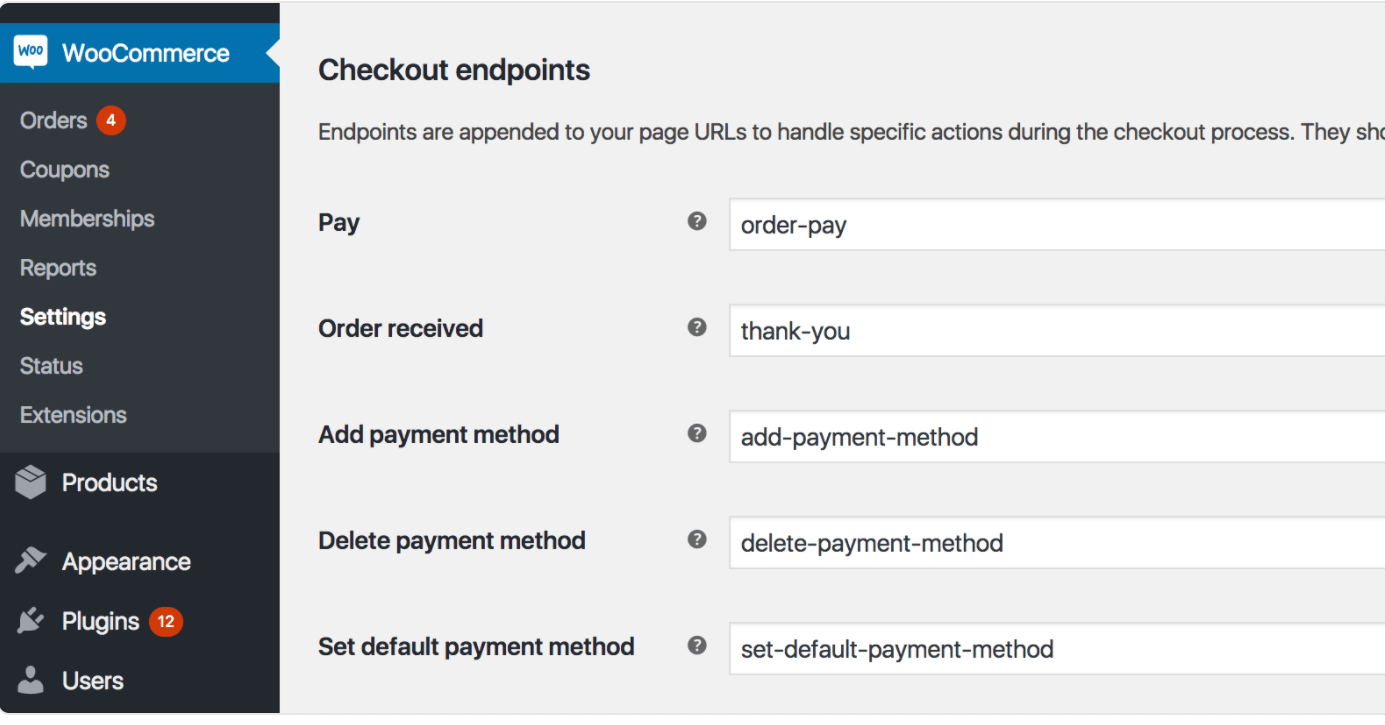
Step 2: Modify the Thank You Page URL
By default, its URL is …/checkout/order-received/…, but you can modify it to …/checkout/thank-you/… in the WordPress admin area by going to WooCommerce > Settings > Advanced.
Step 3: Acquire additional client details
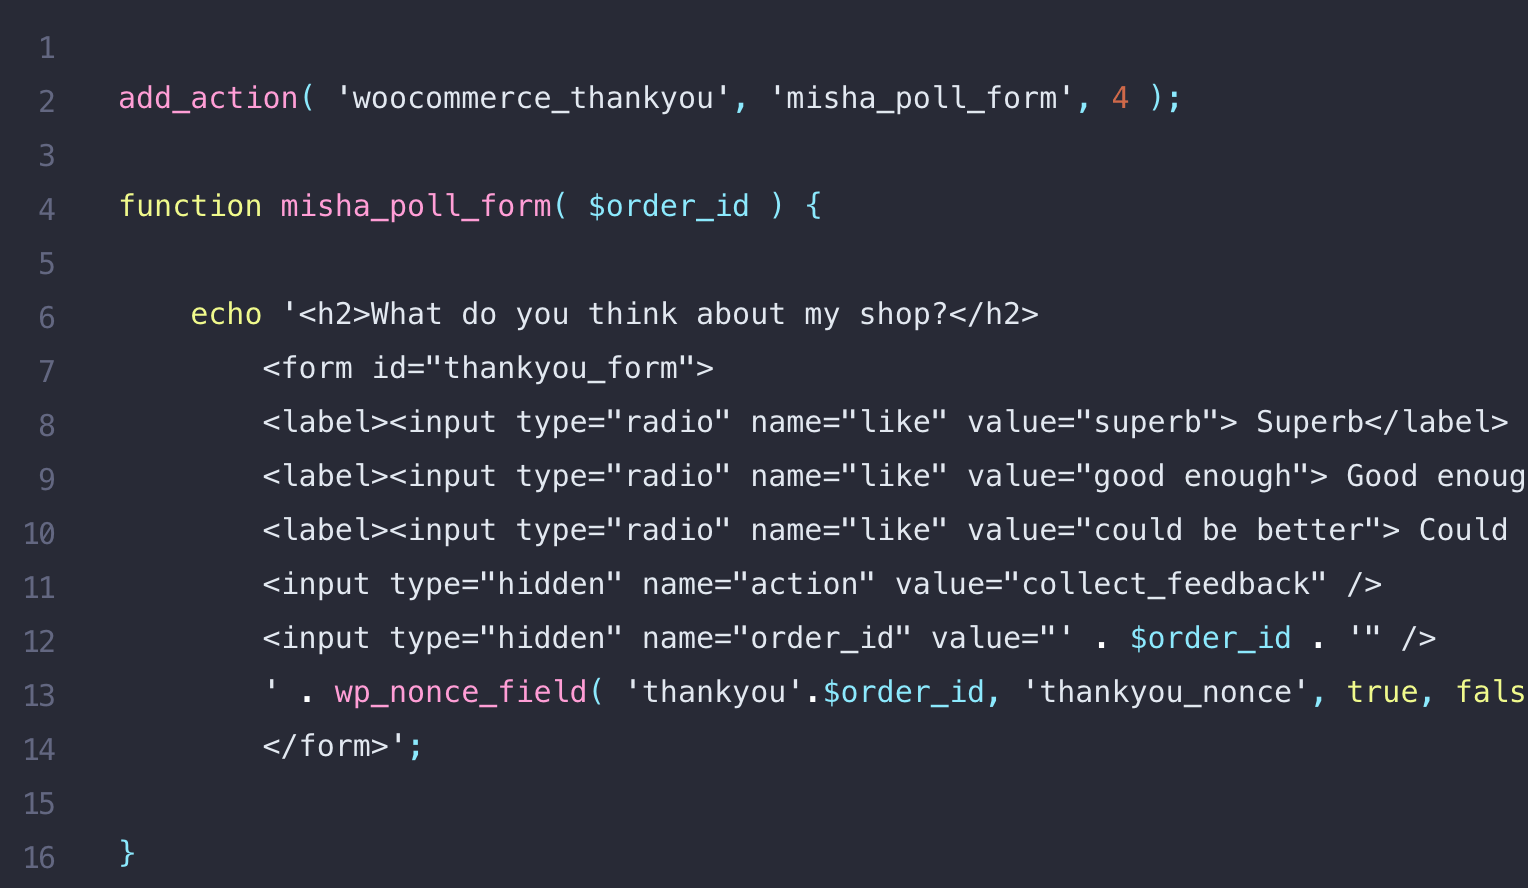
Mini-step 3.1: Add a form
What would you put it in? If right after the title, read about woocommerce_thankyou_order_received_text; if right below it, there are two hooks that can help you, both of which are in the same location in the code and have a $order_id argument:
- woocommerce_thankyou_{PAYMENT METHOD SLUG}’: It allows you to customize the content on your thank you page based on the payment gateway used to complete the transaction. You can take it by navigating to WordPress admin WooCommerce > Settings > Payments, choose the payment gateway you would like to hook and look for the slug in the URL in the browser.
- woocommerce_thankyou
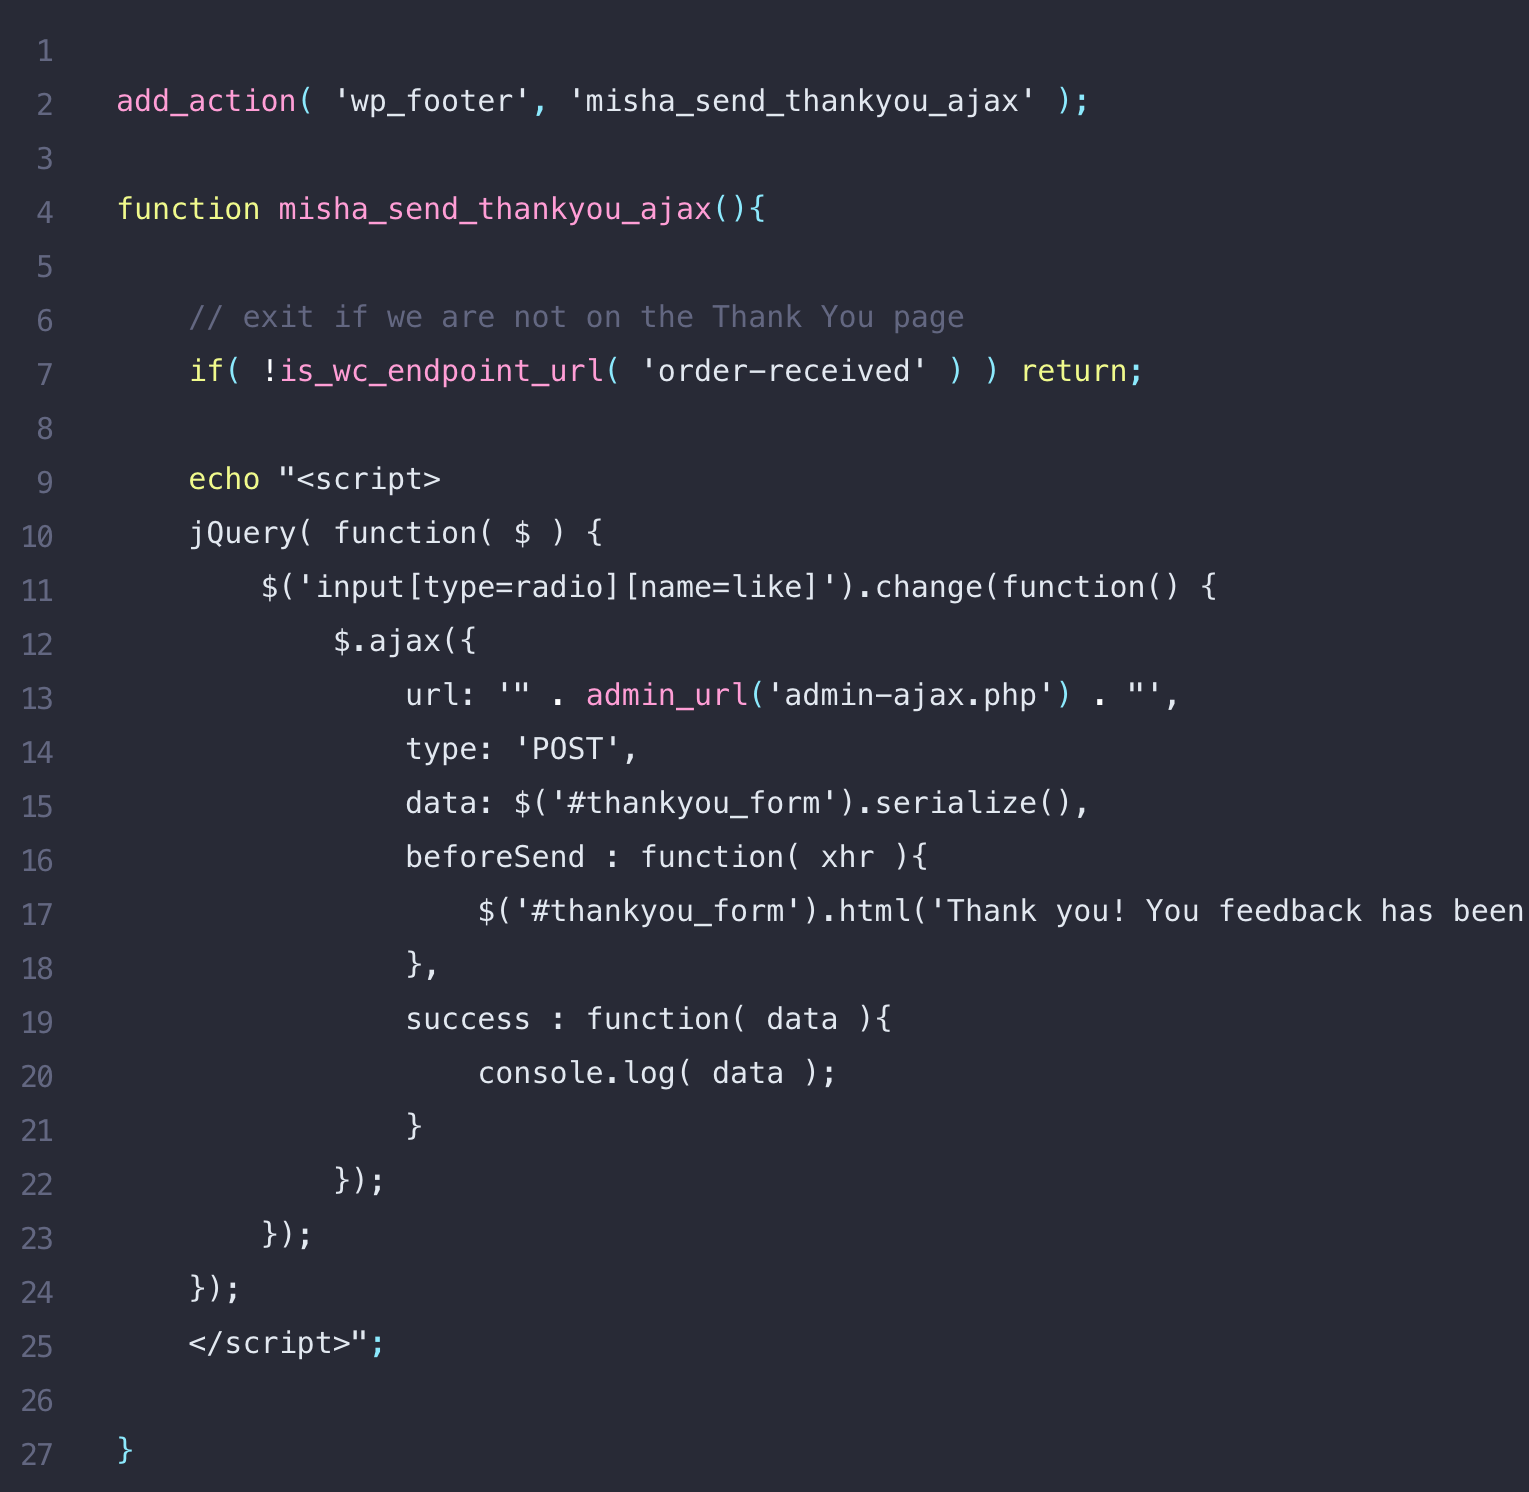
Mini-step 3.2: Give out the AJAX request
Of course, you can include the code in a .js file, but be sure to include the url argument appropriately in that instance.
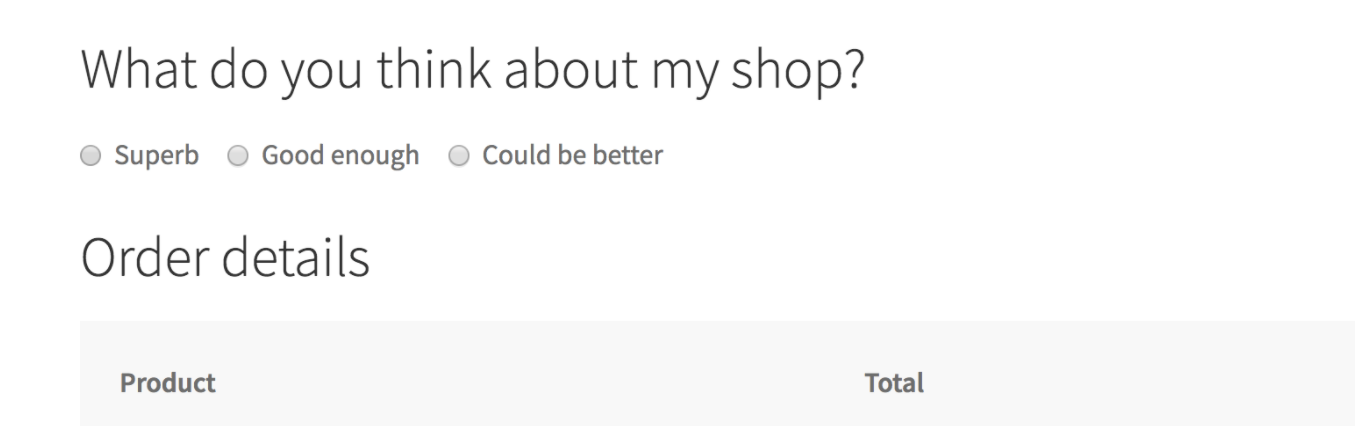
After having done everything correctly, here is your customized Thank You Page:
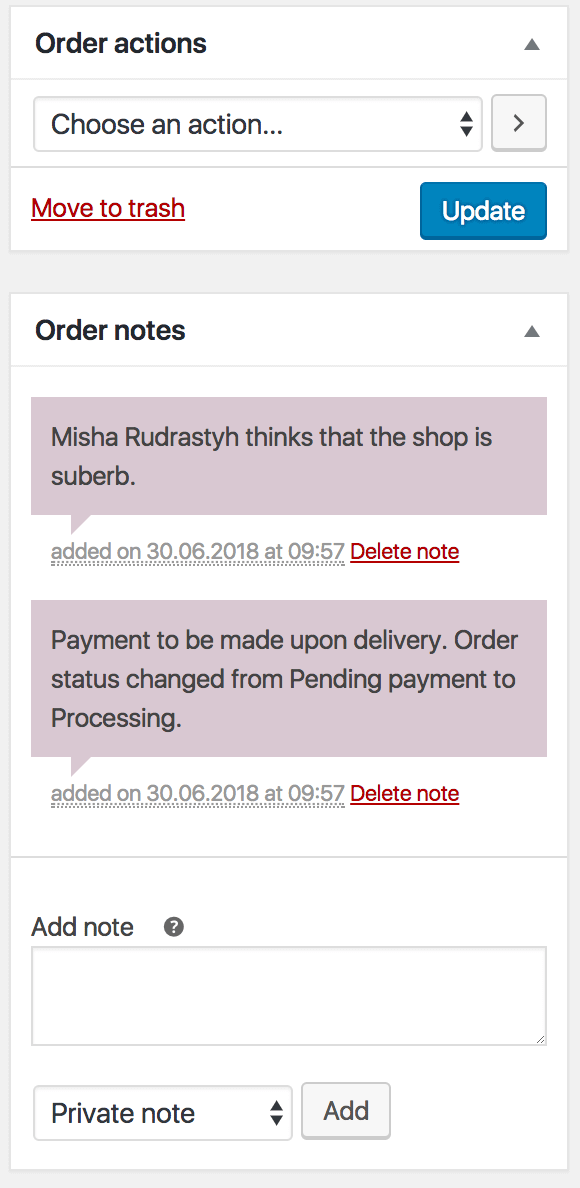
Mini-step 3.3: Handle the AJAX request
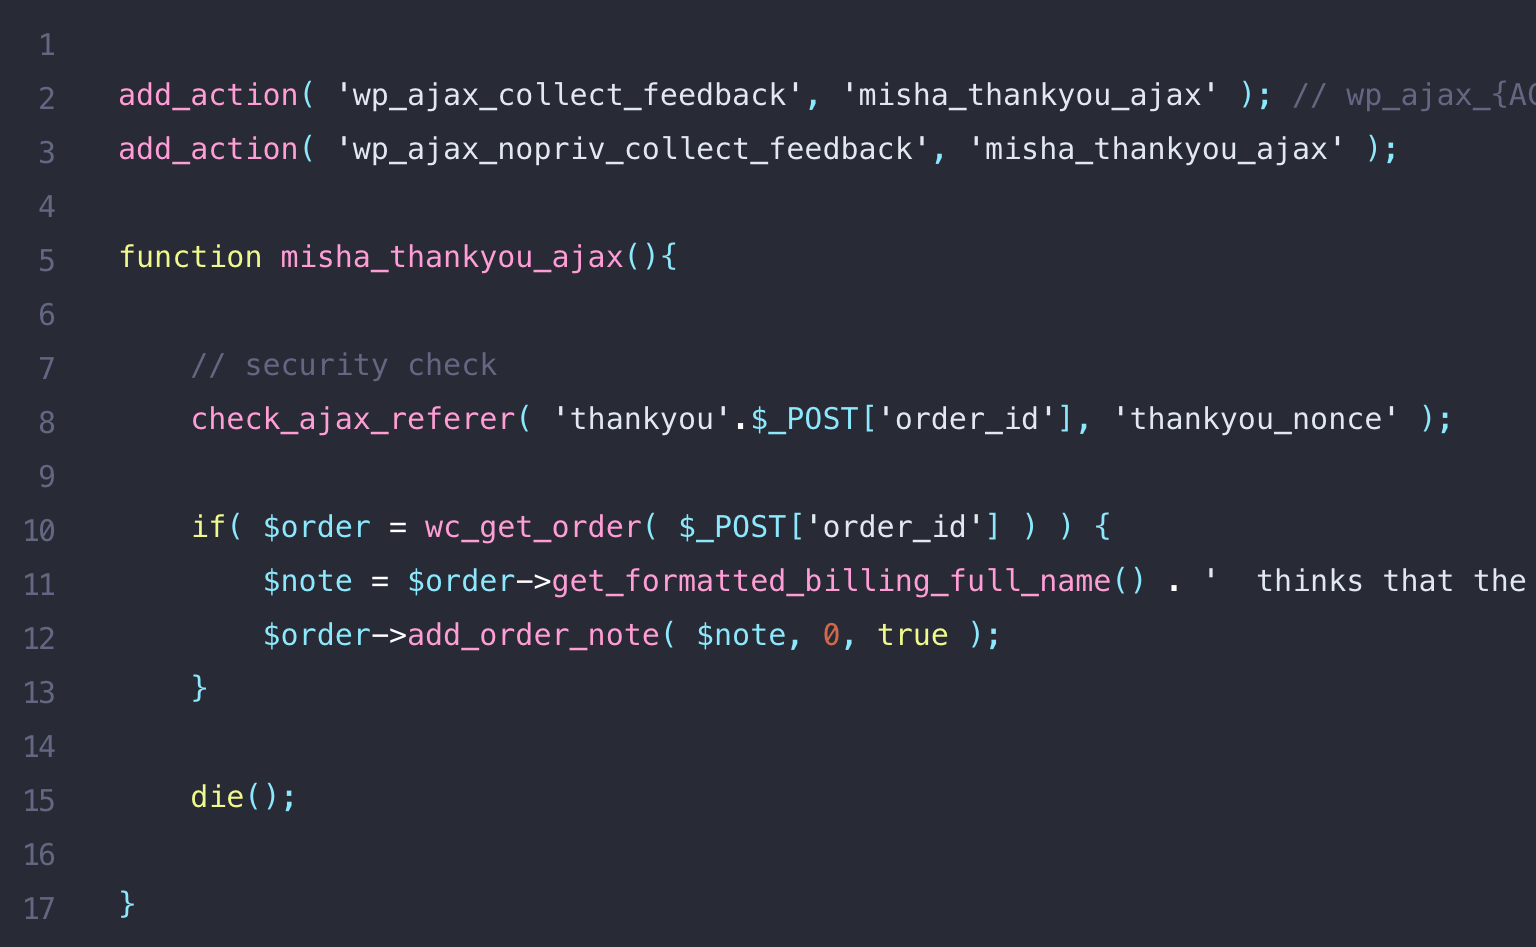
Navigate to the edit order page and locate the Order notes metabox. However, you may also modify the order information using that form.
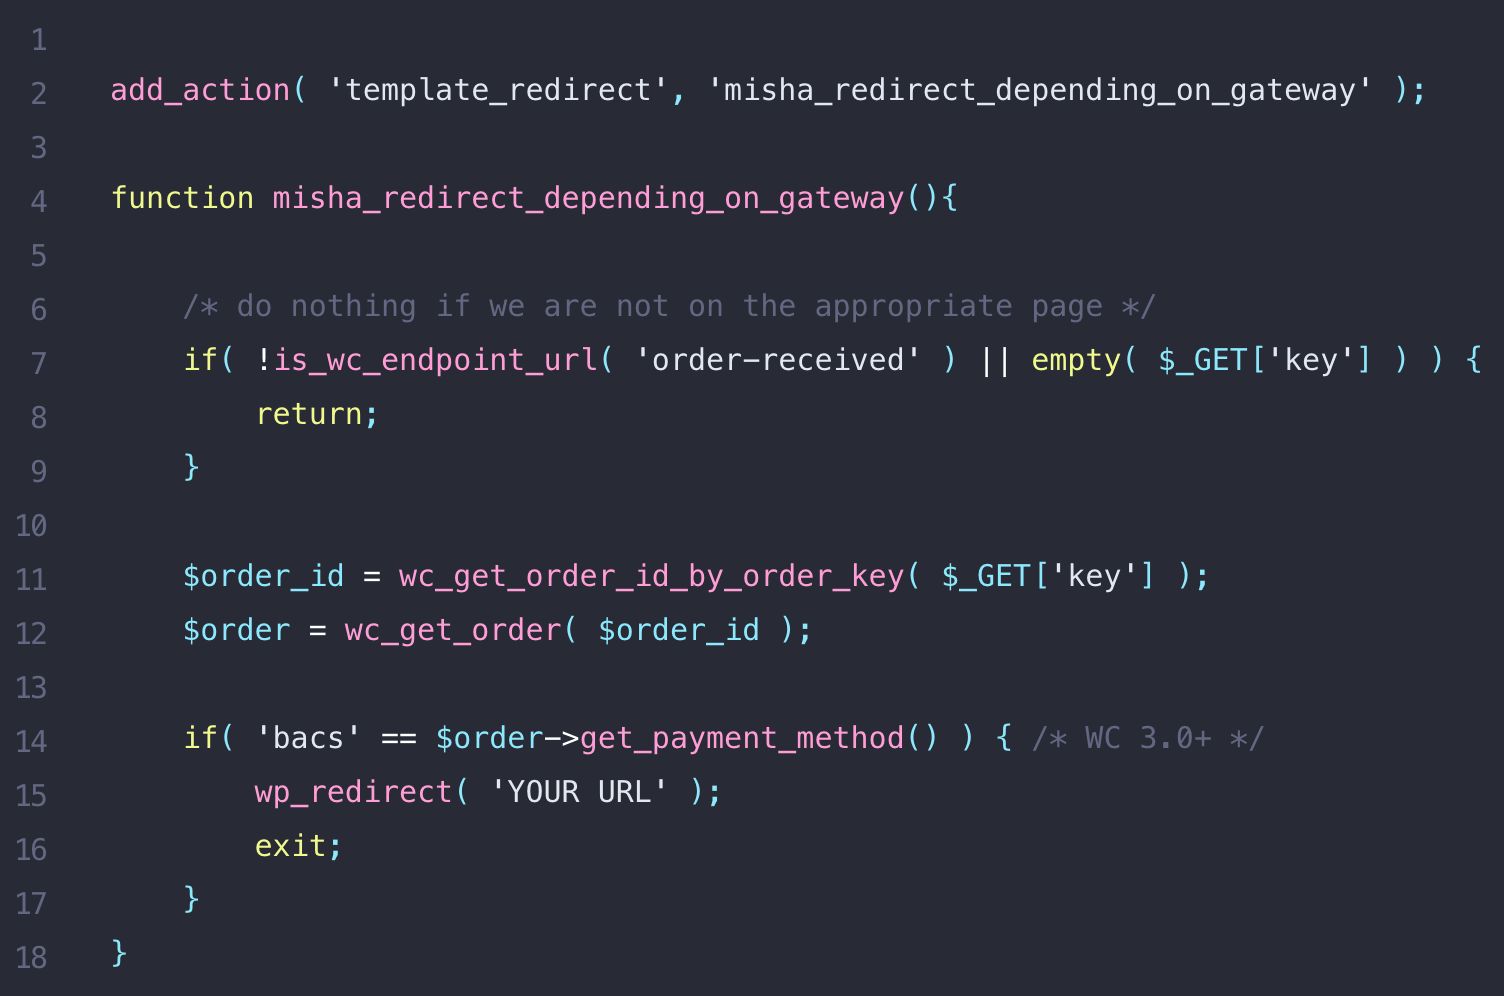
Step 4: Redirect to another page
However, what if the default Thank You page (or even the customized one) is insufficient at times? In this scenario, you can use the template_redirect hook to divert customers to another page based on the purchase of a product or the payment method used.
2 best plugins to customize Thank you page for WooCommerce
1. WooCommerce Custom Thank You Pages
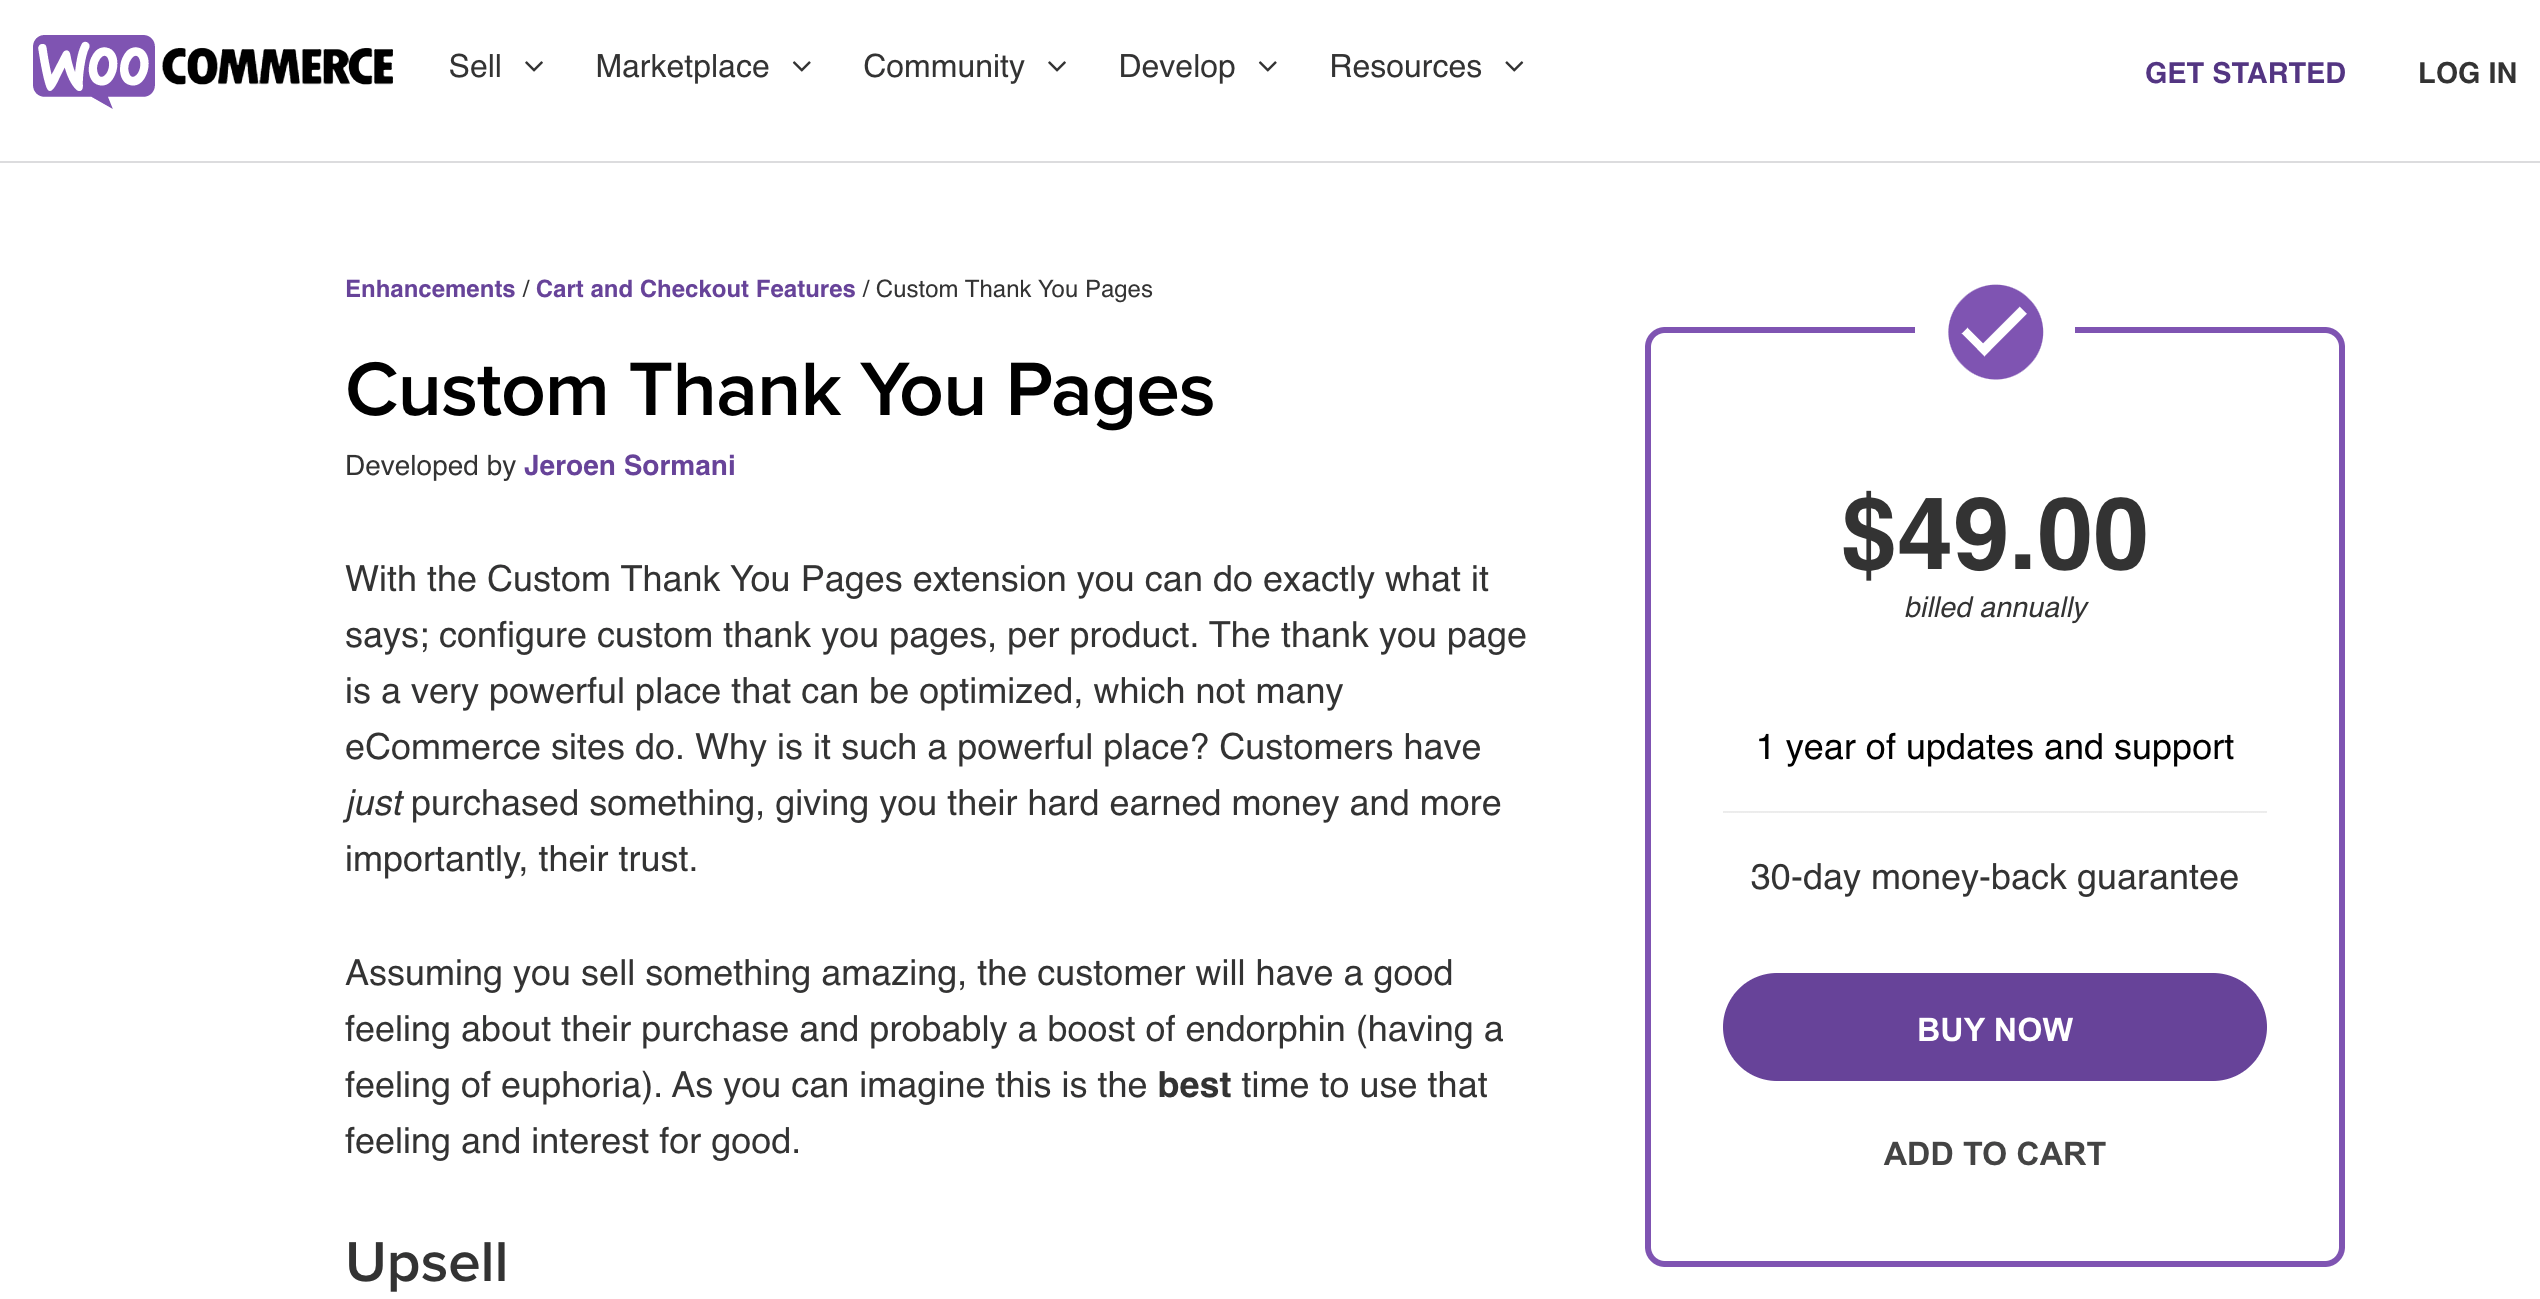
You may use this plugin to create specific Thank You Pages for each of your WooCommerce products. It enables you to upsell recommendations and enlighten clients about the onboarding process. Additionally, you can display referral offers, instructions on how to use a product, and warranty information, all of which are relevant to the nature of the things you are selling.
Key features:
- Create a customized thank you page for each of your items.
- Present upsells, onboarding assistance, special offers, or subscription forms.
- Simple configuration procedure.
- Create a hierarchy of pages that will be presented in the event that several products are purchased.
Price: $49
2. WooCommerce Redirect Thank You
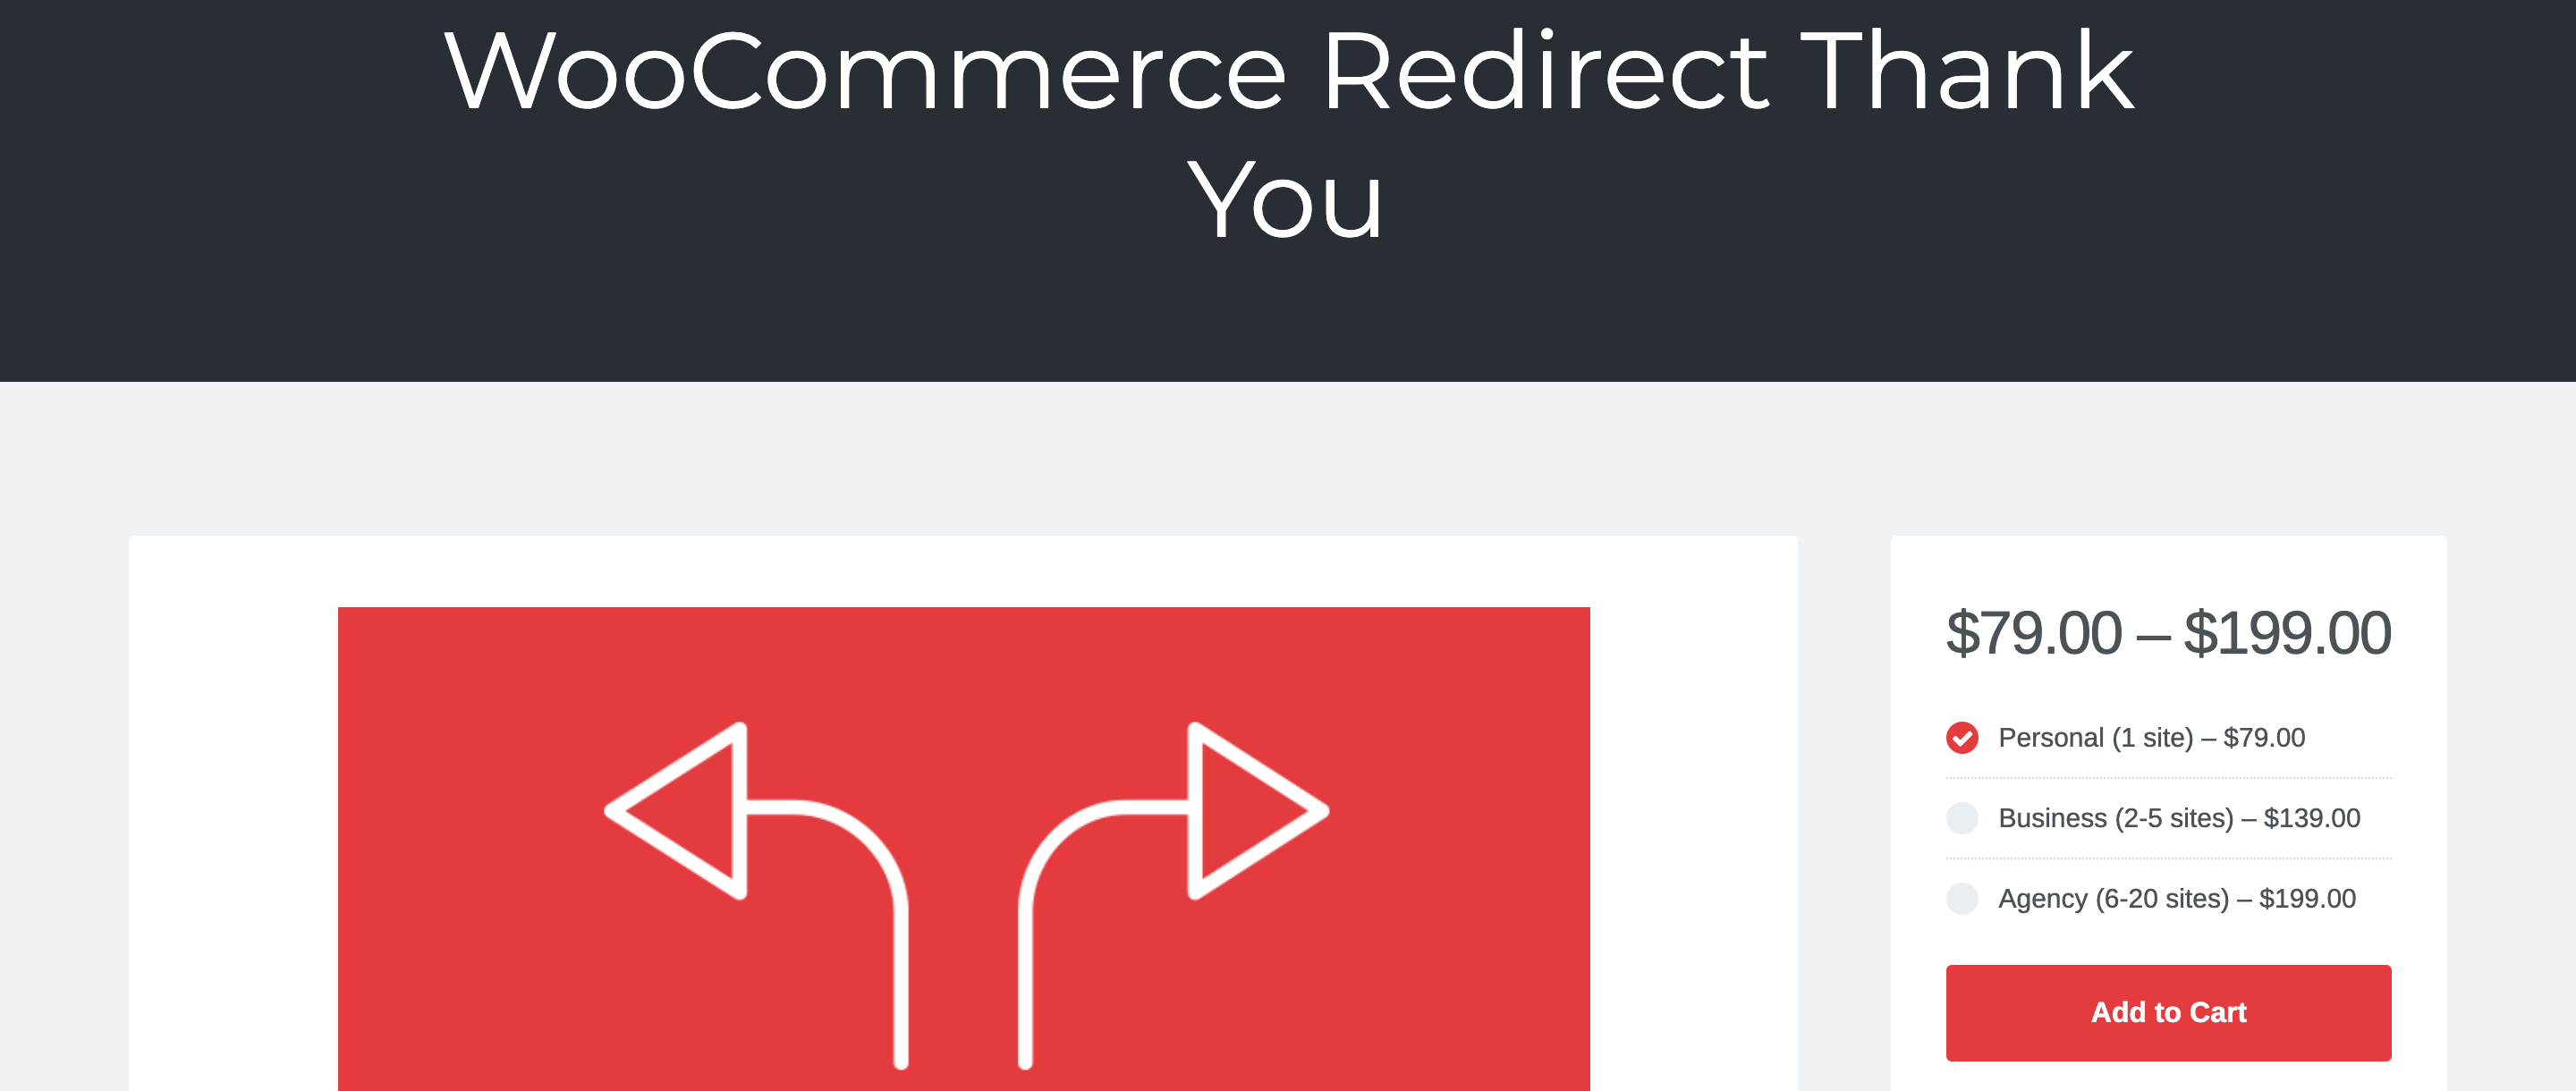
Depending on the products purchased, this plugin enables you to send consumers to a variety of alternative Thank You Pages. Additionally, the plugin enables you to create unique messages based on the products in an order. This plugin can be used to provide product suggestions, social sharing options, and product assistance. Additionally, the plugin is relatively simple to install and configure.
Key features:
- Create aesthetically pleasing and functional thank you pages for your WooCommerce store.
- Create generic or tailored Thank You Page to a specific product.
- Depending on the products purchased, navigate customers to various pages.
Price: $79
Final Words
Happy consumers are always willing to suggest your product or service and may thus act as a source of promotion – the most effective and dependable one! It’s difficult to overstate the importance of an engaging Thank You page.
After reading through our post, we hope that you now understand How to customize the WooCommerce Thank You page, as well as be able to transform it into an effective marketing tool for your WooCommerce store.
Do you find this article helpful? If yes, please share this post with your friends and colleagues to help spread the knowledge, and stay tuned for more useful instructions and tips from AVADA.


