
How to Customize the WooCommerce Product Page?

Do you want to change WooCommerce product pages without writing any code? Do you want to increase your conversion rate and generate more sales revenue from your website visitors? Then you’ve come to the correct place!
In today’s article, we will show you how to customize the WooCommerce product page.
If this is something you’re interested in, let’s dive right in!
Why Should You Customize WooCommerce Product Pages?
Your WooCommerce product pages are among the most important in your online store. The issue is that the default WooCommerce product pages are not conversion-optimized.
By customizing WooCommerce product pages, you can develop distinctive product landing pages, which attract more and more shoppers and ultimately convert them into buyers at a much greater rate.
Customizing the product page also contributes significantly to a better shopping experience for your consumers and goes a long way toward distinguishing your business from the thousands of others competing for the same audience.
As a result, customizing your WooCommerce product pages is critical.
How to Customize the WooCommerce Product Page Using Elementor?
In this part, we’ll show you how to customize the WooCommerce product page with Elementor. But first things first, you need to get WooCommerce, Elementor, and Elementor Pro installed. If WooCommerce is not activated, you will not be able to access Elementor’s product templates.
And here are 7 major steps you need to follow.
Step 1. Choose a Pre-Designed Product Page Template
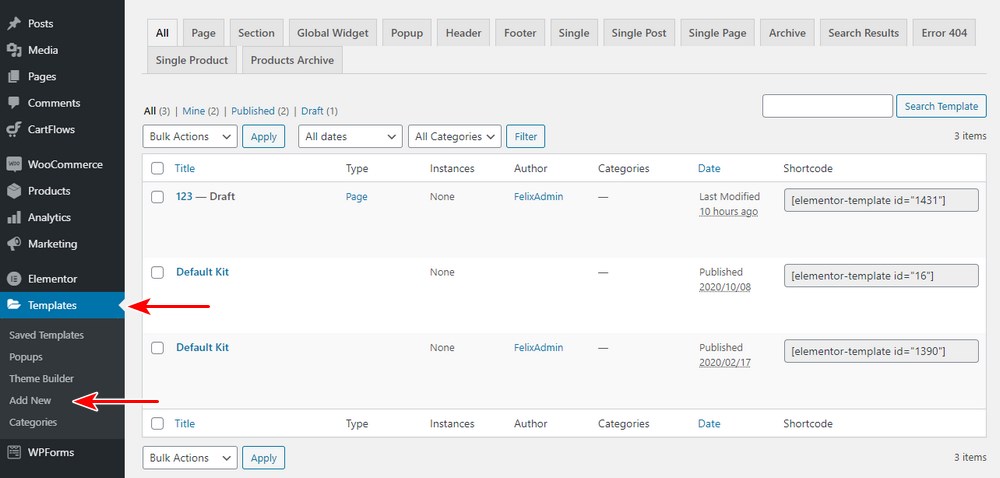
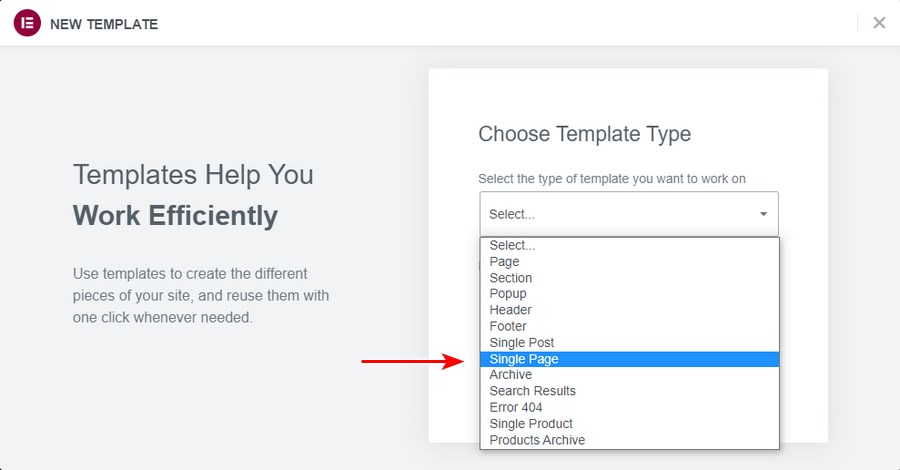
Go to Templates > Theme Builder > Single Product > Add New, and from the dropdown, choose Single Product. You should name it and then click Create Template.
We strongly advise you to choose one of the pre-designed product page templates and customize it to match your brand. You may select from a variety of styles in Elementor Pro.
If you have the necessary technical skills, you can also design a new template. It will take a long time to create your template from scratch, but it will be worthwhile if you have the skills.
As demonstrated below, choose a Single Product Block and Insert:
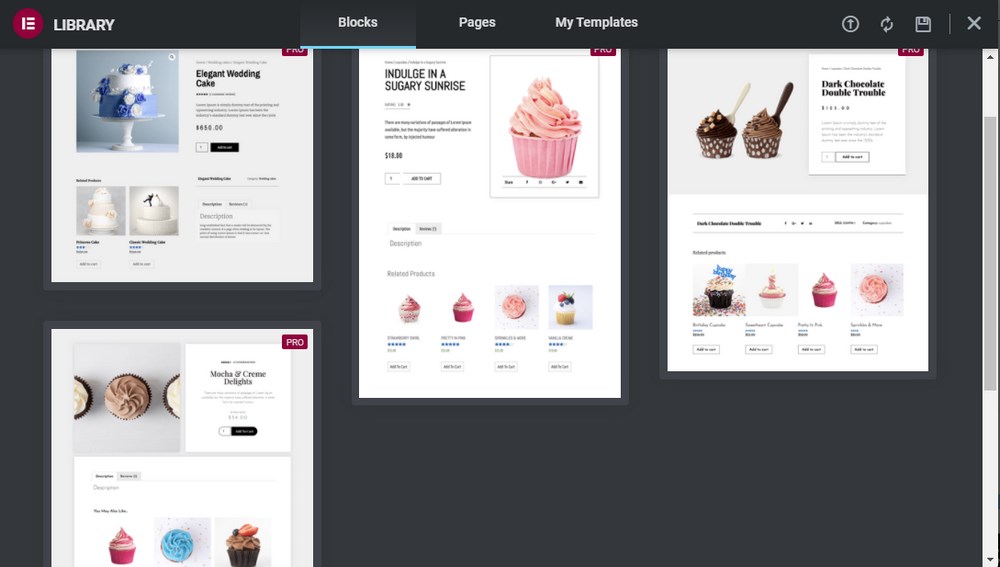
By doing this, you will get the template, and from that, you can add the new elements to the product page.
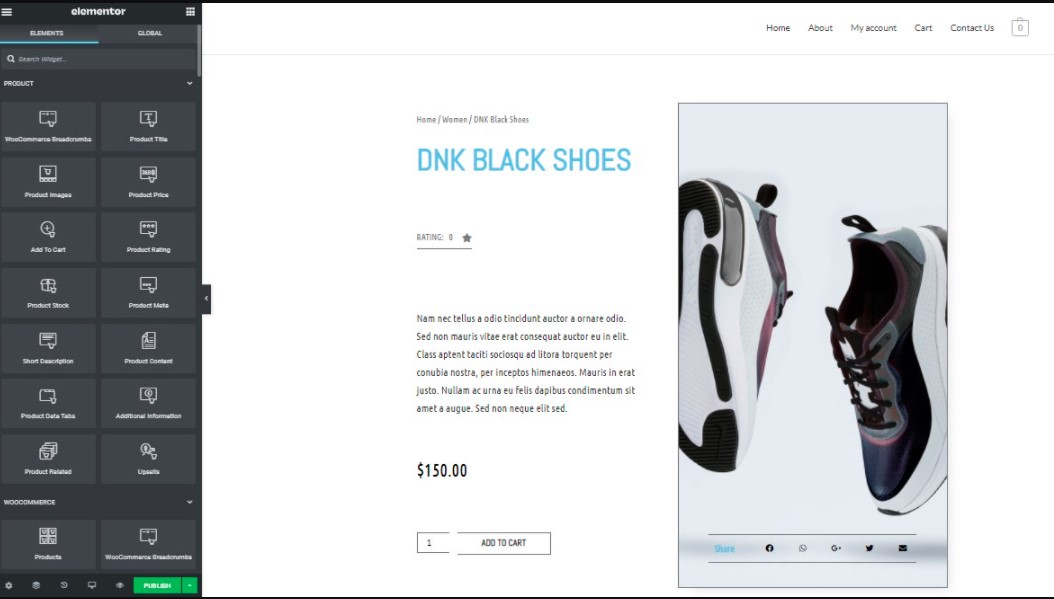
The template that you choose will be applied to the Elementor canvas. This allows you to personalize the template by utilizing the widgets on the left.
You can also modify the existing widgets or delete the elements you don’t require. Elementor offers you complete control over how the layout and design are customized.
On the left sidebar, there is a collection of elements such as Product Images, Product Title, Product Price, and every piece of data that WooCommerce shows on the single product page.
Also, make sure you’re working on a full-width product page before you start adding widgets to personalize it.
Step 2. Add Colours That Match Your Brand
The single product page you choose looks good, however it is not likely to exactly complement your brand.
Adjusting the background color, font color, and typography settings is a fast remedy.
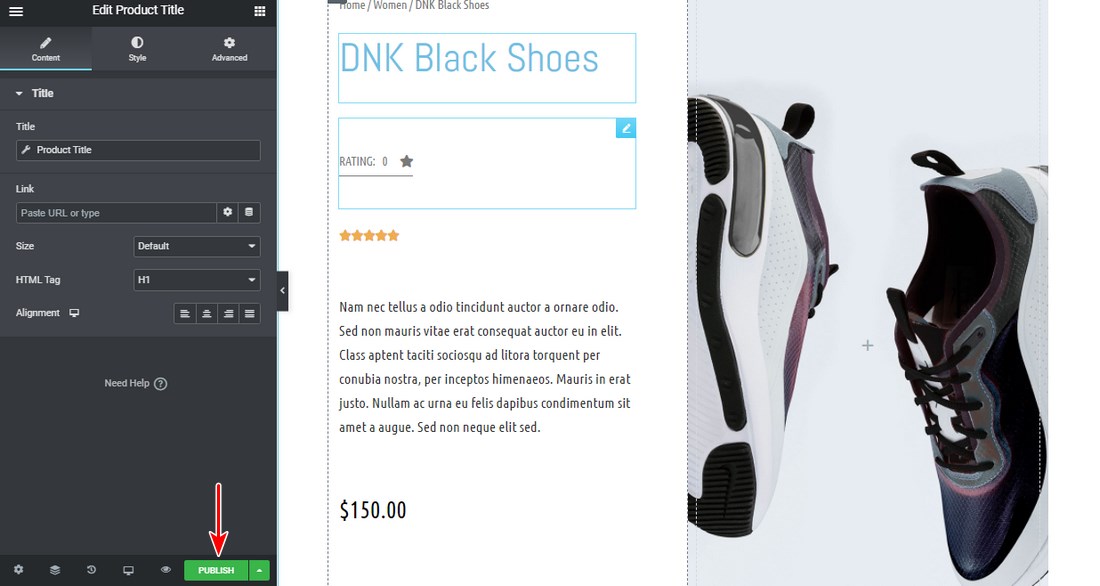
To make changes to any element on the page, click the pencil symbol in the block’s upper right corner:
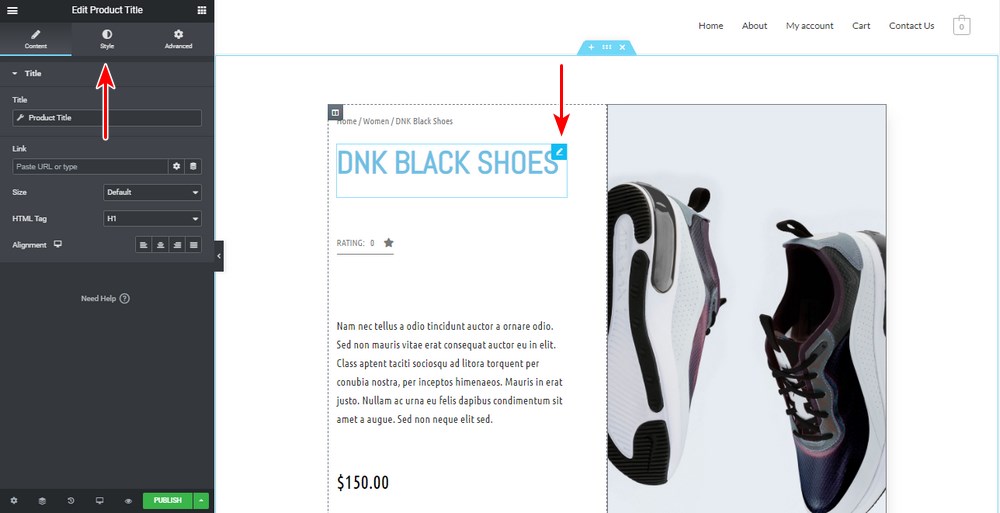
Switch to the Style tab to conduct any style or visual change, as illustrated below:
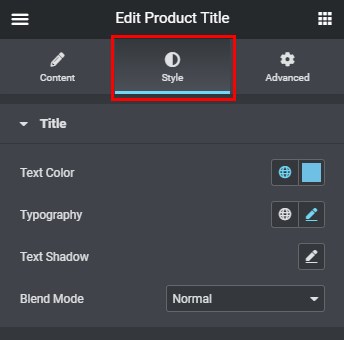
You can modify the text color, font, and shadows for the Product Title block in the sample above.
Select Typography. This will open a new window with typographic options, where you can alter the font and other properties, as seen below:

Continue to modify all of the sections until you obtain the desired outcome.
Please pay close attention to the pricing block and how it is portrayed. This block must be clear so that customers can view it without difficulty.
Step 3. Add Product Widgets That Will Make up Your Page
If you want your customers to have a one-of-a-kind shopping experience on a single product page, including some product widgets.
Elementor gives you complete control over the appearance and feel of all the pieces that comprise the product page.
Many additional widgets will be available to you, such as *Product Title, Gallery, Images, Price, Rating, Short Description, Breadcrumbs, Data Tabs, Stock, Related, Upsell, Add to Cart, Meta, Content, and Additional Information, Menu Cart.
The following product widgets can be added to this page:
-
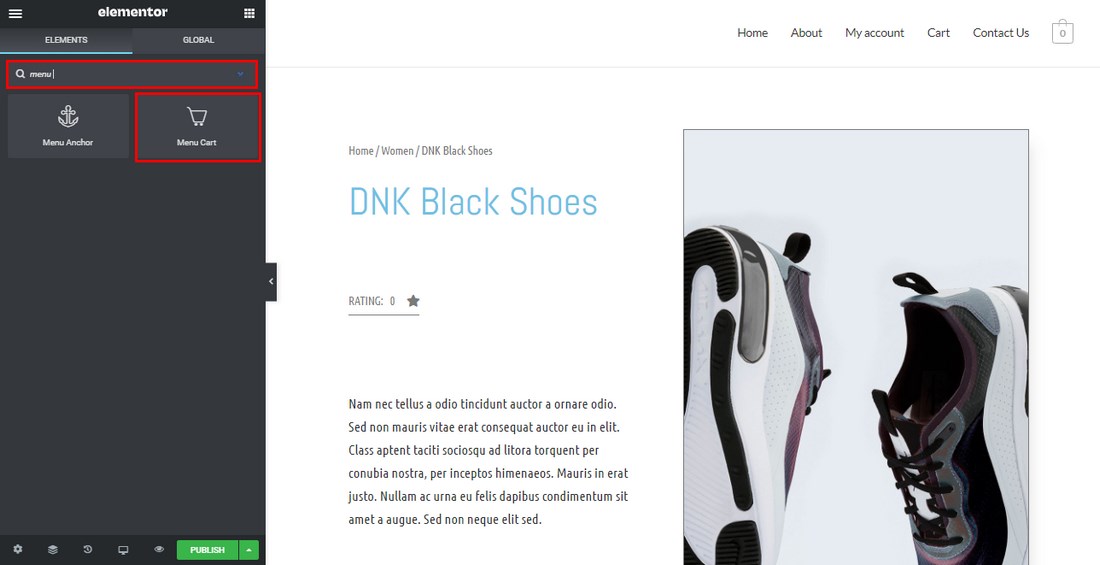
Menu Cart: The menu cart widget opens a new window with the cart. It may be used to show the cart on any page:
-
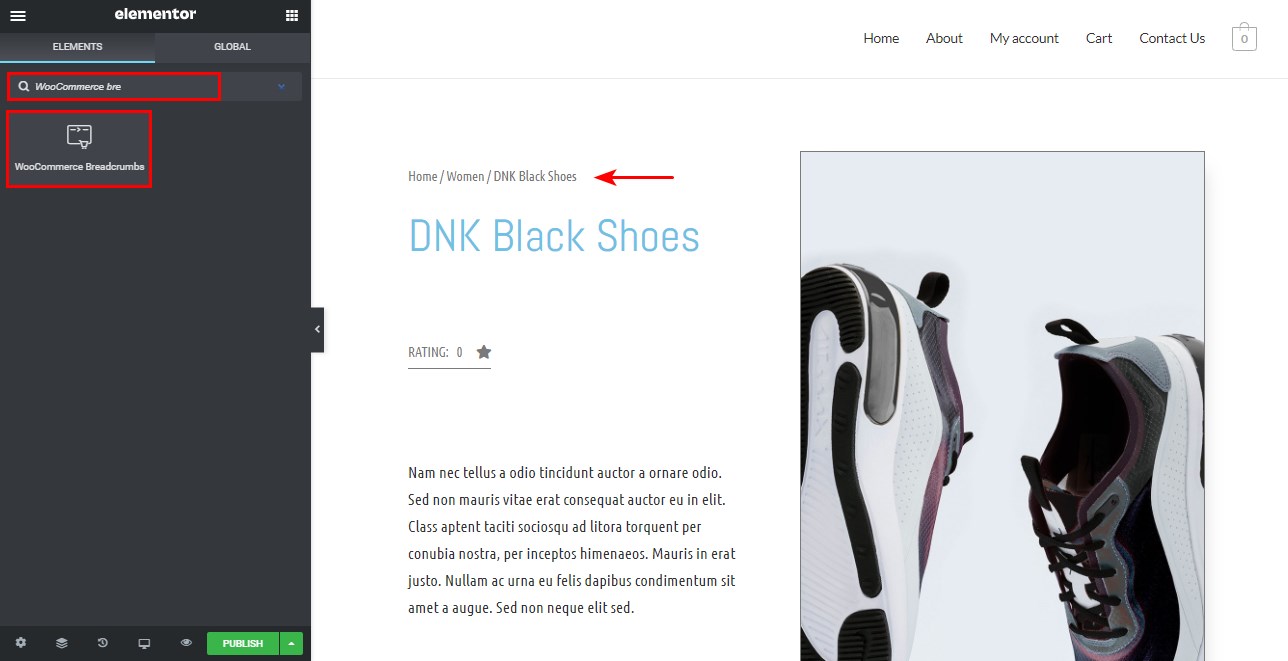
WooCommerce Breadcrumbs: This widget affects the style and color of the WooCommerce breadcrumbs on the page:
-
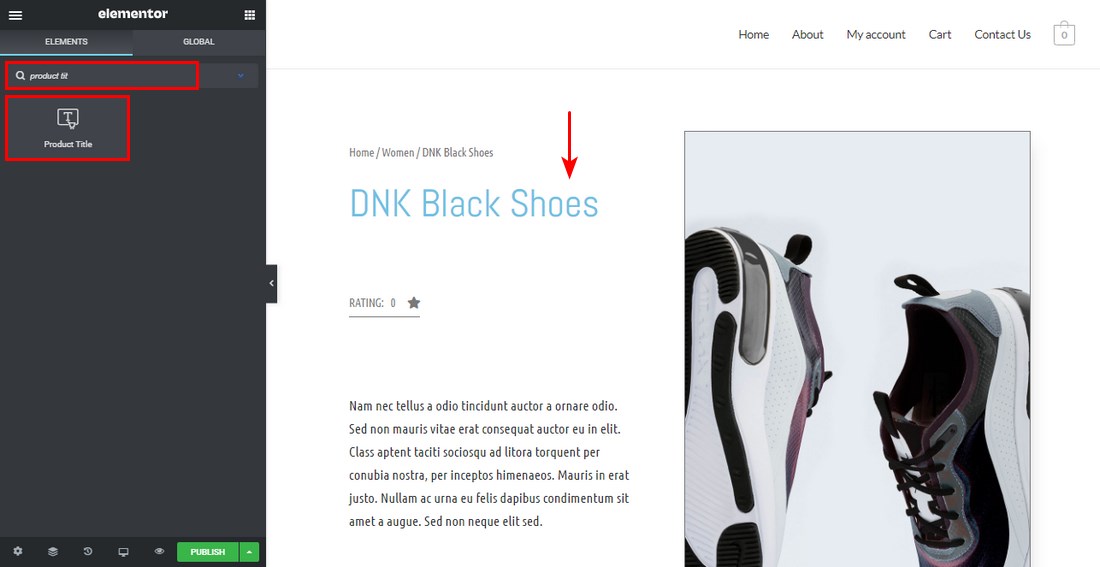
Product Title: The widget that controls the style and layout of the product title:
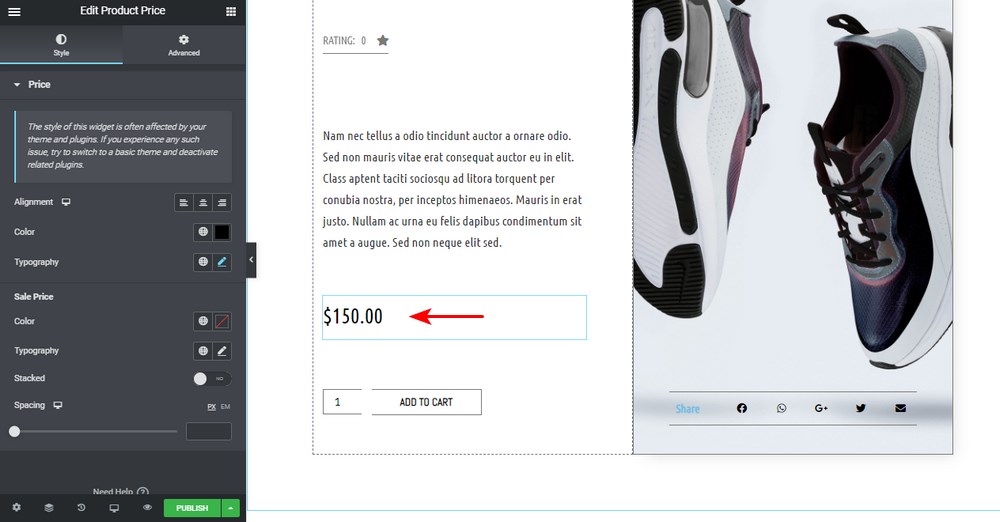
- Product Price: The product price widget allows you to customize the location and appearance of the product price:
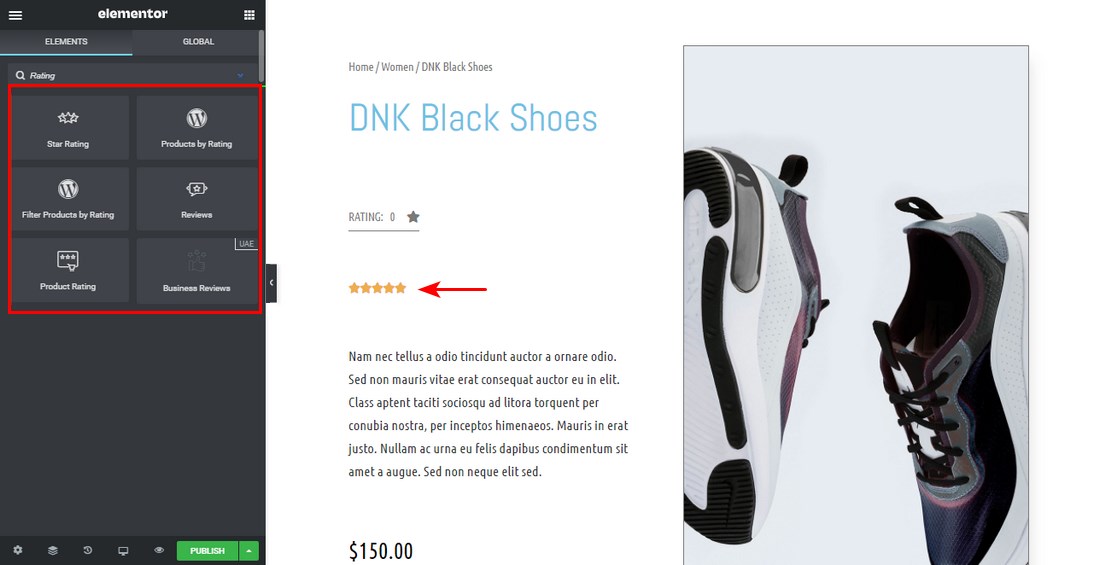
- Product Rating: You can display the product rating using the product rating widget. The display of product ratings on your single product page encourages potential buyers to purchase your items. This implies you must first have some ratings.
-
Short Description: The short description widget controls the layout and style of the short description. When establishing a new product, you can include a brief description in one of the fields. This widget should be displayed towards the top of the single product page:

-
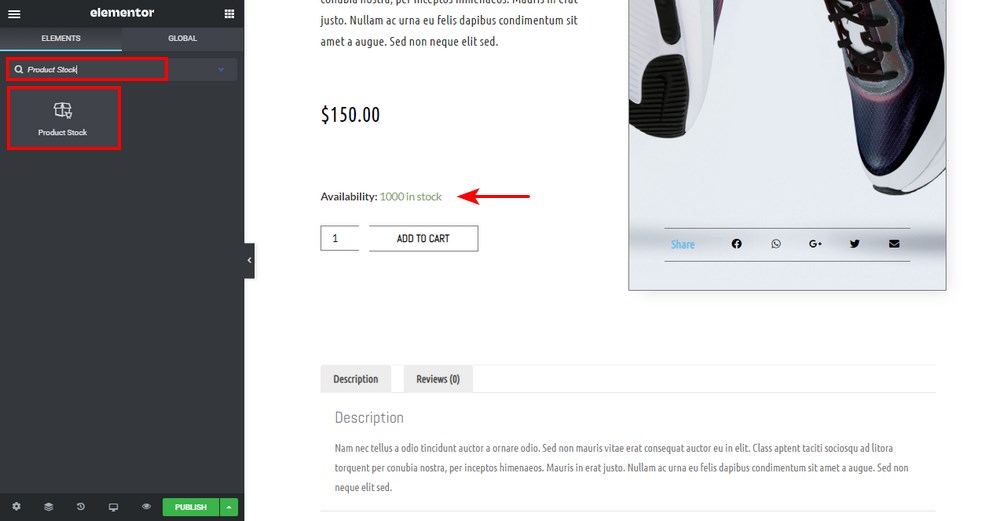
Product Stock: The product stock widget shows how much product stock is left. When creating the product, you may provide the following stock information in the product data section:
-
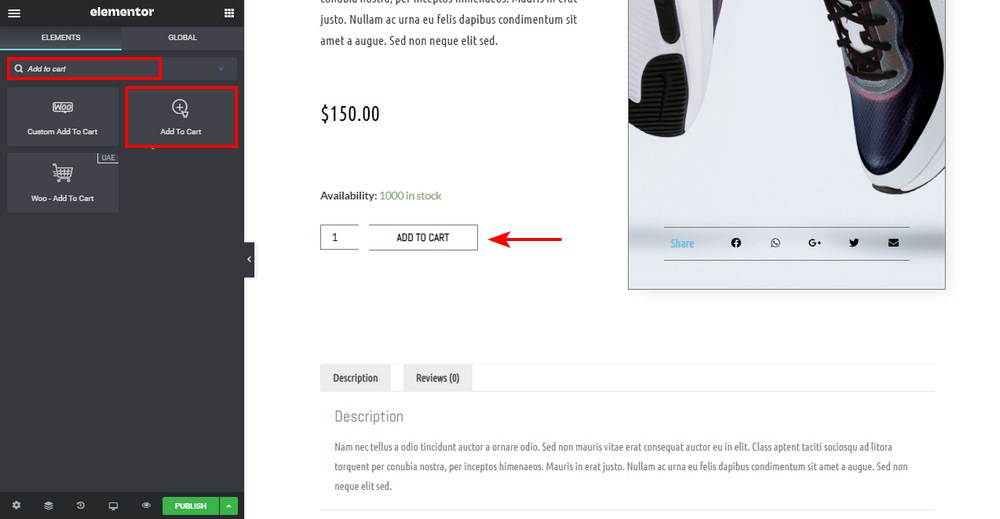
Add to Cart: The Add to Cart widget determines the layout and appearance of the add to cart button. On every product page, this is one of the most crucial calls to action. It enables users to add goods to their shopping carts and then move to the checkout page:
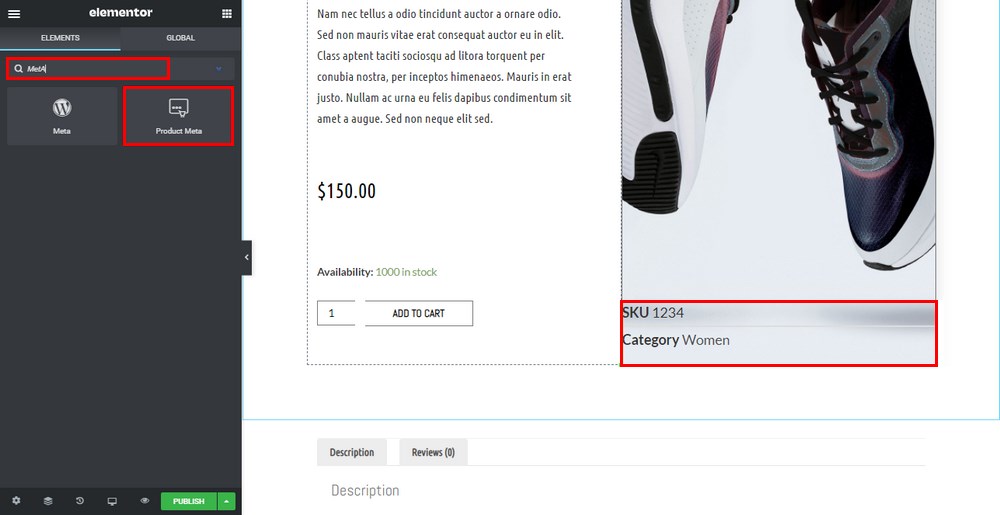
- Meta Data: The meta widget determines the text’s spacing. It can be shown stacked or inline.
You can also change the look of your metadata:
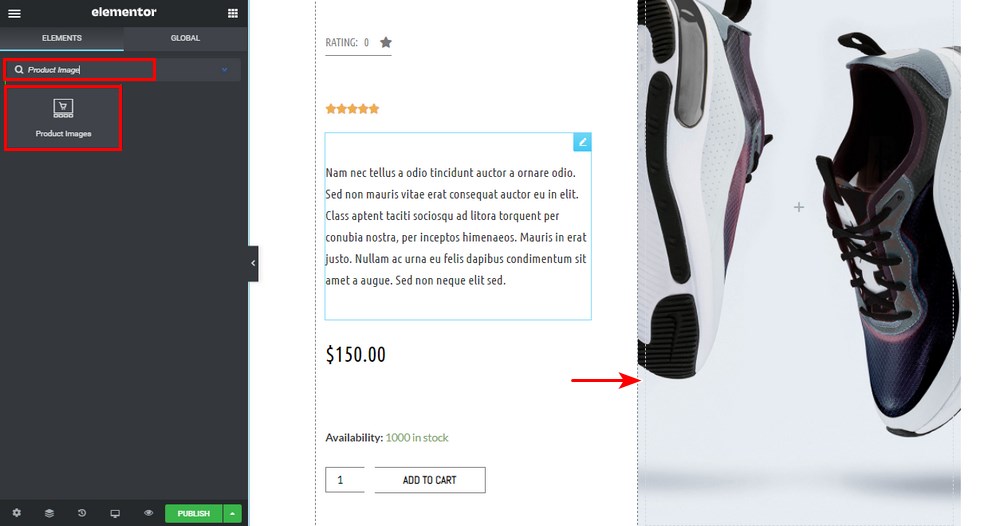
- Product Image: The product picture widget is used to specify which image or gallery should be displayed:
-
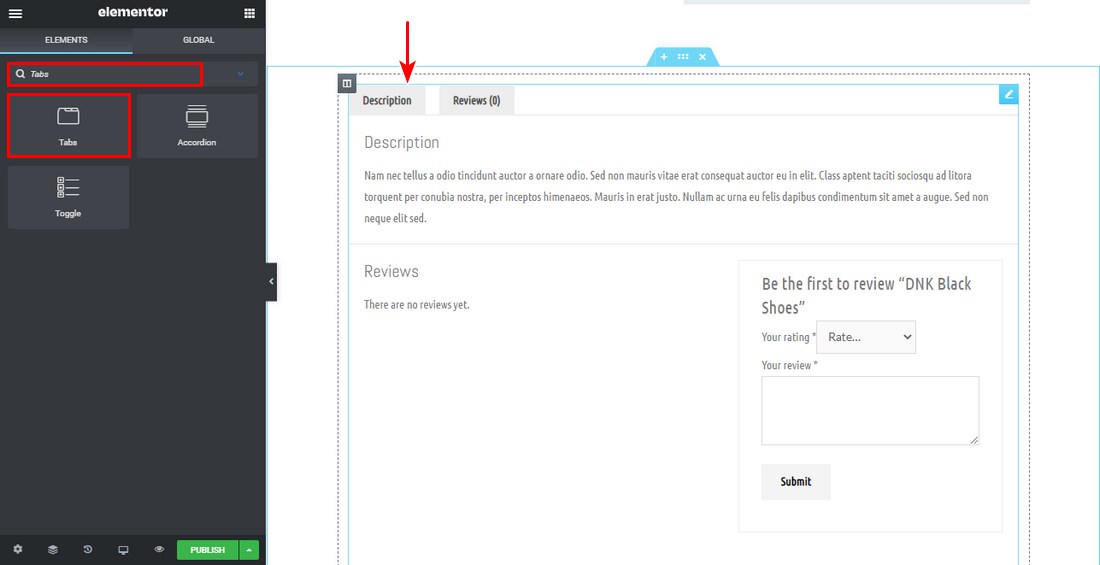
Product Tabs (Additional Information, Reviews): The product tabs widget contains the product’s key information. We highly suggest you should place the product tabs in a prominent location so that users may learn about the product:
-
Upsell: The upsell widget lets you customize the look of the upsell goods. You can call it something like ‘Products you may like.’ This section can be used to add goods that are frequently purchased together:
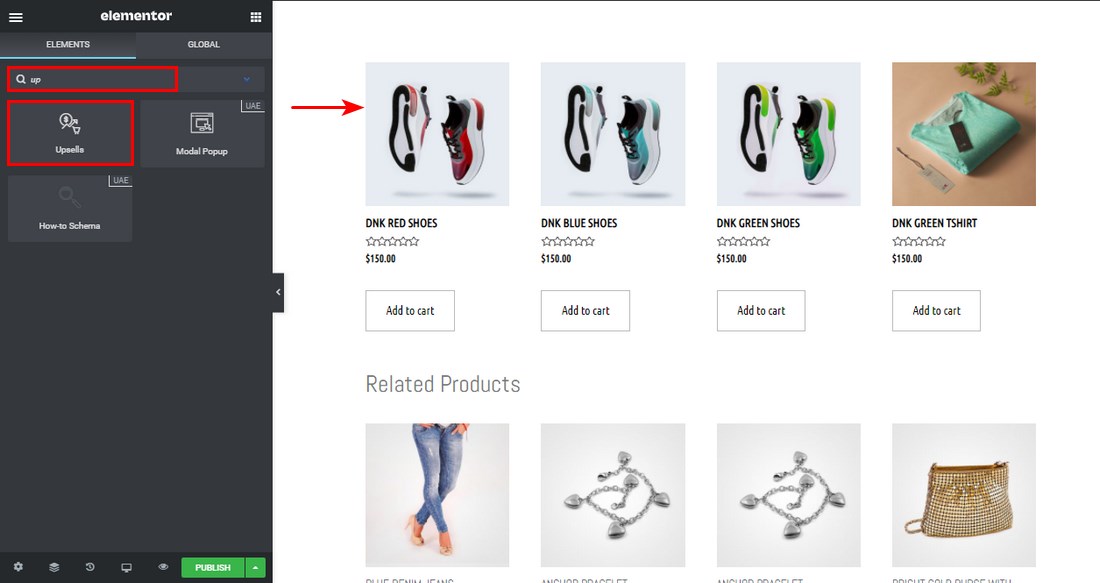
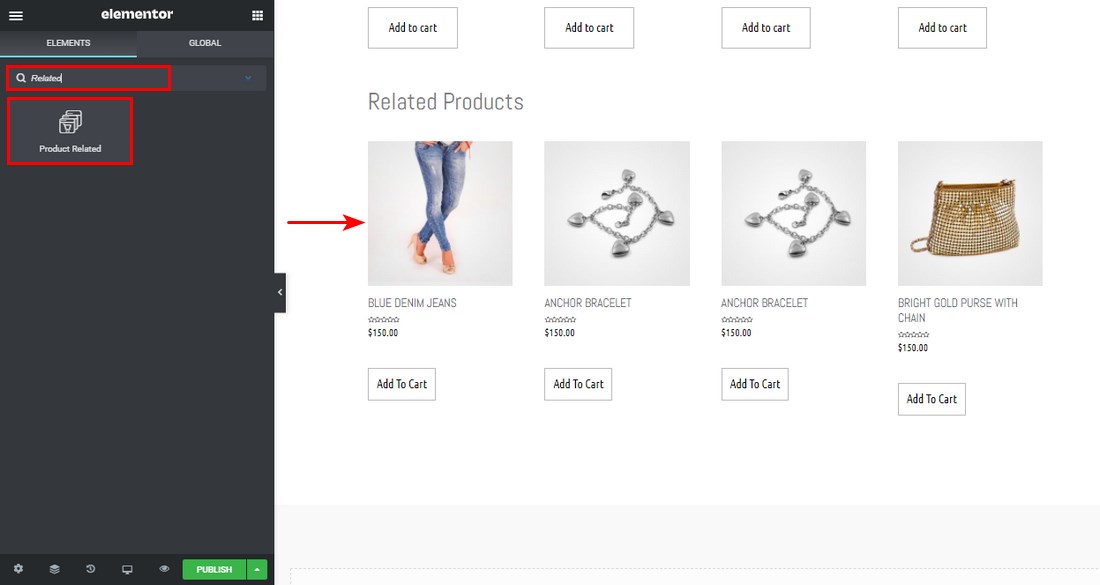
-
Related Products: With the linked products widget, you may apply your style to the related products. This widget makes use of the WooCommerce related products capability to connect goods that belong to the same category and tag.
Step 4. Tweak the Mobile and Tablet Views
Smartphones are used by more individuals to access the internet than laptops and desktop PCs. This implies that your store must be suited for mobile browsing or else your sales may suffer.
WooCommerce is mobile-friendly right out of the box. Because you are developing a custom product template, you must guarantee that the new product page template appears as well as it possibly can.
To see how the page appears on mobile devices, click the Responsive Mode button in the bottom left corner of the Elementor interface.
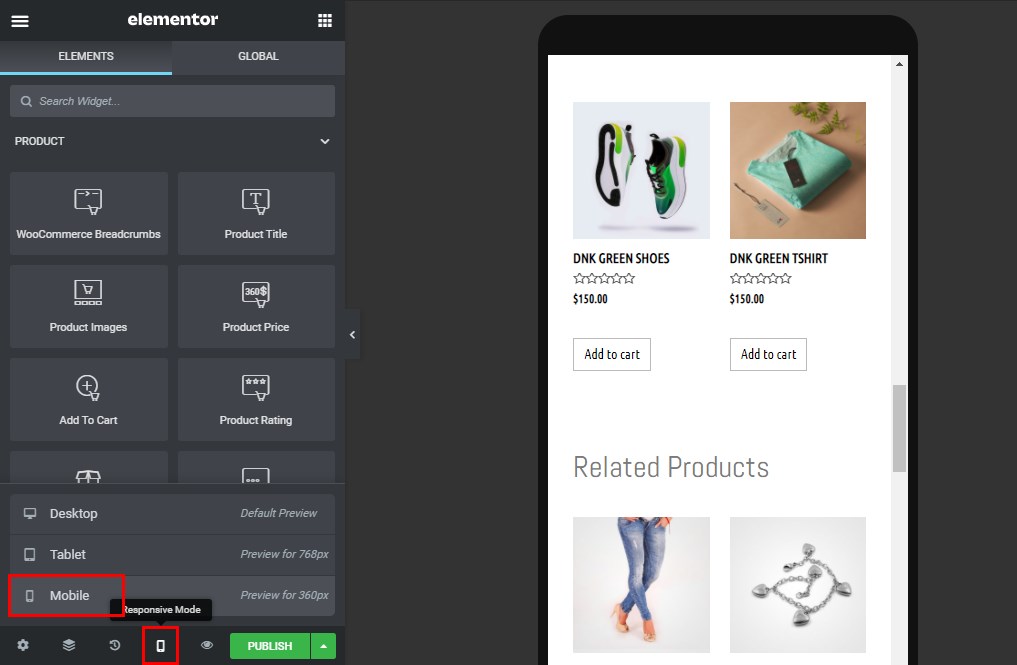
By clicking this button, you can toggle between the Desktop, Tablet, and Mobile displays. You can change the design of each view to your preferences.
You can also adjust the display settings of your blocks so that they look well on mobile or tablet viewing.
Step 5. Preview the New Product Page
We recommend that you preview the template with other products to ensure that it has the required style.
To get a preview of the new product page, go to the bottom left panel and click the eye icon, then settings.
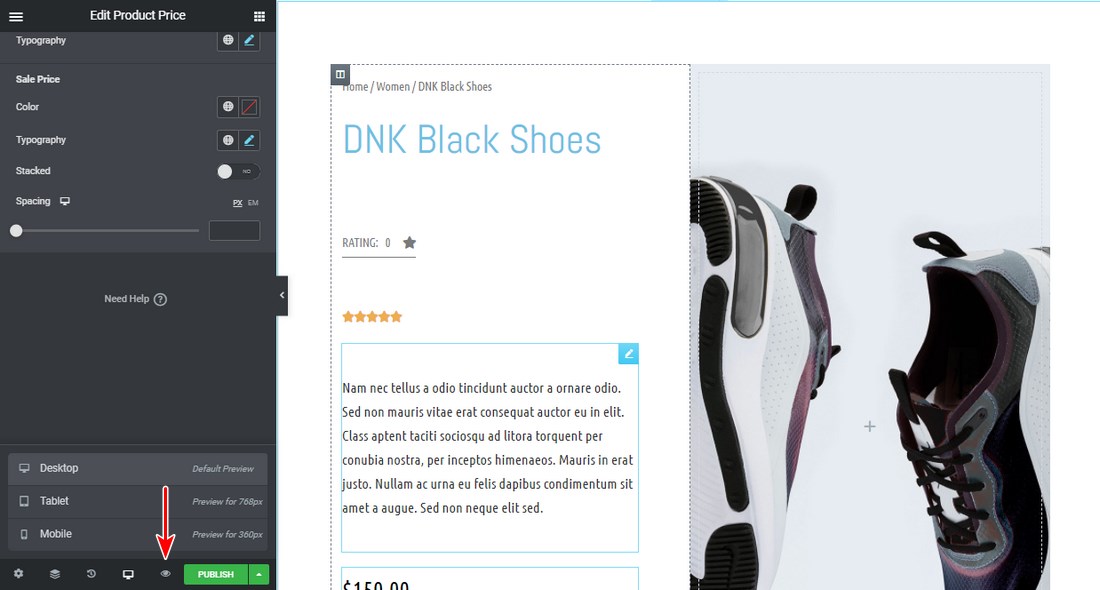
Under the preview options, select the product you wish to display.
Apply and evaluate the product to see how it will be shown.
Step 6. Publish the Custom WooCommerce Product Page
If you’re happy with how everything looks, click the Publish button in the bottom left corner of the Elementor interface.
Following that, a new window will open, asking you to specify when this template should be utilized.
Step 7. Set the Conditions
By default, the template we designed will apply to all product pages in your WooCommerce store. You can provide a product category when configuring the criteria.
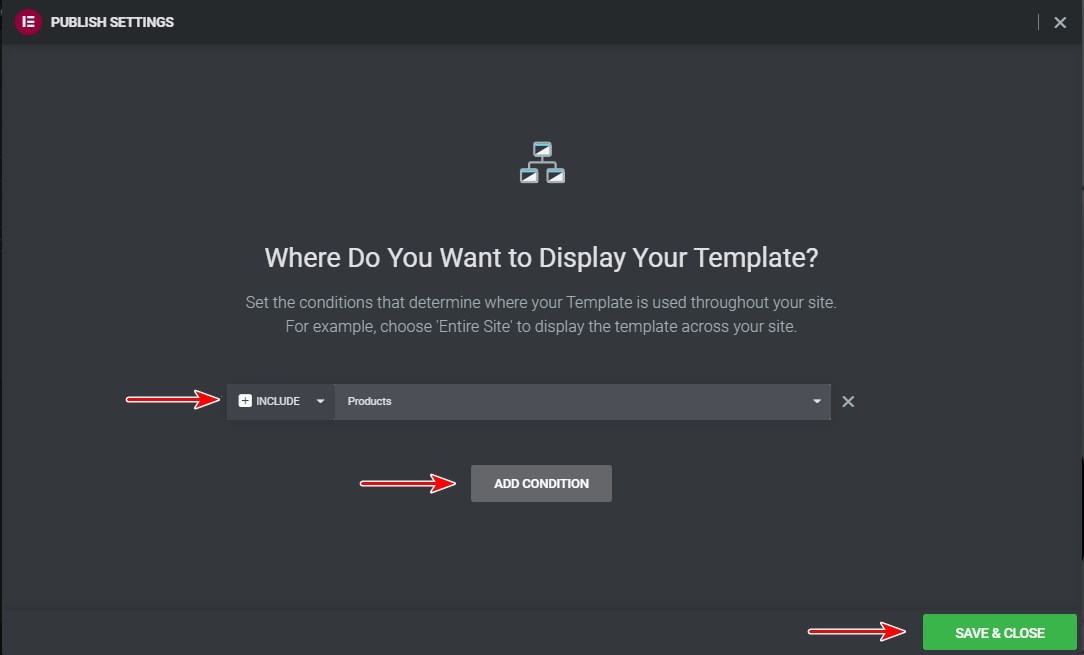
When you click Save & Close, all of the criteria you’ve added will be saved.
The default product page will be saved and replaced as a result of this operation. You can view how a product is displayed on the front end by visiting any product page.
How to Customize the WooCommerce Product Page with Simple CSS Changes?
CSS is a coding language that determines the appearance of your website, from fonts and colors to button sizes and backgrounds. If you are familiar with CSS, go to Appearance > Customize > Additional CSS on your dashboard and make the below changes:
1. Change the font size of product titles
To alter the size of your product names to 36px, use the code below. Replace the “36” with whatever number you choose.

2. Change the color of product titles
A hex code is a six-digit code used to represent a certain color on the internet. Change the color of your product title to #FF5733 by using the code below. Replace the hex code with whatever you like; you can obtain the HTML color picker code for any color you choose.

3. Make variation labels bold
Use the code below to make your variant titles bold.

4. Italicize variation labels
To italicize variant labels, use the code below.

5. Change the Buy Now button colors
Change the background color of your Buy Now button using this code. Use the HTML color picker to obtain the hex code for the color you want to use.

5 Best WooCommerce Product Page Customization Extensions
In this part, we will introduce to you the five best WooCommerce product page customization extensions.
1. StoreCustomizer

StoreCustomizer is a free WooCommerce customizer plugin that allows you to change the WooCommerce shop and product pages, as well as the cart and checkout pages and your user account page.
StoreCustomizer does not modify the WooCommerce templates; instead, it provides more design options and sophisticated store functionality to your existing WooCommerce pages, which are built by the theme you’re using.
Features
- Add Product sales statistics for Admin users
- Customize Shop & Product Pages
- Edit font size and color for WooCommerce Shop & Product pages & Cart/Checkout elements
- Edit or Remove Product Page Tabs
- Remove basic checkout fields-
- Edit Cart & Checkout buttons
Pricing
StoreCustomizer is free to download and use. However, its pro version does cost you quite a lot of money. The single, plus, and developer plans are charged at $49, $59, and $89 per year respectively.
2. Woocommerce Single Product Page Customizer
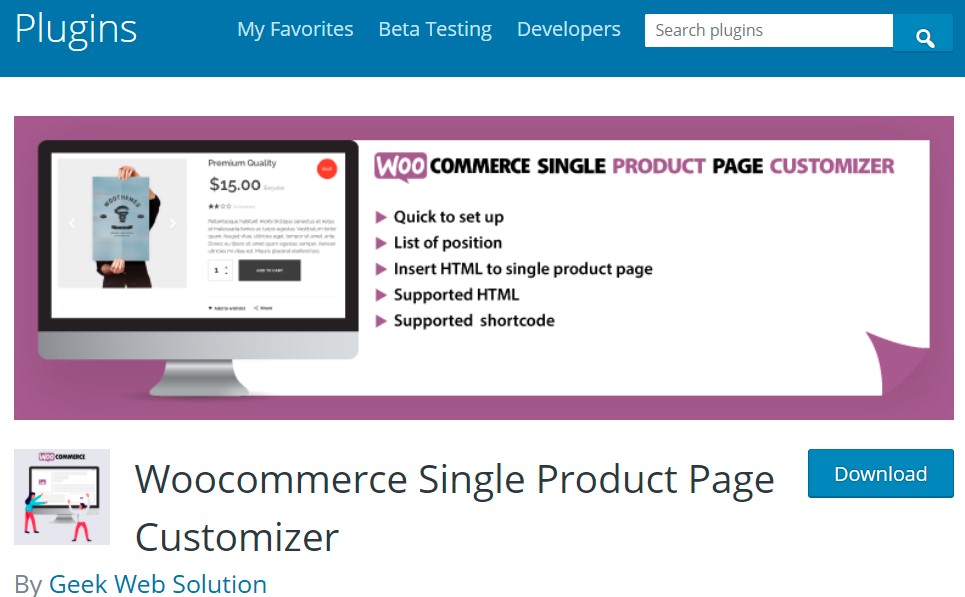
Woocommerce Single Product Page Customizer is developed by Geek Web Solution. By using this smart plugin, you can add text or HTML to the Wooocommerce Single product page.
Features
- Quick to set up
- List of Hooks
- Insert HTML to Single product page.
- HTML editor for add text
Pricing: Free to download.
3. WooThumbs for WooCommerce
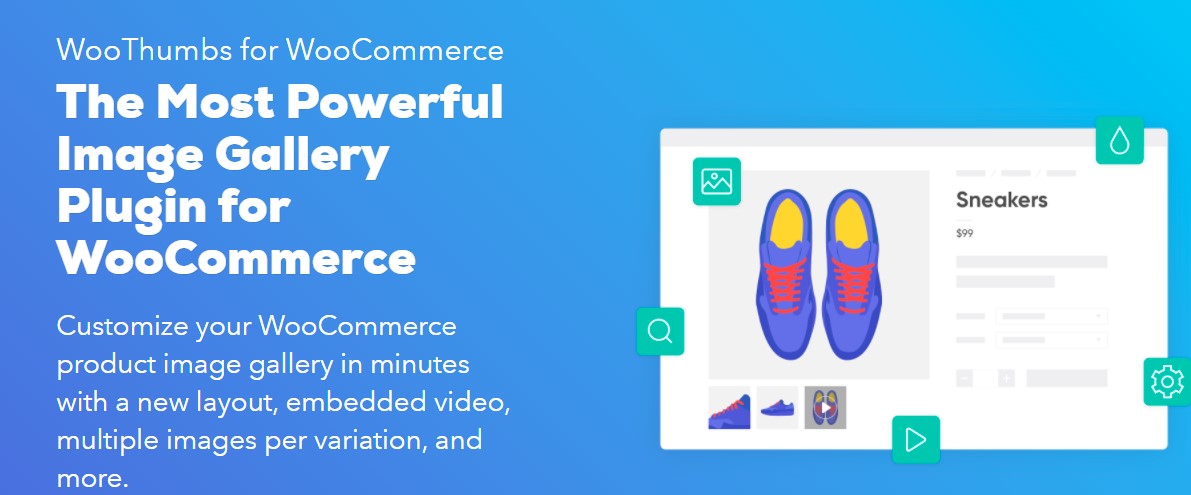
After installing WooThumbs for WooCommerce , you can totally personalize the product gallery to fit your specific requirements. The option to insert product videos directly into the product gallery is perhaps the most major selling factor. You may also change the style of your product gallery, add slider and zoom effects, and add an infinite number of photos to your product variants.
Features
- Enable sliding thumbnails for browsing convenience.
- Multiple zoom options to showcase the details.
- Slide or fade - impress your customers with a distinctive product image gallery.
- Multiple media embed options available, including Soundcloud, Wistia, or any page via an iframe.
- Add unlimited additional images to your product variations.
Pricing: There is a free trial available. However, the premium license costs you $79 per year and the all-access-bundle plan is charged at $499 per year (on discount).
4. WooCommerce Attribute Swatches
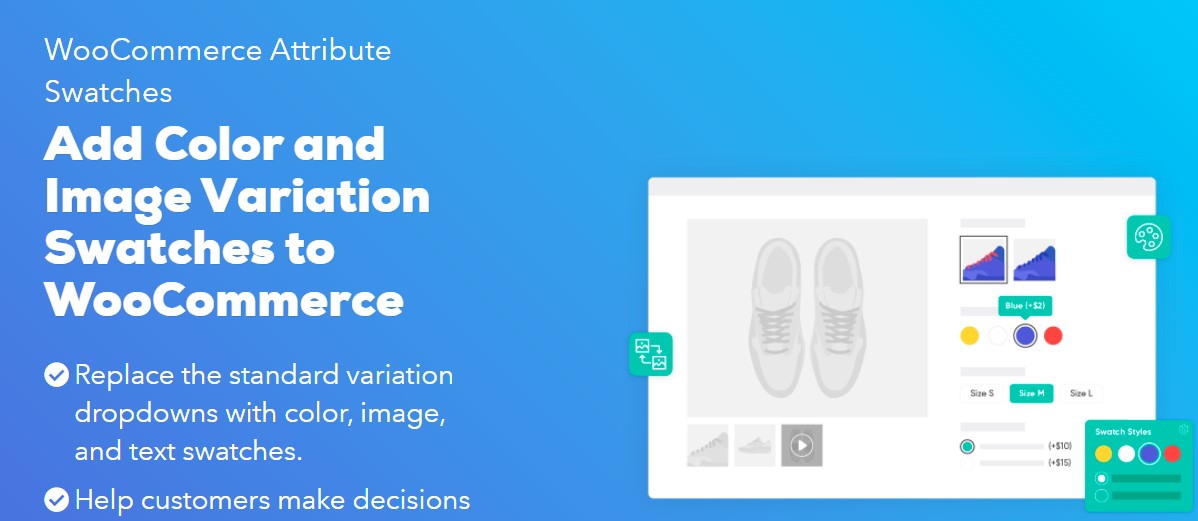
WooCommerce Attribute Swatches provides a number of alternatives for graphically expressing your product characteristics using so-called “swatches”. You can utilize picture swatches to provide your consumers a sample of each variation’s real appearance, so they know exactly what they’re getting. You can also display the physical colors of your items rather than having to explain them in text format.
Features
- Assign Swatches Globally or Per-Product
- Modern Swatch Designs
- Customize Shape and Size
- Tooltip Swatch Hints
- Large Preview for Image Swatches
- View Swatch Availability
Pricing
There is a free trial available. However, the premium license costs you $79 per year and the all-access-bundle plan is charged at $499 per year (on discount).
5. WooCommerce Product Tabs
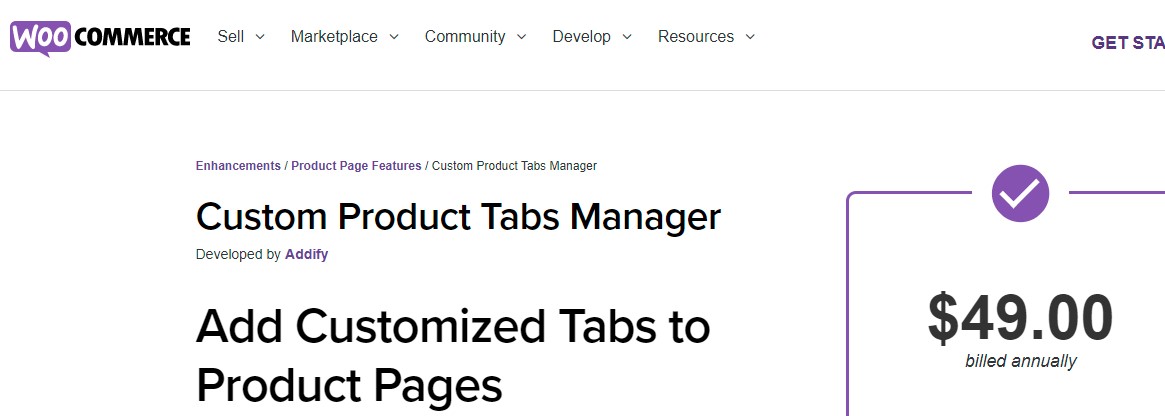
The WooCommerce Product Tabs plugin adds additional custom tabs to your product pages. You can use several professional-looking tabs, organize critical information about your items’ characteristics, warranty, policy, use cases, videos, sizing charts, and other facts.
Features
- Add an infinite number of additional product tabs
- Assign tabs to particular goods and categories
- Limit the visibility of tabs based on customers and user roles.
- Change the tab background picture, text color, and icon
- Sort custom and default tabs as needed
- Display the contact7 form in tabs for FAQs and inquiries.
Pricing: $49 per year.
Final words
Customizing WooCommerce product pages is of great significance and you should take this into consideration when seeking to build a thriving online business.
Hopefully, this tutorial on how to customize the WooCommerce product page brings you lots of useful information. If you have any questions, feel free to reach out to us.
Thank you for reading this post and we’ll see you soon.


