
How to Customize WooCommerce Product Pages Template

WooCommerce’s default store page is automatically generated, and you only have little influence over its appearance. The primary product pages are attractive and practical, but they are not very eye-catching. So, how do you personalize the WooCommerce shop page? How can you customize it to meet your needs, given that it is one of the most crucial pages on your website? Being able to handle the store page efficiently is unquestionably advantageous.
Today’s tutorial will show you how to customize the WooCommerce product pages template using three different methods. Visually customizing the page is critical to having a consistent look throughout your WooCommerce business.
The advantages of customizing WooCommerce product pages
Your WooCommerce product pages are among the most important in your online store. The issue is that the default WooCommerce product pages are not conversion-optimized. You can develop specific product landing pages by modifying your WooCommerce product pages, which will convert your visitors into buyers at a much greater rate. Here are some critical benefits:
- Show Buyers That You’re Serious: Customizing your product pages gives credibility to your site and demonstrates to potential customers that you didn’t open your business on the spur of the moment.
- Set Yourself Apart from the Competition: By making your product pages one-of-a-kind, you will distinguish yourself from rivals who were content with WooCommerce’s basic design.
- Increase Sales: Your product pages will be more enticing to your target audience due to your efforts. This, in turn, leads to more sales for your WooCommerce business.
- SEO enhancements: You may change the store page and add information that your consumers will find on Google, and change the appearance.

Now that we understand why you should personalize the store page let us focus on the next question. How can you make an excellent first impression on your consumers when they arrive at your shop page? The idea is to create an appealing and user-friendly design that facilitates the purchasing process. It’s much easier said than done. That being stated, let’s take a look at how you may alter WooCommerce product pages.
How to Customize WooCommerce product pages template
Because this article focuses on customizing the product page, we will go over the basic WooCommerce setup and how to add new products. Following the installation, you should have WooCommerce installed and a few relevant products on your site.
Method 1: Using SeedProd
The first method is using SeedProd. SeedProd is the best WordPress landing page builder. It includes a drag-and-drop editor that allows you to construct visually appealing and high-converting landing pages in minutes. Furthermore, as you can see, it has WooCommerce connections, allowing you to design bespoke landing pages that are unique to your company. This will enable you to customize your WooCommerce product page with features like social proof, lead capture forms, payment choices, and much more.
Step 1: Activate the plugin
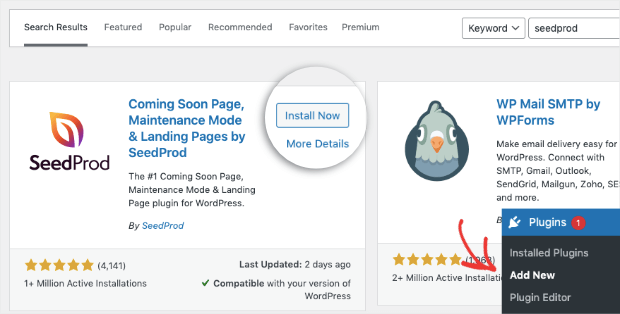
First, you must obtain the SeedProd plugin. Go to Plugins > Add New in your WordPress dashboard and search for SeedProd. When you’ve found the plugin, click the Install Now button.
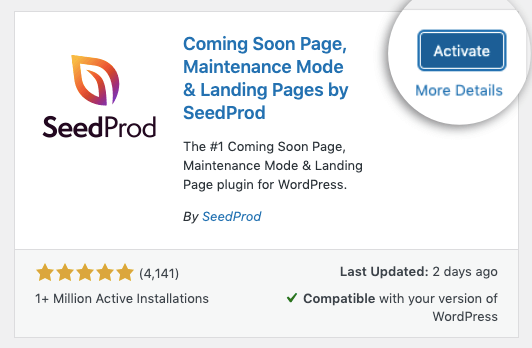
When it’s finished installing, go ahead and click Activate.
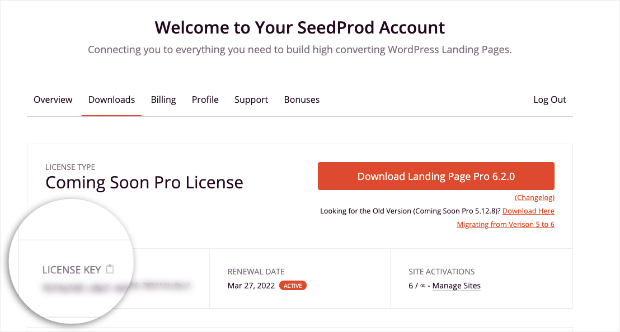
A Pro subscription or above is required for enhanced WooCommerce features. While their free Lite plan allows you to create unique landing pages, we strongly recommend subscribing to access all WooCommerce page capabilities. You must input your license key. This may be found by going onto your SeedProd account and checking under Downloads.
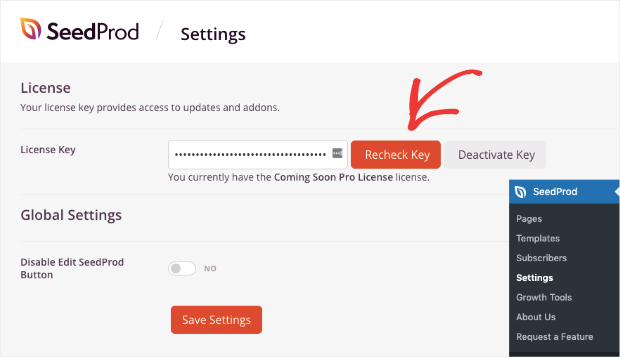
Then, return to your WordPress admin menu and select SeedProd > Settings, where you may input your license key.
Step 2: Set up a new landing page
You are now ready to create your first WooCommerce product page after entering your license key. Click SeedProd > Templates from the WordPress admin menu. This will offer you access to a plethora of pre-built landing pages to get you started. However, we will utilize the Dinner Sales Page template for WooCommerce product pages.
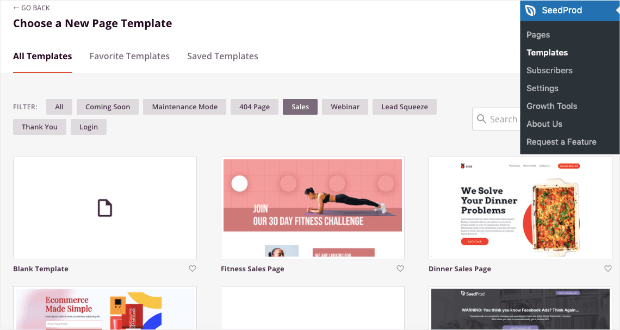
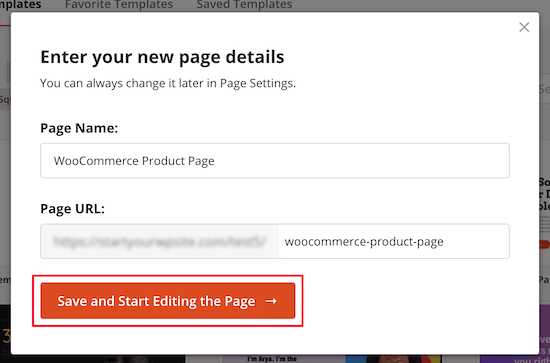
This allows you to start from scratch and be the most straightforward template for this guide. It would be best to spend a few moments checking through the templates to see whether there is a landing page design that already corresponds to the product you want to advertise. All you have to do is give your product page a name and produce a URL slug. After that, select Save and Start Editing the Page option to move to the next stage. The drag-and-drop page builder interface will be launched as a result.
Step 3: Configure your new WooCommerce product page
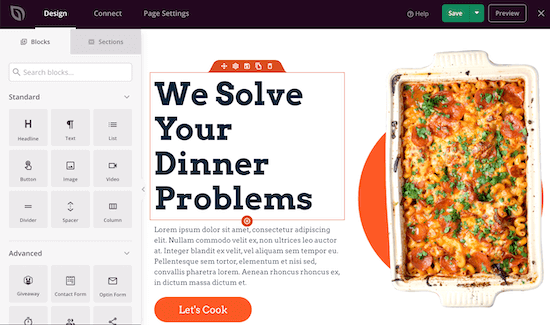
You’ll get a live preview of the template you choose, and you can use your mouse to pick and change any item on the page. New blocks are available in the left column for use on your product page. Next, we’ll add a few blocks to this page to make it seem more like a WooCommerce product page.
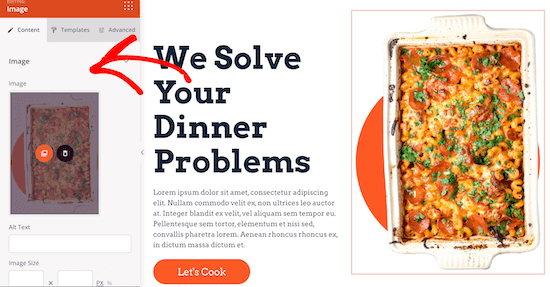
You’ll either upload a photo or choose one from your media library. First, replace the picture with an image of your product by clicking on it. After that, you may alter the product title and text by clicking on them and editing them directly in the page editor. The left-hand menu allows you to change the size, alignment, and other settings.
Finally, like a typical WooCommerce product page, we’ll include an Add to Cart button. Locate the Add to Cart WooCommerce block and drag it onto your page.

Step 4: Customize some add-ons
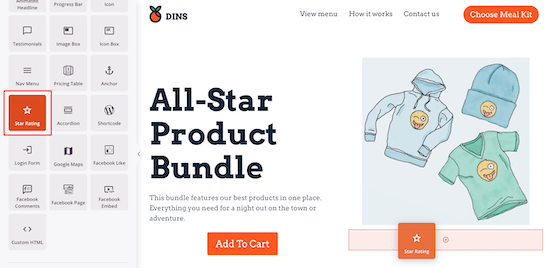
After you’ve mastered the fundamentals of your WooCommerce product page, we’ll show you how to add goods that will boost your conversions. First, let’s include a product star rating to demonstrate to your consumers that your product is of excellent quality. Drag the Star Rating block to the page preview and drop where you want it to appear.
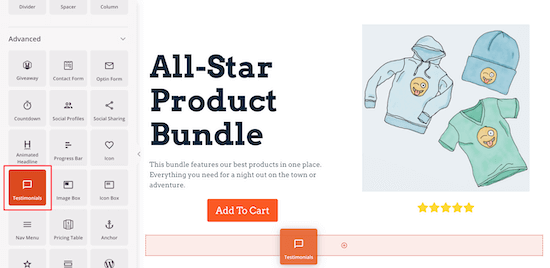
You have complete control over the number of stars, size, overall rating number, and other factors. Following that, we’ll include a section with client testimonials. Including product testimonials may boost your social proof and product conversions. If you’re searching for a means to gather client testimonials, check out our list of the top WordPress testimonial plugins. Drag the Testimonials block onto the page where you want it to appear to add testimonials.
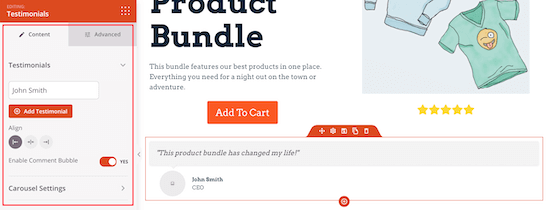
You may entirely modify the testimonial, including adding a picture and changing the testimonial wording. When you click on the testimonial item, you will be able to alter all of the display choices on the left-hand menu. Click the Add Testimonial button if you wish to add numerous testimonials. This will generate a revolving carousel of your client testimonials.
Step 5: Publish the new WooCommerce product page
Then, similar to the question and answer area on Amazon product pages, you may include a product FAQ section. Drag the Accordion block to your page, then click on the item to bring up the editing panel on the left. You may add another FAQ drop down here, as well as alter the font size, color, and other settings. The FAQ content may be changed immediately on the page preview.

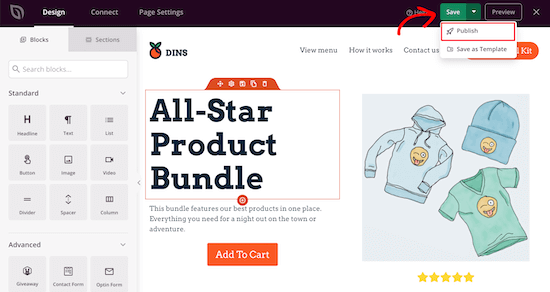
You may further personalize your product page by adding more blocks and modifying the options menu. When you’re finished editing your product page, be sure to select Save and then Publish from the dropdown menu to publish it. Your product page adjustments will make it simpler to convert visitors into purchases.
Method 2: Using Elementor
The second method is to use another page builder called Elementor. To use the visual design features, you must have Elementor and Elementor Pro installed. You can’t access Elementor’s product templates if WooCommerce is not active.
Step 1: Add a new single product template
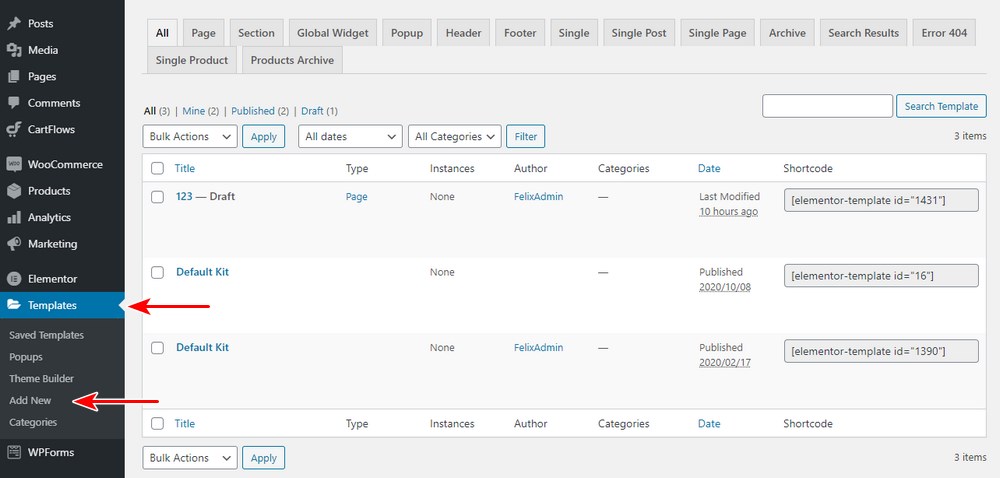
To begin with, choose Single Product from the selection under Templates > Theme Builder > Single Product > Add New, give it a name, and choose Create Template.
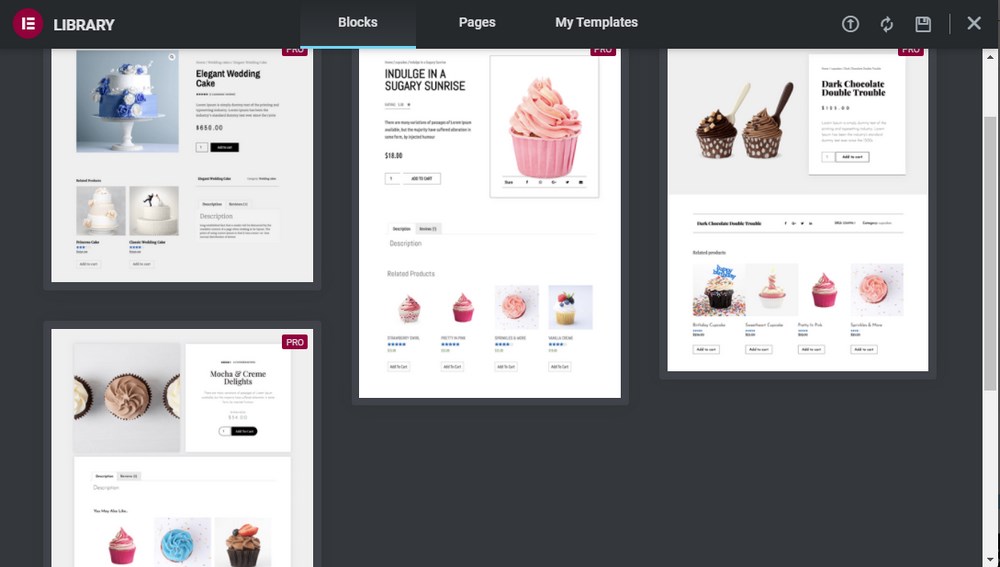
We strongly advise you to select one of the pre-designed product page templates and customize it to match your brand. You may choose from a variety of styles in Elementor Pro. If you have the necessary technical skills, you may also design a new template. Creating your template from scratch will take a long time, but it will be worthwhile if you have the abilities. Select a Single Product Block and Insert as shown below.
This will get the template, allowing you to add the new items to the page. The template that you choose will be applied to the Elementor canvas. This will enable you to personalize the template by utilizing the widgets on the left. You may also modify the existing widgets or delete the components you don’t require. Elementor offers you complete control over how the layout and design are customized. There is a collection of features on the left sidebar like Product Images, Product Price, Product Title, and every piece of data that WooCommerce shows on the single product page.
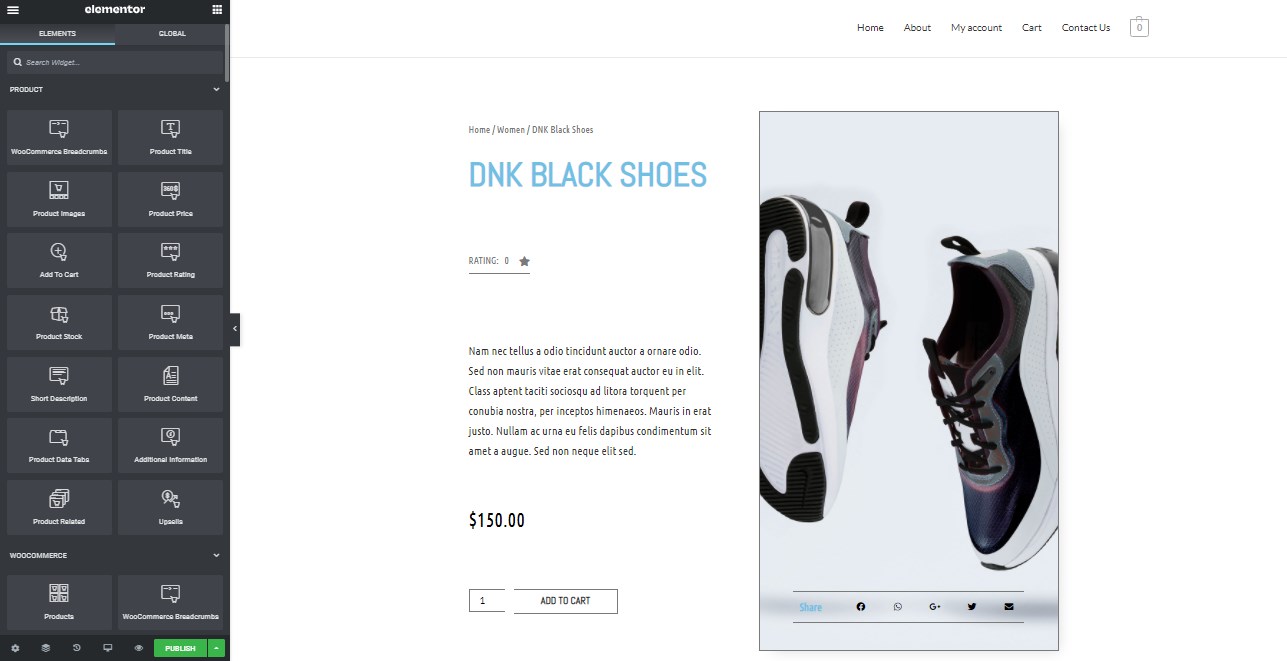
Make sure you’re working on a full-width product page before you start adding widgets to personalize it. Elementor lets you drag items and drop them exactly where you want them.
Step 2: Select your design
The single product page you created looks good. However, it most likely does not precisely complement your brand. Adjusting the background color, font color, and typography settings is a fast remedy. To make changes to any element on the page, click the pencil symbol in the block’s upper right corner.
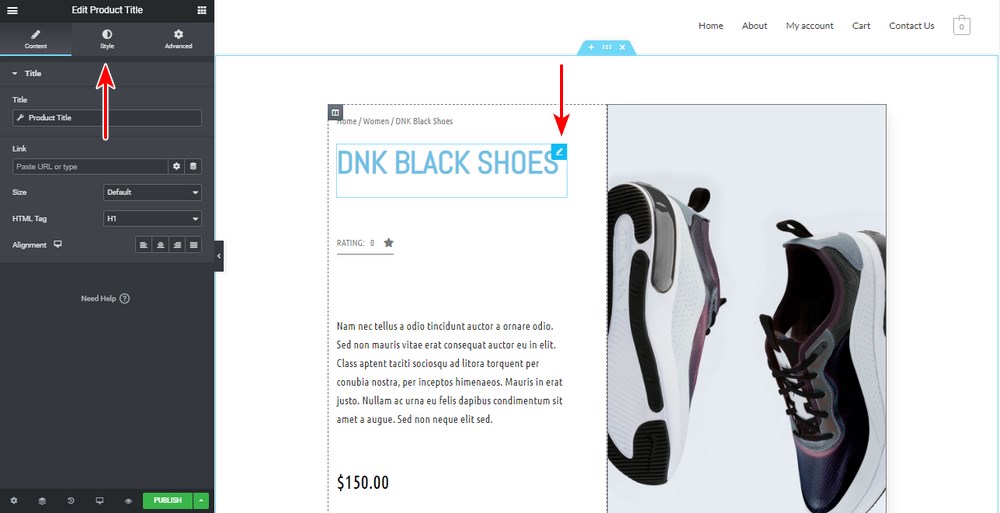
Switch to the Style tab to apply any style or aesthetic changes. You may modify the text color, font, and shadows for the Product Title block in the sample above. Select Typography. This will open a new window with typography options, where you may alter the font and other characteristics.
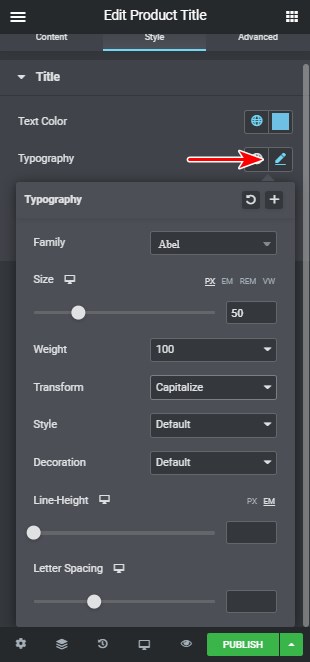
Continue to modify all of the parts until you obtain the desired outcome. Please pay close attention to the pricing block and how it is portrayed. This block must be clear so that customers can view it without difficulty.
Step 3: Customize product widgets
If you want your consumers to enjoy a one-of-a-kind shopping experience on a single product page, let’s include some product widgets. Elementor gives you complete control over the appearance and feel of all the pieces that comprise the product page.
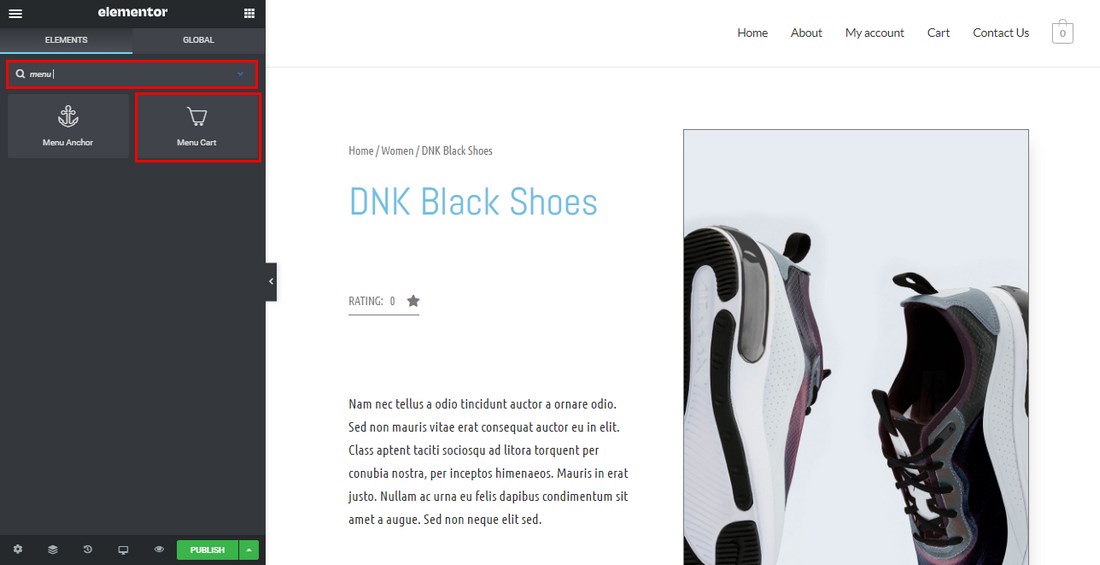
The following product widgets can be added to this page:
- Menu Cart: The menu cart widget launches the cart in a new tab. It may be used to show the cart on any page. WooCommerce Breadcrumbs: The style and color of the WooCommerce breadcrumbs on the page are controlled by the WooCommerce breadcrumbs widget.
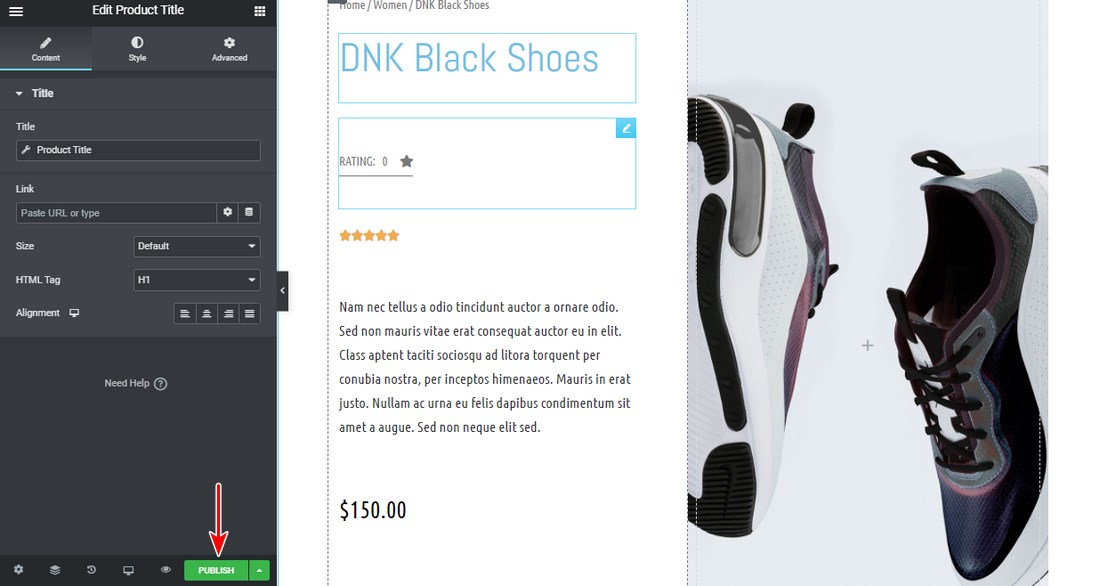
- Product Title: The design and layout of the product title are controlled by the product title widget.
- Product Price: The product price widget allows you to customize the location and appearance of the product price.
- Product Rating: You may display the product rating using the product rating widget. The display of product ratings on your single product page encourages potential buyers to purchase your items. This implies you must first have some ratings.
- Short Description: The short description widget determines the layout and appearance of the short description. When establishing a new product, you may include a brief description in one of the fields. This widget should be placed near the top of the single product page.
- Product Stock: The product stock widget shows how much product stock is left. When creating the product, you may enter the stock information in the product data area.
- Add to Cart: The layout and design of the add to cart button are controlled by the Add to Cart widget. On every product page, this is one of the most important calls to action. It enables users to add goods to their shopping carts and then moves them to the checkout page.
- Meta Data: The meta widget determines the spacing between the text. It can be shown stacked or inline. You may also change the look of your information.
- Product Image: The product image widget is used to specify which image or gallery should be displayed.
- Product Tabs: The product tabs widget contains essential information about the product. We strongly advise you to place the product tabs in a prominent location so that users may learn about the product.
- Upsell: The upsell widget allows you to customize the look of the upsell goods. You may call it something like ‘Products you might enjoy.’ This area can be used to list interests that are frequently purchased together.
- Related Products: You may apply your style to related goods using the associated products widget. This widget uses the WooCommerce related products capability to connect goods that belong to the same category and tag.
Step 4: Preview and publish your new product page
We recommend that you preview the template with other products to ensure that it has the required outcome. To get a preview of the new product page, go to the bottom left panel and click the eye icon, then Settings.
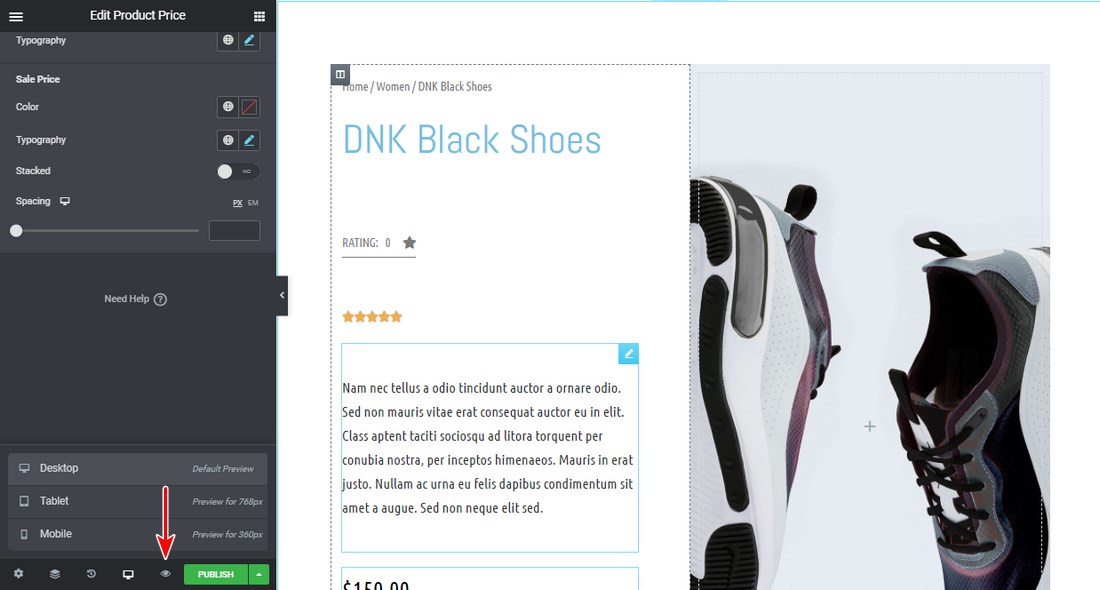
Under the preview options, select the product you wish to display. Apply and evaluate the product to see how it will be shown. If you’re comfortable with how everything looks, click the Publish button in the bottom left corner of the Elementor interface.
A new window will open after that, asking you to specify when this template should be utilized. By default, the template you designed will apply to all product pages in your WooCommerce store. You can provide a product category when configuring the criteria.
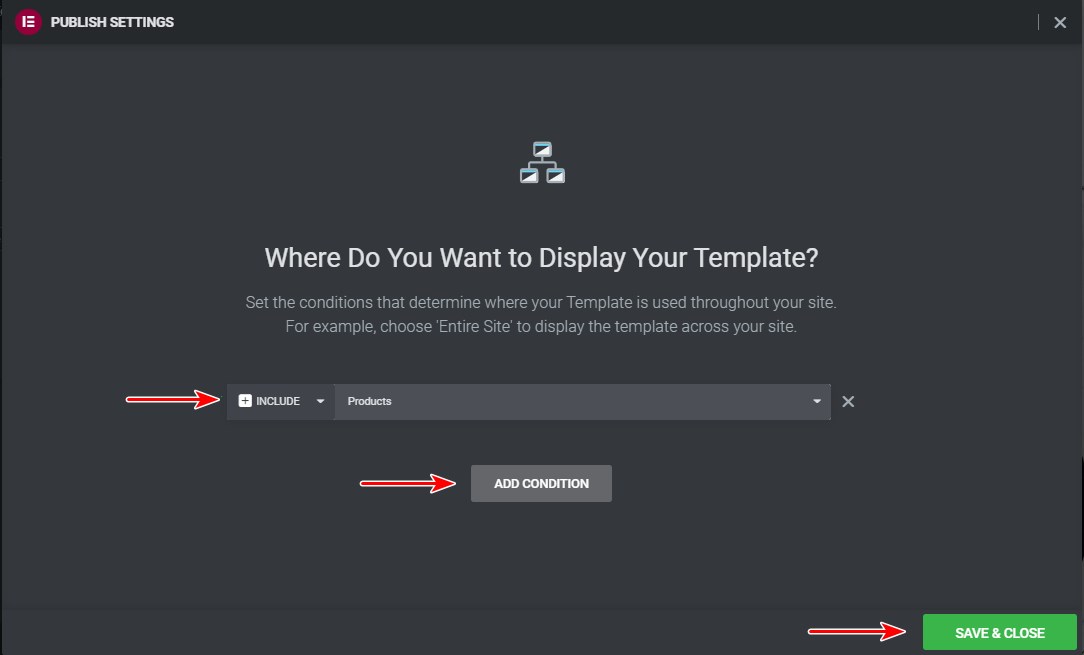
When you click Save & Close, all of the criteria you’ve added will be saved. The default product page will be dedicated and replaced as a result of this operation. You may view how a product is displayed on the front end by visiting any product page.
Method 3: Coding
The last method is to change the CSS of your WooCommerce store. CSS is a programming language that manages the appearance of your website, from fonts and colors to button sizes and backgrounds. If you are familiar with CSS, go to Appearance > Customize > Additional > CSS on your dashboard and make the following changes:
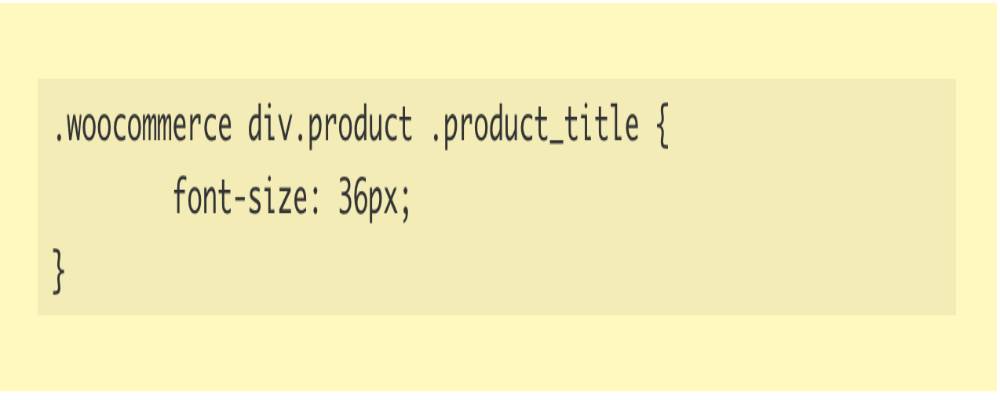
The font size of product titles
To alter the size of your product names to 36px, use the code below. Replace the “36” with whatever number you choose.
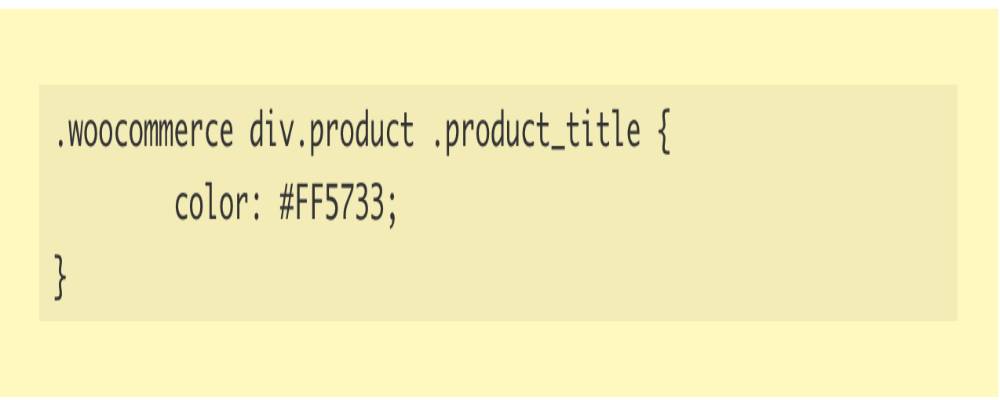
The color of product titles
A hex code is a six-digit code used to represent a particular color on the internet. Change the color of your product title to #FF5733 by using the code below. Replace the hex code with whatever you like; you can obtain the HTML color picker code for any color you choose.
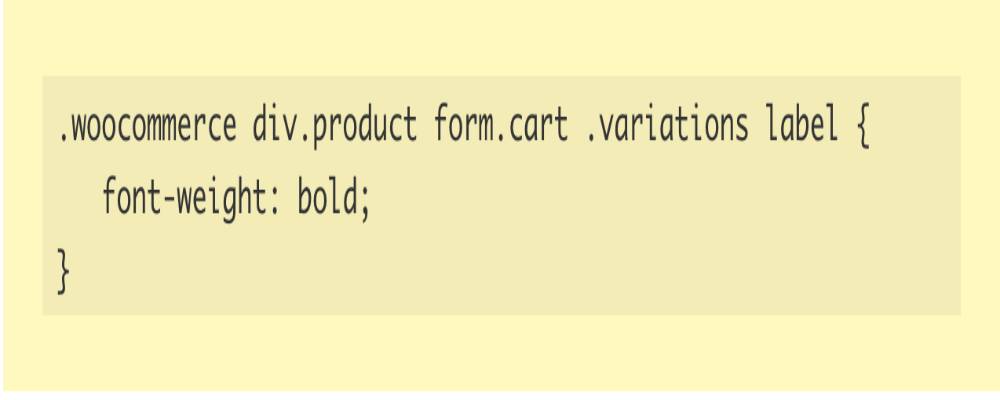
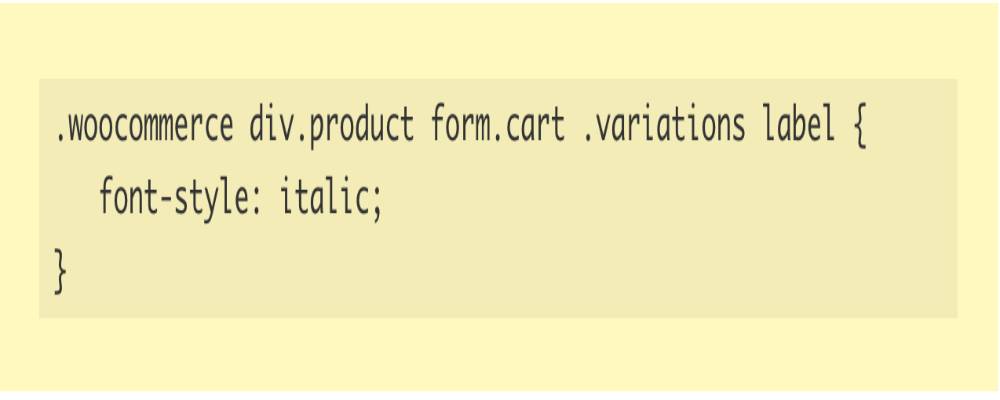
Custom variation labels
Use the code below to make your variant titles stand out.
To italicize variant labels, use the code below.
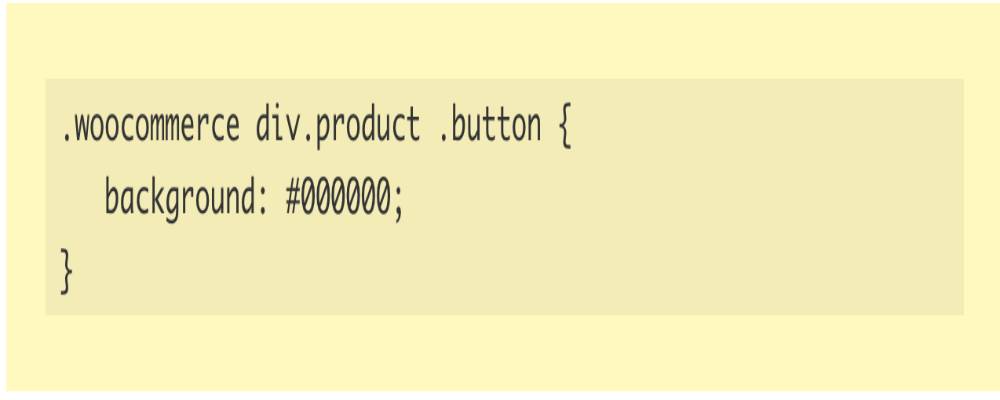
Custom Buy Now button
Change the background color of your Buy Now button using this code. Use the HTML color picker to obtain the hex code for the color you want to use.
3 best WooCommerce extensions to customize your product pages template
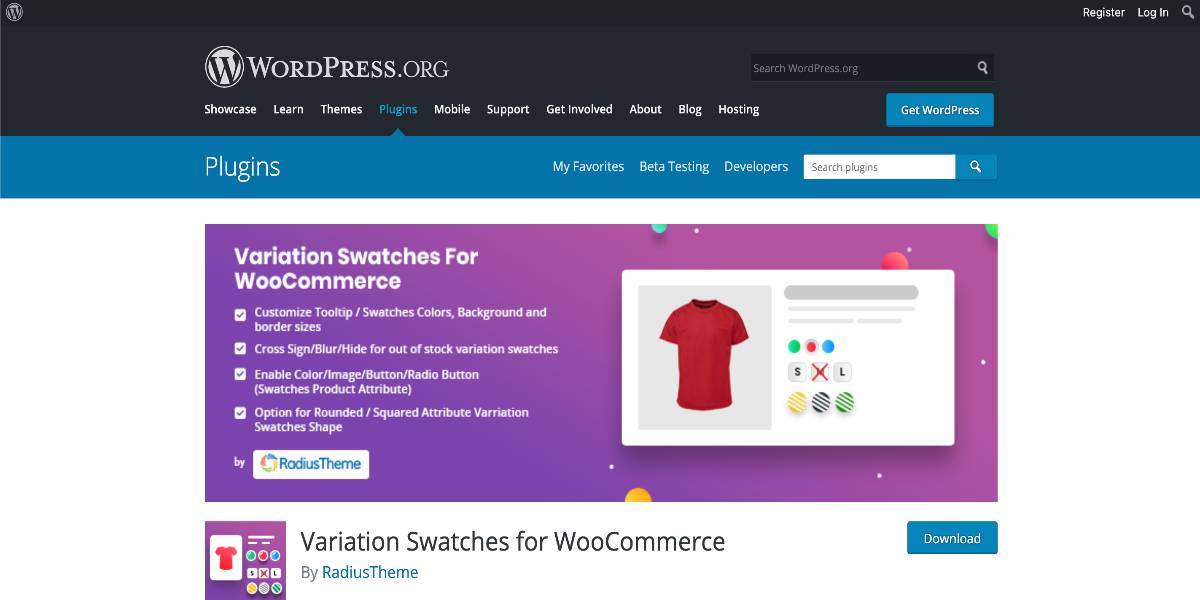
Variation Swatches for WooCommerce
Variation Swatches for WooCommerce is a stunning and one-of-a-kind plugin with incredible features. This plugin allows you to add labels, pictures, and colors to provide your consumers with the best possible experience. Radius Themes’s plugin is a unique piece of art that will provide your clients comfort while increasing your sales with the most spectacular variant features. You may enhance the look of your online store by changing the color of the border, background, and picture. Tooltip is the plugin’s outstanding feature. You may customize your swatches with square or rounded layouts, tooltip backdrop, font color and size, and tooltip control. With the ease of modification and installation, you may drastically alter the appearance of your business.
Outstanding features:
- Wholly Responsive and Mobile-Friendly.
- Color/image/label/text/button swatches can be enabled for changeable product attribute modifications.
- ROUNDED/SQUARED attribute variation swatches shape is an option.
- For out-of-stock variant swatches, use a cross symbol, blur, or conceal.
- Size control for swatches is available on the product page.
Price: The plugin is available in three subscription tiers. For people who are new to the business, we recommend the Essential license at the cost of $29. The Advanced license costs $119 and includes support for five domains, which is the most popular. The final license is $199 for an agency with unlimited supported sites.
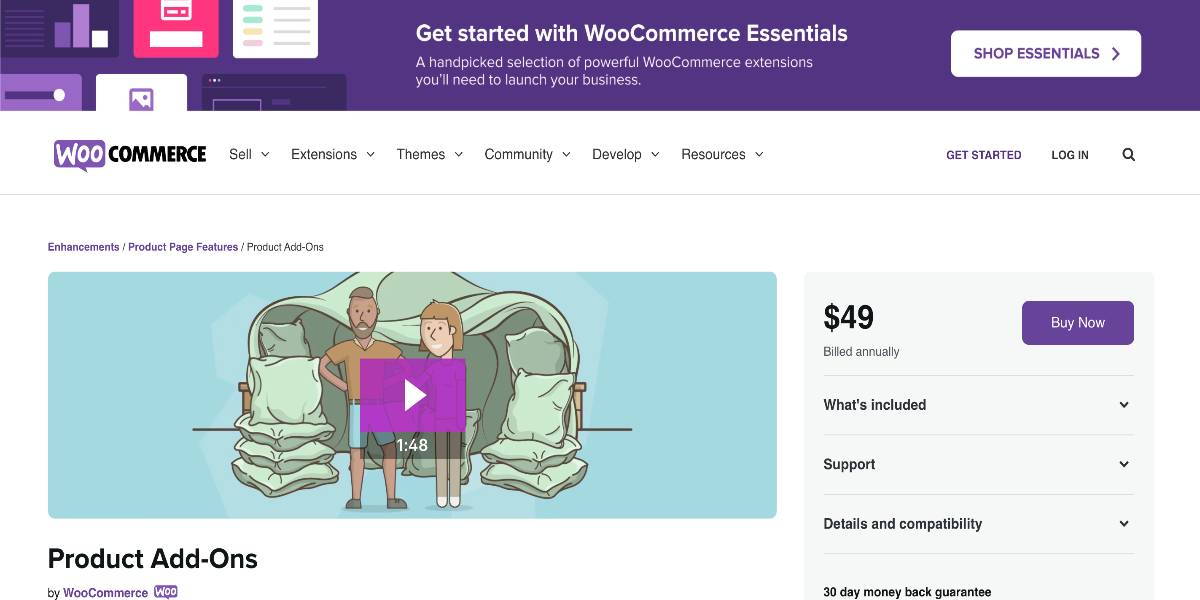
Product Add-Ons
The Product Add-Ons plugin adds the ability to customize products in your WooCommerce store. Before adding it to the basket, your consumers will add more product options from the product page. You may use the plugin to add several field kinds, such as checkboxes, text boxes, dropdowns, custom pricing inputs, and even example pictures. Furthermore, you will be able to apply these settings worldwide or to specific items. Additionally, the plugin allows you to charge a flat cost, a percentage fee, or a fee based on quantity.
Outstanding features:
- Allow product personalization in your WooCommerce store.
- There are various field types.
- There are several methods for calculating fees for additional product options.
- It integrates with Subscriptions and Bookings without a hitch.
Price: The plugin’s annual membership price is $49 per year for a single site. WooCommerce will manage support and security and will offer a one-year warranty and a 30-day money-back guarantee.
Product Video for WooCommerce
Product Video for WooCommerce is an official WooCommerce premium plugin that allows you to upload a unique video or embed a video from YouTube, Vimeo, Facebook, DailyMotion, and Metacafe to your WooCommerce product page. It may describe your product on both a shop and a single page and has the full video modification settings.
Outstanding features:
- Add video to any gallery on a product page.
- As a featured product video, include a video.
- Multiple videos can be added to the product gallery.
- Videos may be played on a website, in a popup, or fullscreen mode.
- You may submit movies in various formats, including MP4, MKV, AVI, MOV, FLV, WMV, and more.
Price: The plugin’s yearly membership fee for a single site is $49 per year. Addify will take care of customer service and security and provide a one-year warranty and a 30-day money-back guarantee.
Conclusion
Overall, the store page’s design and how you present your items may significantly influence your conversions. The store page in WooCommerce is pre-built, and while there are some possibilities to customize its layout, they are pretty restricted. As a result, personalizing it using any of the three techniques discussed in this tutorial will set you apart from the rest. Furthermore, it will better represent your company and demonstrate professionalism to your clients.
We hope this article will explain how to customize your WooCommerce product pages template. Using those methods and plugins in the right way will enhance and peak your sales dramatically!


