
How to Customize Product Category Page in WooCommerce

Many WooCommerce stores often pay attention to improve their product pages, checkout pages, or cart page. The reason is that they will have a direct impact on the customer’s shopping experience. There is no denying that it is worth your while in doing so. However, it seems imperfect if you only focus on these pages with overlooking the others. And such a page as the WooCommerce product category page has become a case that is worth your consideration.
In fact, this kind of page is the least configured and customized page. So, it is time to concentrate on it as your WooCommerce store could get a lot of benefits from it. Go with us on this useful guide where you can know how to customize the category page in WooCommerce to make it more alluring and attractive in the eyes of your customers.
Why should we customize the product category page in WooCommerce?
There are several reasons that you should know about why we should perform the customization of this product category page. Hence, you could appreciate it and pay more attention to it. By doing that, your online store would certainly become greater.
-
Attract more visitors to your site: The customization of this page would yield a more eye-catching design, thereby creating a great impression on existing customers and attracting new ones.
-
Boost profits and revenues: It is a fact that up to 70% of your sales result from these category pages. This means that your business’s success will mostly depend on those pages. Focus on it and get amazing profits and revenues.
-
Improve SEO: SEO ranking is very important for any online business. By customizing the WooCommerce product page, your store’s SEO ranking will be boosted significantly.
How to customize product category page in WooCommerce
In this article, we will introduce three methods to assist you in customizing the WooCommerce product category page. They are using code, using a theme, and using a plugin. Each method comes with different functions. So, you should look through all of them to see which one will fit your need and requirement.
1. Use code
The first method is to use code. If you are fond of coding or know about it and want to challenge yourself a bit with coding, this method is a good one. Do not worry in case you are not one experienced developer. In this instruction, you need to copy the provided available shortcodes and proceed with your steps.
To customize the WooCommerce product category page, you can apply the following shortcodes to display your product categories. The first shortcode is [product_category], in which you can display a certain product category. The second shortcode is [product_categories] in which you could display every product category in your store.
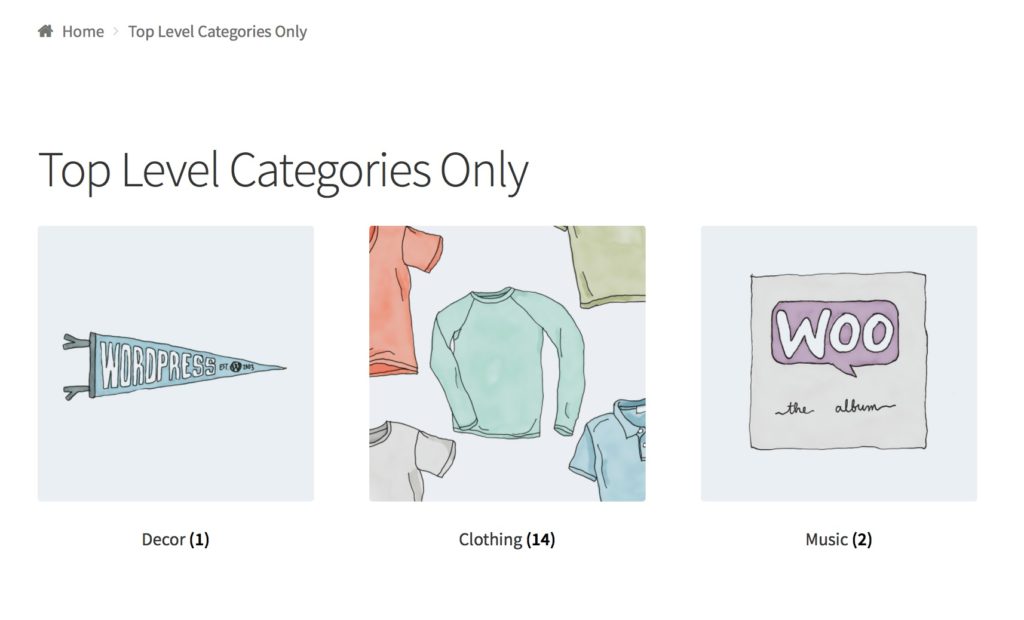
To be more specific, you could apply these shortcodes together with attributes of the product category. This is helpful to help you display your product categories. Let us take an example, if you are keen on displaying a top-level product category or hiding your subcategories, the shortcode [product_categories number=”0” parent=”0”] is a good way to go.
After using the above shortcode, you can notice your top-level categories as below by previewing your page.
What is more, using different code snippets is beneficial for editing your WooCommerce category page. So, you can now customize it with some code snippets as below to create the title of your category or change your product category page background.
- Construct the title of your category page
In order to create a customized product title for your category page, you will navigate to the section “Appearance” in your WooCommerce. Then, keep ahead to the “Theme Editor” where you could add the code to your file functions.php in the child theme.
add_filter( 'woocommerce_page_title', 'QL_customize_woocommerce_page_title', 10, 1 );
function QL_customize_woocommerce_page_title( $page_title) {
    // Custom title for the product category 't-shirts'
  if ( is_product_category('t-shirts') ) {
        $page_title = 'Something';
    }
    // Custom title for the product category 'hoodies'
  elseif ( is_product_category('hoodies') ) {
        $page_title = 'Something else';
    }
    return $page_title;
}
Thanks to this code snippet, you could illustrate your custom title rather than a default title of the product category page.
- Modify the product category page background
Background plays a vital role in making your page eye-catching. Therefore, you should do something to customize it. Now, with the below code, you could change it just by simply copying and pasting it to your file functions.php:
if(is_product_category()){
    add_action('wp_head',function(){
     ?>
        <style>
            .woocommerce.post-type-archive-product {
                background-image:none !important;
             }
           .woocommerce.single-product {
               background-image:none !important;
            }
     </style>
   <?php
   });
}
The above code will check whether an element is the product category or not as well as modify the page background color.
2. Use a theme
In the first method, you have understood how to customize your WooCommerce product category page with the use of code snippets. Now, let’s thrive in the second one, where you could implement the customization by using a theme. In this situation, Divi will be applied to facilitate your process.
Step 1: Install, then activate theme Divi
Divi has a reputation for offering the amazing drag-and-drop builder that gives you an opportunity to build a custom template for your category page. Moreover, you could be able to preview every change that you have made with your builder. Now, it is time to perform the installation and activation of this theme for use.
First, you can download the zip file by going to its official website with the address https://www.elegantthemes.com/. After finishing the download, you will navigate to the dashboard of your WordPress to look for the section “Appearance”. Click on that before choosing “Themes” and “Add New”. Check out the below screen to have a deeper understanding:
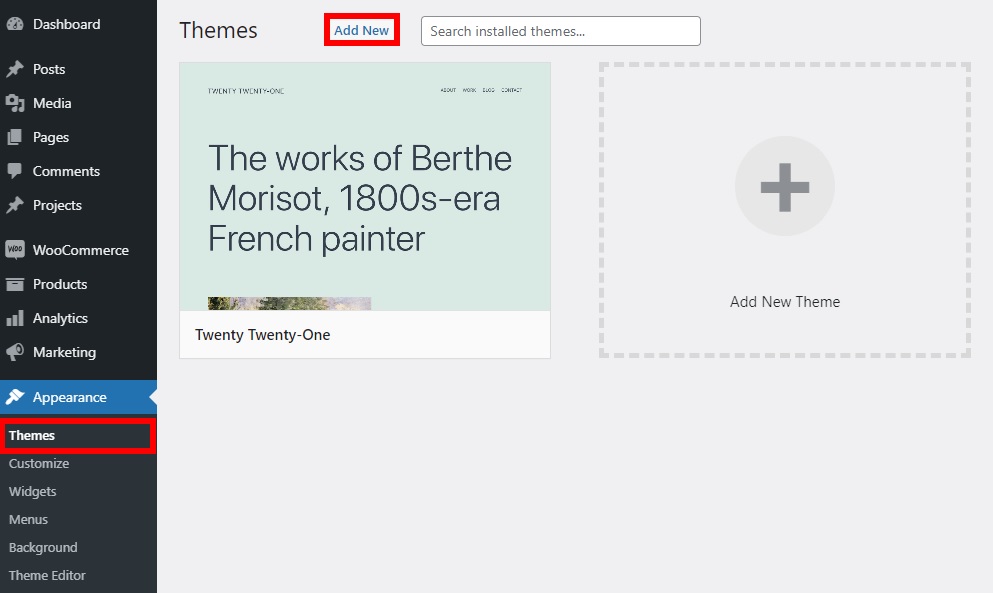
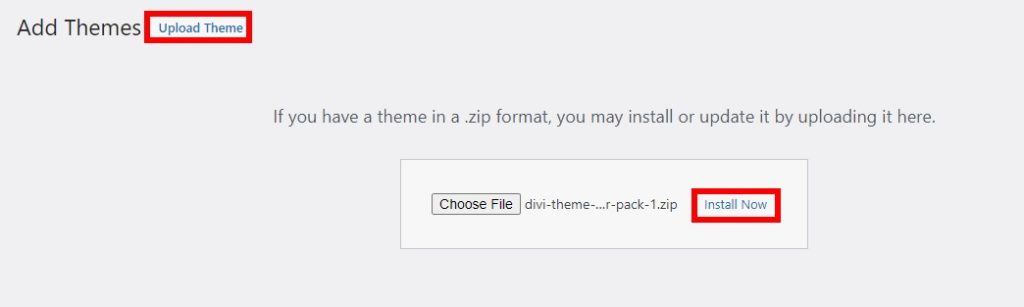
Proceed to the next step by pressing “Upload Theme” before selecting your download zip file and uploading it to your WooCommerce site. As soon as the uploading is done, hit on the button “Install Now” to get the theme installed and press “Activate” to enable the theme for use.
The activation of this theme Divi results in the automatic installation of its Divi builder that will assist you in customizing your category pages later.
Step 2: Implement to customize your product category page in WooCommerce
- Customize the template of your custom product category page
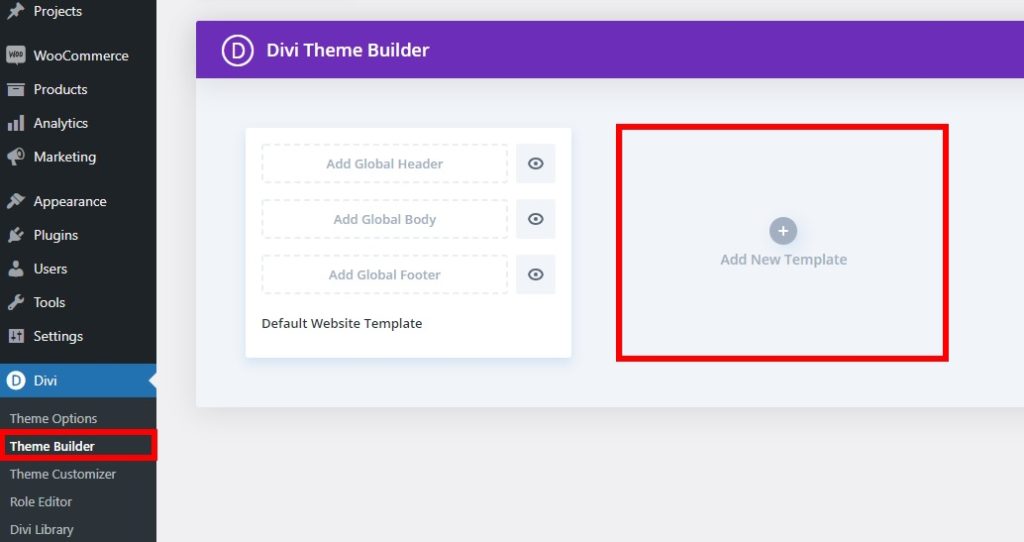
The template of your product category page will mostly decide how it will look. Therefore, instead of using the default one, you should perform some customizations to make it attractive. To start, you will head to your Divi and choose the section “Theme Builder”. Here, you can see “Add New Template”. Click on it for the configuration.
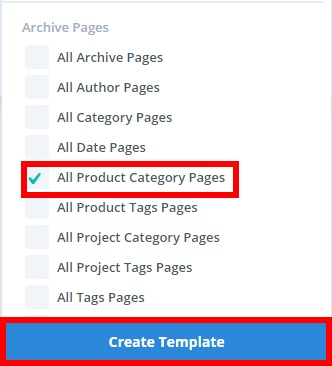
Next, you will notice a box named “All Product Category Page” which is below “Archive Pages”. Tick that box, then choose the option “Create Template”.
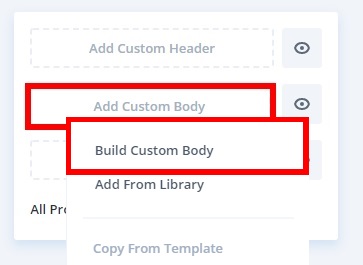
Because you are about to create a completely new template through Divi, your task is to click on the option “Build Custom Body”. Go ahead by choosing “Add Custom Body”. This will be added to your created new template.
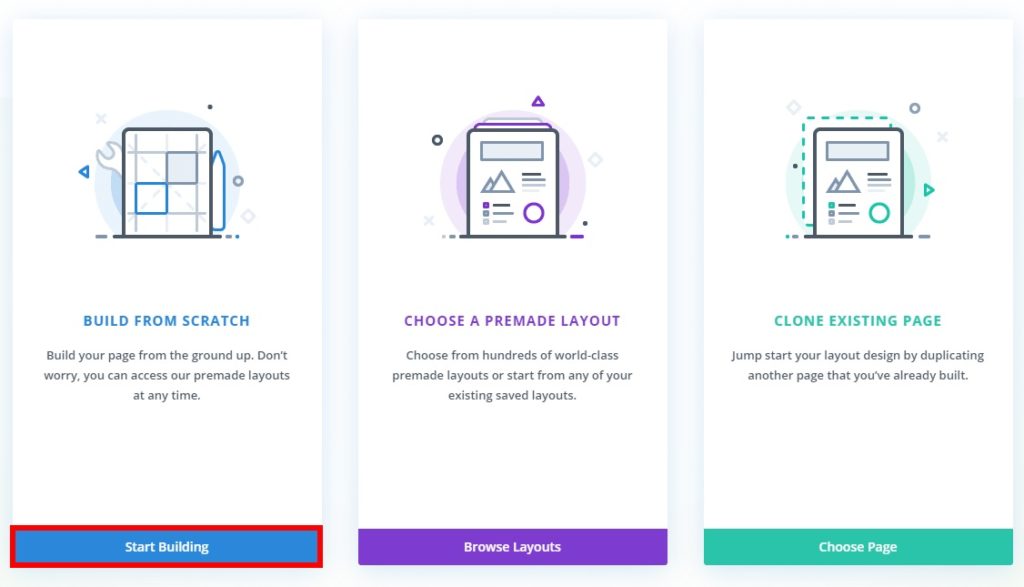
When you are here, you will observe three distinct options, including “Build from Scratch”, “Choose the Pre-Made Layout”, and “Clone the Existing Page”. Your job is to select one of these three options that are the most suitable for you. In this instruction, we will get started with selecting “Build from Scratch”. Hence, it is a must to click on the button “Start building”.
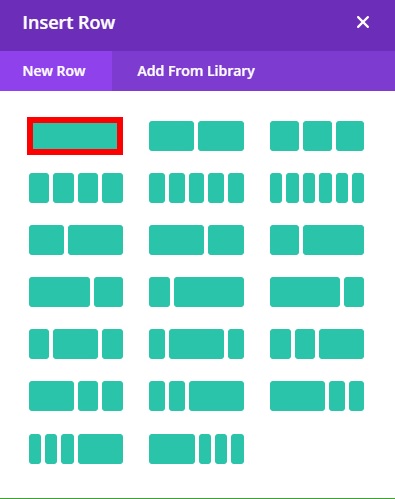
After that, you will be taken to the layout of your category page, in which you could apply your Divi Builder for constructing the template. In terms of creating your template, what you are going to do is to choose a structure. Navigate under the section “New Row” where you will choose the row type that you want to create your category page. In this section, you can choose to add various columns and rows. Be noted that you are required to select at least two rows if you create your category body and header. However, you can choose more columns if you fancy adding one sidebar to the body of your product category page.
Once you have finished choosing the columns, along with rows, it is time to add your Divi modules for further customization of the layout of your category page.
- Customize the header of your WooCommerce product category page
The header is undoubtedly an indispensable part of the category page design. Your page has no meaning if it does not come with the header. Therefore, why do we not customize it to attract the attention of customers? In doing so, adding the page breadcrumb and title for your category page is necessary.
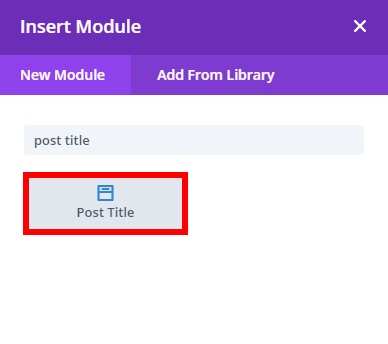
In creating your post title, you need to hit on the icon “+”, then use your search bar to look for the section “Post Title” and choose it. Look at the below screen to see what the post title section looks like.
As regards the options of the post title, you could add the featured image, coupled with the meta. Nevertheless, you will not apply it in this part. As a result, you will disable the option of showing featured images and showing meta under the section “Elements”.
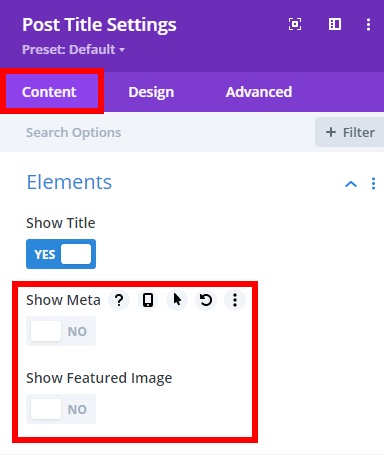
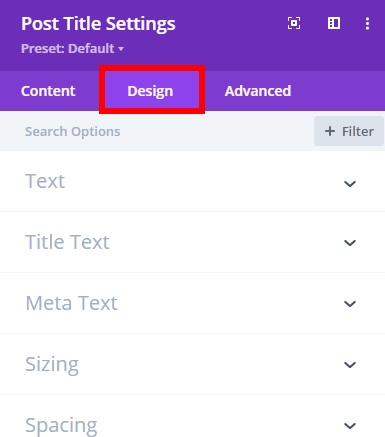
One thing you should bear in mind is that there is no need to add the title here. The reason is that it shows a dynamic title automatically when previewing your website. Furthermore, from the tab “Design”, you could also edit your background fonts and the color of your header.
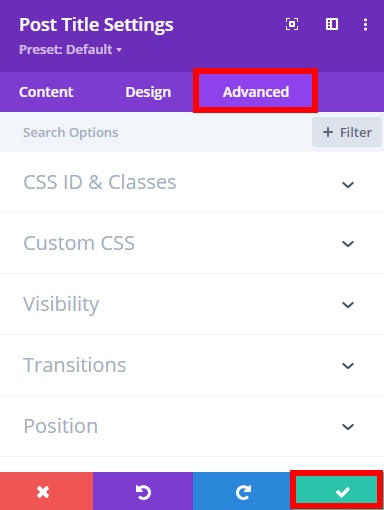
Additionally, there exist several “Advanced” options where you could add CSS ID, custom CSS, scroll effects, CSS classes, and so on. When you are done making all essential changes, your next task is to hit on the icon “Tick” for saving the recent changes.
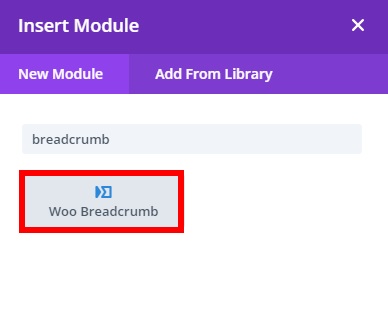
- Add the breadcrumb module
For extra navigation in your category pages, adding the breadcrumb module will make a lot of sense. Hence, proceed to the next step by pressing the icon** “+”** for adding your new module as well as seeking “Woo Breadcrumb”.
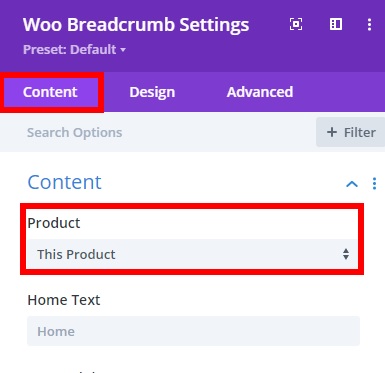
Another not-to-be-missed step is to choose “This Product” that lies in the section “Product” under the tab “Content”. This will be a helping hand in adding a dynamic title to your product category. Then, you will make some changes with the use of the two tabs “Advanced” and “Design”. After all, choose the icon “tick” for saving what you have made changes.
- Edit the body of your product category page
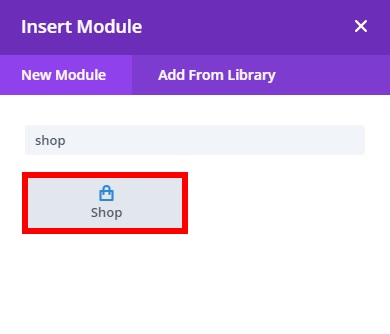
Once you have done editing your header as previously instructed. Now, you will keep going with editing the body of your category page. In case, you have not yet included one row, you have to hit on the icon “+” with the green color. Next, you need to choose the row type that you are going to add. What is more, adding your shop module is also a must-do thing here as it includes every product of your store.
Click on the icon “+” and seeking the module “Shop”.
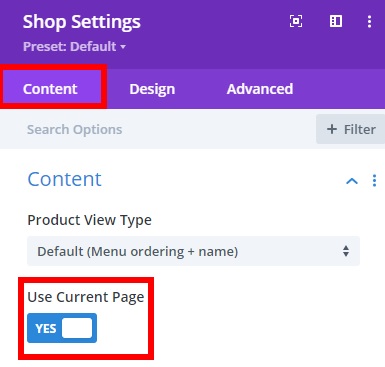
After clicking on it, you can perform the configuration of different options for the products on your category page. Next, take a look at the tab “Content”, you could edit elements for the category page in which your consumers would choose on your WooCommerce store. Here, remember to activate the section “Use Current Page”.
When you are here, another task is to edit some other elements of your page. Let us take an example to help you understand deeper. You can add how many products or columns to display per page and pagination here. What is more, editing your product’s fonts, along with price texts from the tabs “Advanced” and “Design”.
After you have completed every essential change, you will need to click on the icon “tick” to save what you have made changes. Adding more rows or executing the customization of some footer areas are what you could also do with the help of your Divi Builder. Be noted that do not forget to save your page template when everything is alright.
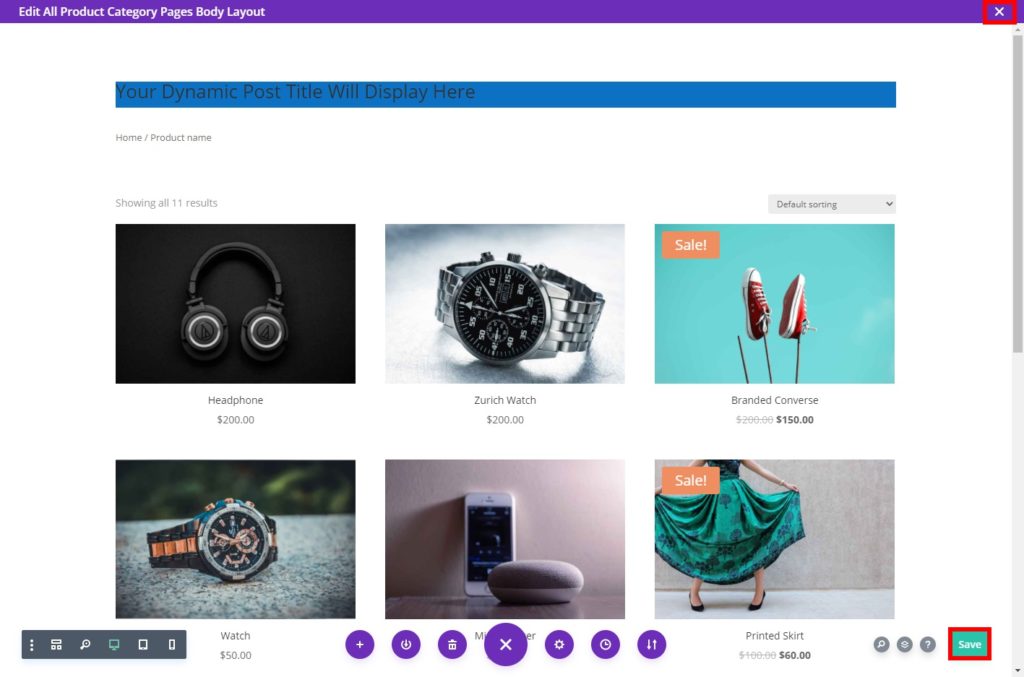
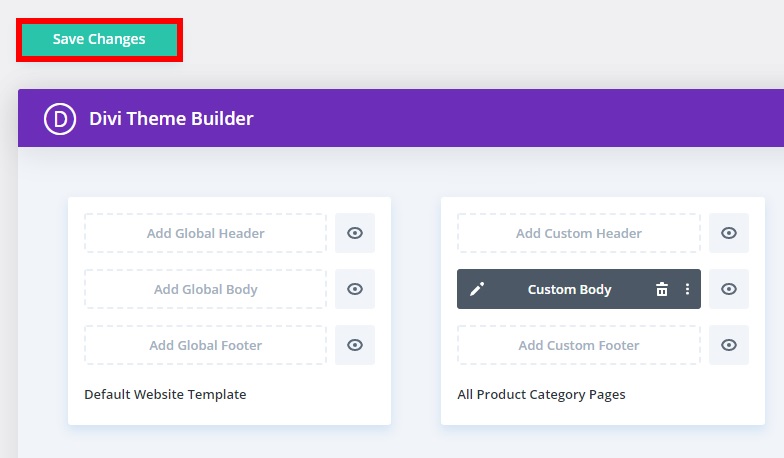
Next, remember to close your Divi Builder when you finish saving the changes. Then, you will be taken to the dashboard of your Theme Builder. Select “Save Changes” to finish this task.
It is worth previewing your category page in any of your product categories. Here, you can notice all the changes.
3. Use a plugin
The final method we mention here is to use a plugin. In case, you are not keen on coding or using Divi, one more dedicated method is to use a plugin. In this situation, we are going to use Category Editor for performing this task.
Step 1: Install and activate Category Editor
As an awesome add-on and powerful plugin, this great tool provides you an opportunity to customize myriad elements on your product category page. So, let’s begin with installing and activating this plugin for use.
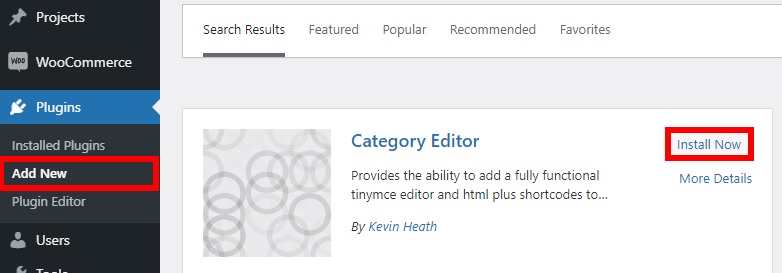
Go to the dashboard of your WordPress and choose the section “Plugins”. Here, you click on “Add New”. You then will see a sidebar where you can seek “Category Editor”. When you see it, hit on the button “Install Now” before getting it activated.
Step 2: Implement the customization
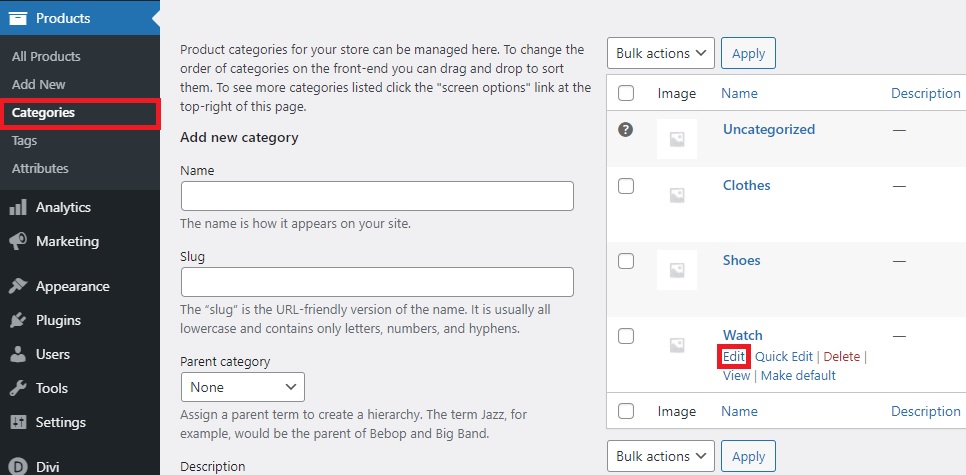
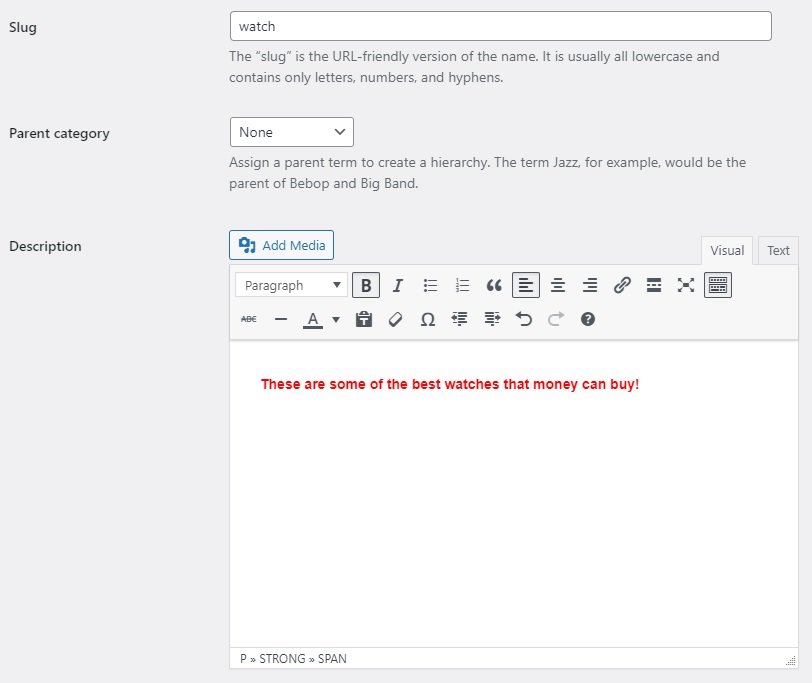
After the first step, you could now implement the customization of your WooCommerce product category page. Go ahead by heading to the section “Products” to choose the option named “Categories”. You then click on “Edit” on which category that you are about to customize its description. Check out the below screen and you can imagine easier what you are going to do.
In this part, you could observe the text editor that is added to your description area. Here you could customize such elements as alignment, lists, headings, and text font. What is more, adding the images for your product category is a thing you could proceed with. And you could also customize the description of your category with the use of the tab “Text”.
The above things have helped you create essential changes related to the customization for your product category page within WooCommerce. When you feel satisfied with everything, hit on the button “Update” before previewing changes you have made on the category page.
Congratulation! You have successfully customized your product category page with one of the three above-said methods. So, go ahead to get more sales and increase your revenue.
Top 3 plugins to customize product category in WooCommerce
It will be an extra advantage if WooCommerce store owners use plugins to their customization of their product category page. However, amid tons of plugins out there, you could be confused about choosing which plugin to suit your online business most. Understand your need and concern, we have helped you narrow down your choice by coming with the three most popular plugins for this kind of customization. Now, let’s take a look.
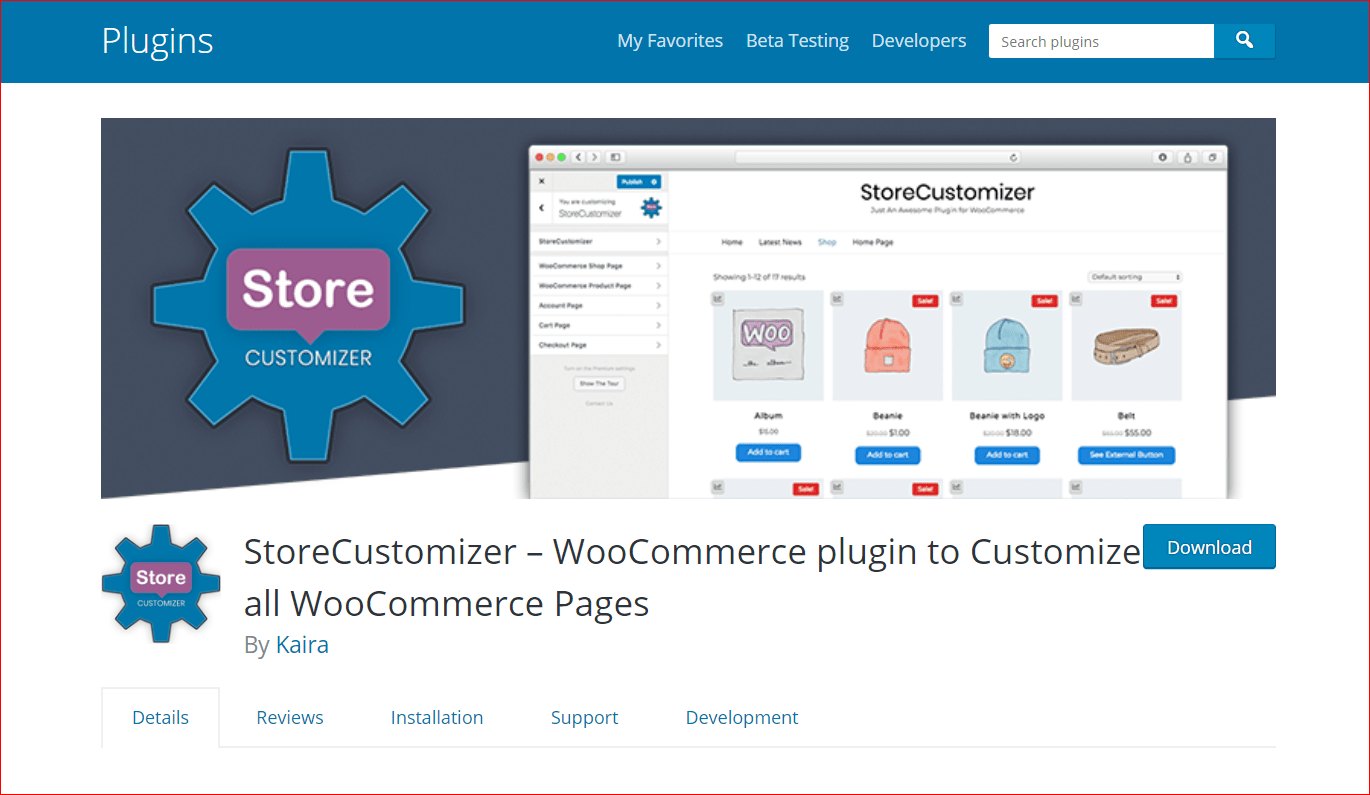
1. StoreCustomizer
One of the most popular and powerful tools for customizing the product category page is StoreCustomizer. As its name states, this lightweight and fast plugin are user-friendly on account of great advanced settings. Then, you could enjoy a lot of benefits from it. Premium features will assist you in enhancing your WooCommerce store, thereby increasing sales and building a beautifully astonishing eCommerce store.
Main features
-
Come with useful features to help you avoid creating the child theme for adding code snippets within WooCommerce
-
Provide users with additional design functionality as well as options for the WooCommerce stores
-
Be able to edit the WooCommerce product category page visually
-
Offer dedicated and willing support for additional elements
-
Give quick viewability for WooCommerce products
Pricing: Free
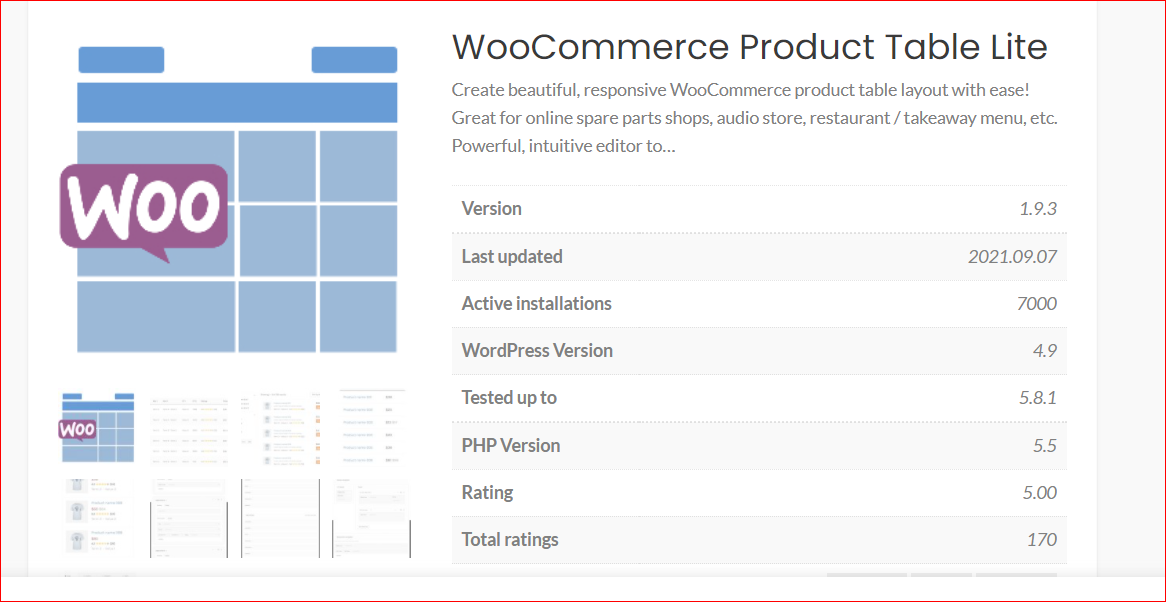
2. WooCommerce Product Table Lite
Another useful WordPress plugin is WooCommerce Product Table Lite. There is no denying that it has a reputation for effortlessly building responsive and beautiful table layouts for your WooCommerce products. What is more, it would work great for your online shops, takeaway or restaurant menu, or audio store. Being intuitive and powerful, the editor functionality will bring about professional results, meeting your needs and requirements.
Main features
-
Be user-friendly with the ability to allow rows within the columns, thus creating attractive category pages
-
Be capable of building complex layouts, making them outstand the others
-
Offer a great number of options as well as elements for creating
-
Come with well-crafted instructions with text and video to guide you through each detailed step
Pricing: Free
3. WooBuilder
The last not-to-be-missed plugin is WooBuilder. WooBuilder will offer tons of amazing designs in customizing the product category page without requiring any page builder. There is nothing quite like having more control over your WooCommerce product page, using full-width rows as well as video backgrounds or animated columns. So, do not hesitate to apply this plugin for creating engaging layouts for your product category page in WooCommerce.
Main features
-
Come with the built-in features for customizing myriad elements
-
Offer you the freedom for designing the product category page in the way you want
-
Be worth your penny with great support for even an eCommerce starter
-
Work perfectly for creating a great website design
-
Be able to construct new templates and apply each of them to your multiple products
Pricing: Free
Conclusion
In general, the WooCommerce product category page is no less critical to your online store. So, you should not focus on the other pages only. Instead, pay some concentration on this kind of page will help you outstand your competitors. That is why you should carefully read our instructions and start customizing your page to improve it.
Hope you can find it easy to follow and helpful for your WooCommerce store. Customize your category page immediately and achieve more roaring success than you could expect. Stay tuned for our upcoming tips and tricks and share the words to those who are concerned as well.


