
How to customize a WooCommerce account page?

In many people’s minds, product pages, homepages, and other pages serving eCommerce purposes are everything they need to concentrate on.
But is that true?
The answer is NO. It is a misunderstanding that you need to change your mind immediately. Not only these pages but also the account page should be focused on your eCommerce store. No one wants to buy goods from a store that they know nothing or little about. This account page is a profile that helps visitors understand more about you and increase the trust in your store when deciding to make a purchase.
So, what other benefits will you get with the account page and how to customize it in the WooCommerce store?
All will be solved in this post. Also, you can take advantage of the plugins that are recommended below to start editing the WooCommerce account page.
Benefits of WooCommerce account page

- Let visitors understand about you clearly: In the eCommerce industry, what people know about you and your store is just via the screen. So, it is advised that you introduce to them detailed information about both the store and products. With the account page, you can make sure that what you introduce to people is aligned to your store strategy and let customers know more about you.
- Improve customer experience: Customer is the central part in business, so the more you can satisfy them, the more likely your products will be sold. Therefore, by focusing on all pages, including the account page, you can ensure that your customers will be provided with the best service.
How to customize a WooCommerce account page?
Customize WooCommerce account page via template files
Step 1: Open template files
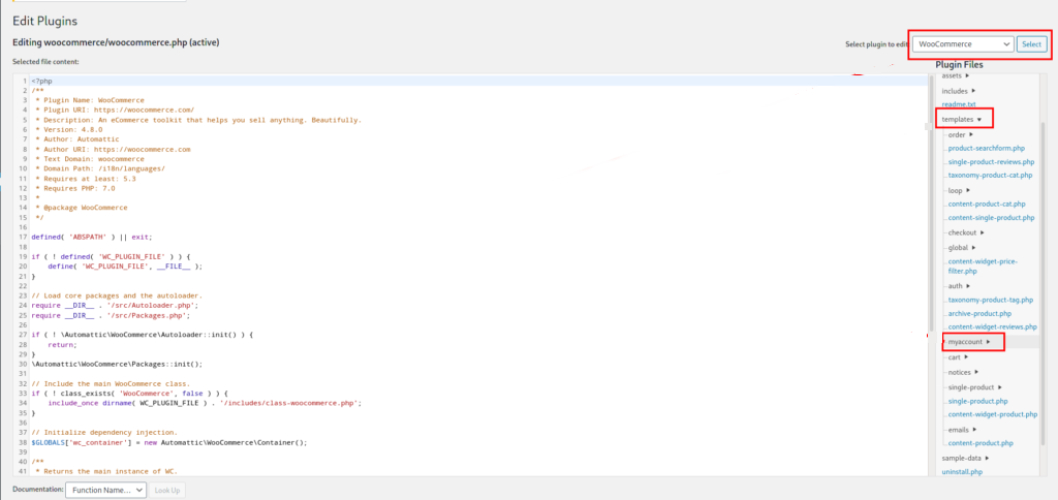
Log in to your WordPress account and open the dashboard. Then, select Plugins and open Editor.

Click on WooCommerce and open the template files.
To ensure site safety, you create a child file by copying and pasting your recent template files.
Step 2: Open myaccount file
In the template file, find myaccount file and open it.
Step 3: Customize the account page
NOTE: The file you found in the previous step is the default one of WooCommerce, so in order to customize it, you need to copy the default file and set the same name as the default one in your child theme.
To add image and social media icons to the account page, you need to replace the URLs of the default images and icons with the ones you like.
Also, you can exploit the CSS to customize the account page. Copy this code and paste it to the style.css in the child theme to start editing the page:
.woocommerce-MyAccount-content > h2:nth-child(2),

.woocommerce-MyAccount-content > h3:nth-child(4){

text-align:center;

}

.acc_contact{

padding-top:20px;

text-align:center;

}

.acc_contact > h3{

float:left;

}

.acc_images{

`margin:auto;`

width: 50%;

display: block;

}

#welcome{
margin:auto;

}

.acc_images img {

margin-left:4px;

margin-right:4px;

display:inline-block;

width:55px;

}
#acc_footer{

Margin-top:15px;

background-color: #202020;

text-align: center;

border-radius: 15px;

}

#acc_footer > h4{

padding-top:20px;

color:rgb(235, 228, 228);

font-weight:bold;

}

#acc_footer > img{

`margin:auto;`

padding-bottom:20px;

}
{ %endraw%}
Afterwards, click on Update file to save the changes.
Customize WooCommerce account page by hooks
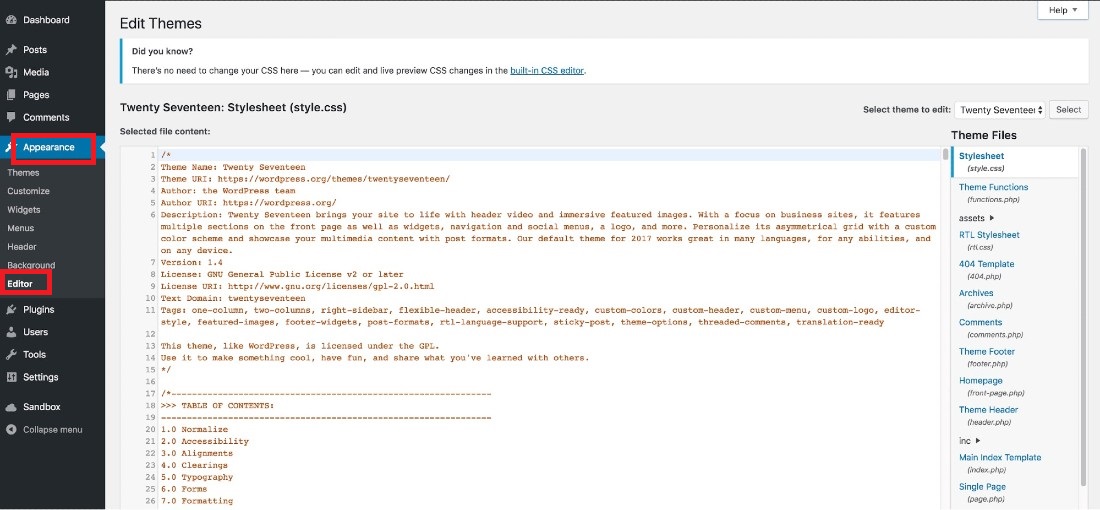
Step 1: Open theme files
To protect the store, you should create a child theme to customize the account page.
After completing creating, go to the child theme and open Theme files
Step 2: Customize the account page
In the Theme files of your child theme, open functions.php to start customizing the account page.
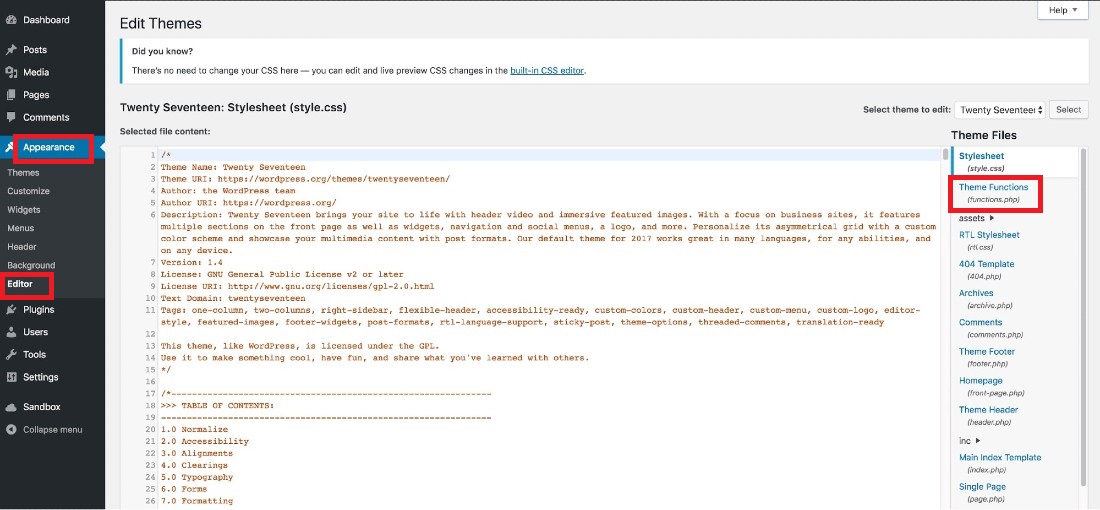
To create a new tab on account page, copy and paste this code to functions.php
{% raw %}
// 1. Register new endpoint

// Note: Resave Permalinks or it will give 404 error

function QuadLayers_add_support_endpoint() {

add_rewrite_endpoint( 'support', EP_ROOT | EP_PAGES );

}

add_action( 'init', 'QuadLayers_add_support_endpoint' );`

// ------------------

// 2. Add new query

function QuadLayers_support_query_vars( $vars ) {

    $vars[] = 'support';
            return $vars;

}

add_filter( 'query_vars', 'QuadLayers_support_query_vars', 0 );

// ------------------

// 3. Insert the new endpoint

function QuadLayers_add_support_link_my_account( $items ) {

    $items['support'] = 'Support ™';

    return $items;
}

add_filter( 'woocommerce_account_menu_items',
'QuadLayers_add_support_link_my_account' );

// ------------------

// 4. Add content to the new endpoint

function QuadLayers_support_content() {

echo '<h3>Support</h3><p>Welcome to the support area. As a premium customer, manage your support tickets from here, you can submit a ticket if you have any issues with your website. We\'ll put our best to provide you with a fast and efficient solution</p>';

echo do_shortcode( '[tickets-shortcode]' );

echo do_shortcode( '[wpforms id="1082"]' );

}

add_action( 'woocommerce_account_support_endpoint', 'QuadLayers_support_content' );
In case you can’t open the new tab. Come back to WordPress dashboard and go to Settings.
Then, open Permalinks
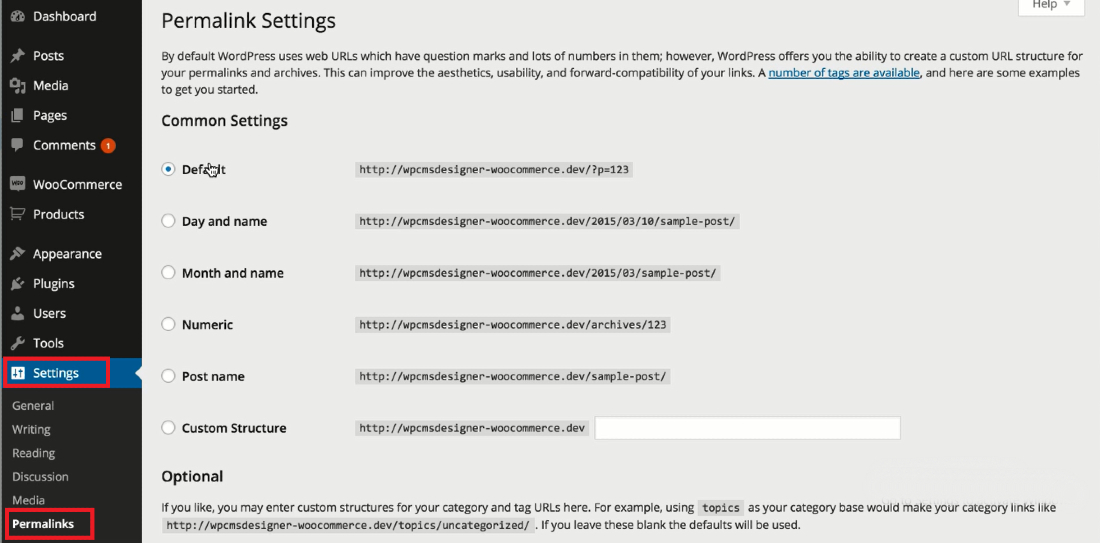
And, choose Save button to save the changes. Rename tabs: enter the name you want to “Your name” in this code:
add_filter( 'woocommerce_account_menu_items', 'QuadLayers_rename_acc_adress_tab', 9999 );

function QuadLayers_rename_acc_adress_tab( $items ) {

$items['edit-address'] = 'Your addresses';

return $items;

}
Remove tabs: use the code unset() to remove the tab you want. For example:
add_filter( 'woocommerce_account_menu_items', 'QuadLayers_remove_acc_address’, 9999 );

function QuadLayers_remove_acc_address( $items ) {

unset( $items['downloads'] );

return $items;

}
In this example, the tab named Downloads is removed. Merge tabs and content: to do that, you can combine 2 codes, such as remove a tab and insert its content to others. For instance, the codes below are used to remove the Address tab and move its contents to the Account tab.
// -----------------------------

//  1. Remove the Addresses tab

add_filter( 'woocommerce_account_menu_items', 'QuadLayers_remove_acc_tab', 999 );

function QuadLayers_remove_acc_tab( $items ) {

unset($items['edit-address']);

return $items;

}

// -------------------------------
// 2. Insert the content of the Addresses tab into an existing tab (edit-account in this case)
add_action( ‘woocommerce_account_edit-account_endpoint’, ‘woocommerce_account_edit_address’);
3 Best plugins for customizing WooCommerce account page
SS WooCommerce My Account Ajax Tabs
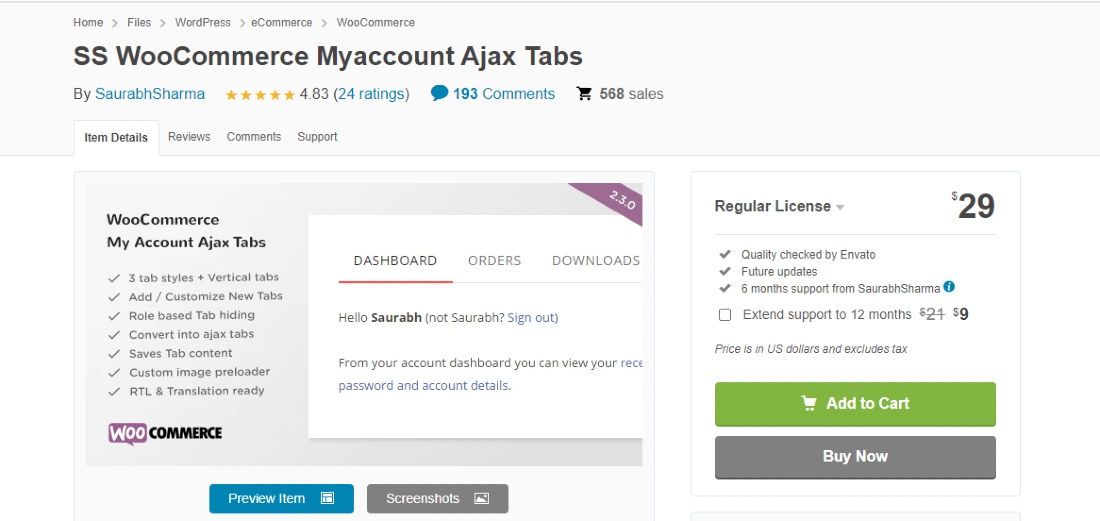
SS WooCommerce My Account Ajax Tabs is a useful tool for merchants to customize their account page. Users are allowed to edit the tab style, convert the account tab easily. Moreover, this plugin pays more attention to tab links on the account page, enabling people to navigate tab links without refreshing the page.
Key features:
- Customize account page with ease
- Convert account page in WooCommerce into ajax tabs
- Offer 3 tab styles: default, classic, flat
- Convert extra tabs into more link submenu automatically
- Set ajax timeout via plugin settings
Price: $29
WooCommerce My Account Page Plugin
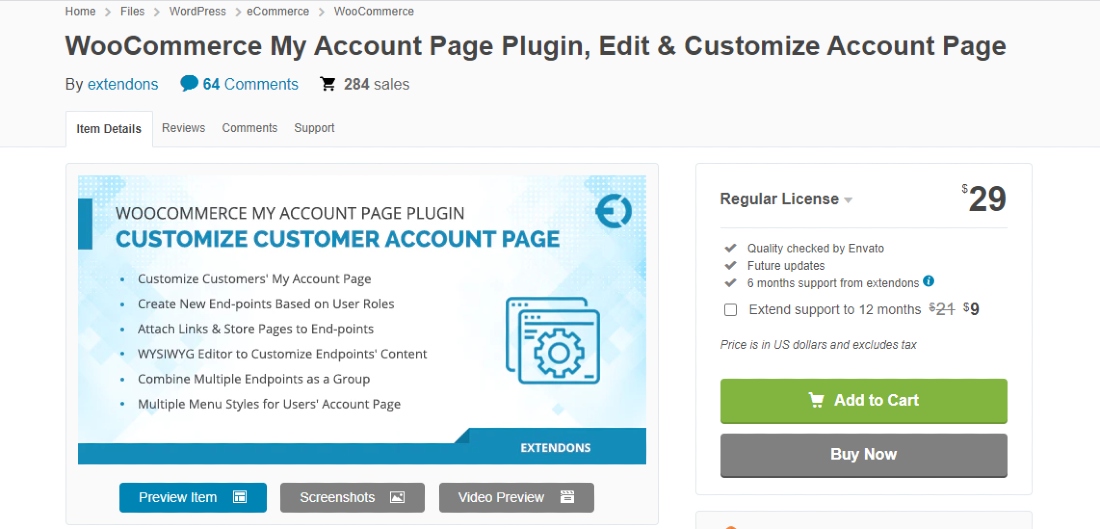
With WooCommerce My Account Page Plugin, eCommerce store owners are able to edit and customize their account page. Via it, you can use a text editor to modify the page and introduce to visitors all the necessary information, so people, even the freshers, can do it after a few minutes. More than that, it provides users with features to create new endpoints and even the group of endpoints on the account page.
Key features:
- Customize endpoint by WYSIWYG Editor
- Create new endpoints based on users’ role
- Edit the page with shortcodes
- Group multiple endpoints
- Offer users multiple menu styles
Price: $29
Customize My Account Page for WooCommerce
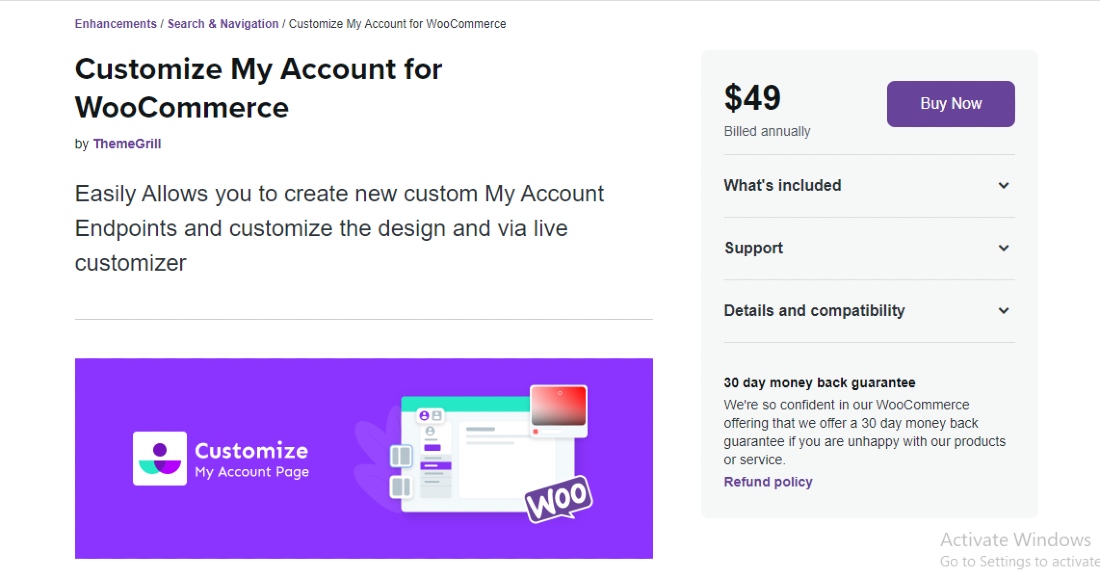
Developed by Themegrill, Customize My Account Page for WooCommerce is a powerful plugin for merchants to improve customer experience in their store. As the name suggests, it is used to support people in customizing their WooCommerce account page. In Customize My Account Page for WooCommerce, users can add tabs and menus with no limit. Also, it enables them to create endpoints for various contents like addresses, payment methods, and more. Key features:
- Preview the account page
- Edit the endpoint, text, and links on the page
- Design the fonts, backgrounds, margins, and spacings
- Add specific endpoints based on user roles
- Add custom CSS with ease
Price: $49
Final thoughts
In conclusion, the account page plays a vital role in connecting eCommerce stores and customers. Visitors will know more about the store and will be more likely to purchase items there. Thus, concentrating on this page is an essential task that WooCommerce merchants have to do. By following the guide above, you can get yourself a professional account page.


