
How to Configure Email Notifications in WooCommerce

Running an online business meaning that you must assure the best product quality and service for your customers. And a great way to increase their loyalty towards your brand is via emails. Sending emails helps them to keep track of their order, payment, and shipping phase.
In this topic, we will be introducing you to How to configure your WooCommerce email notifications and ways to solve some common problems while setting up. Keep reading to find out more!
How to set WooCommerce email notifications
Managing a wide range of emails is a difficult task, especially for those dealing with a high number of consumers daily. Therefore, it is best for online merchants to set up a plugin for their own WooCommerce emails system. In this way, everything would become much easier, from informing sales personnel and users to transmitting inventories to suppliers.
We have divided this tutorial into small basic steps. If you keep a close eye on each of them, the process will only take up to a few minutes to complete. So, without further ado, let’s get started!
Step 1: Create a notification
First of all, we need to download a plugin for managing WooCommerce emails. For this one, we recommend using the “Advanced Notifications”, just go to WooCommerce > Plugins > Add New and upload the file of this extension by clicking on “Choose Files”:

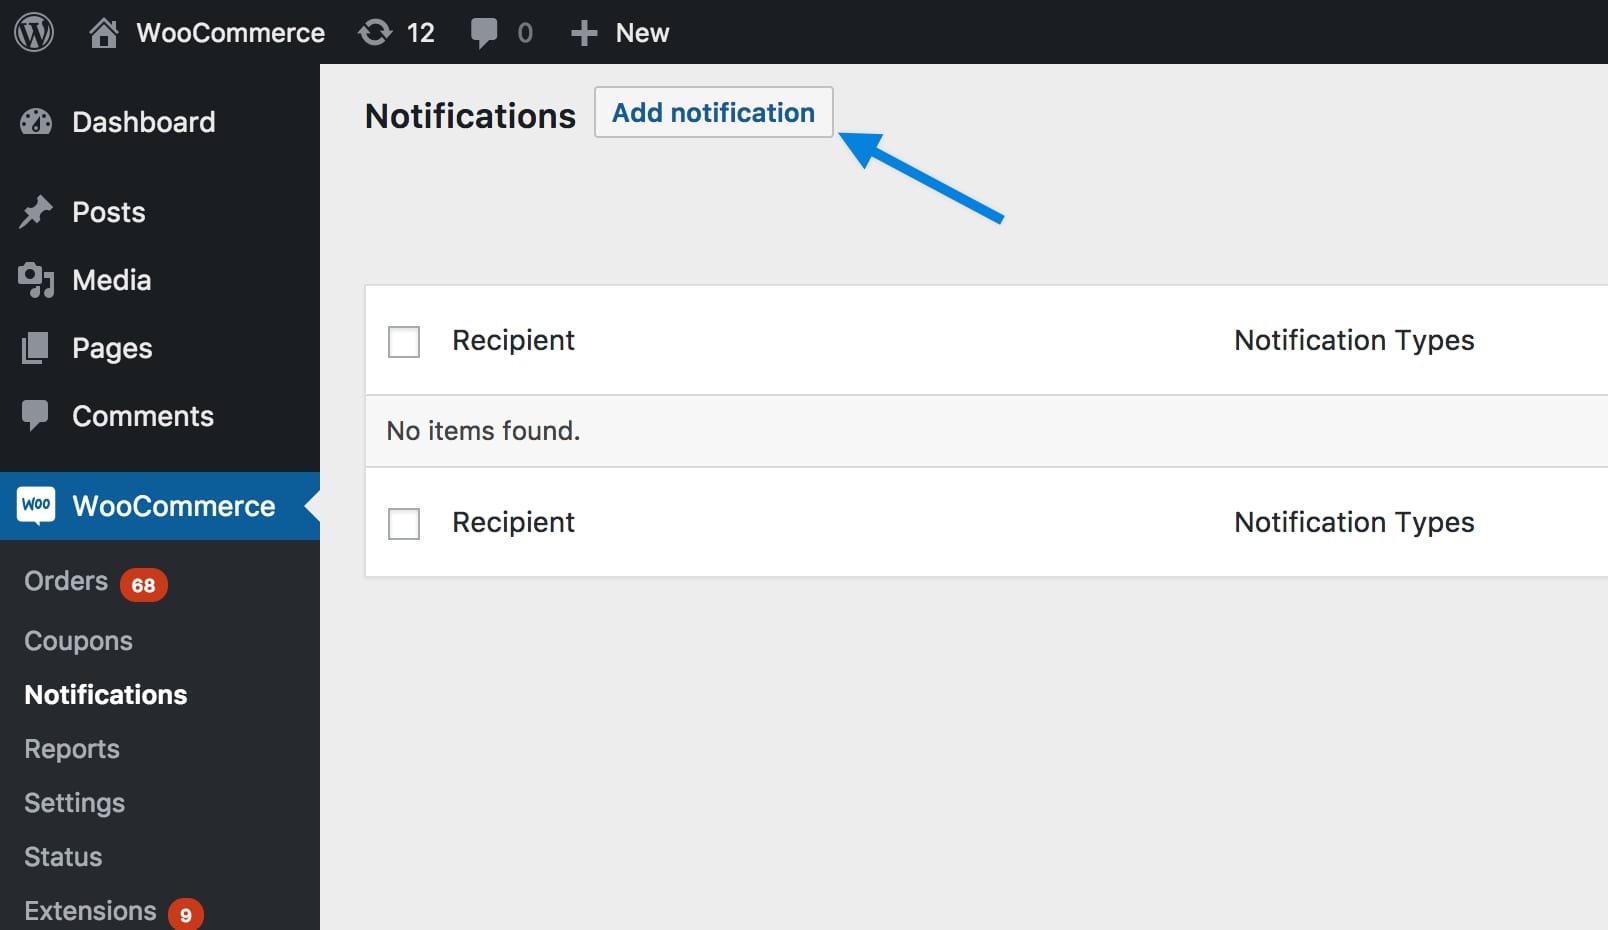
Continue to select “Install Now” and “Activate” buttons to finish the installation step. At this point, start going to your WooCommerce > Notifications page and click on the “Add notification” button located at the top left of the screen:
It’s time to move on to the next step, where we will dig deeper into the details of your WooCommerce emails notification!
Step 2: Change the settings
As you can see in the image below, there are many fields for online store owners to fill in depending on their preferences towards these WooCommerce email notifications:
For the first section called “Recipient”, fill in the name and email address of your customers to whom you want to send emails. Below, you may enter extra information like telephone number or home address, which the plugin does not utilize, but may be helpful for your reference.
Next is deciding the format of your emails, such as plain text or HTML styles. In default, the plugin will send your WooCommerce email notifications in the latter one. However, you can change it into plain text format to avoid marking your emails as spam.
Choose one out of the following options for your “Enable notifications” section:
- Purchases: Sent when bought orders have been made instead of the initial purchases. These alerts include client information and order data.
- Low Stock: Sent when a stock item is low. These emails include information about inventory and product.
- Out of stock: If an item is out of stock, this type of WooCommerce email notification will include information on supply time and other alternative products.
- Backorders: Sent when back ordering an item (stock < 0). These emails include information on stocks and goods in the customers’ orders.
- Refunds: Sent when reimbursement is granted.
You can determine whether to include the order’s price in your emails by ticking the “Include prices” checkbox. Furthermore, also tick on the “Include order totals” if you wish to notify your customers about their total number of products.
Last but not least, we come to the “Notification triggers” section. This is where you will define which items and orders are required to trigger alerts. You may choose the following from the drop-down:
- All purchases: Any item in the order will send a message
- Product categories: Product purchases in the product category generate a notice.
- Product shipping classes: Product purchases in the shipping class will send your customer WooCommerce email notification.
This may be left blank if you wish to utilize triggers per product (step 3). In this case, the notice only shows the matched trigger product — this keeps other items concealed and private.
Step 3: Assigning notifications to products
Search for the product you want to associate with automatic WooCommerce email notification and then customize the “Notifications” field for each of them as below:
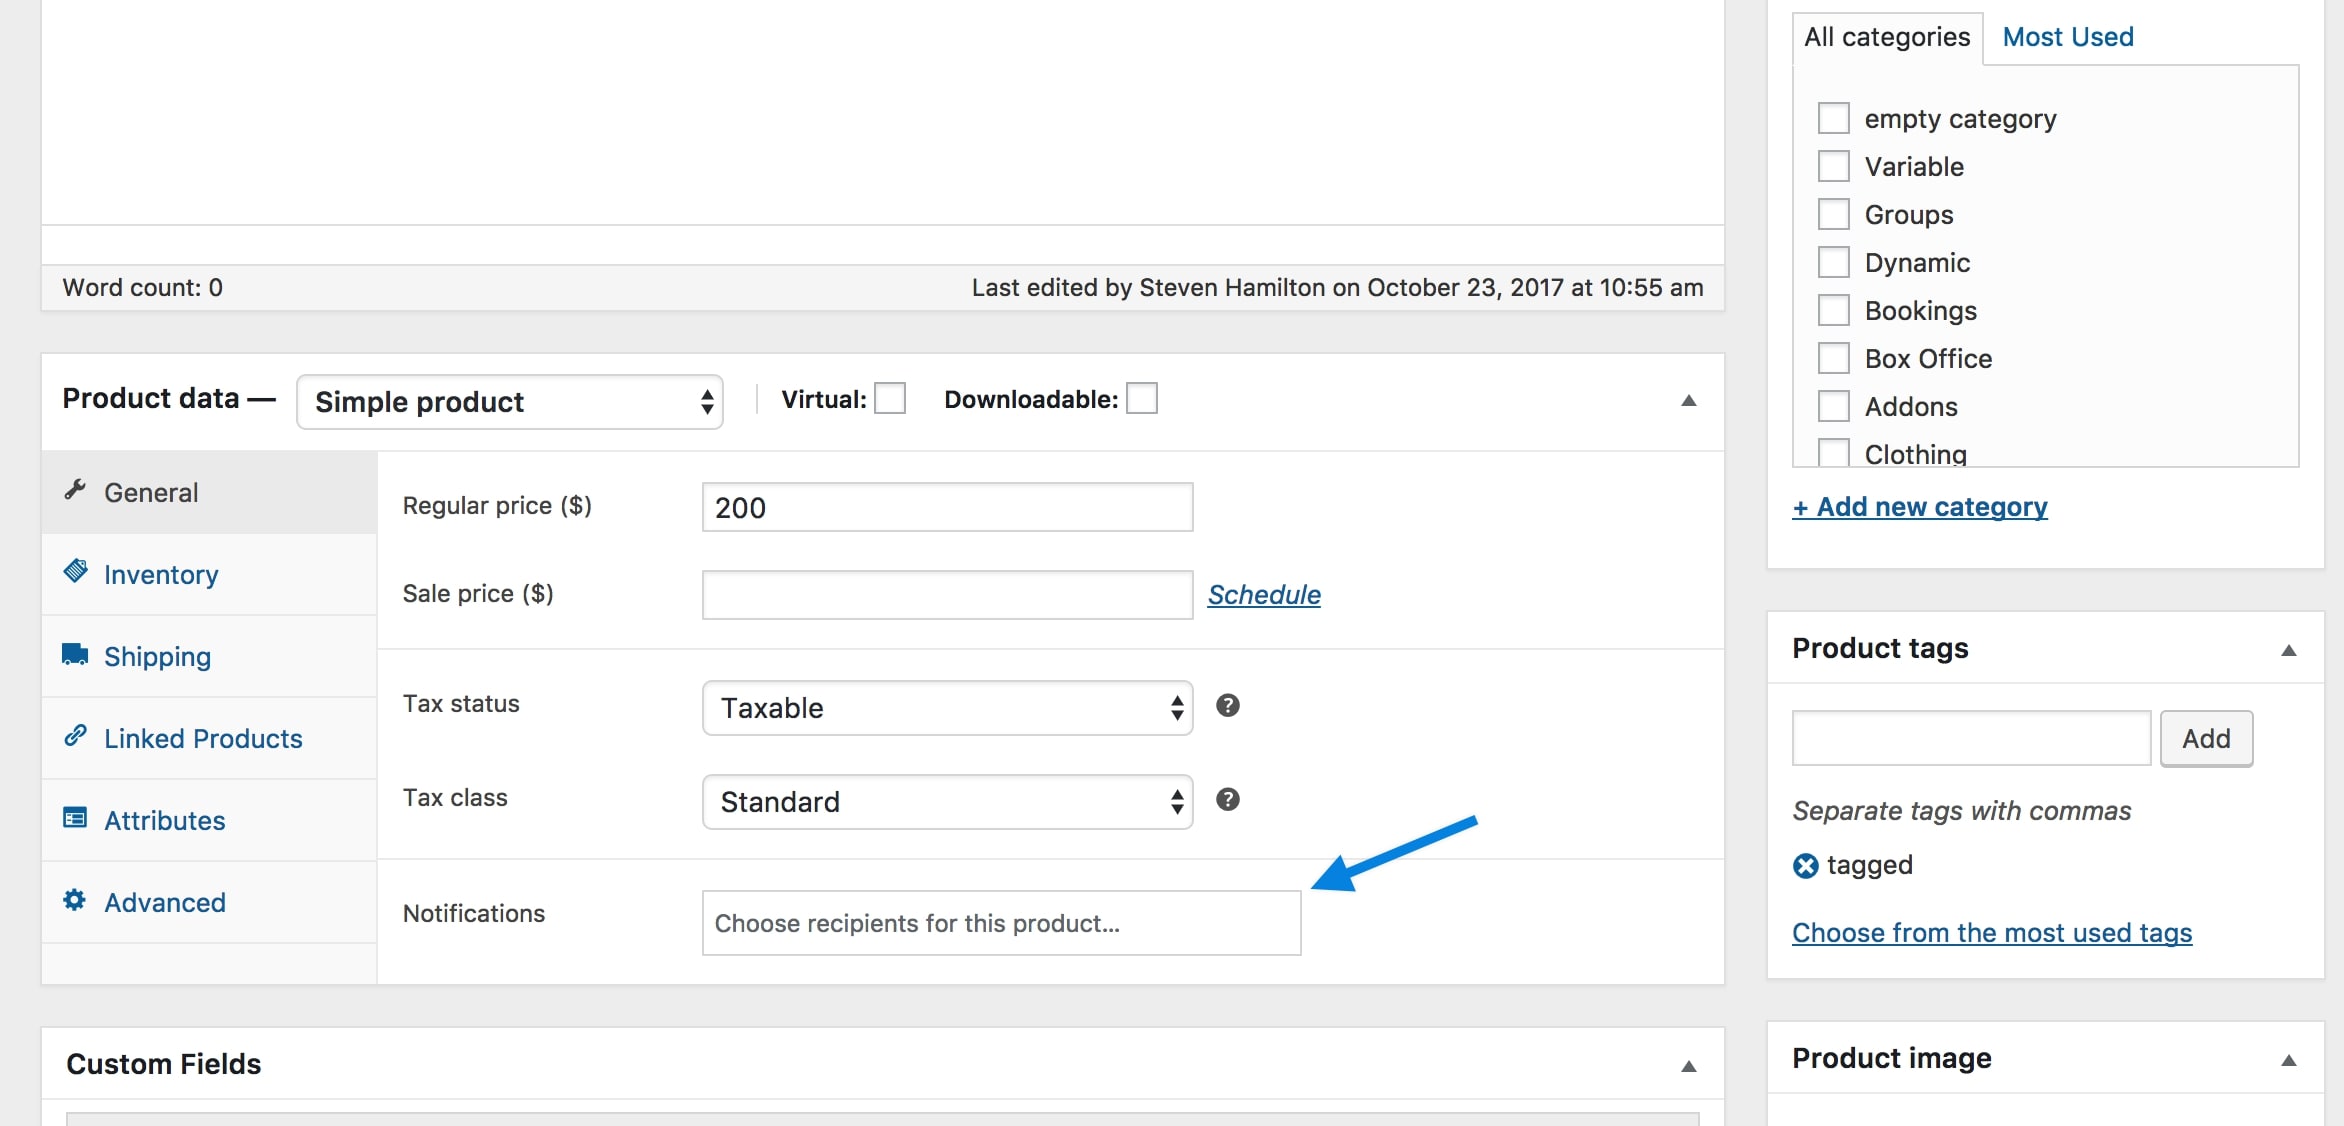
Choose recipients who should receive product alerts. This applies to all alerts set by the receivers.
Step 4: Adding your recipient list
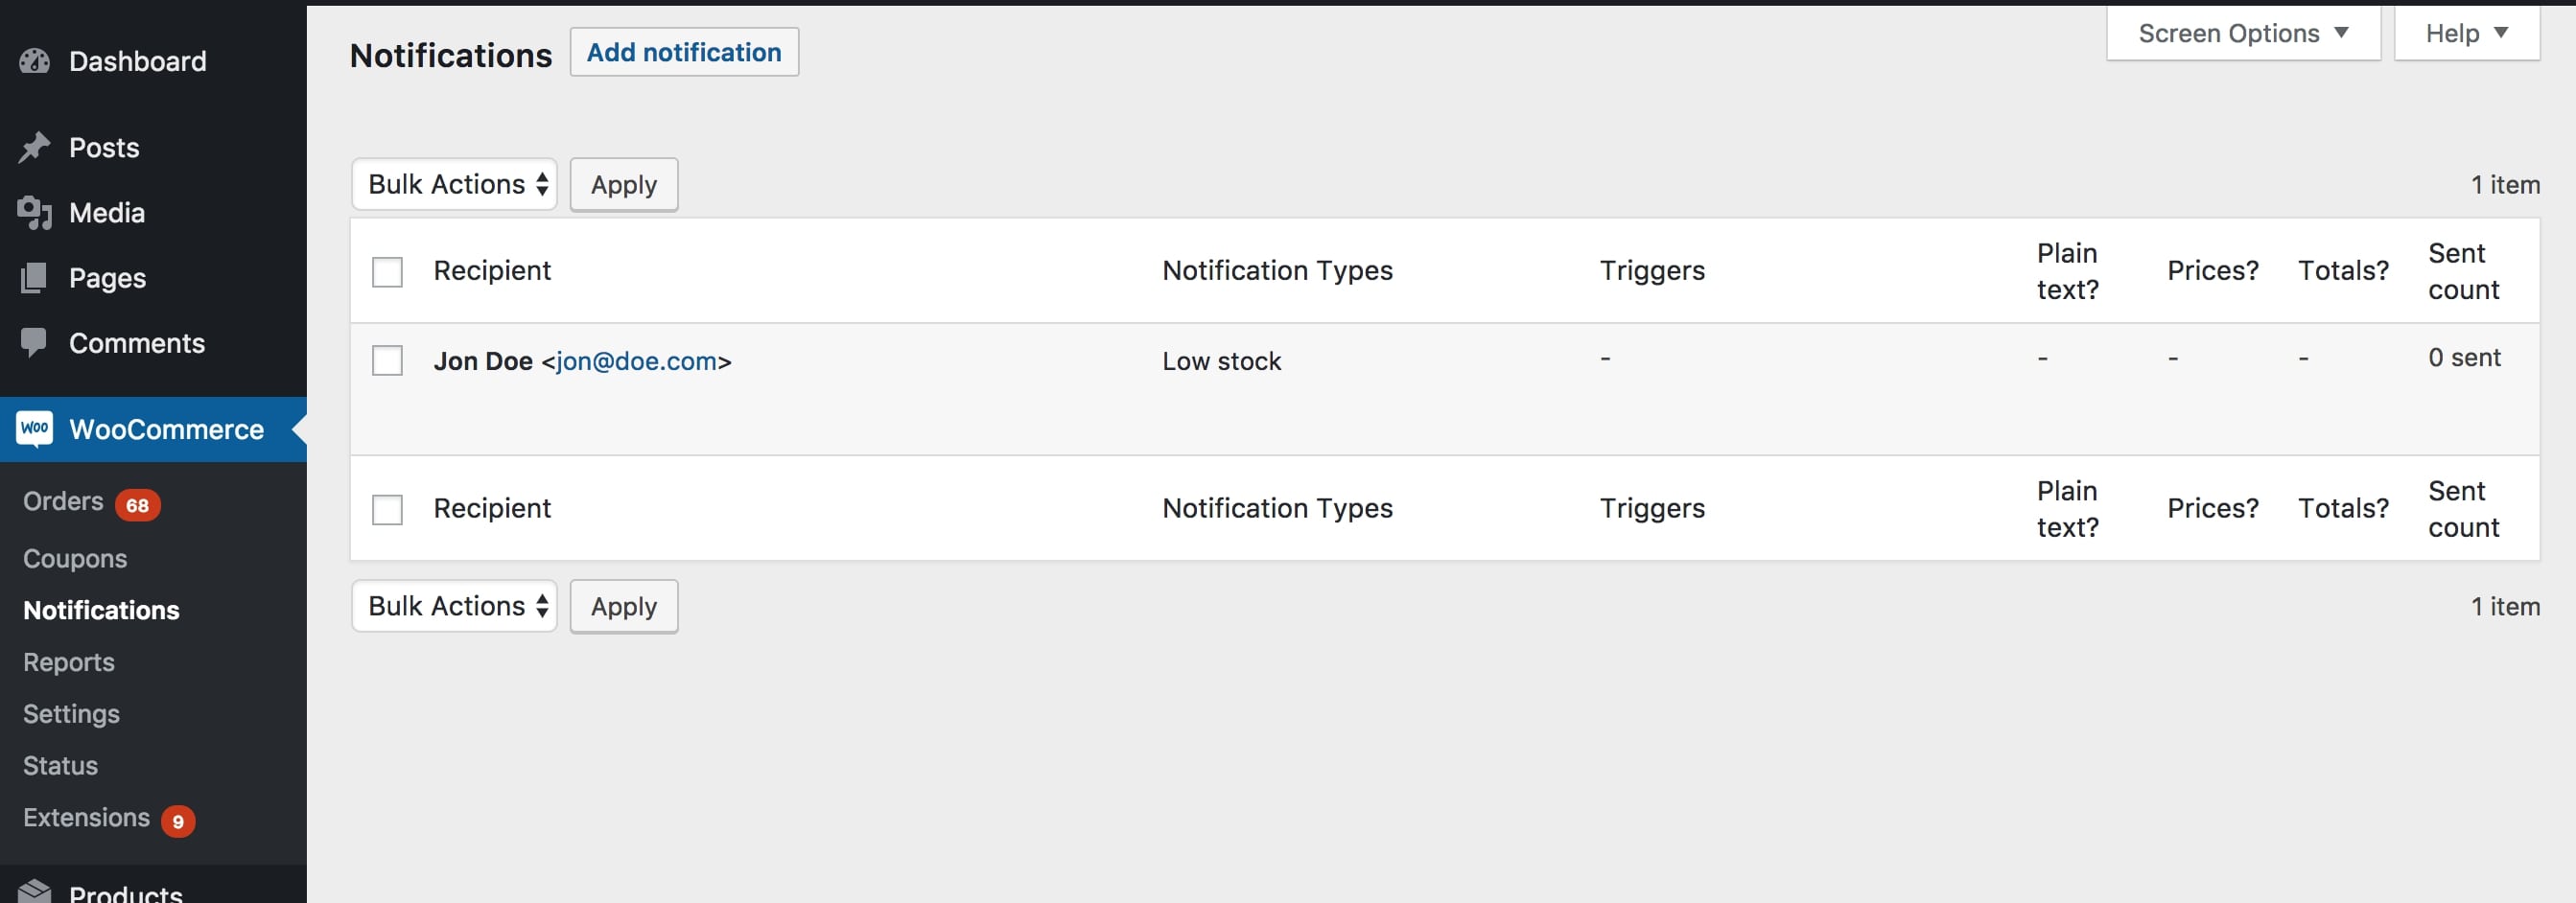
After your recipient has been added, they are shown on the main notifications panel below. Feel free to edit or remove the receiver by floating over its name in the “Recipient” column list:
Step 5: Customize the email template
You may override and modify the following templates by putting them into your theme folder:
- new-order.php
- new-order-plain.php
- refunds.php
- refunds-plain.php
For instance, applying this source code yourtheme/woocommerce-advanced-notifications/emails/new-order.php to your theme file.
WooCommerce email notifications troubleshooting
It is inevitable that you might bump into several stumbling blocks while setting up your WooCommerce email notifications system. In some cases, the emails were not sent to the consumers or online retailers did not receive any notifications about their new orders, inventory status and so on.
This section will clearly explain potential reasons causing this problem and how to solve them. Some may be fairly quickly handled; others require a few more steps, so make sure that you have tried out all of our steps:
1: Check your Emails configurations
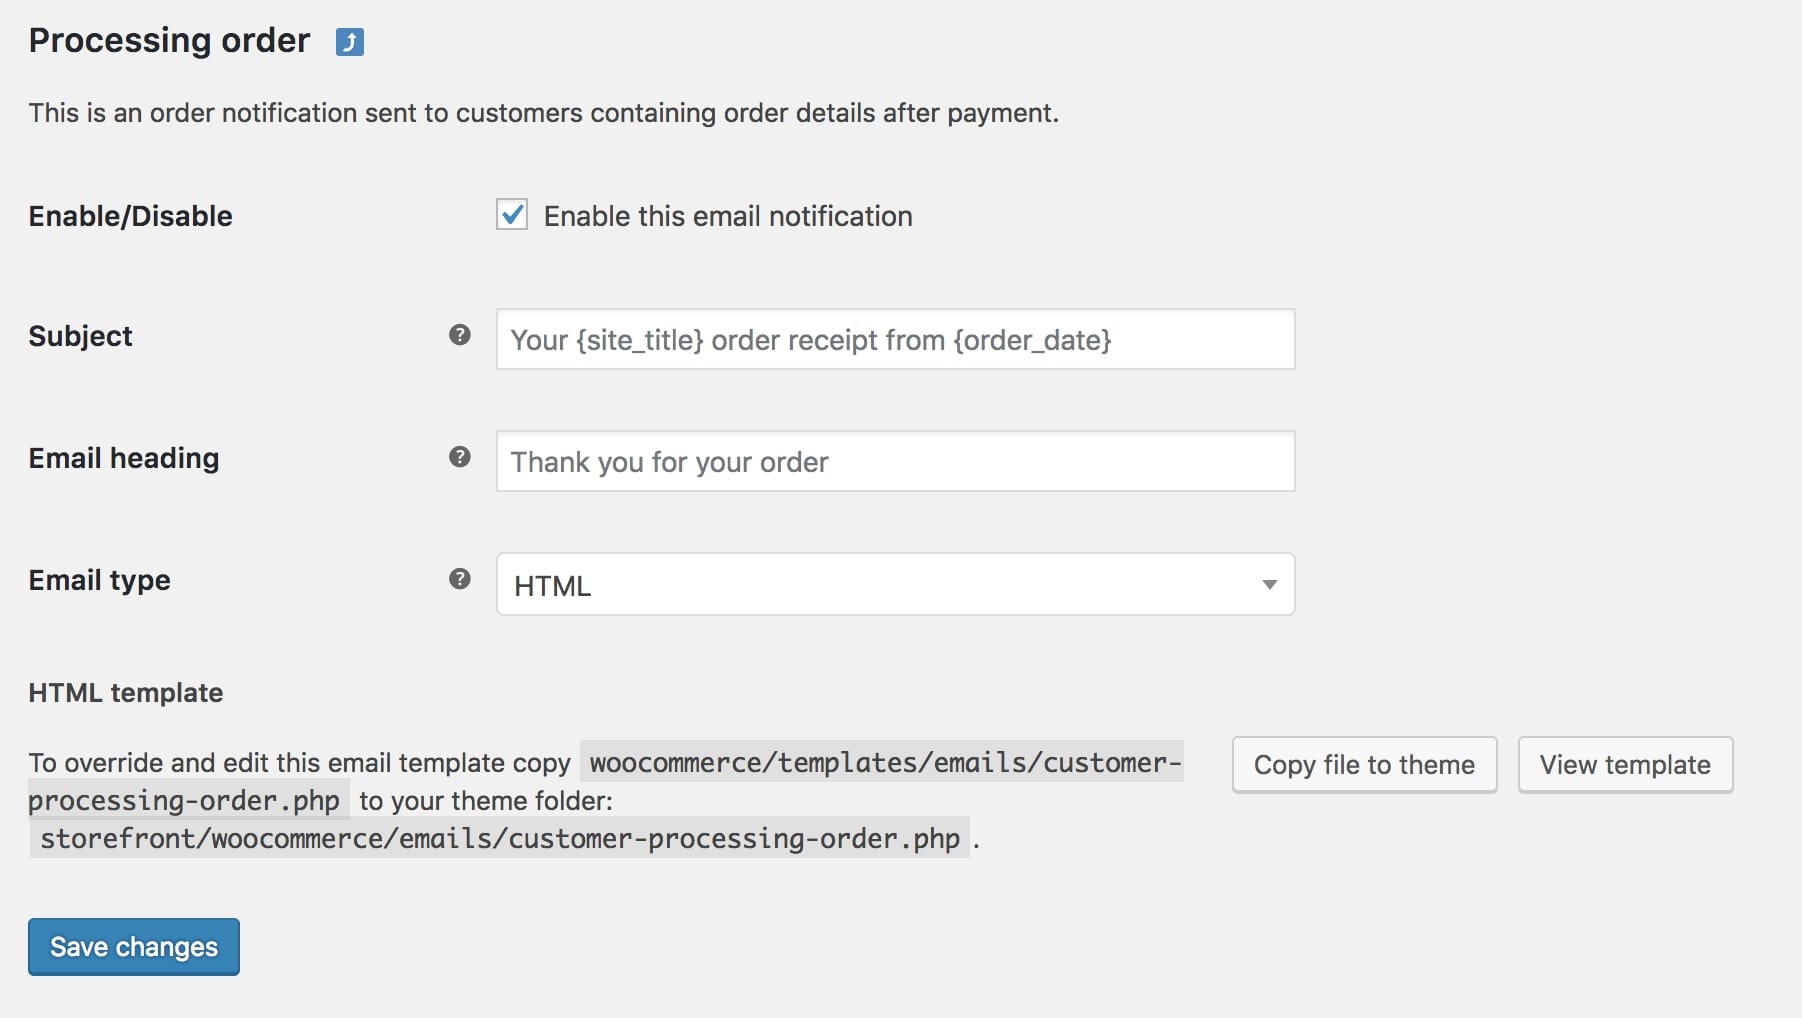
Orders that update successfully should be marked as “Processing” and automatically produce an email to your customers. If your WooCommerce email notifications did not work out the same, you may have disabled emails from sending erroneously.
To change this, double-check that “Enable this Email Notification” is selected in WooCommerce > Settings > Emails page and choose the email template for “Processing Order”. A further test should set the “Email Type” to plain text:
2: Check the Spam folder
There might be times when your WooCommerce email notifications will go directly to your customer’s Spam folder. It is probably because your web host IP is banned by other users on the same IP. In order to remedy this, you should contact your web host, describe the issue and attempt to see if they can solve it.
You need to install the SMTP plugin if your web host cannot fix the problem and you don’t want to transfer to another host. To understand more about installing the Gmail SMTP plugin, proceed to the final step.
3: Change your customer’s email domain
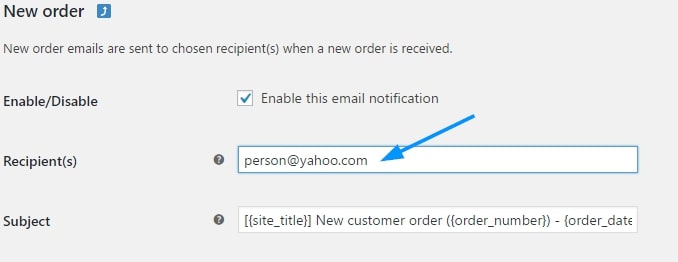
Sometimes, your customers are notified as anticipated of their orders, but you do not get consumer activity notices. This mostly happens when you and your recipients are using the same domain for their email addresses.
From your WooCommerce Dashboard, navigate to WooCommerce > Settings:
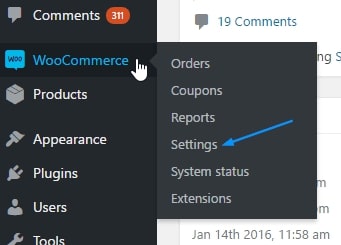
Select the “Emails” tab just like what we did in the picture and change your customers’ email using a different domain from yours. Don’t forget to “Save” to finish before leaving the setting site!
4: Use an SMTP plugin
These might be the most recommended troubleshooting tips for sending WooCommerce email notifications. Normally, WooCommerce delivers WordPress emails using the method wp mail(). In turn, WordPress invites PHP to send the email, while PHP contacts your web host server:
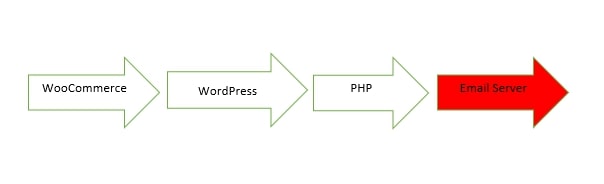
On the other hand, if an SMTP plugin is installed, the request will no longer go to your Web Host email server that causes your notification problems, but will go to the SMTP plugin and be queued:
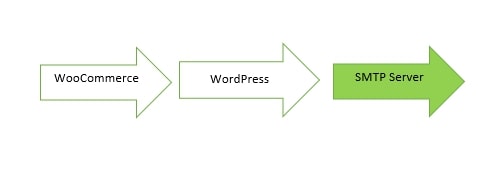
By performing this action, your emails can avoid going to the Spam folder along with ensuring that the notifications are delivered correctly.
Wrapping up
To sum up, sending emails is a necessary step in maintaining long-term relationships with your customers and notify them about their orders. We hope that this topic on How to configure WooCommerce email notifications will help you bring back the best shopping experience to your consumers in the future.


