
How to build a WooCommerce Dropshipping store?

In a technological world where everyone has at least a smartphone to use, the online platform for selling services or goods is a trend. More and more retailers combine selling at physical stores as well as on their own websites. To make a checkout happen seamlessly, dropshipping is a necessity that the retailers or wholesalers should implement.
If you want to start a dropping store, there are several moving parts when it comes to building a successful dropshipping store, so it is apparent that you might be looking for a helping hand to guide you along the way.
In this article, we have created a massive dropshipping tutorial covering everything from what dropshipping is, how to build a WooCommerce dropshipping store, and why you should use WooCommerce for dropshipping.
Before we go into the details, let’s firstly discuss what a Dropshipping store is and how it is beneficial.
What is a WooCommerce Dropshipping store?
Dropshipping is the order fulfillment method where the store owner does not have to keep the items/goods in their warehouse. Instead, they let customers place an order, and with dropshipping suppliers, the package is shipped directly from the wholesaler to the customers.
In this way, you do not have to interfere with the shipping process. All you need to do is set up an eCommerce store and add products from wholesale retailers, namely AliExpress, DHGate, Amazon, eBay, etc.
After all, you earn a profit by keeping a margin on every product.
How to build a WooCommerce Dropshipping store
Before creating a WooCommerce Dropshipping store successfully, there is something you need to know:
Product research
One of the first steps in setting up a dropshipping store would be to decide on the suitable products to sell. You have to do extensive market and product research to understand what will work for you to provide you profits. For example, a luxury product targeting customers might work better than blindly choosing a popular consumer product.
Hosting a domain name
Secondly, you’ll need to install the core WordPress software (remember – WooCommerce is an extension for WordPress, so you need WordPress before you can install WooCommerce). Choose a domain name suitable to your business, and register with one of the popular domain registrars. Some of the popular domain registrars are Domain.com, Bluehost, GoDaddy, etc. Similarly, you can checkout for a good hosting service from companies like Kinsta, SiteGround, BlueHost, etc.
Finding suppliers
It will be better to do a search for suppliers after deciding on what products you are going to sell rather than the other way round. One of the common recommendations by experts is to approach the manufacturers of the products you wish to sell. Moreover, another important thing about finding a supplier is reliability– you need a supplier who not only has those products, but is also reliable enough to ship orders promptly and just generally offer a good level of service to your customers.
Step 1: Sign up for hosting platform
As mentioned before, you have to invest in a domain name and a hosting service. Your domain and hosting are some of the only investments you have to make when creating your WooCommerce dropshipping store.
We highly recommend going with SiteGround - fantastic support for WordPress and WooCommerce newbies. So in this tutorial, we give you a guide to integrating WooCommerce with SiteGround as a clear example.
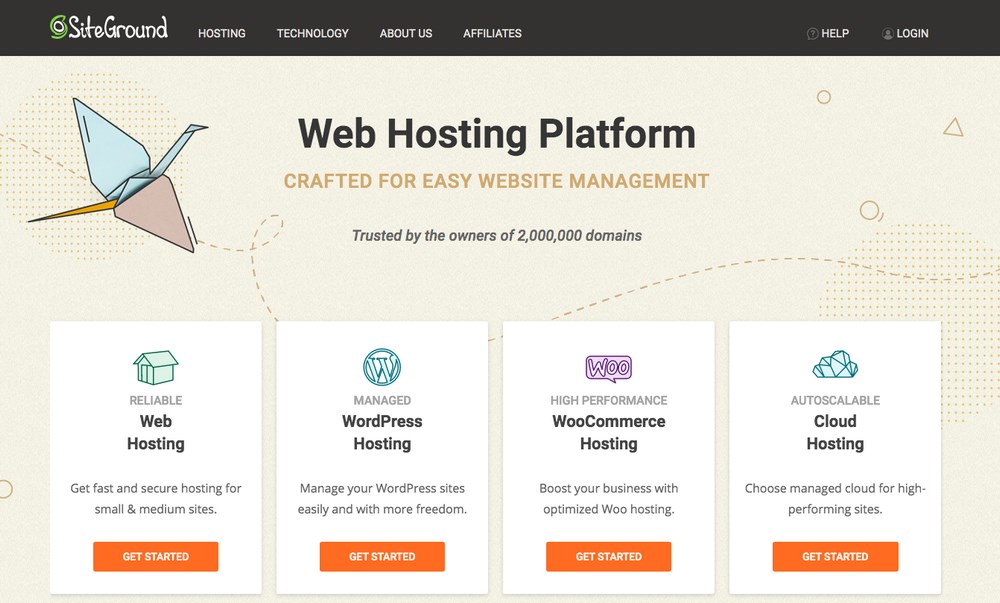
Among SiteGround planning options, we suggest you buy the GrowBig plan because it does a great job of balancing price with features/performance:
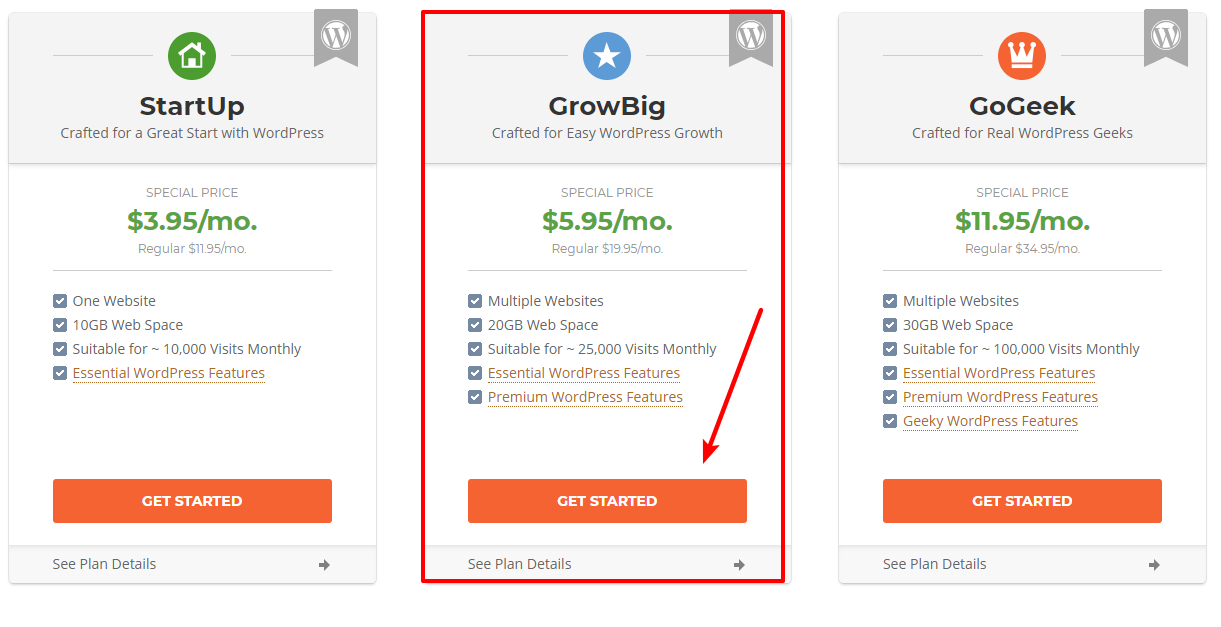
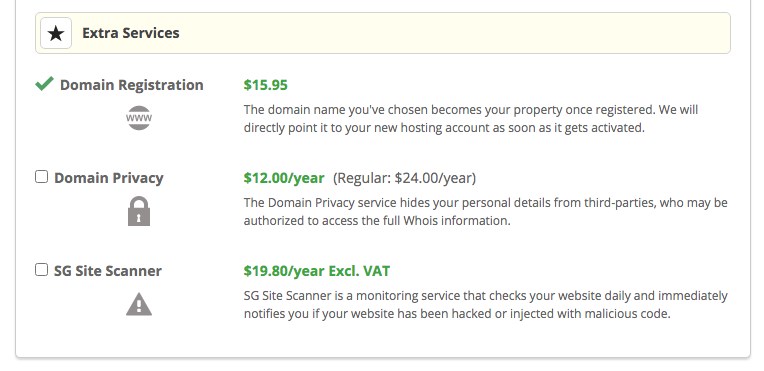
You can register the domain name for your dropshipping store on the next page, which costs you $15.95 per year. If you’ve already purchased your domain somewhere else, you can choose the option for “I already have a Domain”. Or, if you’d like to purchase a new domain, retain the default selection of “Register a New Domain” and enter the domain name you’d like to purchase.

After confirming that your domain name is available, you’ll see a success message, as shown in the image below:
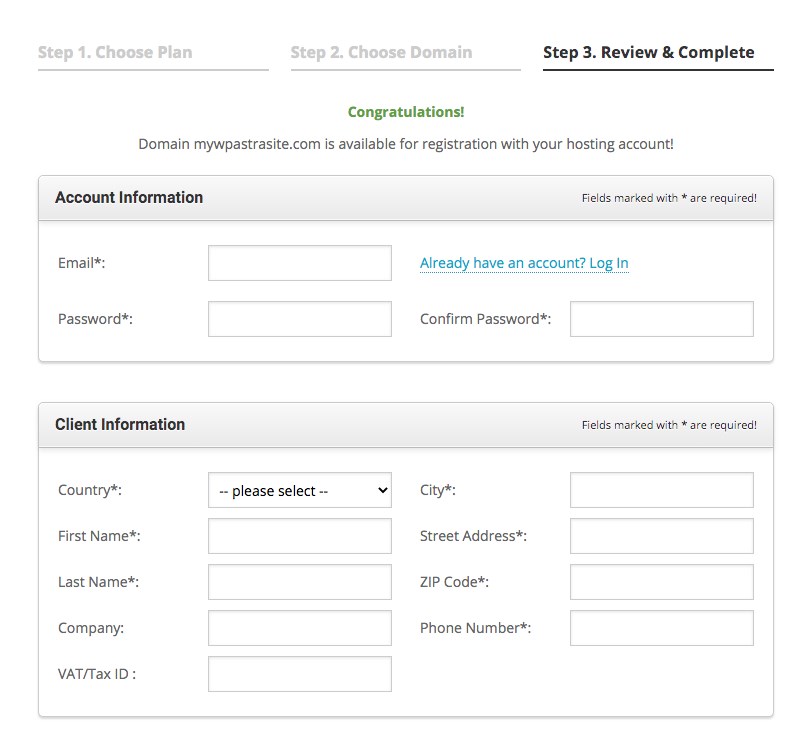
Next, you’ll need to enter your basic account details and payment information to finish out the process:
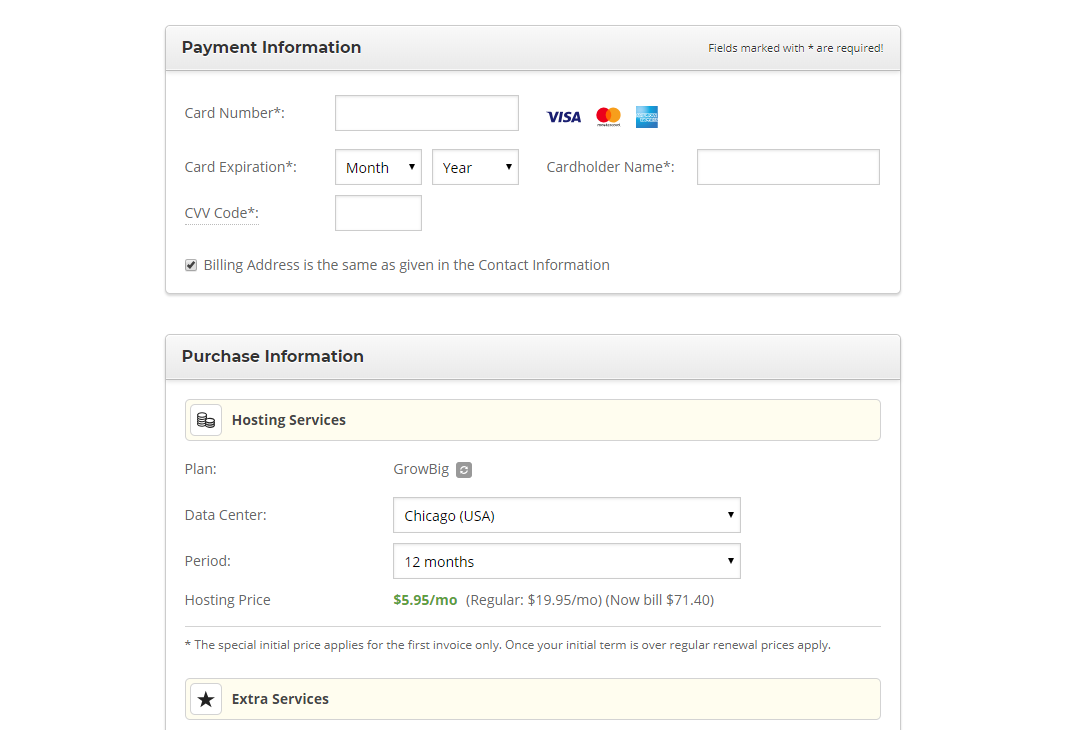
Once you’ve completed all the above steps, click on Pay Now. On successful payment, you will receive a confirmation mail.
Congratulations! You’ve just purchased your domain name and the hosting service!
Step 2: Configure WooCommerce
At this point, you should have a working WordPress site with the WooCommerce plugin installed. Then, you need to configure the WooCommerce plugin.
Once you have logged into your SiteGround dashboard, choose Install & Manage. Select WordPress and complete the easy step-by-step installation process.
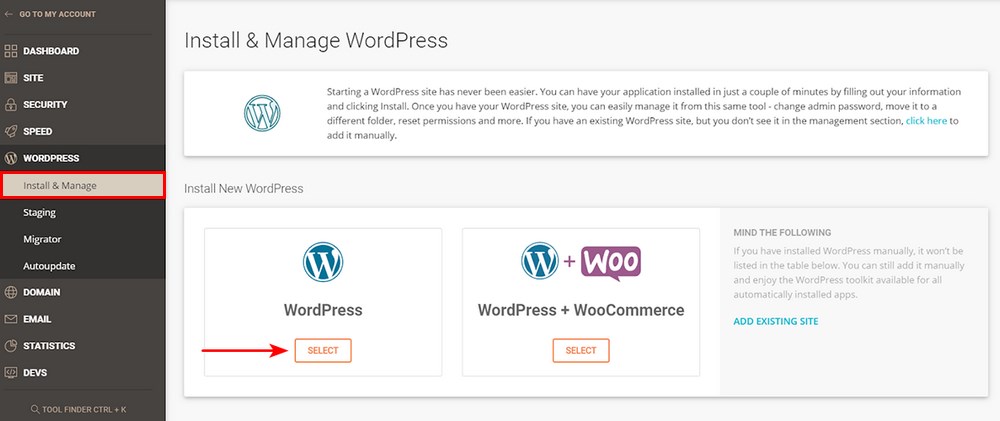
You will be prompted to provide a username and password. When your installation is complete, you can access your WordPress dashboard through yourdomain.com/wp-admin, where yourdomain.com is the domain name you just purchased.

Then, you’ll log in to your WooCommerce store account. Use the login details that you entered in the SiteGround Setup Wizard to enter your dashboard. Then, you should see something like this:
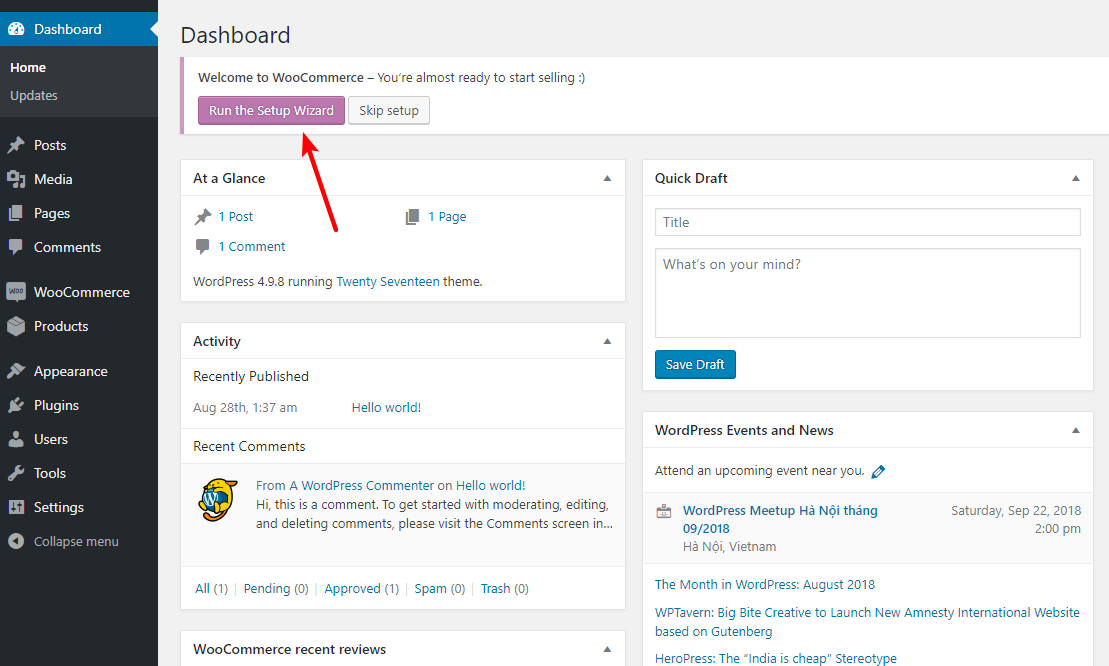
To configure WooCommerce, click on the Run the Setup Wizard button. This wizard will help you configure the core functionality for WooCommerce in each process of the integration.
On the first tab of the setup wizard, enter basic details for your store like:
-
Location
-
Which currency you want to use for payments
-
What type of products you sell

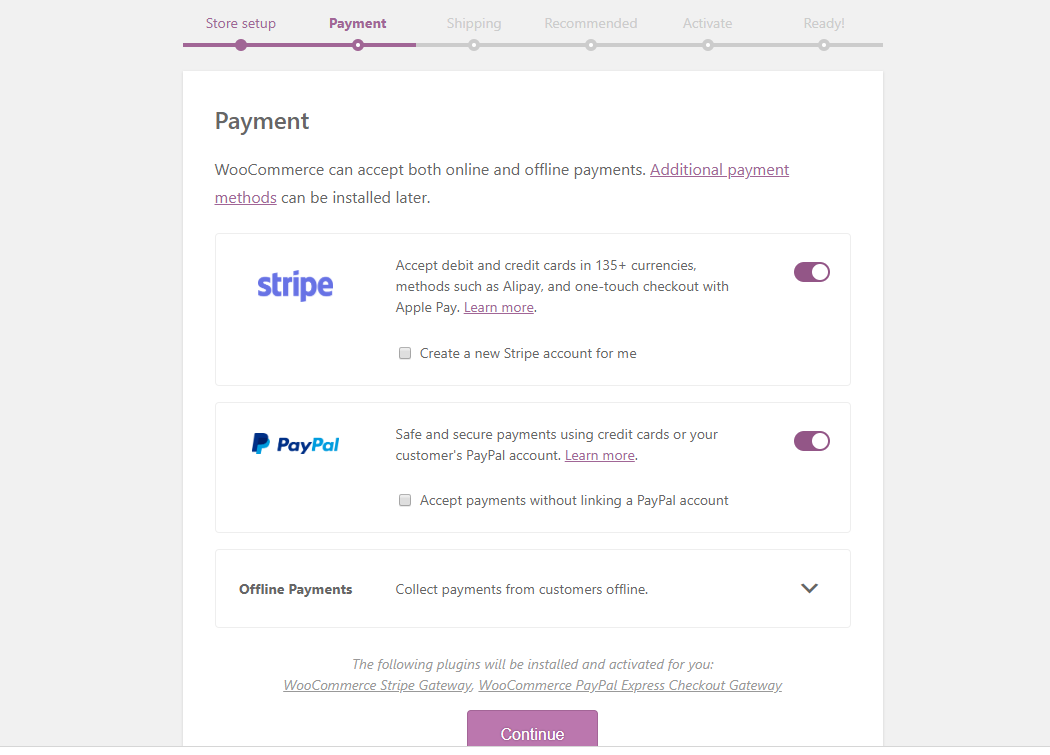
In the Payment area, you’ll need to configure which payment gateways you want to use. By default, you’ll have Stripe and PayPal, which are good options for most stores.
If you want, you can even have WooCommerce create a Stripe account for you by checking the box.
We recommend leaving these two gateways enabled (the default). But if you want more options, you can always use different gateways:
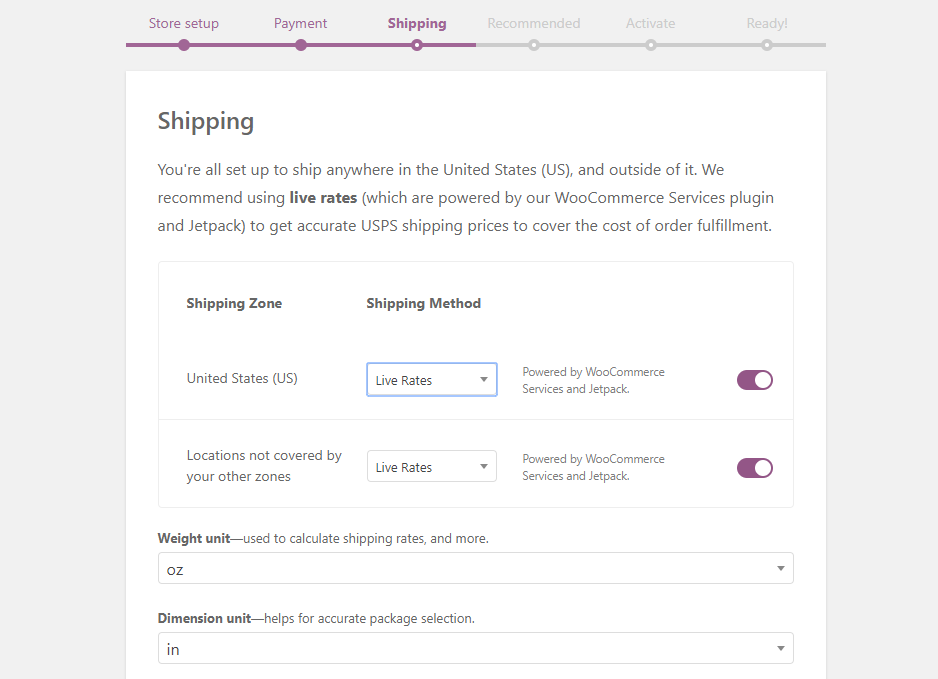
In the Shipping section, you can configure how WooCommerce handles shipping rates for your products.
Shipping can be a bit tricky because you might have multiple dropshipping suppliers, which means that each supplier might need a different shipping calculation.
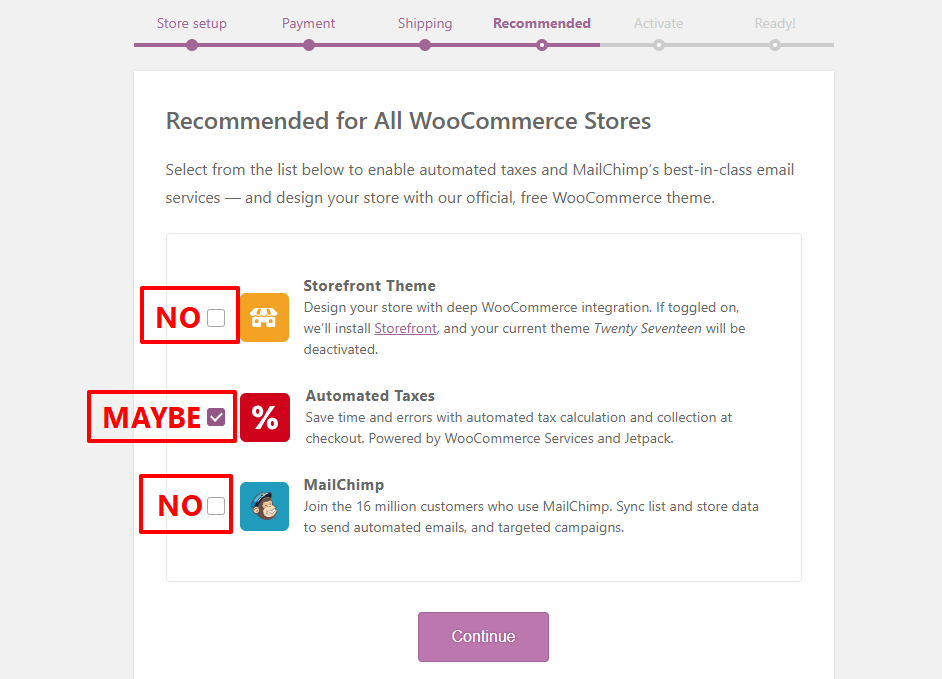
In the Recommended tab, WooCommerce will suggest some other tools for you to use. We recommend that you Uncheck most of these options, as we’ll cover a better option for your store’s theme in the next section.
The only thing you might want here is the Automated Taxes tool:
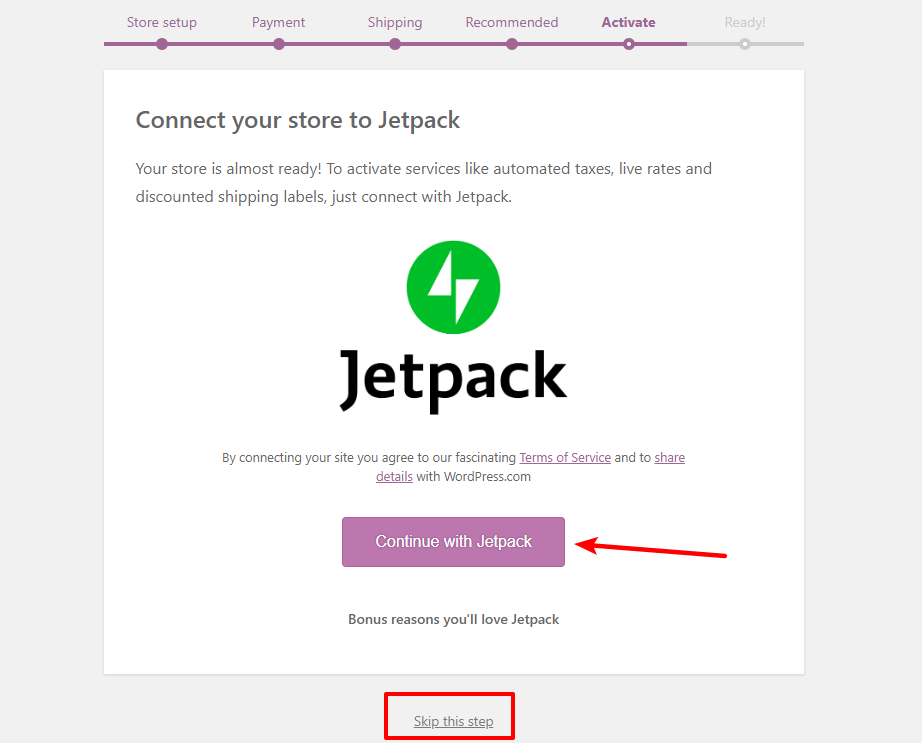
As for the Activate tab, if you choose to use automated tax calculations and live shipping rates, you’ll need to activate your store with Jetpack. To do that, click the Continue With Jetpack button.
In case you don’t want those services, then you can click the Skip This Step option at the bottom of the screen:
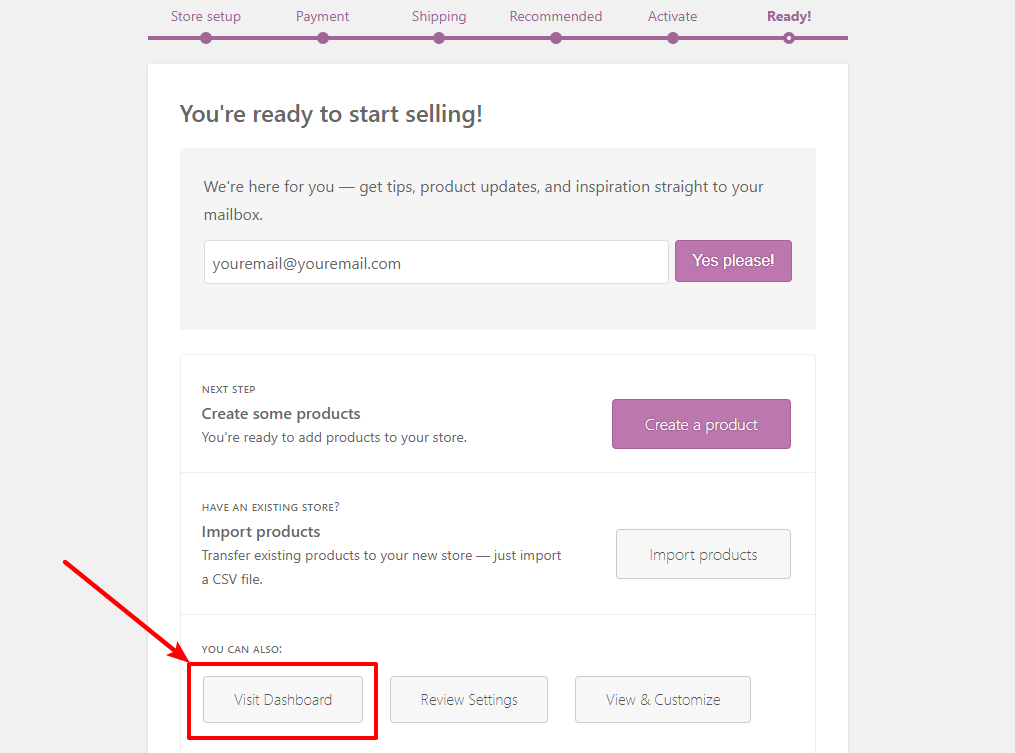
After going through all the steps of the configuring process, you can see the success screen. Go ahead and click the Visit Dashboard button to head back to your WordPress dashboard:
Step 3: Pick WooCommerce Dropshipping theme
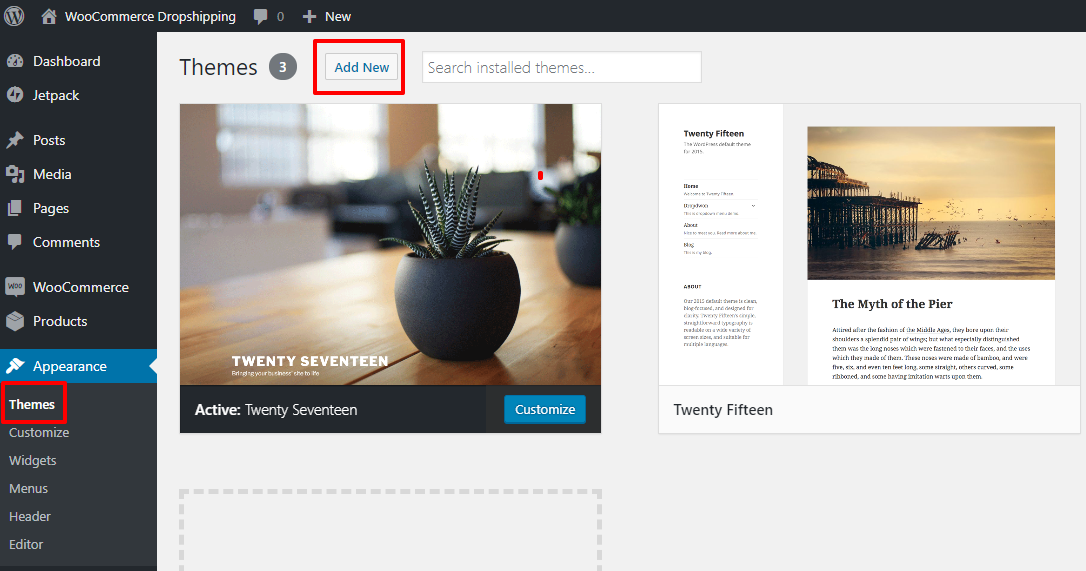
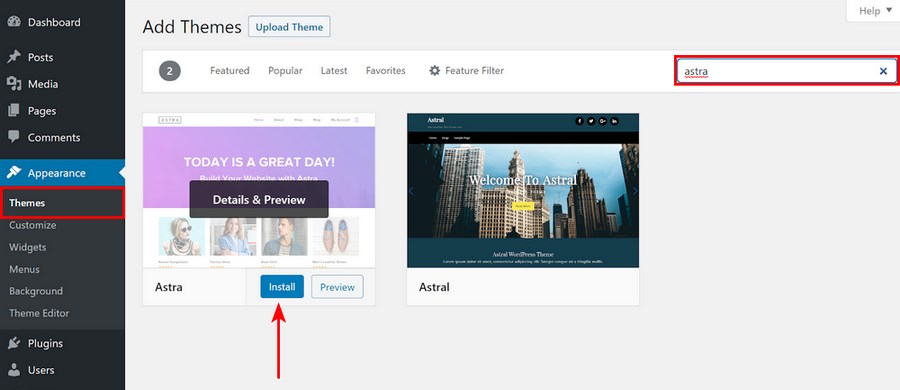
To install a dropshipping theme, you may use the default theme, which is Twenty Twenty-One. Or, if you want to customize your store yourself, head over to Appearance > Themes. Next, click on Add New.
An alternative method to activate templates is by going over to Plugins > Add New to download another dropshipping theme.
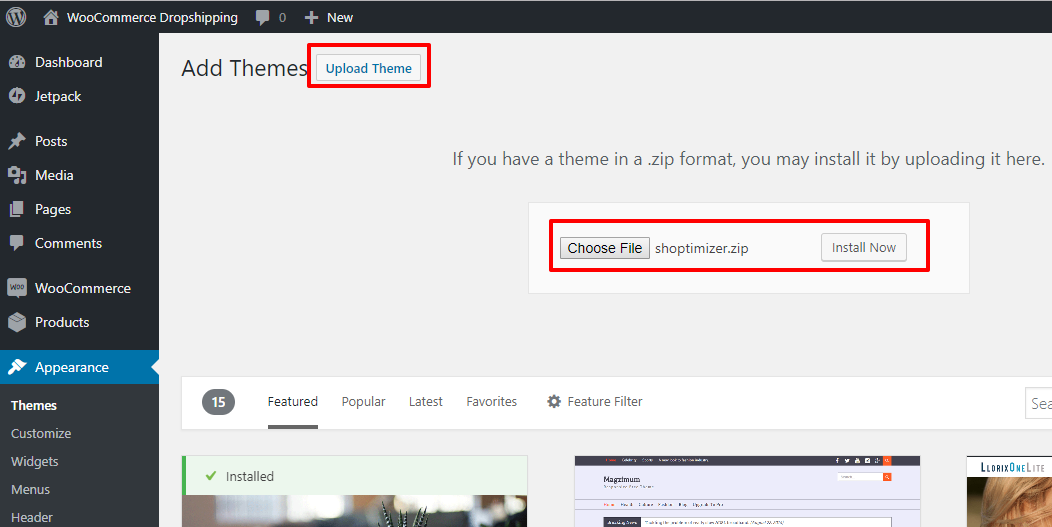
On the next page, click the option to Upload Theme and select the ZIP file from your computer:
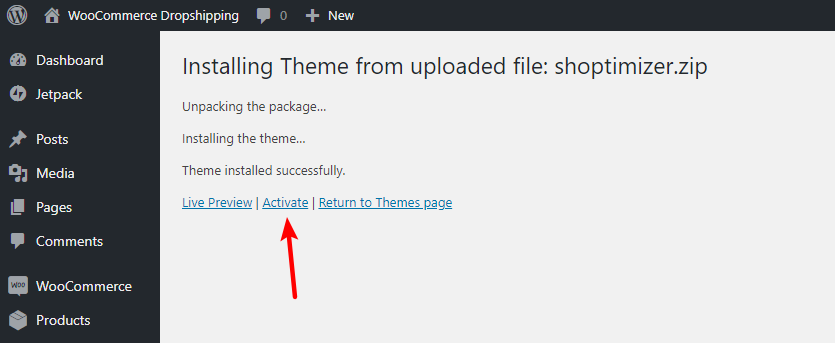
Then, select Install Now to install your new theme. Once the install process finishes, make sure to click the Activate link to make your new theme active:
Step 4: Add products
Once your store is properly configured and looking great, you’re ready to add the dropshipping products from your suppliers!
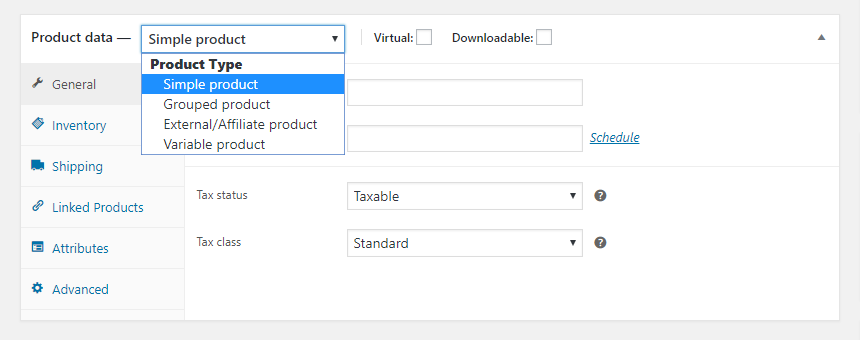
In order to add your products, you just go to Products > Add New in your dashboard. Then, you can use the interface to add all your product details:

The tricky area here is the Product data box. Here, you can choose from different product types. These types can get a little complicated, so check out the official WooCommerce Docs to learn when to use the different product types.
Once you finish adding your first product, you’ll need to repeat the process for all the dropshipping products that you want to sell.
To streamline managing products from different dropshipping suppliers (and then transfer orders to those suppliers), we recommend a solution like WooCommerce Dropshipping Suppliers Pro.
It will help you extend the core WooCommerce product interface with:
-
An option to assign different products to different suppliers
-
Custom shipping rates depending on the supplier
-
Automatic emails to dropshipping suppliers when someone orders a product
Is WooCommerce good for Dropshipping?
1. Price
WooCommerce is free, open-source software, which means this dropshipping platform is money-saving as you don’t need to keep your goods in stock, and you don’t have to rent or own a warehouse. This order fulfillment process can prove highly profitable, low investment, and low risk. Because you don’t need to purchase inventory upfront or find a place to store it, your upfront investment and ongoing overhead costs are pretty much nonexistent.
2. Flexibility
The first feature of WooCommerce flexibility is that it is not tied to location – since someone else is handling the location-dependent parts for you, you’re free to move around as you want.
Furthermore, with WooCommerce, you can do whatever you want because you have full access to your site. You don’t need to be a developer to take advantage of that flexibility because WordPress and WooCommerce let you use something called “plugins”.
3. Scalability
Dropshipping eliminates much of the complexity involved with scaling your business, so you won’t have to hire new warehouse staff, find a bigger warehouse, etc. Actually, the only thing you’ll need to scale is your ability to offer customer support.
4. Unlimited product
Last but not least, WooCommerce is just more “free” as in you don’t have any restrictions on products. Because WooCommerce is open-source software, there are no rules about what you can sell (as long as you’re able to find a way to process payments).
Final thought
So we, along with you, have gone through an essential part of the article - How to build a WooCommerce dropshipping store. Furthermore, we pointed out why you should install the WooCommerce platform if you are supposed to possess a dropshipping store. You definitely gain many beneficial features to your store that we can easily see: profit and easy inventory management.
We hope that you find our share helpful for your plan. Moreover, we sincerely appreciate that you can leave a comment in the chatbox as a way of sharing your experience or needing help to solve your problem.


