
How to Add Ajax Add to Cart Button on WooCommerce Product Page

If you want to operate a successful business these days, you need to ensure that your online store automatically updates the cart. Alternatively, the website would refresh every time a user adds a product to the cart, making the purchasing process incredibly sluggish and increasing the possibility of shoppers abandoning the cart. Therefore, adding the WooCommerce Ajax add to cart feature to your business is of great importance.
Today’s topic will give you comprehensive instructions on how to add Ajax Add to Cart button on WooCommerce product page.
Benefits of Adding Ajax Add to Cart Button on WooCommerce Product Page
AJAX, or Asynchronous Javascript and XML, is a set of web development techniques that allows a website to connect with a server without needing to reload the page.
When customers click the “Add to Cart” button on your online store, the AJAX add to cart button makes the purchase process simple, comfortable, and quick.
Here’s a rundown of some of the prominent advantages you’ll get when you add the “Ajax Add to Cart” button to your WooCommerce product page:
- Reduce cart abandonment
- Diminish server load and bandwidth
- Accelerate the purchasing process
- Improve customer experience
- Enhance conversion rates
- Boost your sales revenue
How to Add Ajax Add to Cart Button on WooCommerce Product Page?
In this section, we will show you how to add the Ajax Add to Cart button on the WooCommerce product page in two different ways: using the Quadlayers plugin and using custom code.
Method 1: Using a plugin
If you don’t have any coding knowledge and want a simple solution, utilizing a plugin is a great option.
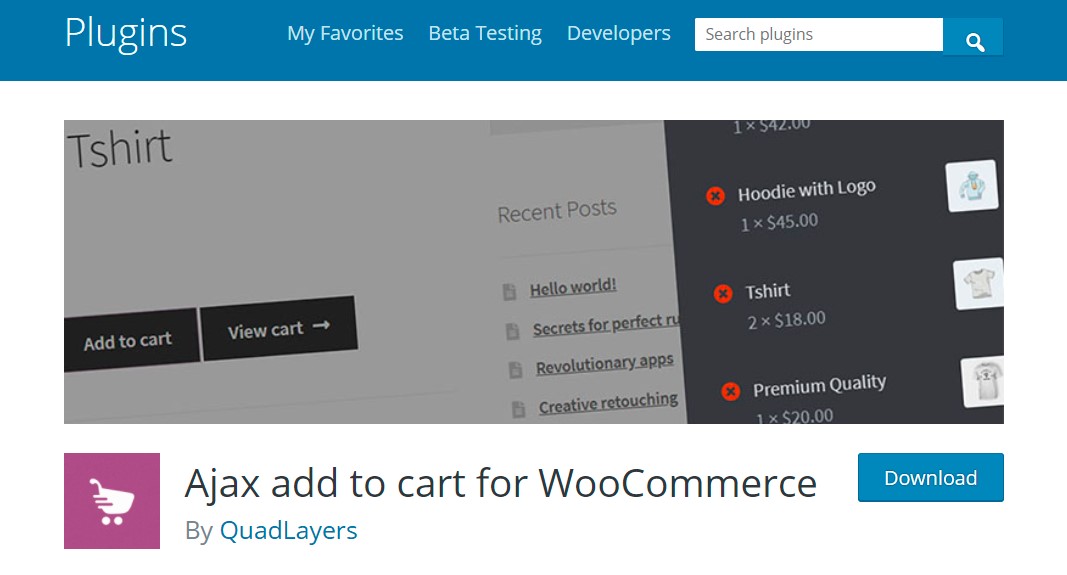
The plugin we’re using here is a product of QuadLayers, called AJAX add to cart WooCommerce. This plugin is easy to use, free, and can be found in the WordPress plugin directory.
This tool enables customers to add single or variable items to their shopping carts without having to reload the site each time. Additionally, it works flawlessly with 99 percent of WordPress themes and it will be ready to use once you have installed it.
As a result, you just need to download the plugin from this link https://wordpress.org/plugins/woo-ajax-add-to-cart/, install it, and the program will take care of the rest.
Method 2: Using custom code
So you’re a coder and want to add your WooCommerce AJAX add to cart button? Now we are showing you just how you can do it in detail.
Step 1: Install a child theme
First of all, you need to create a child theme. Numerous plugins can help you do that, so choose your favorite, install it and use it to make your child theme.
In case you wonder why you should use a child theme, instead of the main theme? The reason is that if you directly modify the theme’s files, the new files will override your modifications and all of your adjustments will be lost the next time you update the theme. But if you customize the child theme, the changes will not be overridden.
Step 2: Add the Javascript (JS) file
Add a JavaScript file to the child theme’s functions.php file using the wp_enqueue_script hook. This is one of the most common hooks for customizing websites that WordPress provides. Now let’s look at the script, which contains the ajax add to cart.js file:
function ql_woocommerce_ajax_add_to_cart_js() {
    if (function_exists('is_product') && is_product()) {
       wp_enqueue_script('custom_script', get_bloginfo('stylesheet_directory') . '/js/ajax_add_to_cart.js', array('jquery'),'1.0' );
    }
}
add_action('wp_enqueue_scripts', 'ql_woocommerce_ajax_add_to_cart_js');
It’s worth noting that in line 2 of the conditional if (function_exists(‘is_product’) && is_product()), you must apply the JQuery on the product page only.
Step 3: Create a Javascript file
After that, generate the file that you added in the previous step. Simply navigate to your cPanel and the child theme folder. Then, navigate to the wp content /themes/ folder. Here you create a new folder named js in the child theme, and also create a file inside it with the same name as in the hook ajax-add-to-cart.js.
Remember that even when you use an FTP client, you can still do this.
You may use an existing JS folder in your child theme if there is any, instead of generating a new one.
Step 4: Add scripts to the JQuery file
In this step, you need to work on the JQuery file that you have just submitted to your child theme. You need to add scripts to that file because it is now empty.
First of all, you need to stop the add to cart button from refreshing the page. To do that, add the following script:
$('.single_add_to_cart_button').on('click', function(e) {
    e.preventDefault();
});
Please keep in mind that when the add to cart button is clicked, the AJAX request is triggered by the $(‘.single add to cart button’) selector. Now you have to add this whole JQuery script for AJAX add to cart on single products:
jQuery(document).ready(function($) {
    $('.single_add_to_cart_button').on('click', function(e){
    e.preventDefault();
    $thisbutton = $(this),
                $form = $thisbutton.closest('form.cart'),
                id = $thisbutton.val(),
                product_qty = $form.find('input[name=quantity]').val() || 1,
                product_id = $form.find('input[name=product_id]').val() || id,
                variation_id = $form.find('input[name=variation_id]').val() || 0;
    var data = {
            action: 'ql_woocommerce_ajax_add_to_cart',
            product_id: product_id,
            product_sku: '',
            quantity: product_qty,
            variation_id: variation_id,
        };
    $.ajax({
            type: 'post',
            url: wc_add_to_cart_params.ajax_url,
            data: data,
            beforeSend: function (response) {
                $thisbutton.removeClass('added').addClass('loading');
            },
            complete: function (response) {
                $thisbutton.addClass('added').removeClass('loading');
            },
            success: function (response) {
                if (response.error & response.product_url) {
                    window.location = response.product_url;
                    return;
                } else {
                    $(document.body).trigger('added_to_cart', [response.fragments, response.cart_hash, $thisbutton]);
                }
            },
        });
     });
});
Step 5: Add the PHP
Following that, you’ll need the PHP handler. To implement your add to cart feature, the easiest method is to leverage some of the WooCommerce filter hooks. You’ll do it again, but this time using AJAX.
You just need to copy and paste the following script underneath the previous script we used to add the JS file in the functions.php file of the child theme.
add_action('wp_ajax_ql_woocommerce_ajax_add_to_cart', 'ql_woocommerce_ajax_add_to_cart');
add_action('wp_ajax_nopriv_ql_woocommerce_ajax_add_to_cart', 'ql_woocommerce_ajax_add_to_cart');
function ql_woocommerce_ajax_add_to_cart() {
    $product_id = apply_filters('ql_woocommerce_add_to_cart_product_id', absint($_POST['product_id']));
    $quantity = empty($_POST['quantity']) ? 1 : wc_stock_amount($_POST['quantity']);
    $variation_id = absint($_POST['variation_id']);
    $passed_validation = apply_filters('ql_woocommerce_add_to_cart_validation', true, $product_id, $quantity);
    $product_status = get_post_status($product_id);
    if ($passed_validation && WC()->cart->add_to_cart($product_id, $quantity, $variation_id) && 'publish' === $product_status) {
        do_action('ql_woocommerce_ajax_added_to_cart', $product_id);
            if ('yes' === get_option('ql_woocommerce_cart_redirect_after_add')) {
                wc_add_to_cart_message(array($product_id => $quantity), true);
            }
            WC_AJAX :: get_refreshed_fragments();
            } else {
                $data = array(
                    'error' => true,
                    'product_url' => apply_filters('ql_woocommerce_cart_redirect_after_error', get_permalink($product_id), $product_id));
                echo wp_send_json($data);
            }
            wp_die();
        }
Step 6: Test the code
You can test the code to see whether you have done it correctly by clicking on the add to cart button. If the product can be added to the cart without reloading the page, then you have successfully created your ** WooCommerce AJAX add to cart button**.
But if not, make sure you double-check all the steps above one more time.
If it still doesn’t function after that, you should follow the first method of using a plugin or contact a developer to get support.
Final Words
Overall, you should add the WooCommerce AJAX add to cart button to your WooCommerce product page if you want to optimize your online store. You can do this by using the AJAX add-to-cart WooCommerce plugin or applying some custom codes.
If you have any questions, please let us know in the comments box below.
Thank you for reading, and we’ll see you in the next post.


