
How to Add Products to WooCommerce

WooCommerce is a WordPress plugin that is quite popular and frequently utilized. One of the reasons for this is that it is really simple to establish a successful online store with WooCommerce. This eCommerce plugin is both light and sophisticated. For instance, installing the WooCommerce plugin and adding tags and categories, as well as displaying new products, is quite simple. On the other hand, some functions, such as code editing, require further attention. We reasoned that it would be prudent to examine several fundamental behaviors in greater detail precisely because of its complexity.
It is critical to have a firm grip of product types, categories, tags, and qualities to develop an effective eCommerce store. You’ll rapidly learn how to use these correctly. Following that, constructing the ideal shop for your business will be a breeze. Additionally, don’t forget to optimize your shop prior to publication.
After completing the WooCommerce setup procedure, you’re ready to begin adding products to WooCommerce and selling to customers. The following steps of How to add products to WooCommerce will guide you through the process of adding your first product.
WooCommerce Product Types
When introducing a product to your WooCommerce store, the first thing to consider is its type.
- Simple: It applies to the great majority of things that you may offer. Simple items are provided without any customization. Consider a book.
- Grouped A group of related products may be purchased separately and composed entirely of straightforward products. For instance, consider a set of six drinking glasses.
- Virtual: This is one that does not require delivery. Consider a service. By enabling this, all shipping-related fields, such as shipping dimensions, are disabled. Additionally, a virtual product will not trigger the cart and checkout, shipping calculators.
- Downloaded: Enables additional fields for the submission of a downloadable file. Following a successful transaction, consumers receive an email notification with a link to a downloadable file. This is appropriate for a digital album, a PDF magazine, or a photograph.
- External or Affiliate: A product or service that you list and describe on your website but that is offered elsewhere.
- Variable: A product with multiple variants, each of which may have a unique SKU, price, or stock option. For instance, a t-shirt that is available in a variety of colors and/or sizes.
How to add products to WooCommerce
Step 1: Create a new product
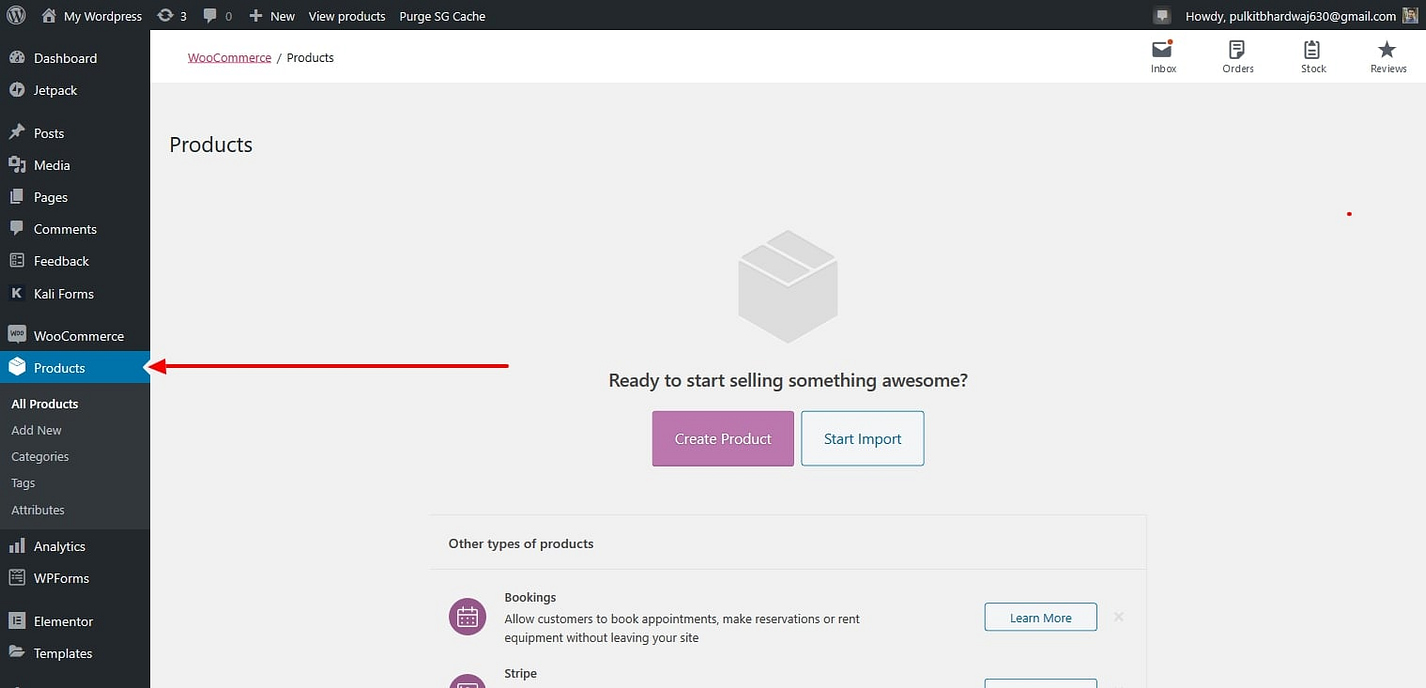
After installing WooCommerce, navigate to the WordPress dashboard and select WooCommerce > Products. Then, click on Create Product to create the first product for your online store.
Step 2: Enter product title and description
In the title section, provide the product’s name. Following that, finish the product description. You’d want the description (or, more precisely, the lengthy description) to convey the product’s benefits. Additionally, you can utilize bullet points to aid in the readability of this section.
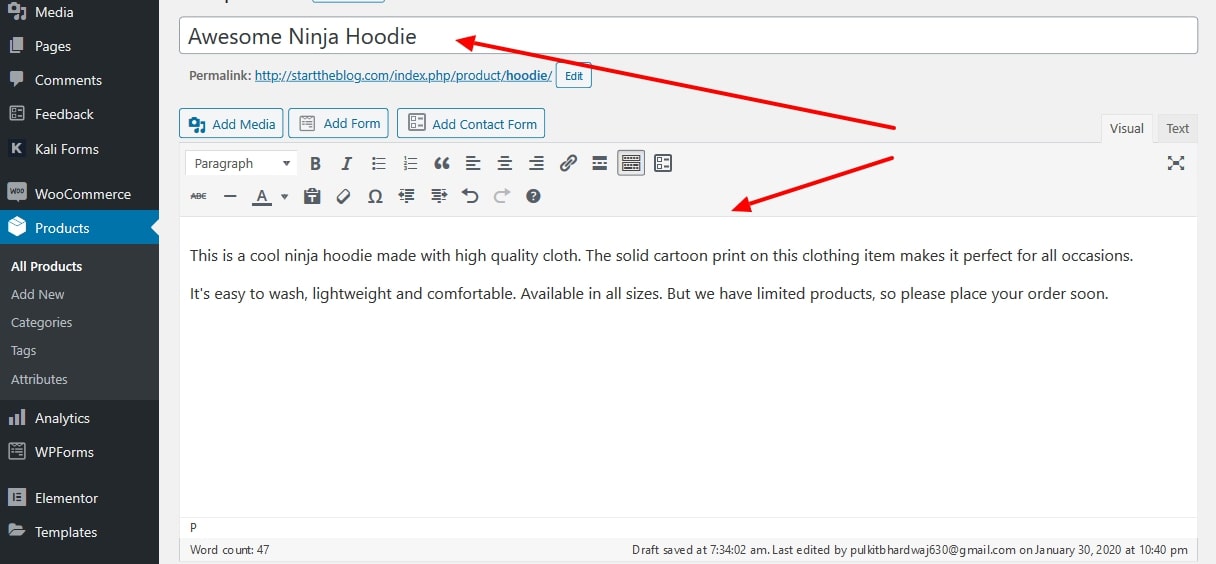
Ensure that the title and description are optimized for organic keywords while crafting them. If you wish to include semantic keywords on the product page, they should be included in the long description.
Step 3: Select the product type
Depending on the items’ type you’re selling, WooCommerce allows you to employ a variety of different product types. You have four primary product categories to pick from: Simple, Grouped, External/Affiliate product, and Variable product. Additionally, you have two extra possibilities for customizing those four fundamental product types: Virtual, and Downloadable.
To make this selection, use the drop-down and checkboxes in the Product data box, which displays directly below the WordPress editor where the product description was added:
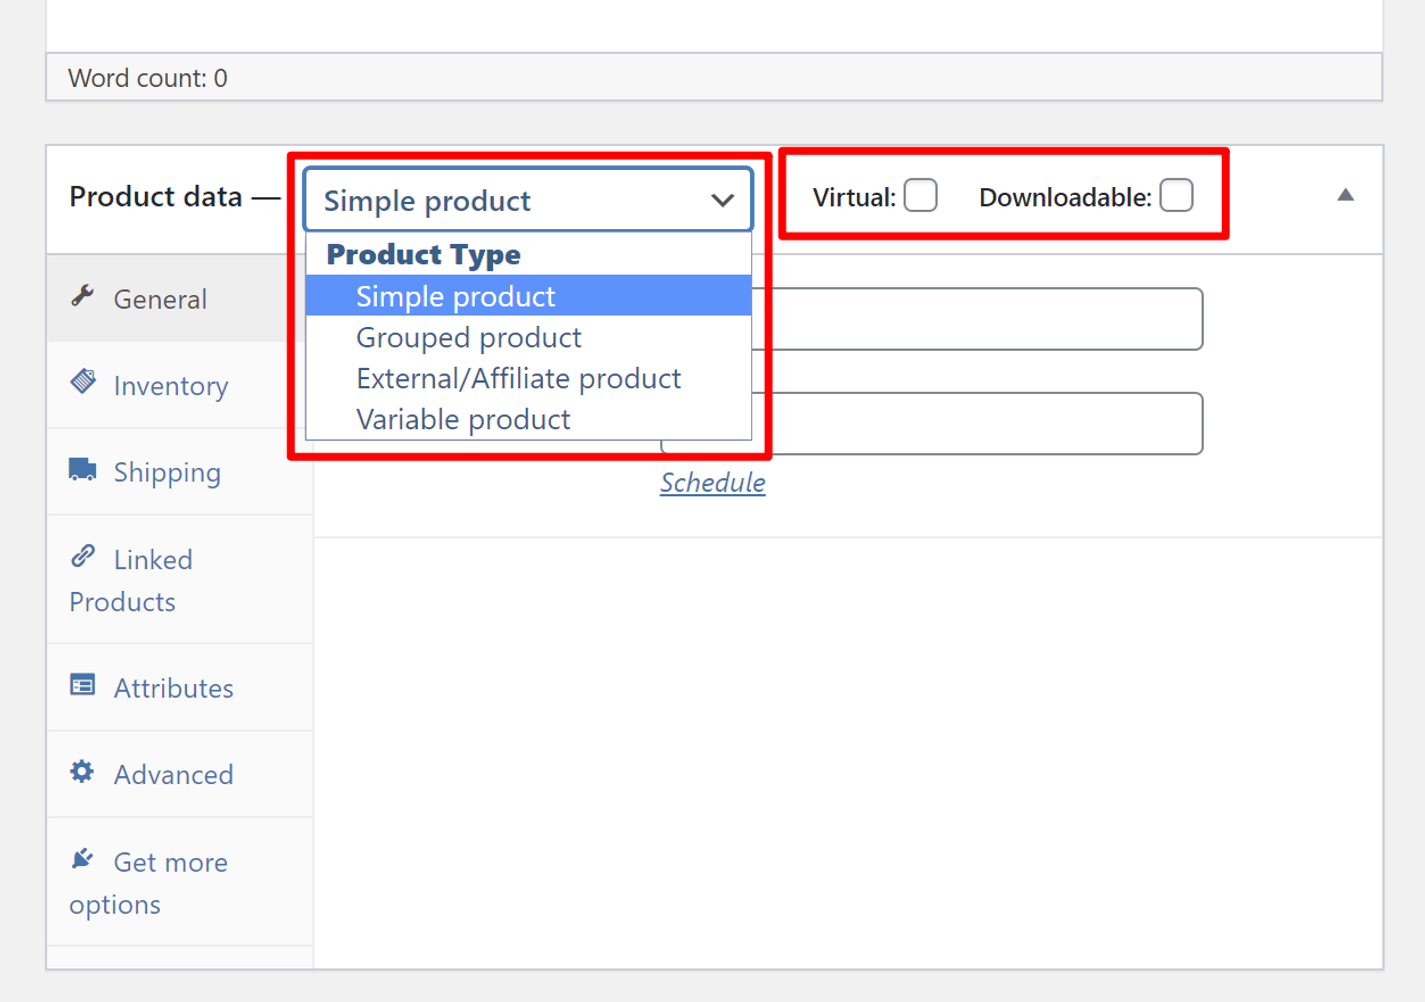
The remainder of this tutorial will utilize a Simple product. The approach is basically the same for other product kinds; you will simply be presented with a few additional alternatives.
Step 4: Complete the product data meta box
After selecting your product type, you’ll need to complete the remaining fields in the Product data box. The tabs on the left let you move between sections.
4.1. General tab
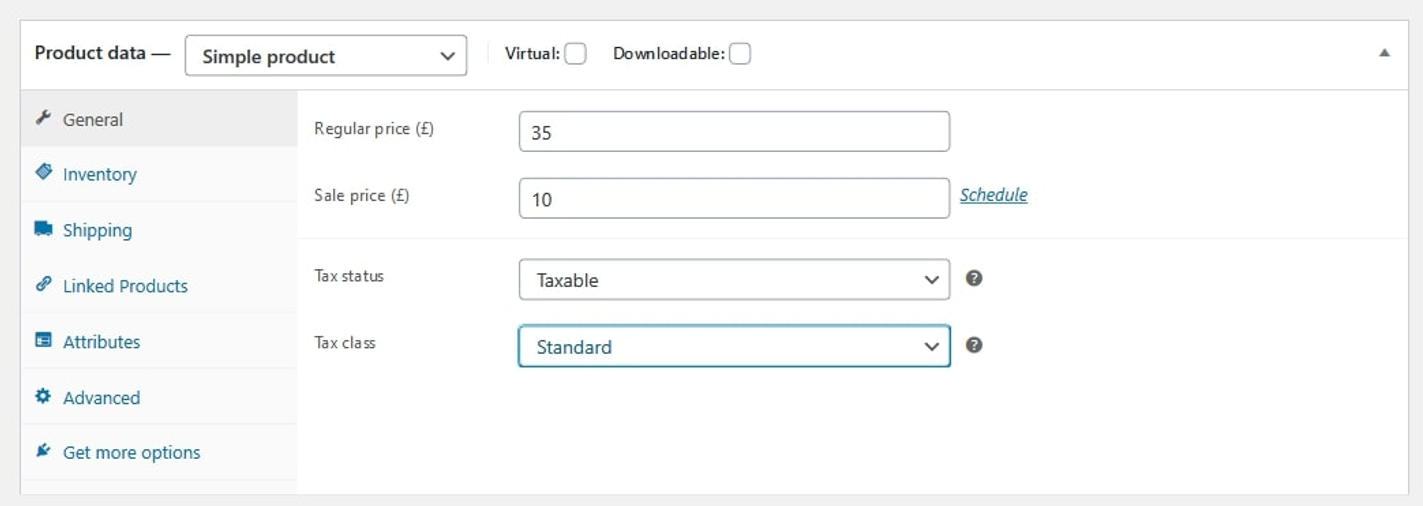
Enter the usual and sale prices under the General tab. When you decide to launch a discount campaign, you will use the sale price. Otherwise, customers will be presented with the standard pricing.
Select the tax status — whether or not the product is taxable – beneath that. If yes, choose the appropriate tax class.
4.2. Inventory tab
Not only is WordPress ideal for beginning a dropshipping business, but it can also be used to create an inventory-based eCommerce store, courtesy of WooCommerce.
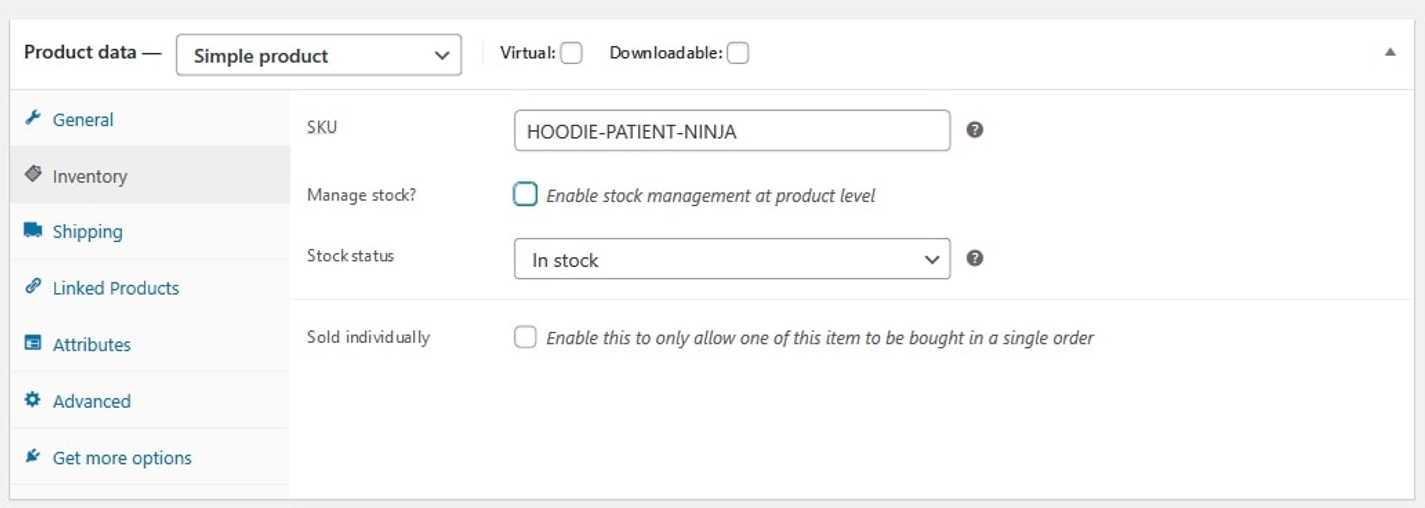
The Inventory tab enables you to handle inventories properly. By default, the SKU, stock status, and other options will be displayed. However, if you do not see it, ensure that stock management is enabled by visiting WooCommerce > Settings > Products > Inventory.
In this context, SKU refers to a unique identifier assigned to each product or service. This distinguishes the products and streamlines inventory management. You can either manually assign the SKU or use a WordPress plugin to generate unique SKUs automatically.
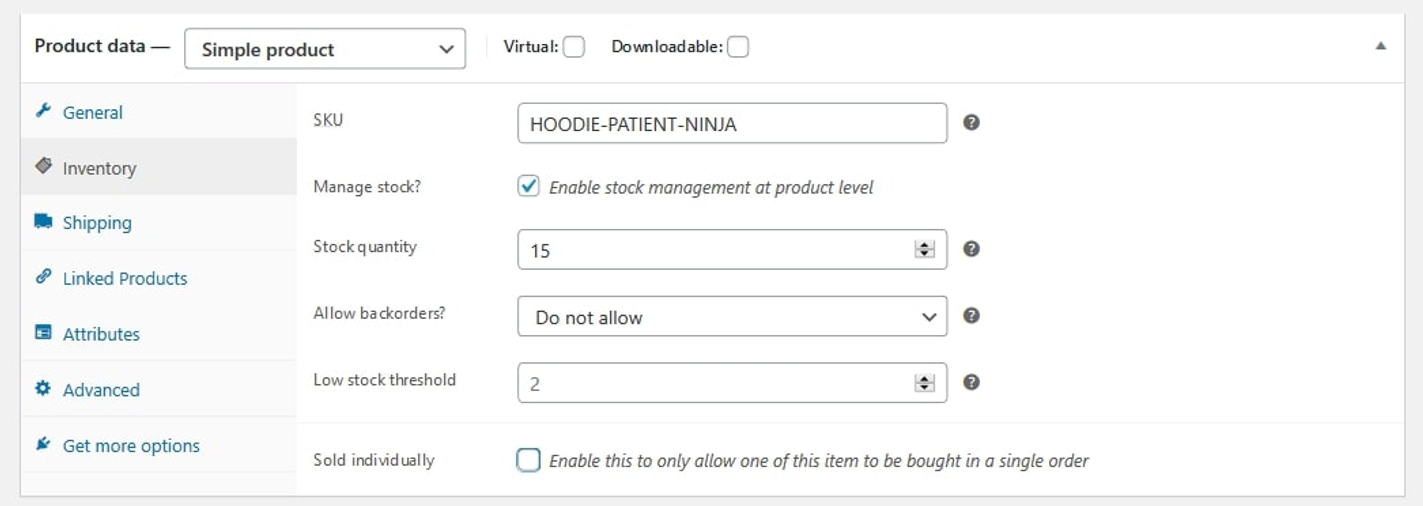
You’ll see an option labeled stock management on product level. If you haven’t checked it, you will need to update the stock manually. If you check the box, the WooCommerce stock management system will display the product automatically.
4.3. Shipping tab
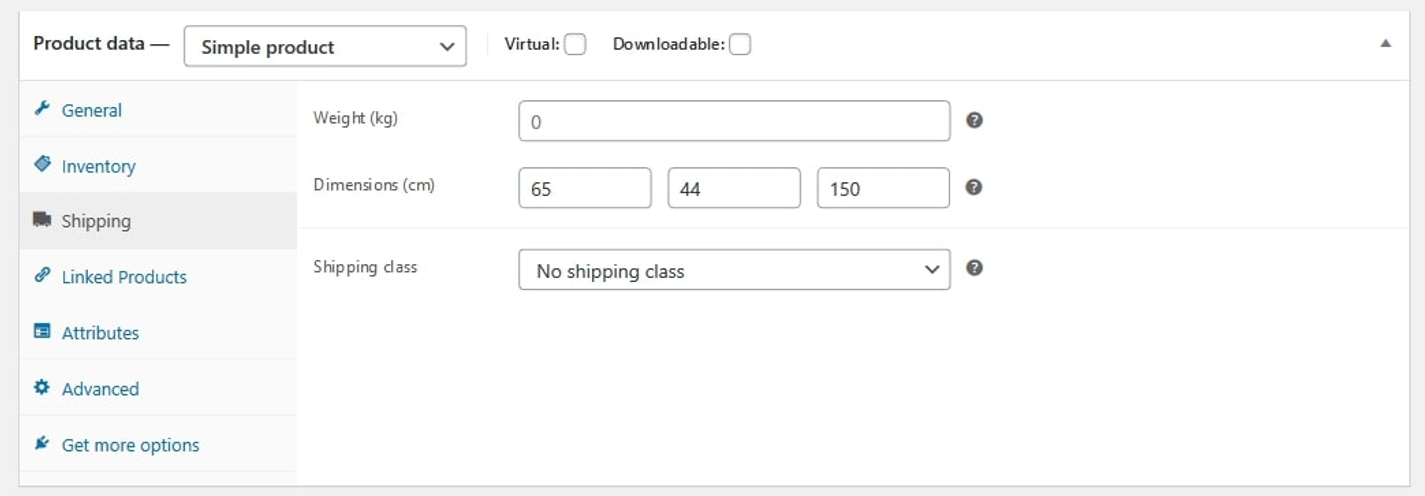
The Shipping page allows you to manage critical details concerning a physical product’s shipping. Enter the product’s weight and measurements.
There is a setting referred to as shipping class. Shipping charges vary depending on the weight of the package, the type of service, and other factors. The shipping class classifies the products depending on their combined weight.
For instance, you can put products weighing 15 ounces together in a shipping class and choose a specific shipment service. Then you can arrange for heavier items to be shipped through priority mail or other means.
4.4. Linked products tab
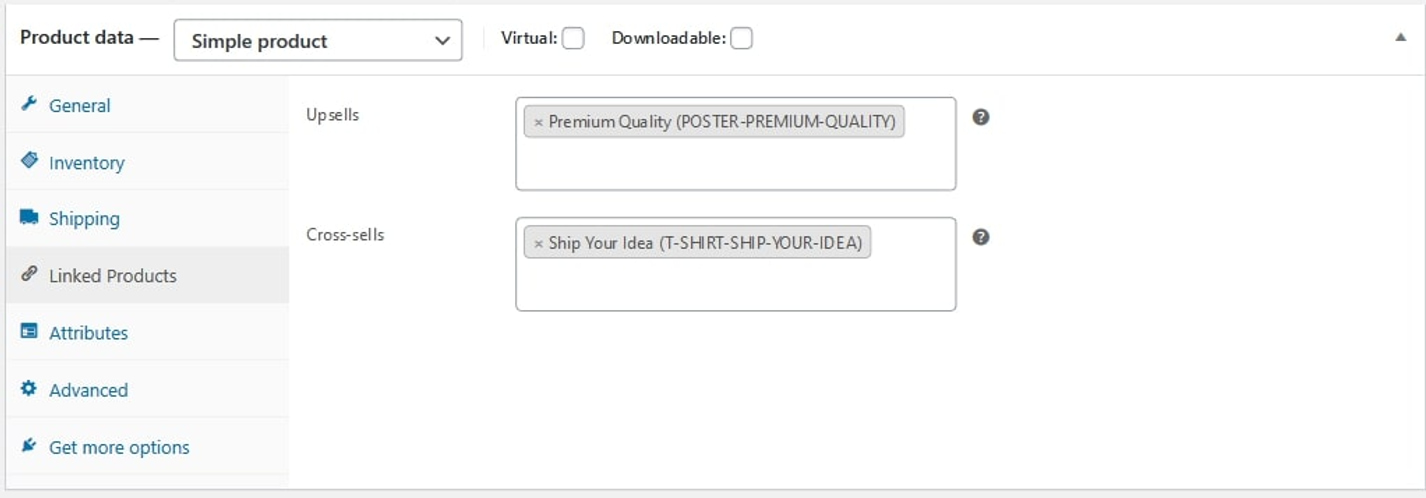
Linked products are suggestions for increasing store revenue. There are two ways to accomplish this; you can either connect to similar items on the product page that your consumers may enjoy, or you can link to related products on the product page (cross-sells)
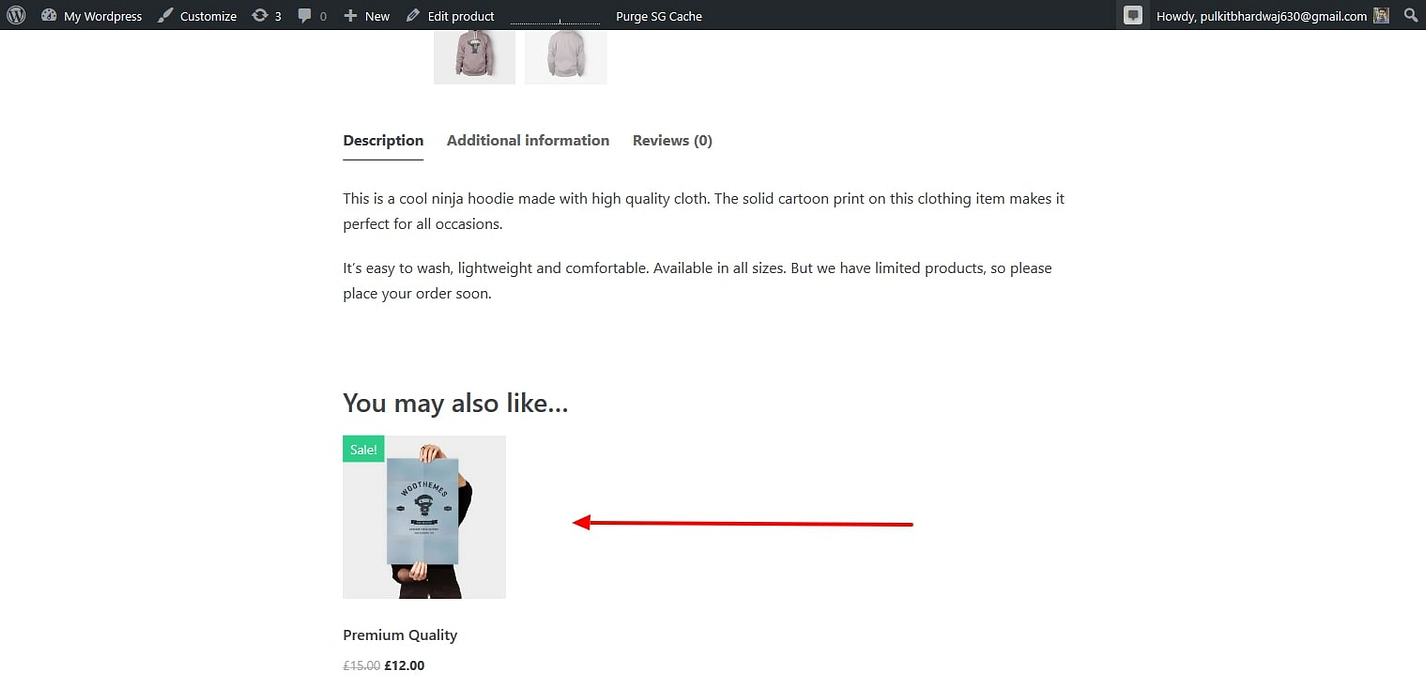
Alternatively, you can recommend more expensive products with enhanced features, increasing the product’s worth (upsells).
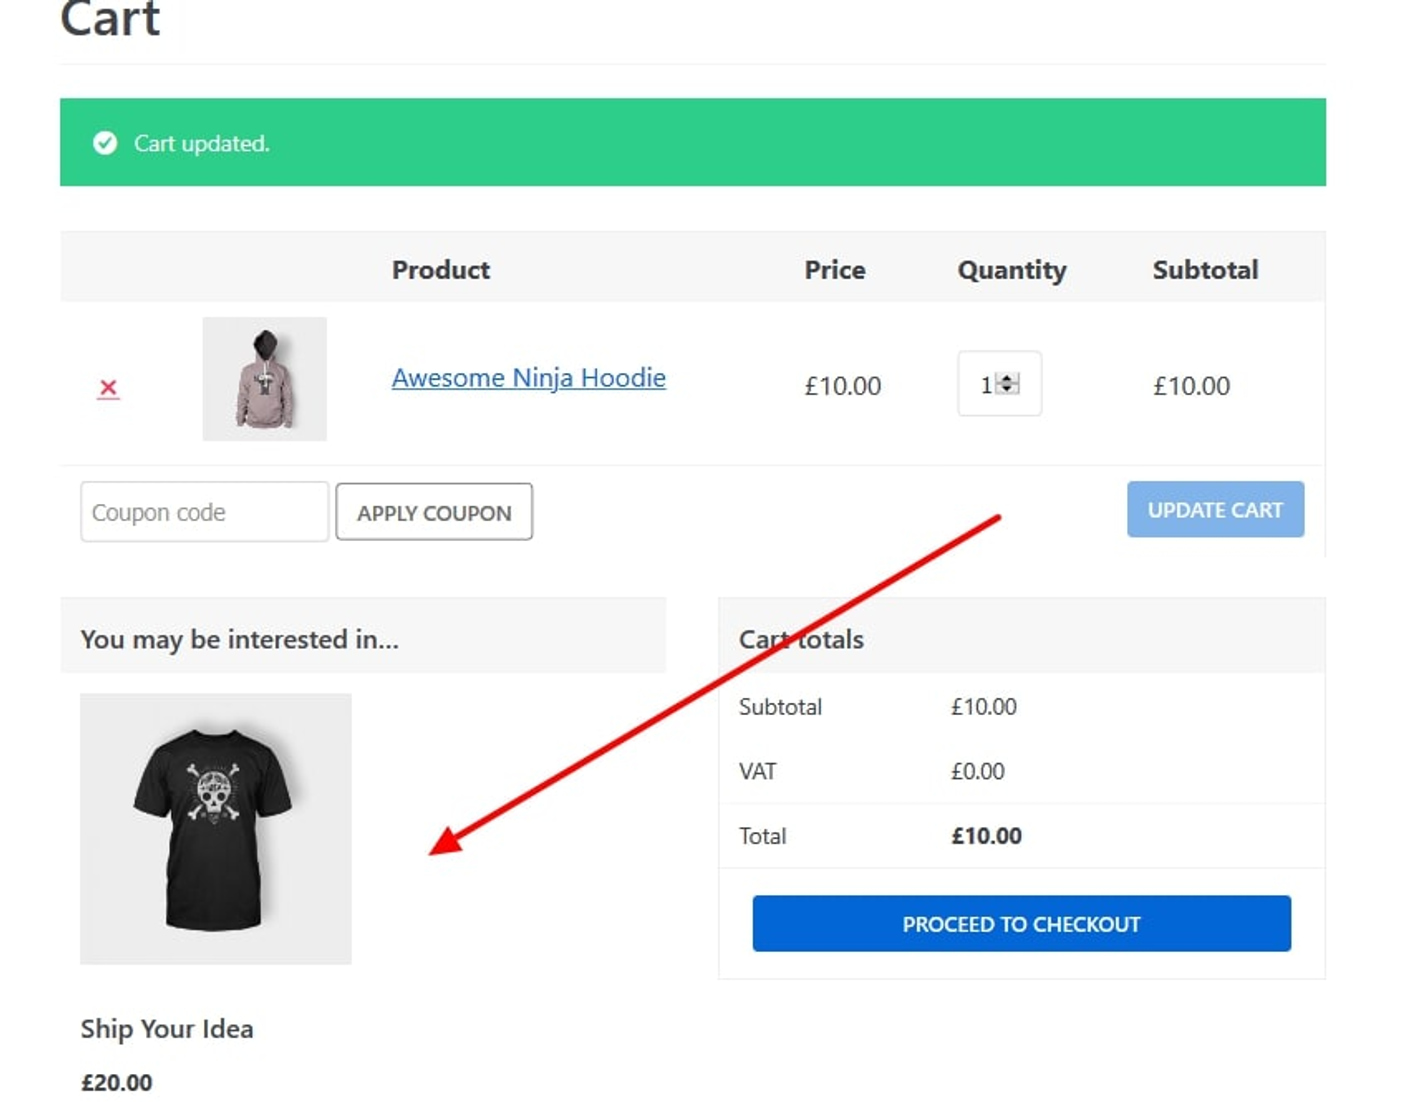
Along with upsells on the product page, you can also include them on the checkout page.
4.5. Attributes tab
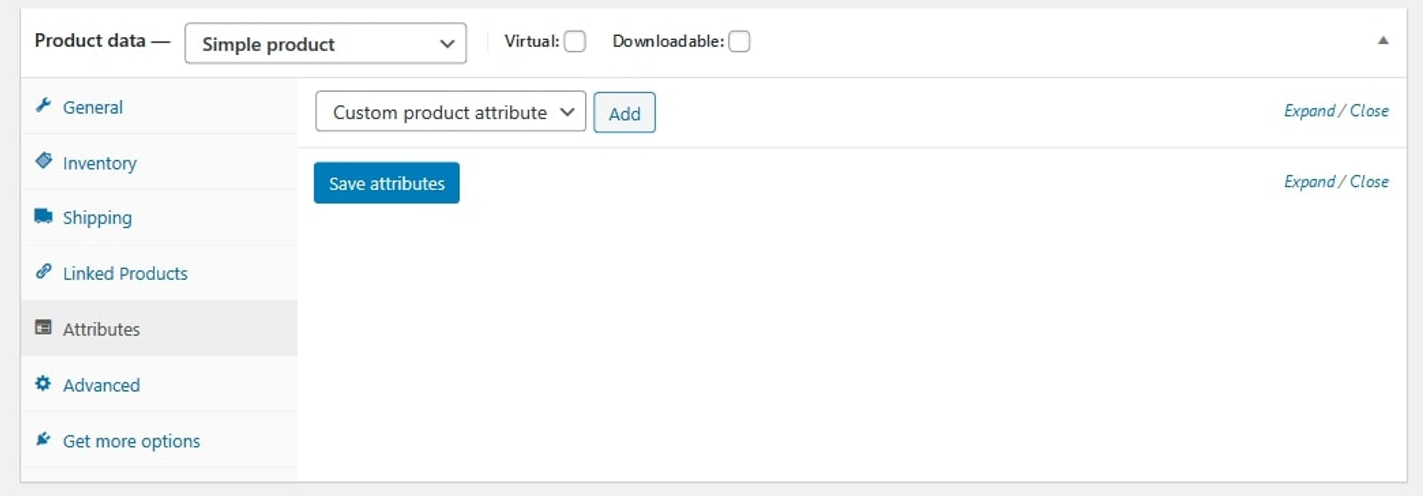
Attributes allow you to customize things like color schemes, font sizes, and more. Attributes and variants are inextricably linked. Consider this advice on adding variable WooCommerce products when adding characteristics.
4.6. Advanced tab
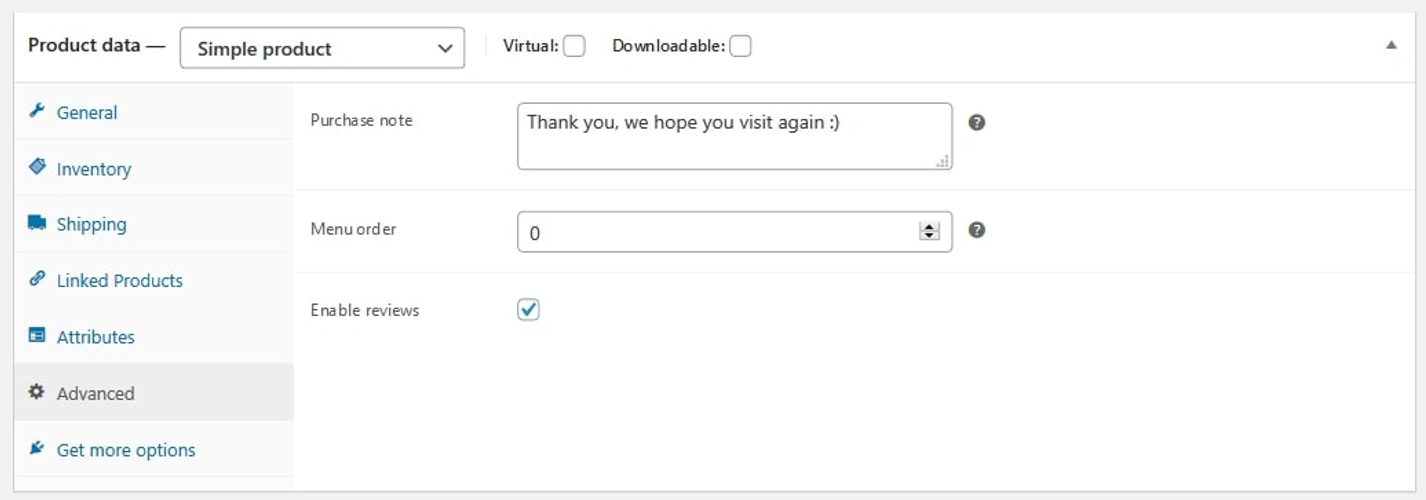
The Advanced option allows you to add a purchase message that appears after an order is placed. Additionally, you may choose a custom ordering position for the item and permit customer reviews by checking the option.
Step 5: Write a short description
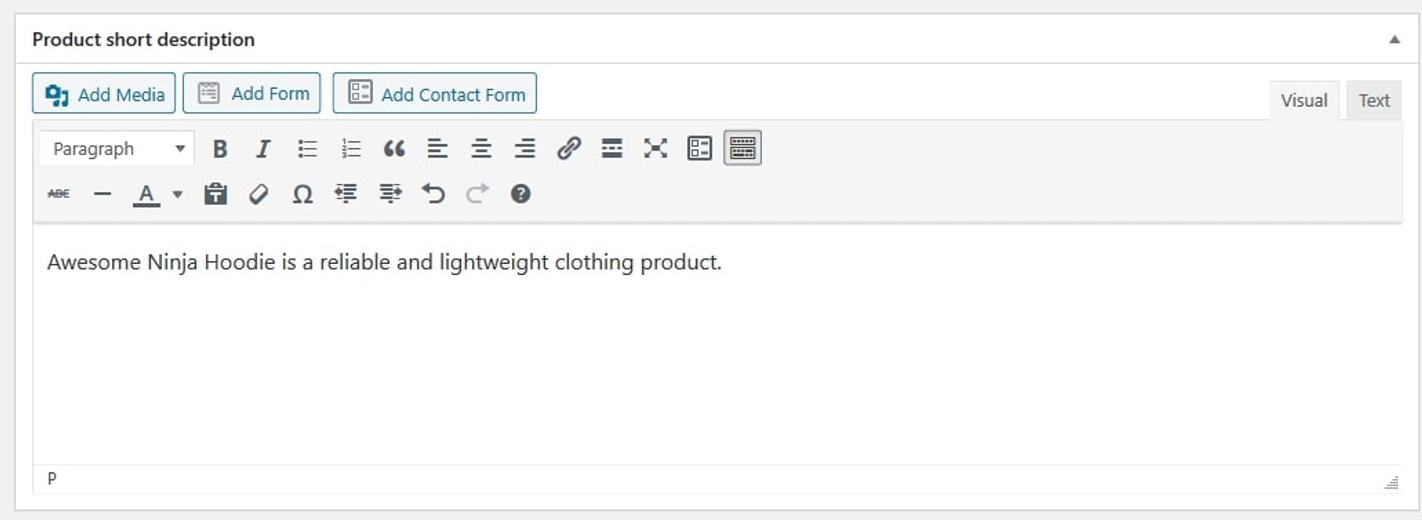
Once the Product data box is completed, scroll down to the Product short description box.
Generally, the brief description appears prominently on your single product page. The longer description you specified above will typically appear farther down, though this is subject to change depending on your WooCommerce theme.
You want your brief description to be no more than 2-3 sentences long. The brief story is more likely to be picked up by the search engine, which is critical for the SEO of your WooCommerce business. With a little copywriting and keyword optimization, you can create an outstanding short description.
Step 6: Add final information
Your product page is almost complete, assuming that you followed the preceding stages. Prior to publishing the product, use the sidebar on the right to add the following:
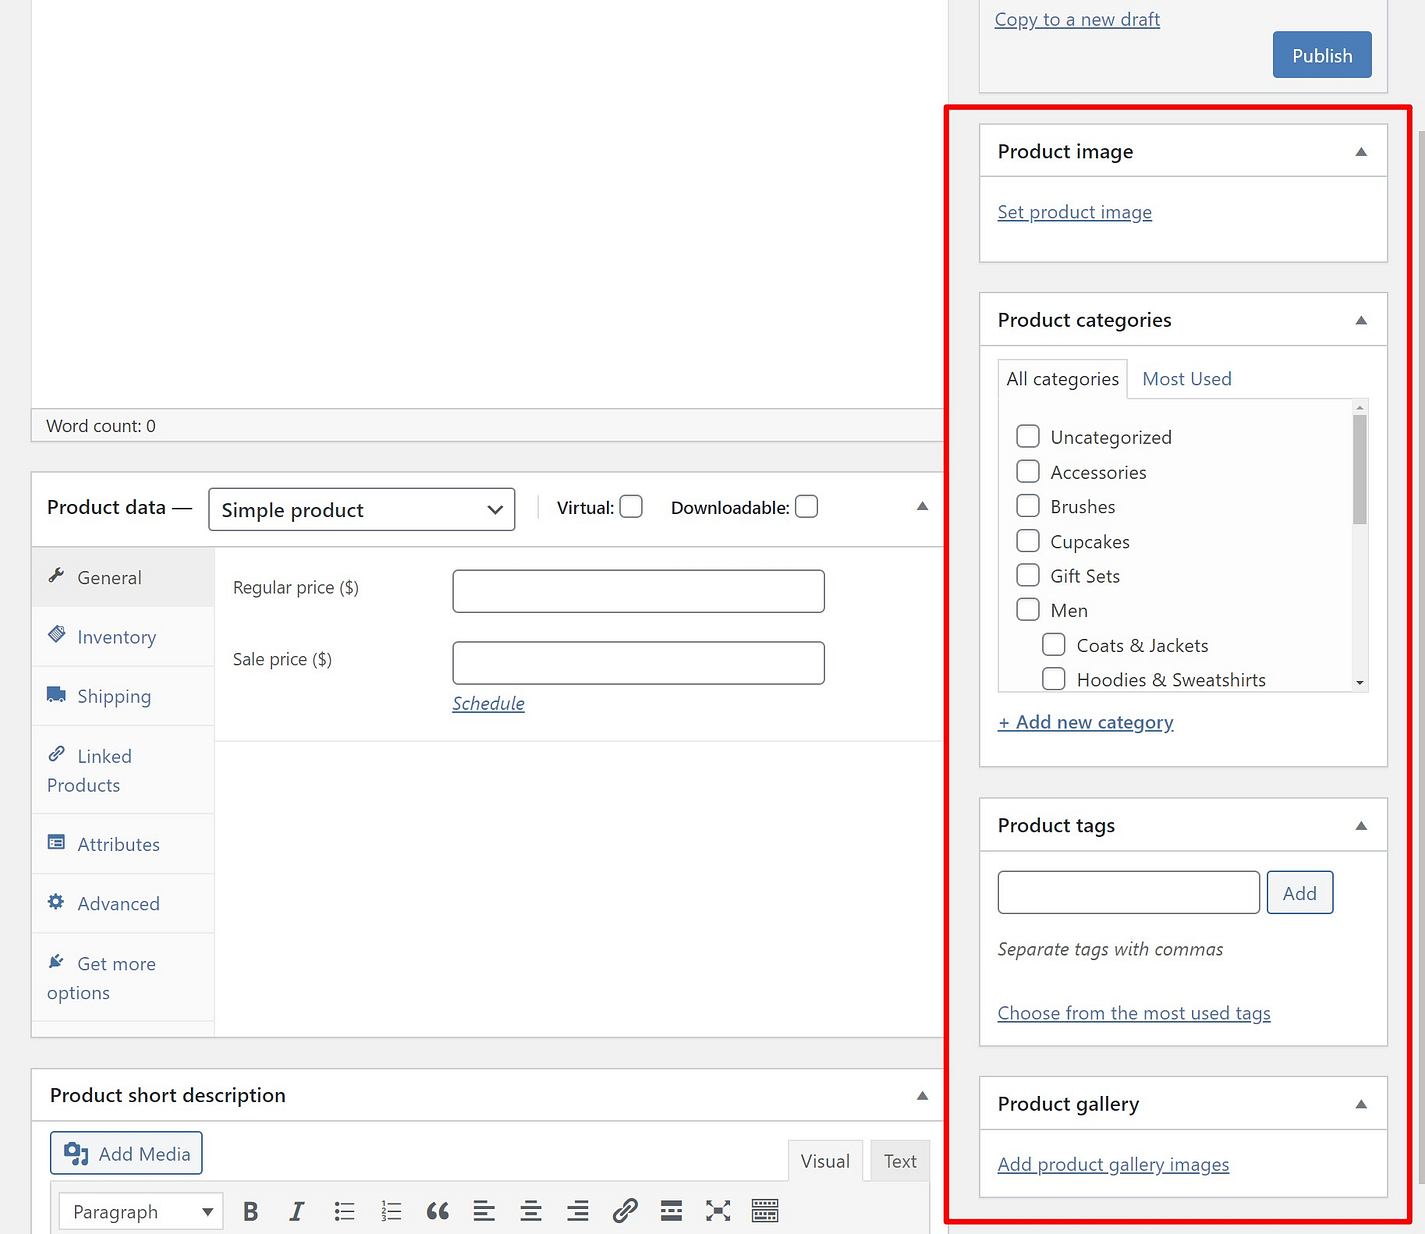
- Product categories and tags: Product categories and tags aid in product organization. Additionally, your consumers will be able to search for products using categories and tags on the front-end of your store. Make them sensible and beneficial to your intended audience.
- Product image: Include the product’s primary image. This is the largest image that will appear on the single product page and also on the catalog page.
- Product gallery: You can add additional photographs to the gallery on the individual product page.
Step 7: Simply click the Publish button
After double-checking that all product data are right, click Publish to publish your product, just like you would a blog article.
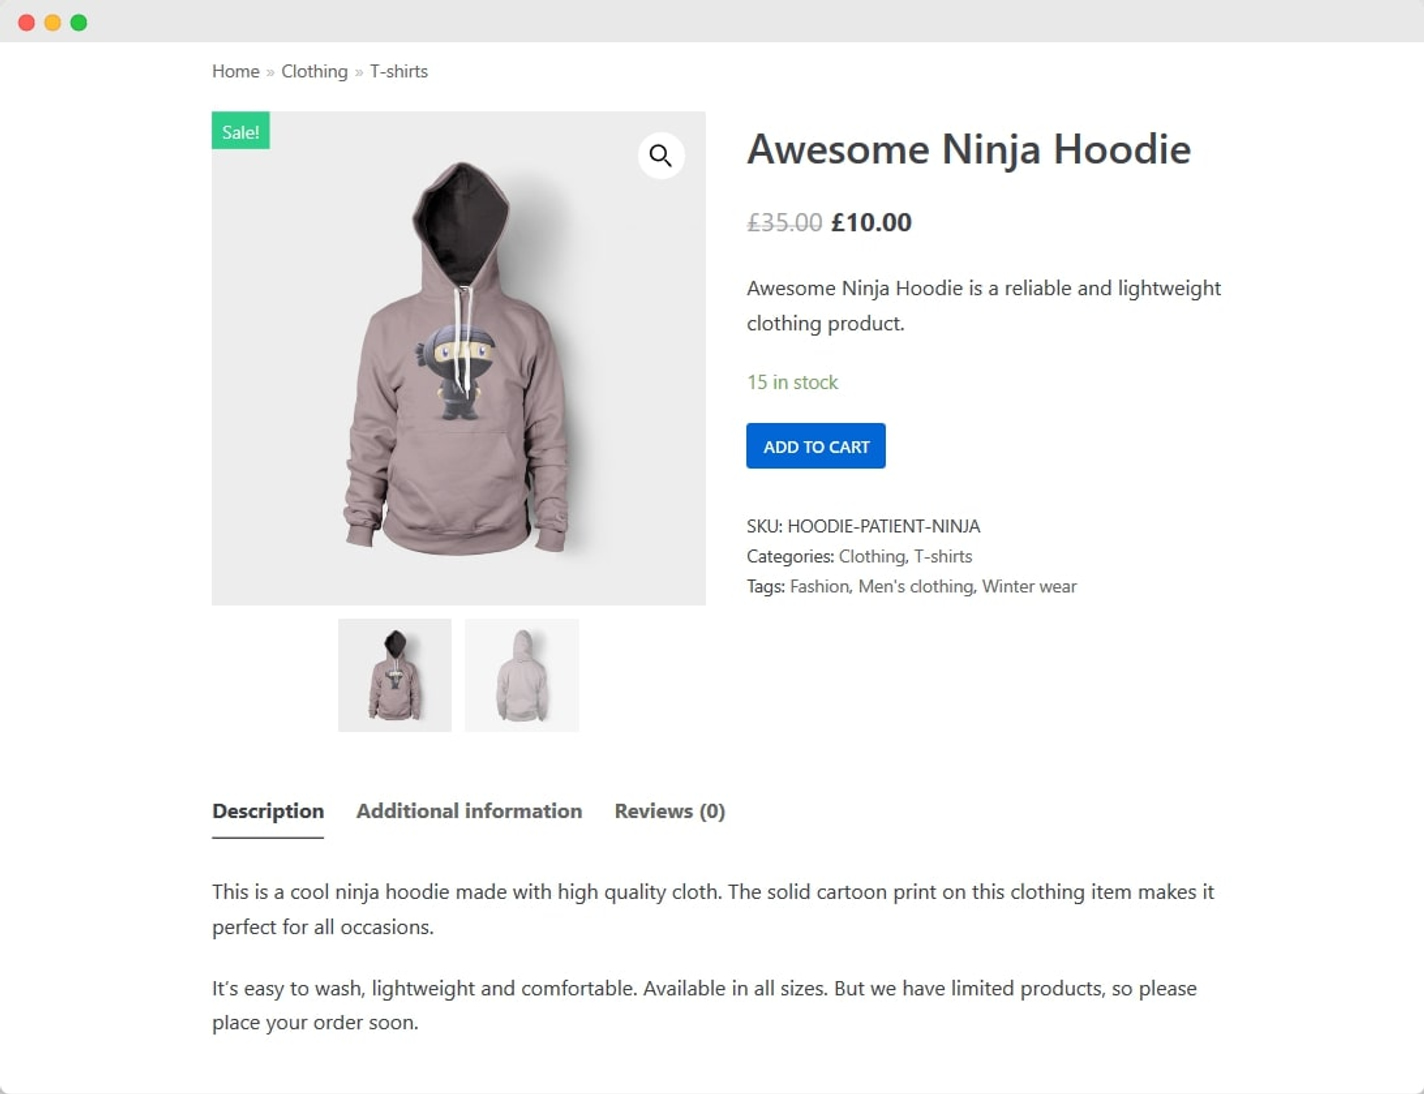
The following is an illustration of how your product can seem on the front end, though the precise design will vary depending on the WooCommerce theme you choose:
Once a product is configured, you can reuse the same template for subsequent products. Simply click the copy to a new draft link to the right of the publish box.
Frequently Asked Questions
1. Which product kinds can I add to WooCommerce?
By default, WooCommerce supports six different types of items. Simple goods, virtual products, downloadable products, grouped products, external products, and variable products are all examples of this type of product. However, WooCommerce also enables additional plugins that expand your store’s product types.
2. Is WooCommerce capable of handling bespoke product types?
Custom product types are supported by WooCommerce. You can add special product types like subscriptions, auctions, and bookable products using WooCommerce extensions and other compatible plugins.
3. How does product recommendation in WooCommerce affect conversion?
Product suggestion in WooCommerce is a critical method for increasing your store’s conversion rate. WooCommerce enables you to recommend attractive bargains to shoppers via upsells and cross-sells. This enables them to locate products and finish purchases more quickly. Similarly, you can enhance this method further by utilizing third-party plugins.
Final thoughts
Establishing a WooCommerce store is an interesting process that entails numerous steps. It is physically impossible to operate a store without adding things. WooCommerce enables you to accomplish this in a variety of unique ways.
From product creation through publication, all of the actions required to create WooCommerce products are rather straightforward. If you encounter an issue, please notify us in the comments area below.
If you’re interested in learning more about WooCommerce and why it’s such a wonderful option for eCommerce, you can find more useful articles on AVADA.


