
How to Add Price to Attribute in WooCommerce

Your store would become more reputable if you can provide customers with a fantastic shopping experience. If you are selling something like a t-shirt and want to make it easier for shoppers to choose their favorite size and color, it is a must to add a product attribute. This is to say, in case you do not set the price and attribute, customers would feel annoyed to seek their wanted item.
So, it is time for you to add price to attribute for WooCommerce products and help customers achieve satisfaction while shopping in your store. Do not worry if you have not known anything about this, just simply follow us on this guide and you will have an in-depth into how to add price to attribute in WooCommerce.
How to add price to attribute in WooCommerce
With several simple steps, adding price to attribute in WooCommerce is now easy as a piece of cake, turning those attributes into images and color swatches to provide a greater customer experience. Let’s thrive in to see how you could accomplish this task right now!
1. Add price to attribute manually
If you are good at configuring your WordPress and WooCommerce site, it is a great idea to add price to attribute manually. So, follow some following steps if you make up your mind to do it without the help of a plugin.
Step 1: Create one variable product
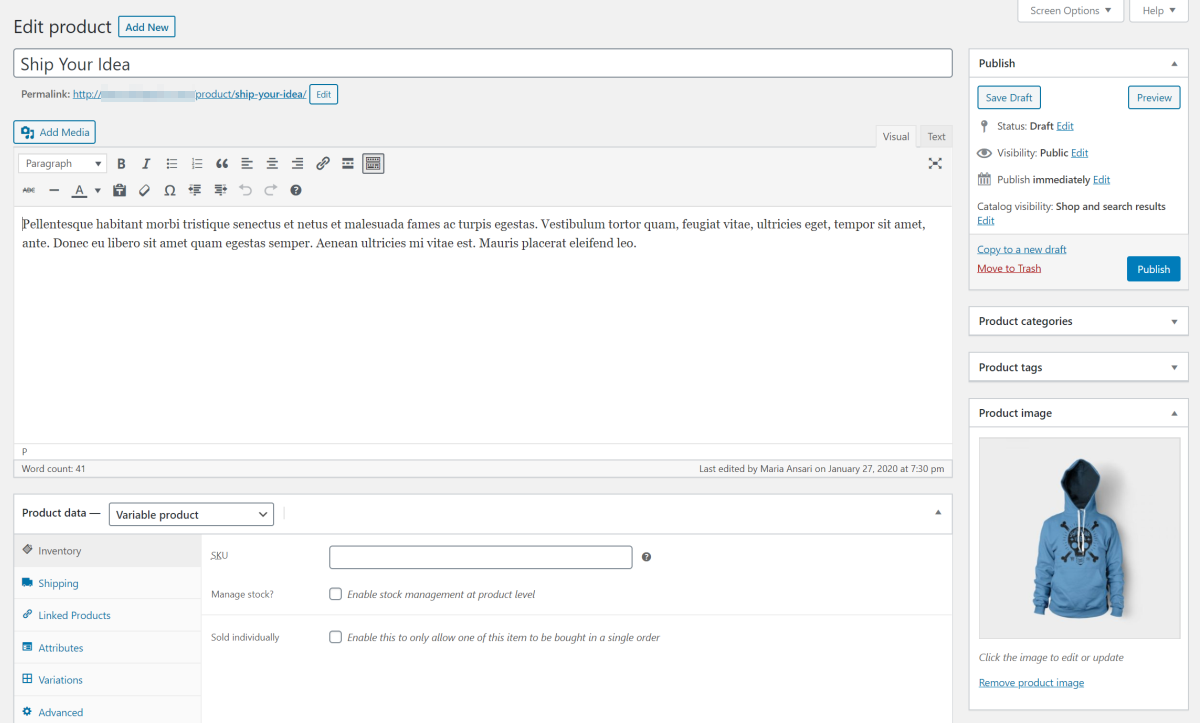
Before adding a price to a specific attribute, it is a must to create one variable product. In doing so, your task now is to hit on the section “Products”, then press “Add New”. This activity aims to create a new product; hence, it is necessary to give it a name, coupled with the description. Next, you have to navigate under to see the section “Product Data”.
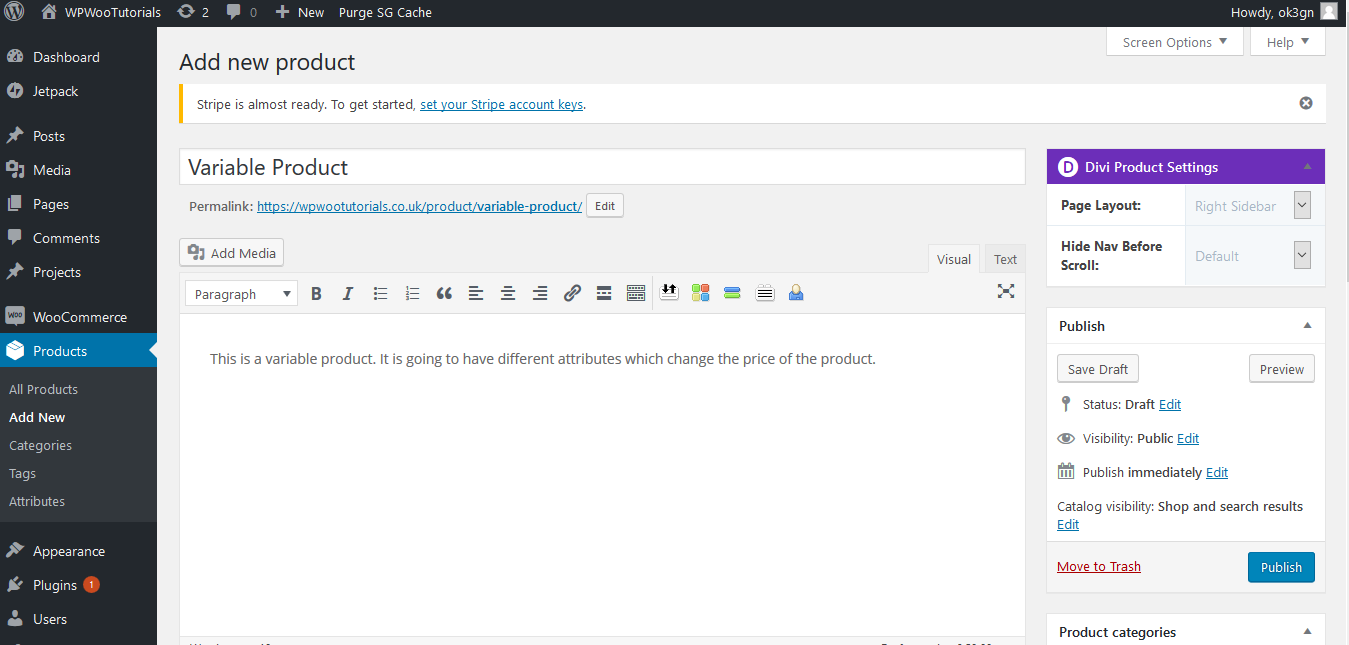
Here, you can encounter the dropdown. Click on it to choose “Variable Product”.
This activity tends to change a product to a variable product from a single product having one price. There you are able to see that you are required to set up several attributes for creating variations of a specific product. It is easy to perform this task. Now, to keep going, you need to save the created products as the draft and keep reading to know how to do next.

Step 2: Create attributes
Move on to the next step with creating attributes. It is obvious that attributes in WooCommerce bear a great resemblance to attributes of human beings. They can be identifiers and qualities for your items or products that could create product variations. Attributes that store owners set up in WooCommerce are multiple prices for each product setup.
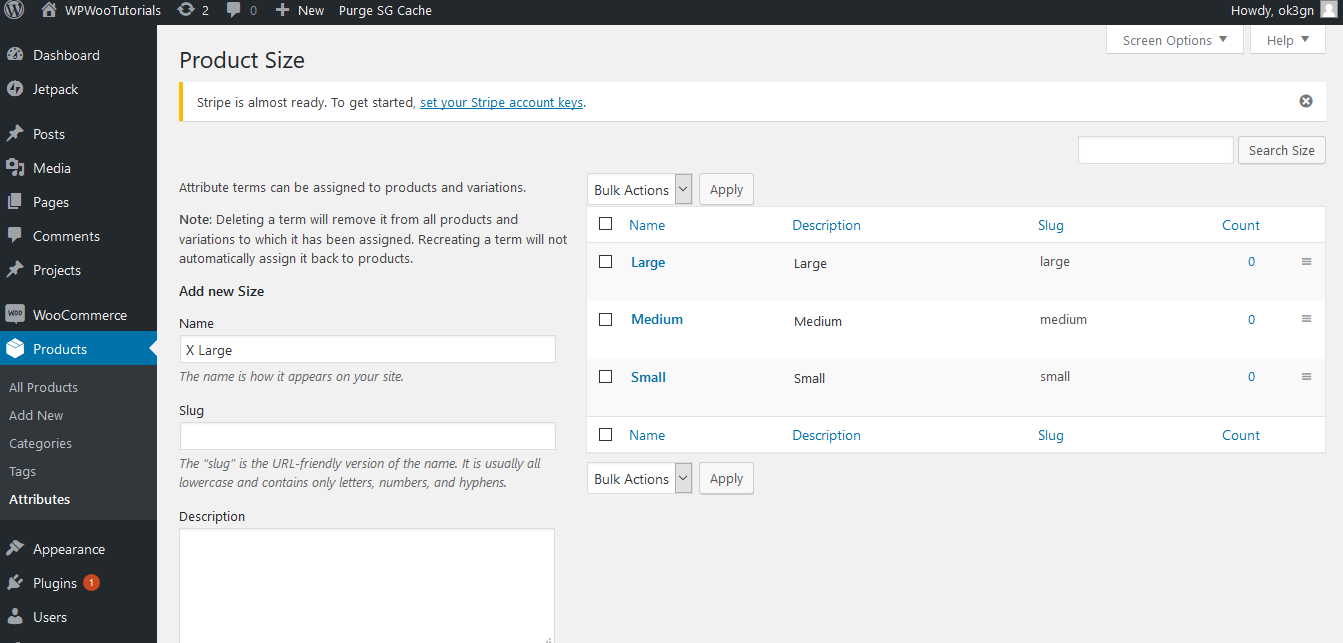
In case these attributes relate to qualities, terms will be the myriad qualities existing. To create as well as set up attributes, you need to hit on “Products”, then select “Attributes”.
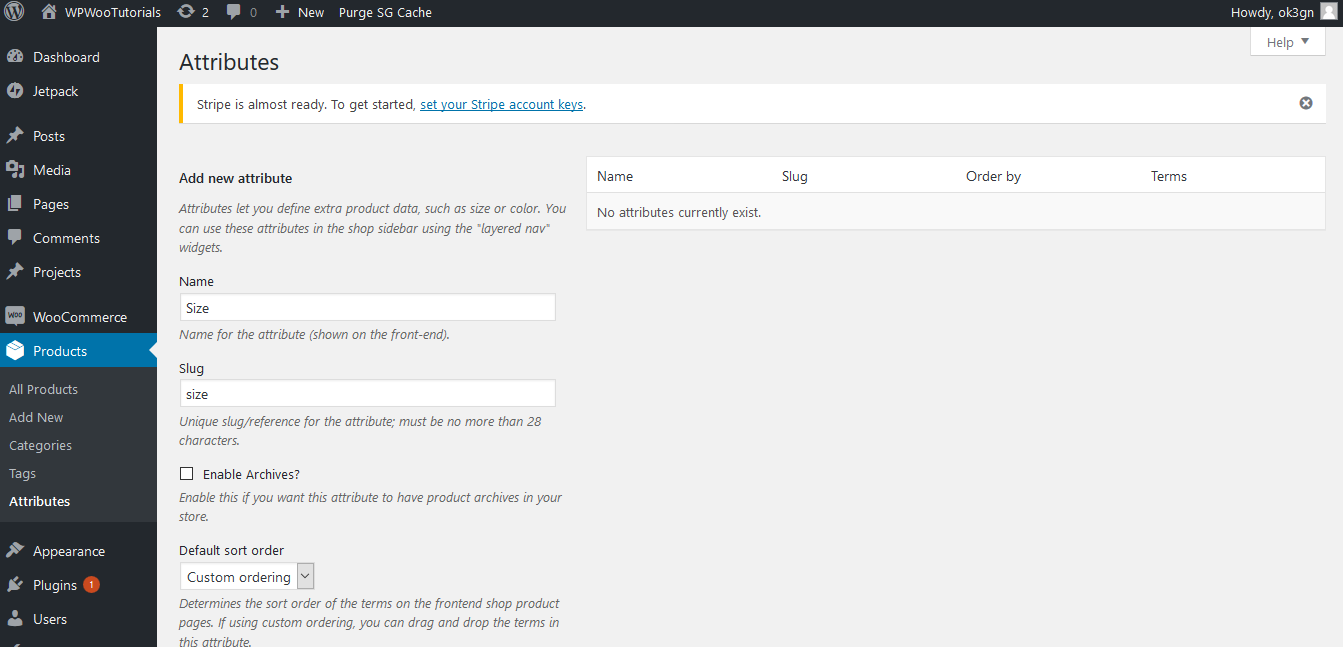
Go ahead with adding one new attribute, such as color and size. The next thing to do is to hit on “Terms”.
This will add the new terms with a view to populating such attributes as large, medium, or small.
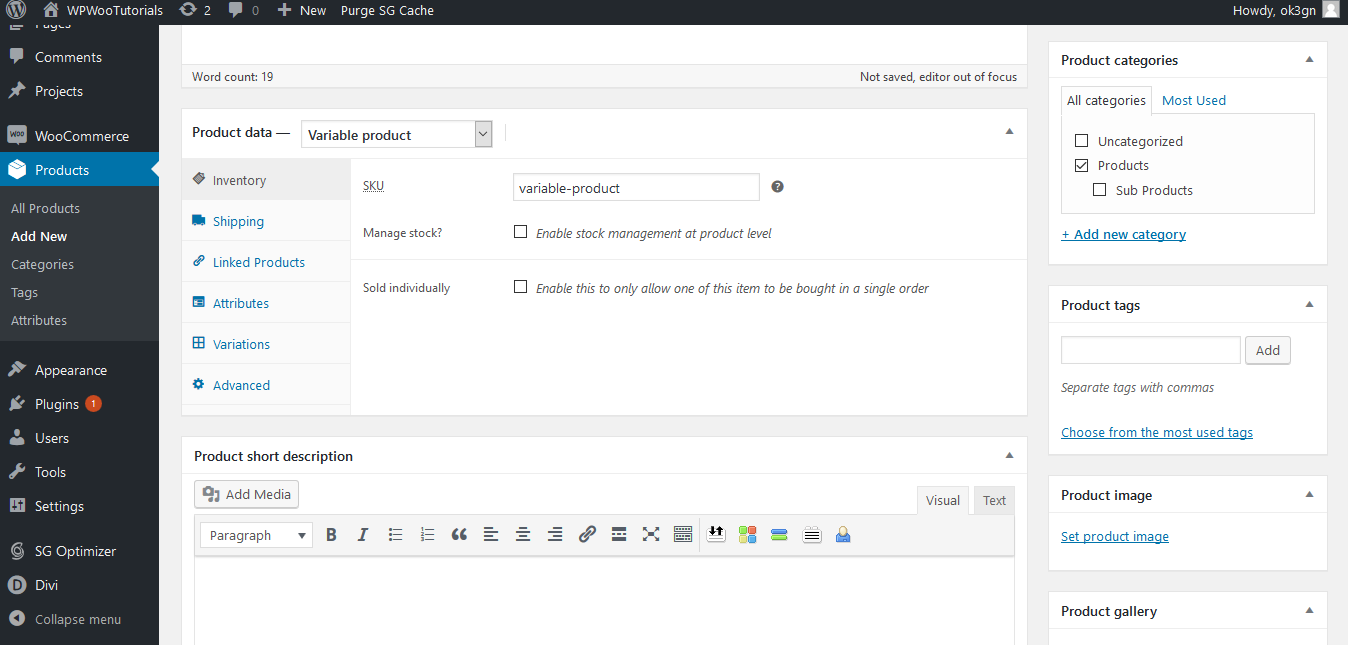
Step 3: Add Attributes to the product
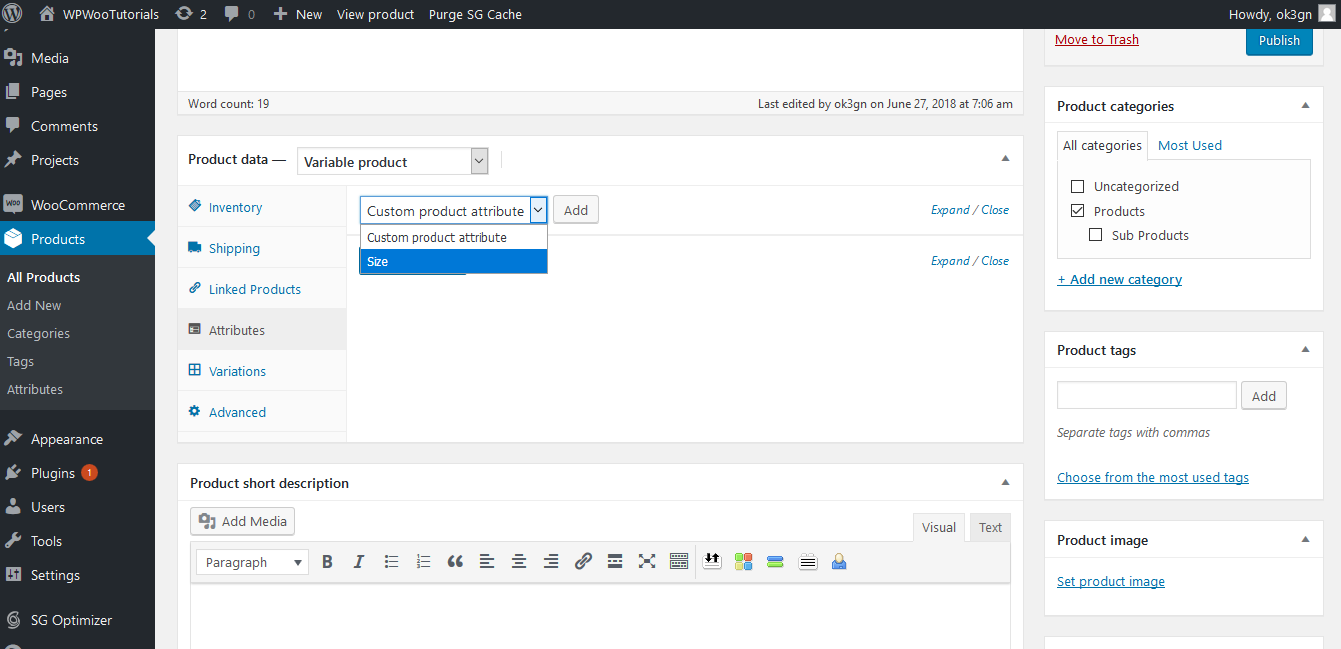
When you are here, you proceed to add attributes to the product. Now, your task is to return to the created product that you have saved draft earlier to hit on “Custom Product Attribute”. Next, you can be able to notice the attribute that has been previously created. It is time to select it, then choose “Add”. The next step is to check two sections named “Use for Variation” and “Visible on the Product Page”.
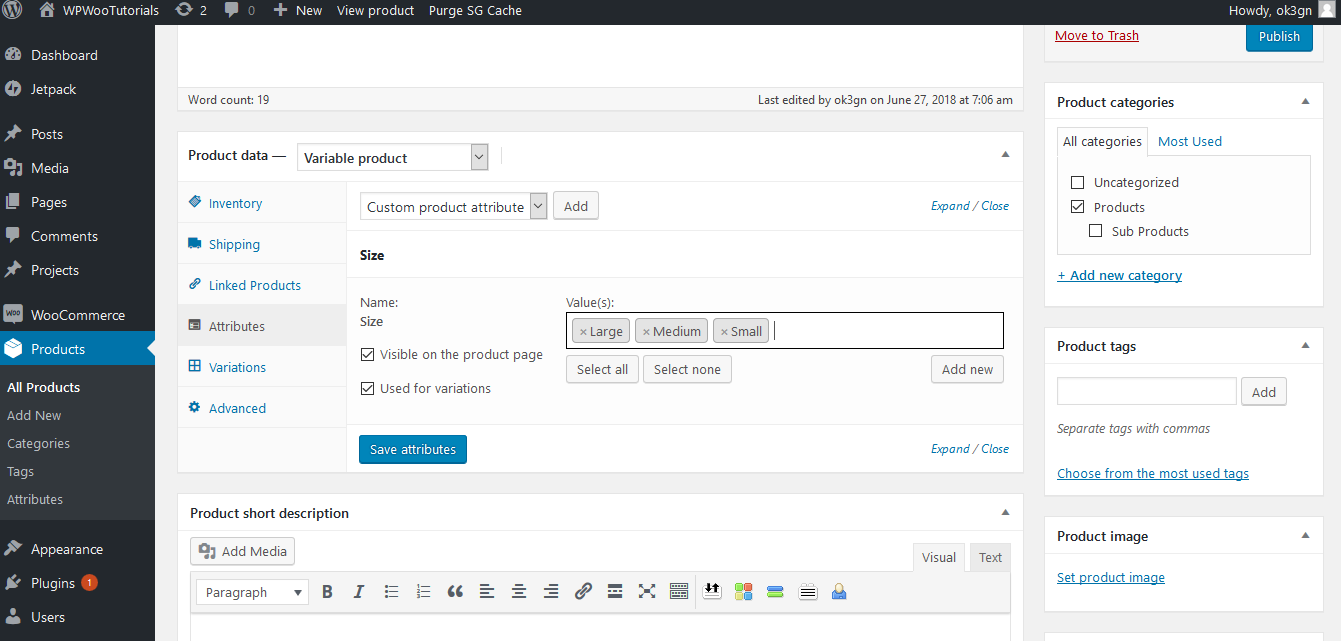
Now, you are required to hit on “Value” before selecting every term that you want to use such as large, medium, and small. Then, remember to choose “Save Attributes”.
Step 4: Populate your variations
As soon as you add the attributes as well as terms successfully to that particular product, it is a must to populate or create your product variations. This aims at setting up multiple prices in WooCommerce per product.
In doing so, you are supposed to hit on the sub-tab “Variations” on that product, then follow several steps. Here, you need to choose “Add variations” from your dropdown. Then, you will click “Create Variations” from every attribute. Then, just simply choose “Go”. Check out the below screen to see what your new variations will look like after you implement the above steps.
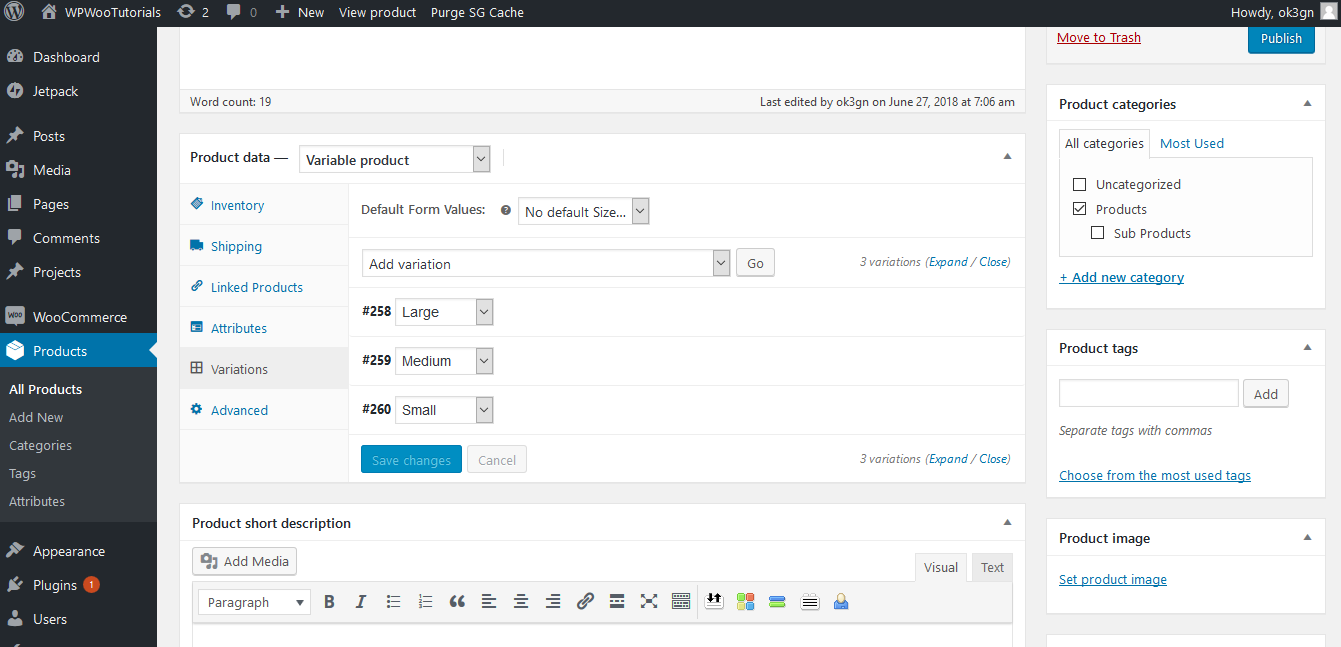
When you are here, you need to implement the configuration of variable products that come with SKU, a price, or other information. Then, it is time to choose your small dropdown arrow to configure that variation.
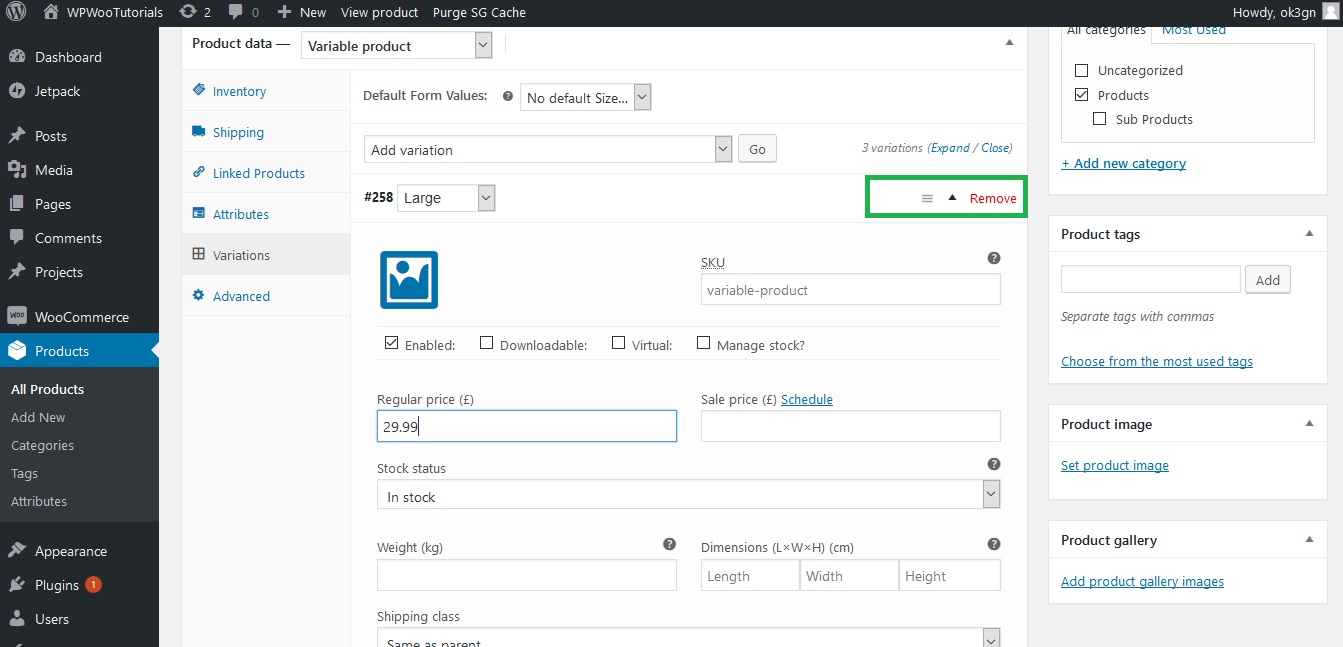
Once everything is okay, your product needs to be published to bring the WooCommerce product added with prices to be live.
2. Add price to attribute using a plugin
Using a plugin is always quick and effective. In the first method, you have to know how to add price to attribute manually, now you will be introduced to another method where you can get the support of a plugin. In this situation, the plugin WooCommerce Attribute Swatches will be applied to help you accomplish the task.
Step 1: Install and activate the plugin
First of all, you need to purchase the plugin. Then, you will receive two email notifications. The first email lets you approach a link for downloading WooCommerce Attributes Swatches, coupled with the license key. You should bear in mind that the license key should be kept safe, then you need it for later use.
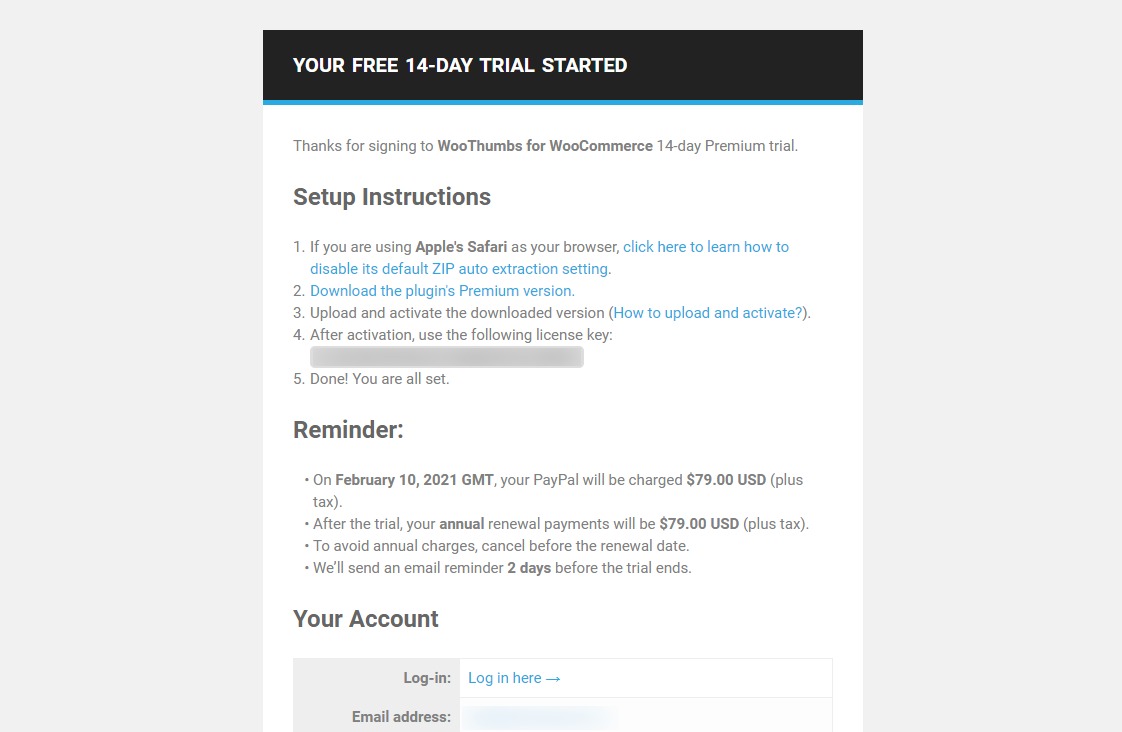
In the second email, you can encounter the invoice issued for this purchase. You can download it in the PDF invoice to serve the record purpose by choosing “PDF Invoice”. After you finish downloading the plugin, move on to further steps as below.
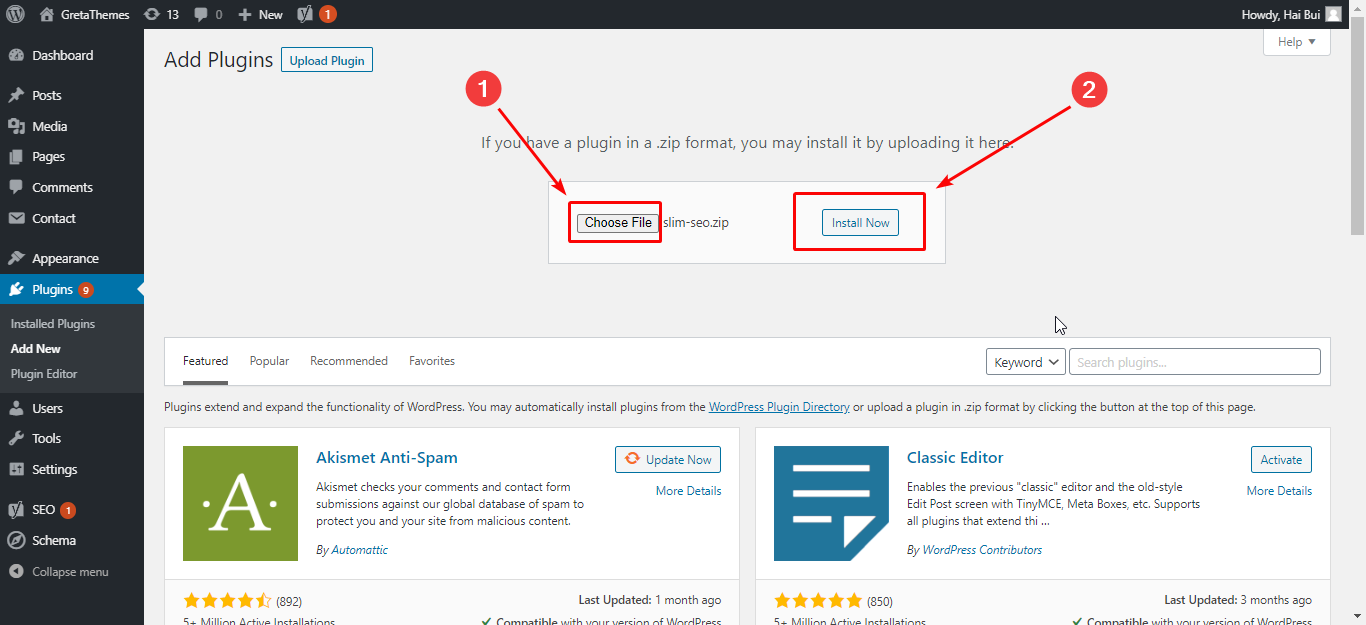
As you have downloaded the zip file, you now need to upload that file to your site. In doing so, you will need to log into your WordPress website to select the section “Plugins” and “Add New”. Here, your task is to hit on “Upload Plugin” before pressing “Choose File” for uploading the downloaded zip file of this plugin. Next, select “Install Now” to get WooCommerce Attribute Swatches installed. As soon as the installation is done, click on “Activate”.
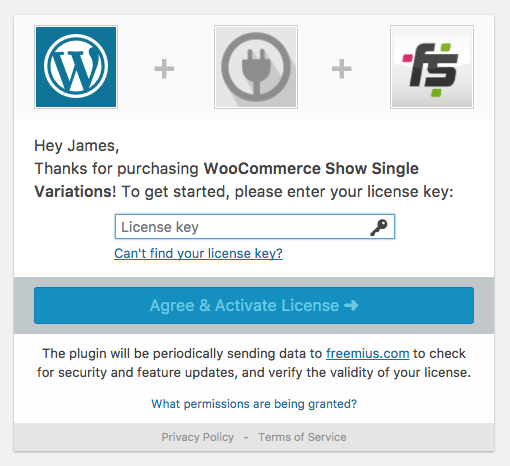
After you activate WooCommerce Attribute Swatches, you will then be taken to a screen that displays the license activation. This activity aims to verify your purchase and rest assured that you could be able to receive the latest updates from the supplier.
In this section, you need to enter the license key in the first email notification in the box “License Key”. Next, click on “Agree and Activate License”. Congratulation! The plugin is now ready for use.
Step 2: Construct the variable product
Like the first method, you also need to create one variable product in order to add price to an attribute. So, now your job is to create a WooCommerce variable product like the below screen.
To perform this, just simply navigate to the section “Products” and click on “Add New” in the admin panel of your WordPress. Moreover, it is also vital to give this product a name, coupled with a description. Navigate under, you will encounter the section “Product data” where you are able to choose “Variable product” from the dropdown menu that indicates “Simple product”. After that, hit on the button “Save Draft” to go ahead.
After you are done creating a variable product, you will be entailed to construct the attributes for that product. Check out the below screen to have a deeper understanding of what you are required to do.
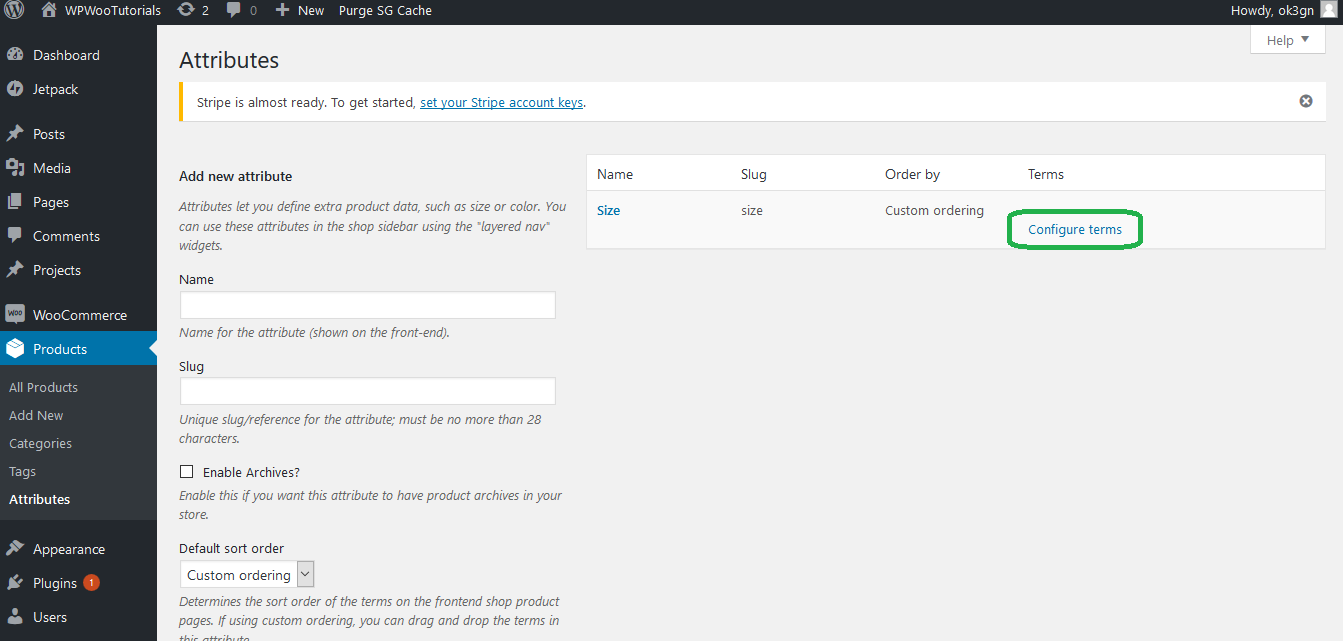
By heading over to the section “Products” and choosing “Attribute”, you will go to where you need to fill in the name for the attribute of your new product, like color or size. Keep going by clicking on the button “Add Attribute” and the link “Configure terms” for populating the attribute.
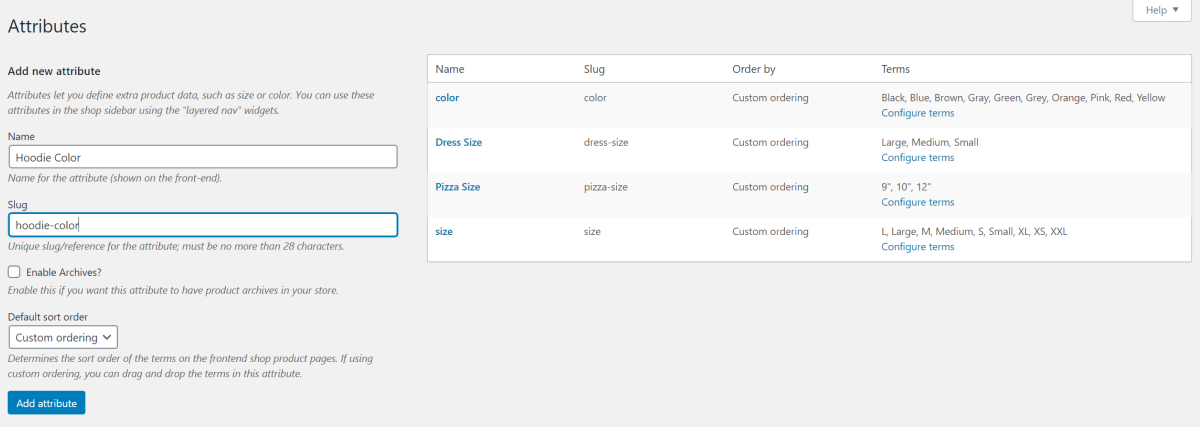
Let us cite an example. In case you are keen on adding one attribute for the color, then the needed terms will be black or blue.
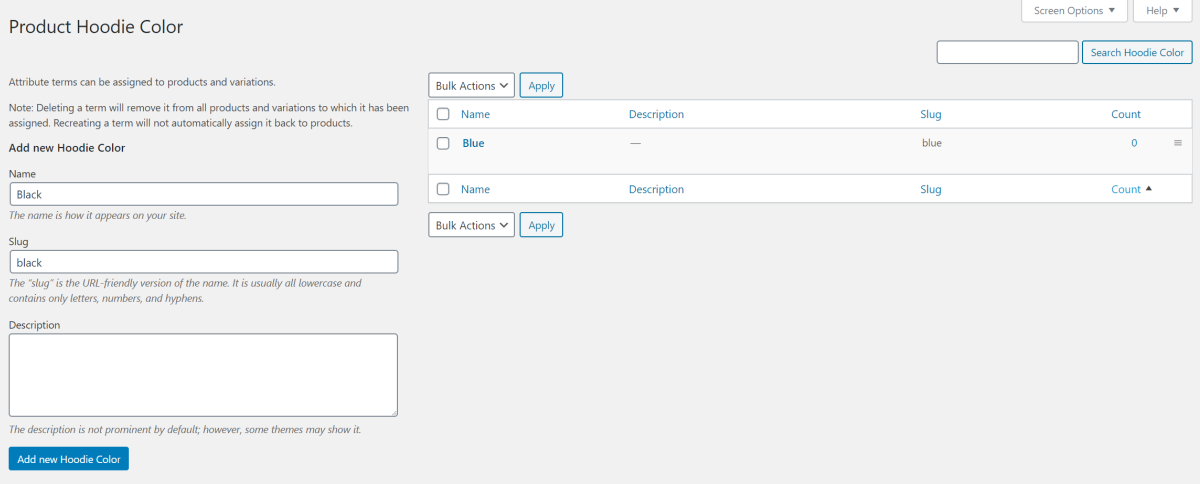
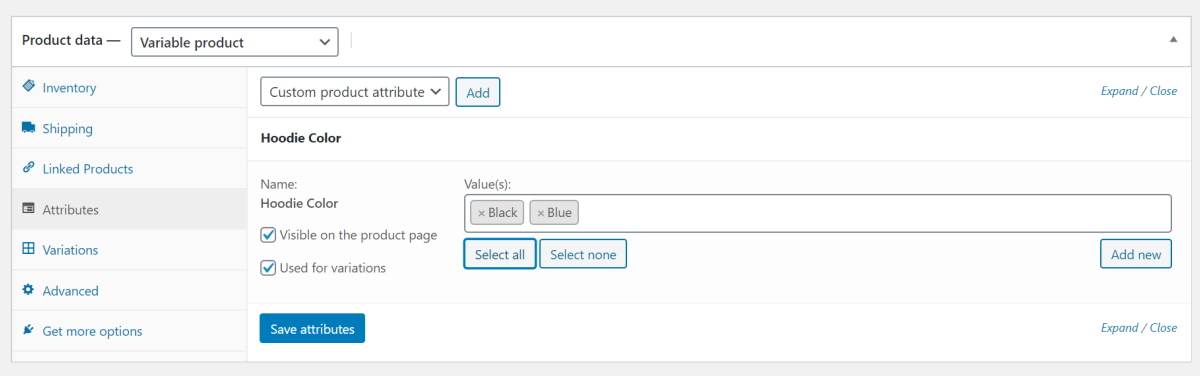
After all, remember to click on the button “Save Changes” for proceeding with further steps. Now, spend some minutes returning to the created variable product in the previous step, then scroll down a bit to the section “Product data”.
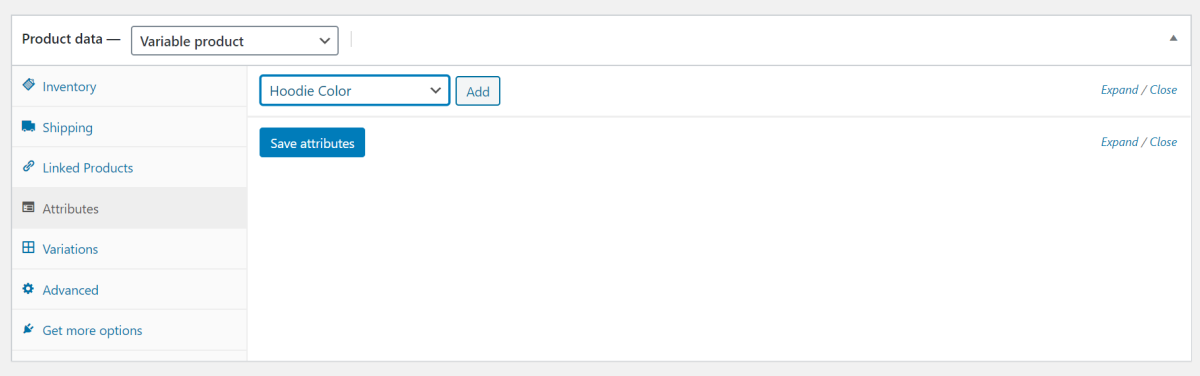
Here, you will go to “Attributes” to use your dropdown menu for choosing the created attribute and hit on “Add”. What is more, you should rest assured that the checkbox “Used for variations” will be ticked. Afterward, do not forget to select “Value”. Next, proceed to add all the terms that you are keen on including in product variations before clicking on “Save attributes”.
Step 3: Add price to product attributes
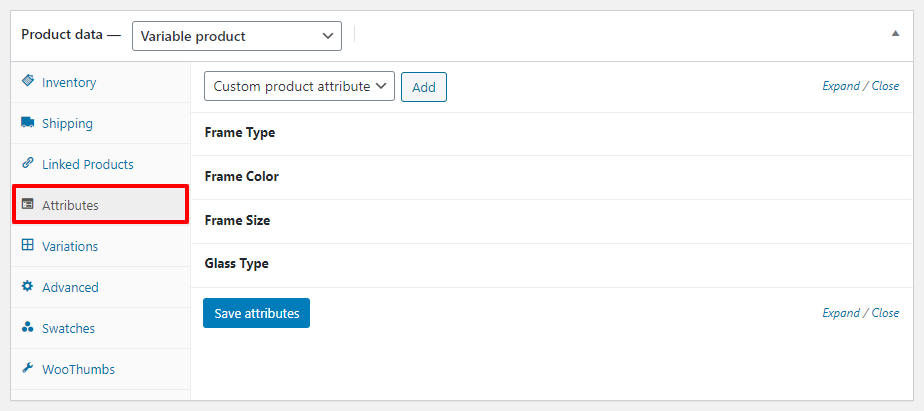
The final step involves adding price to product attributes. To configure the specific price for your product attribute, you will choose the tab “Attributes” in the section “Product Data”.
One more no less important step is to expand your attribute that you fancy adding prices. Do not hesitate to scroll to your section “Fees” to enter the extra fee you prefer to charge.
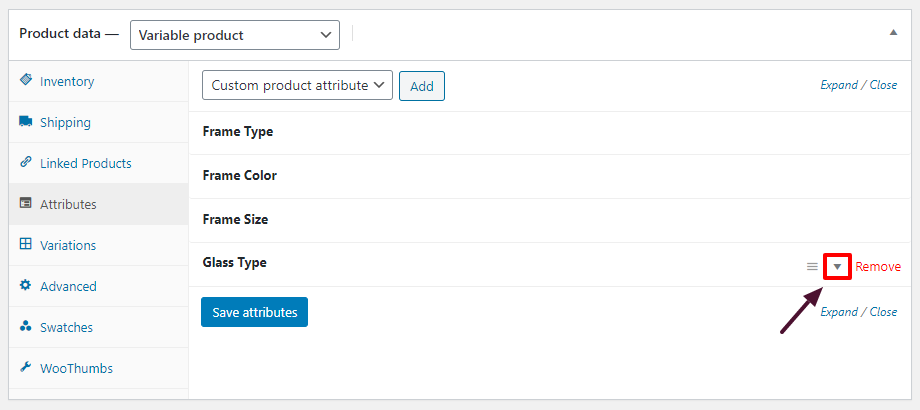
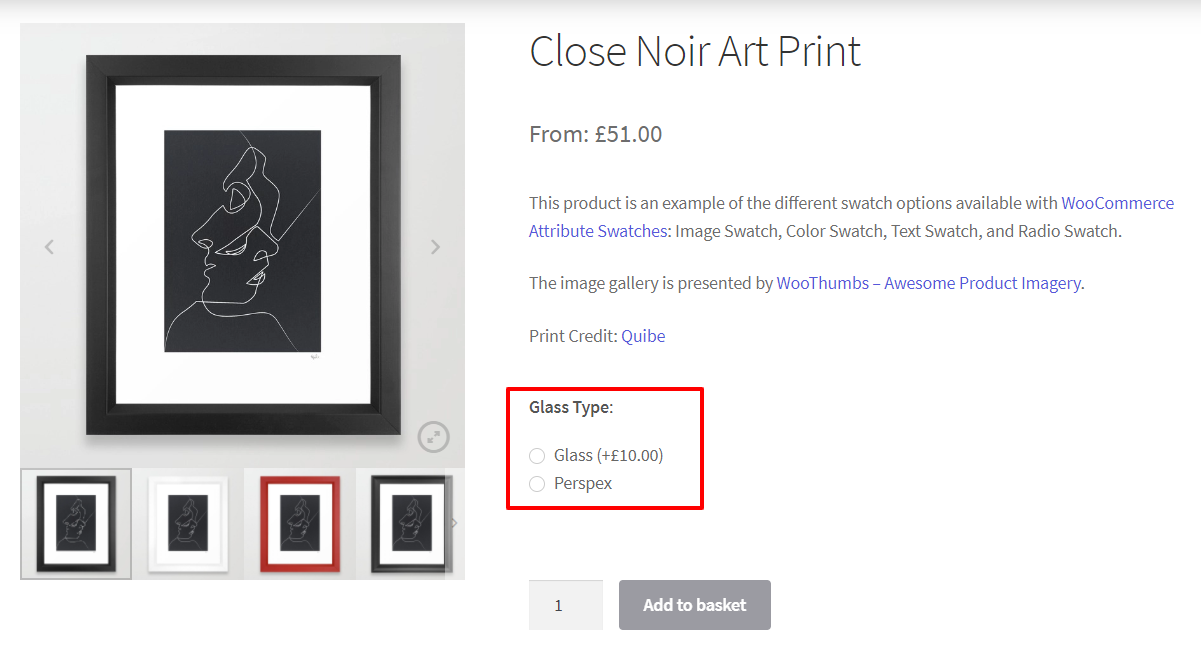
When you are done, it is time to click on “Save attributes”. And it is also necessary to click on “Update” for updating your product. If you view your store product, you will notice those attribute values having additional fees.
Conclusion
With our two above-said methods, adding price to attribute in WooCommerce is now easy as a piece of cake. So, you should walk through both of them to figure out which one fits your WooCommerce store most and which one is simpler to follow. By reading through each method, you could follow and accomplish this task successfully. Hope you enjoy our article, and stay tuned for more amazing tips and tricks for your online business.


