
How to Add Local Pickup to WooCommerce

Because of the nature of your eCommerce store, a lack of delivery options, or the size/weight of your goods, you may need to limit local pickup to save money for both you and the client, as well as reduce delivery time. You may achieve this by defining a shipping zone and selecting “Local pickup” as a shipping method in WooCommerce. In this article, we will show you how you install Local Pickup to WooCommer in the simplest way.
How does it work?
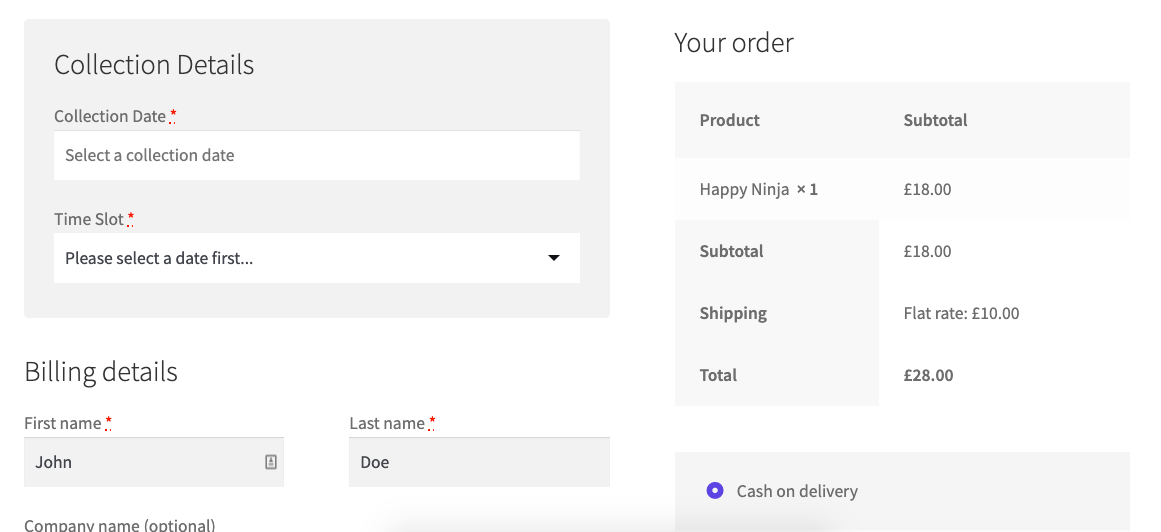
A consumer browses your online store as normal and adds the items they want to purchase to their shopping basket. They can choose a collection date and time for their purchase during the checkout process. After making a payment, the customer will get an email confirmation that includes information about their order as well as the collection slot they choose.
The store owner will show the specified collection date in the orders overview, order details, and delivery sections.
You may also entirely customize what time/date slots consumers can choose from, how often they occur, establish maximum orders, limit same-day pickup, and more.
How to Add Local Pickup to WooCommerce?
Step 1: Install your local pickup shipping zone
The first thing you must do is create a shipping zone. You’ll be able to choose the delivery method(s) you’d want to utilize. In this instance, we’ll arrange for local pickup (collection).
Take the following steps to make it:
- Go to WooCommerce > Settings in your WordPress dashboard and choose the Shipping option.
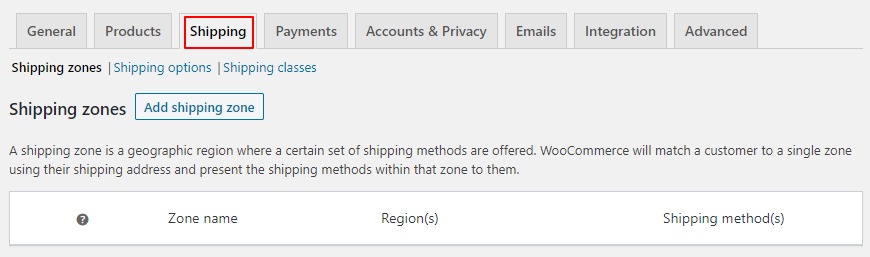
- Choose Add shipping zone.
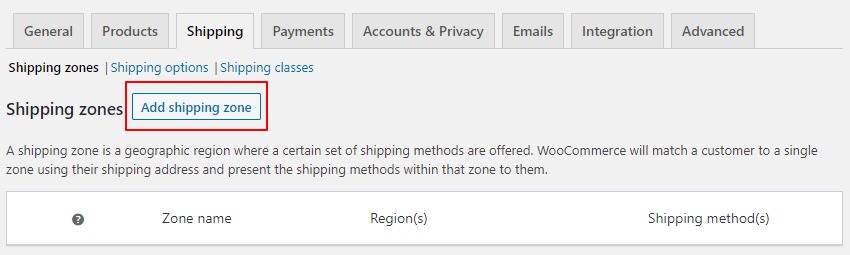
- After that, you’ll be sent to a screen where you may enter your shipping zone information.
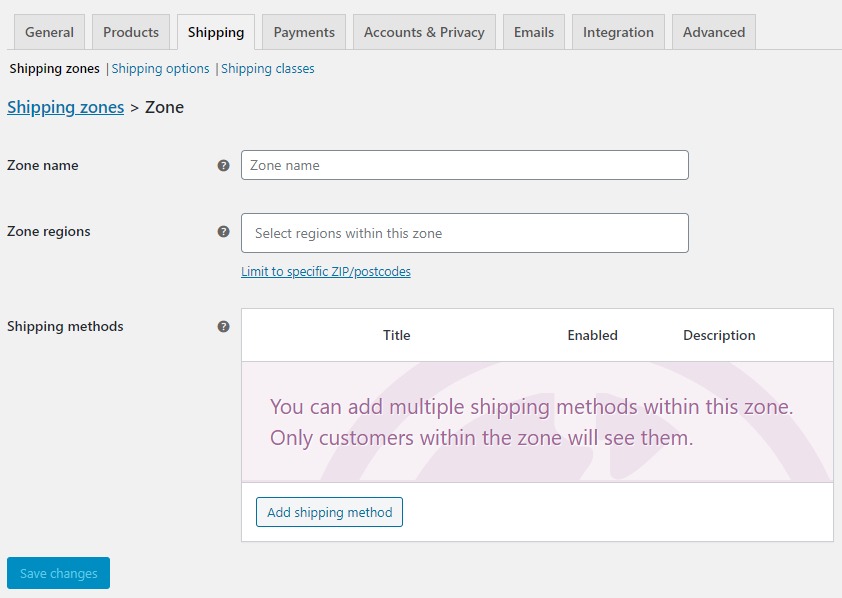
- We’ll name this shipping zone Local in this example, and the area will be the United Kingdom. Only the United Kingdom will be eligible for collection.
- We’ll then add our delivery method — local pickup (collection).
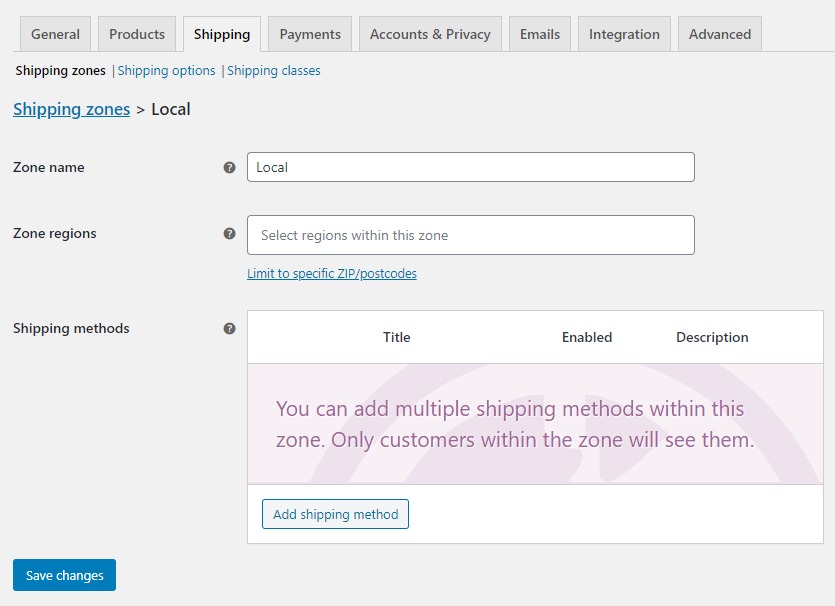
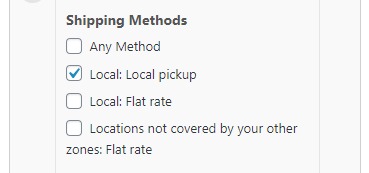
- To do so, go to the Shipment methods table and click the Add shipping method button, then pick the shipping method(s) you wish to add.
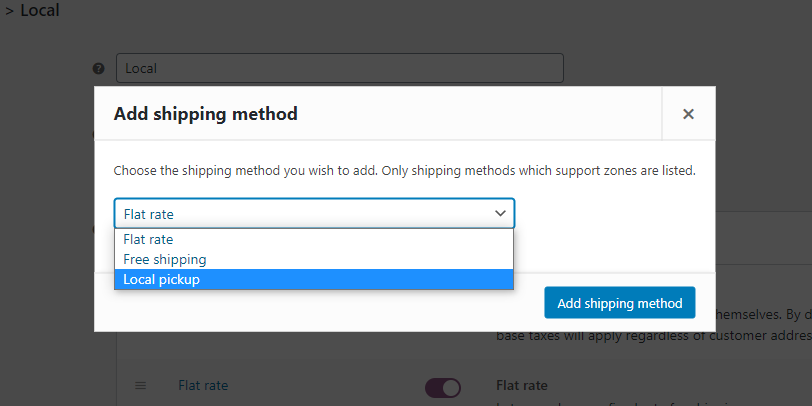
- Once you’ve chosen a shipping method, you’ll be able to add a fee and tax by clicking the blue Edit text next to the shipment method’s name.
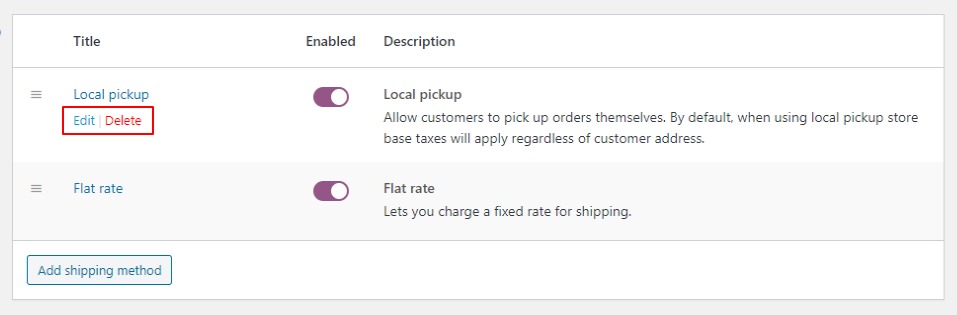
- At the bottom of the page, click the blue Save Changes button.
Let’s establish your local pickup options utilizing WooCommerce Delivery Slots now that we’ve built your Local pickup shipping method.
Step 2: Set up WooCommerce Delivery Slots
To get started, purchase WooCommerce Delivery Slots.

Then take the following steps:
- To upload a plugin, go to Plugins > Add New > Upload Plugin.
- Select the downloaded zip file, upload it, and then click Activate.
- You’ll need to input your license key when it’s been activated.
We may now customize your local pickup setting now that Delivery Slots have been implemented.
Step 3: Select collection instead of delivery
You’ll need to alter the wording of your checkout fields from ‘delivery’ to ‘collection’ in order to use WooCommerce Delivery Slots for local pickup.
Note: You may use WooCommerce Delivery Slots to provide both local pickup and delivery options to your WooCommerce store. Depending on the buyer’s shipping option, the plugin allows you to modify the checkout fields from ‘Delivery’ to ‘Collection.’
The good news is that it’s just a matter of changing a configuration in WooCommerce Delivery Slots.
To make this adjustment, take these steps:
- Go to WooCommerce > Delivery Slots to find out more.
- Select the General Settings tab from the drop-down menu.
- Change the choice from Delivery to Collection in the Default Labels area by scrolling down.
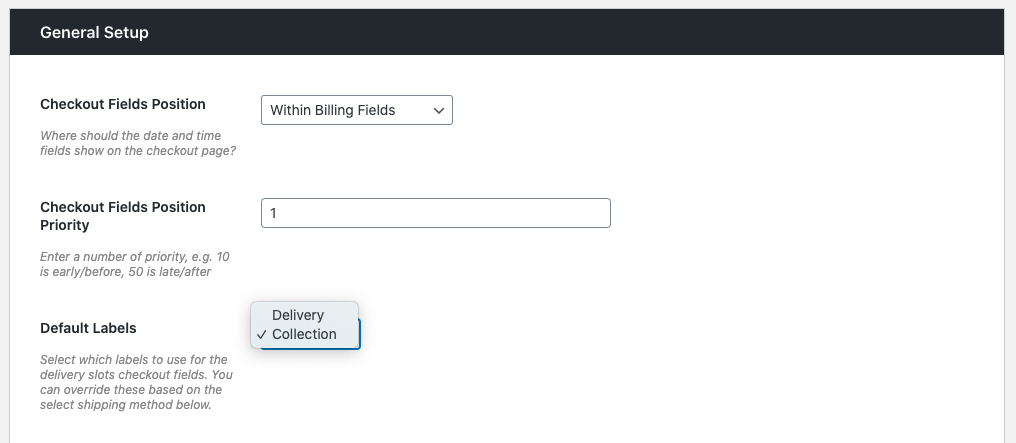
- Scroll to the bottom of the page and click Save Changes.
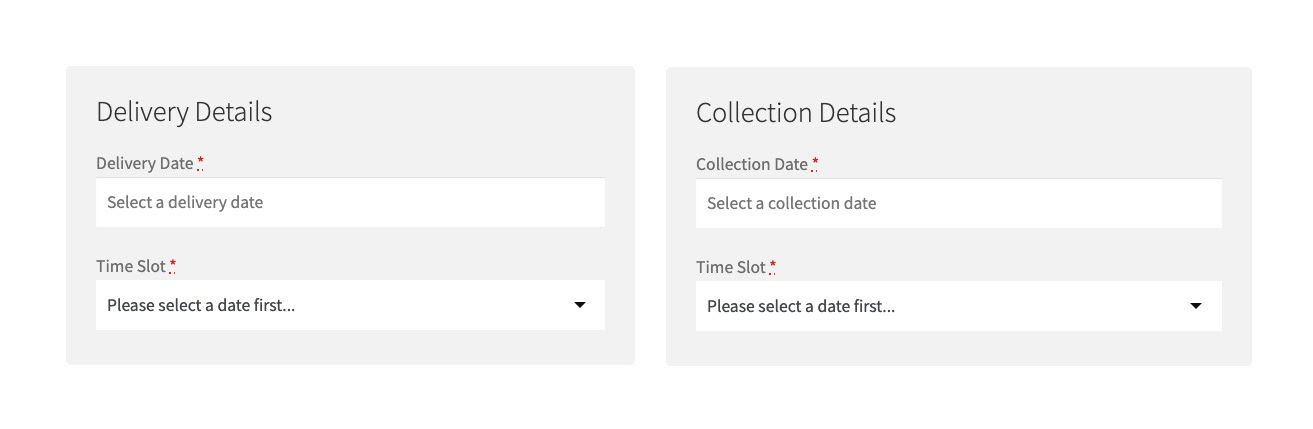
The right language for collection will now appear in your checkout.
Step 4: Create your date and time slots for local pickup
Now that you’ve set up your business for collection with Delivery Slots, you can customize the hours and days that consumers may pick up their orders.
Follow these steps to accomplish this:
- Go to WooCommerce > Delivery Slots to find out more.
- Select the Date Settings tab from the drop-down menu.
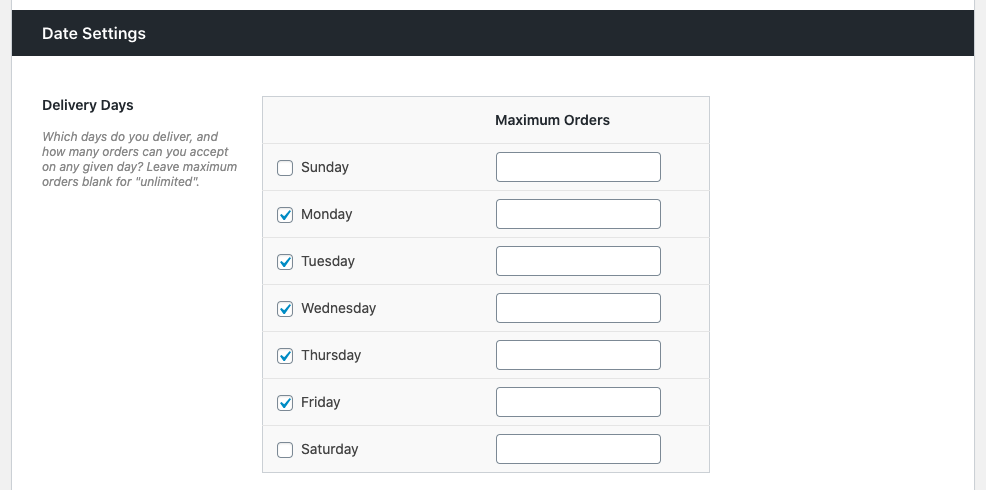
- Scroll down to the Delivery Days section (notice that while the delivery of this state, it will apply to the collection if you selected ‘collection’ in the previous step).
- You’ll be able to choose which states you’ll provide a collection in this section. Simply check the boxes for the days you want and click Save Changes at the bottom of the page to save your changes.
collection times within these days.
After then, you’ll need to schedule collection times within these days.
- At the top of the page, select the Time Settings option.
- To allow you to provide specified times for your clients to collect, make sure the Enable Time Slots option is selected.
- Then go to the Time Slot Configuration section and scroll down.
- You may entirely customize the time windows that you wish to give your consumers here. You can choose the length of the slots.
- Their regularity.
- When you begin and end your collecting service.
- If there are any additional charges.
- Several distinct sorts of slots are available, based on all of these characteristics.
- You can also specify the delivery option you’d want to apply to each timeslot by checking the box next to it in this section. To add this option you the checkout, be sure to select Local pickup.
- When you’re finished, click Save Changes, and you’ll be able to see your time slots at the checkout.
Essentially, you’ll be able to alter the time windows you establish using WooCommerce Delivery Slots to meet your schedule, making it much easier to manage.
If you want to keep things simple, stop here. We’ve already set up the essentials of your local pickup. However, you may make a few additional changes to make your task even simpler.
Step 5 (optional): Adjust maximum orders for managing stock
When you provide local pickup, you’ll almost certainly need to keep track of your stock levels to avoid customers ordering more than you can handle.
You may specify a maximum number of orders per time slot and a maximum number of orders per day with WooCommerce Delivery Slots.
Do the following to set a maximum number of orders per day:
- Go to WooCommerce > Delivery Slots to find out more.
- Select the Date Settings tab from the drop-down menu.
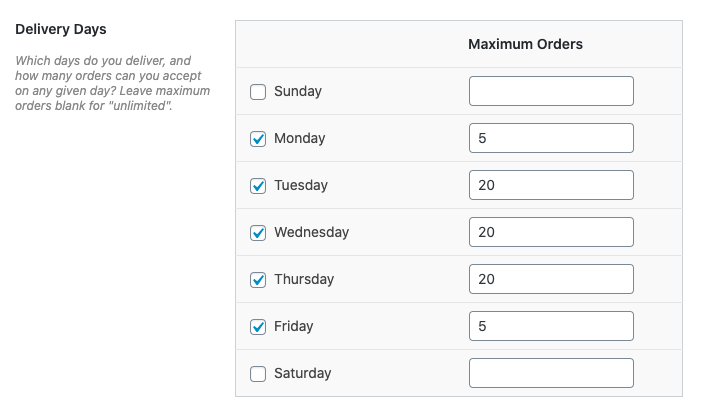
- Scroll down to the Date Settings section and set a maximum number of orders per day next to each day. The maximum number of orders is infinite when the field is left blank.
- To update, click Save Changes.
Do the following to specify a maximum number of orders per time slot:
- Select the Time Settings tab from the drop-down menu.
- Set a maximum amount of orders you’d want to take in each of your already created time slots by scrolling down to the Time Slot Configuration section. The maximum number of orders is infinite when the field is left blank.
- You’re done when you click Save Changes.

Step 6 (optional): Restrict same-day and next-day collection
When you manage a business and take orders online for local pickup, you may discover that clients place last-minute purchases that you are unable to fulfill.
To ensure that this isn’t a problem, WooCommerce Delivery Slots allow you to limit same-day and next-day pickup.
To get started, take these steps:
- Go to WooCommerce > Delivery Slots to find out more.
- Select the Date Settings tab from the drop-down menu.
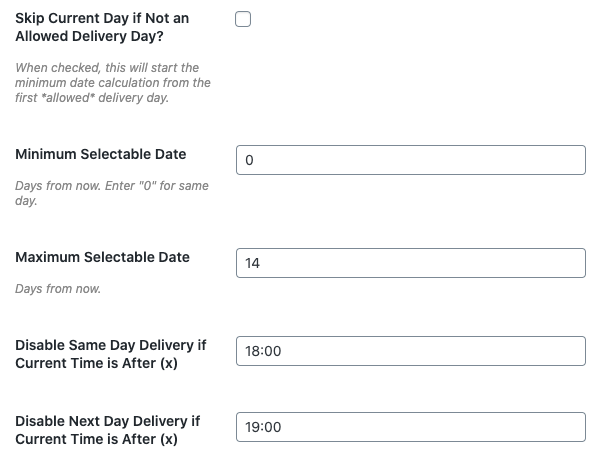
- This page has numerous settings for same-day and next-day collection, in addition to setting up your permissible collection days. Disable same-day collection if it’s after a particular time on this page.
- If it’s after a specific time, disable next-day collection.
- Only current week collections are permitted.
- If the current day isn’t an approved collection day, skip it.
You may also limit how much time a consumer has to order before a time slot by adjusting the parameters for each time slot. To do so, follow these steps:
- Select the Time Settings tab from the drop-down menu.
- Scroll down to the time frame you’ve previously set aside.
- Fill in the Allow Bookings Up To (x) Minutes Before Slot area with the desired amount of minutes.

Final thoughts
You’ll be able to provide additional alternatives for local clients, adapt your store’s collection schedule to suit you, and generate more sales as a result of this once it’s up and running. Hopefully, this article will help you install the local pickup to WooCommer in the simplest way.


