
How to Add a Custom CSS in WooCommerce

Are you fond of designing your website with much more control over the appearance of your pages as well as how they will behave within your WooCommerce store? How you could customize your link colors, embedded sounds, or background images come from the governing by CSS. This is to say, if you know how to add custom CSS in WooCommerce, you could do a lot for your site, thereby boosting its performance.
Though you are not a developer, you can still do that by reading our below tips. Do not worry anymore, as you will find that adding custom CSS is much easier than you may believe after following our article. So, let’s get started to explore how you could do it to have a tremendous WooCommerce site and store.
How to add a custom CSS in WooCommerce
There are several ways to add custom CSS to WooCommerce. So, you should read each section carefully to figure out the most suitable method for you.
1. Use Theme Customizer to add a custom CSS in WooCommerce
There is nothing quite like adding custom CSS to WooCommerce right from the admin area of your WordPress because this is familiar to you so that you could perform it easily. This method is super simple. What is more, you could also view what you have made changes through a preview instantly.
Now, your job is to navigate to the section “Themes” before clicking on the page “Customize”.
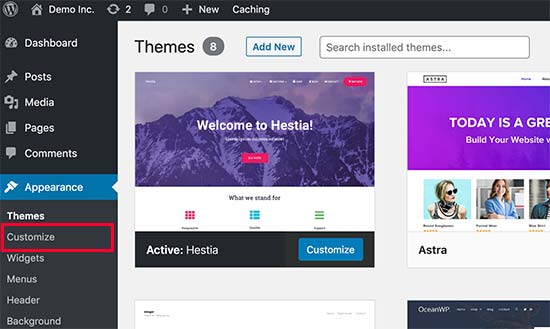
In doing so, it launches the customizer interface of your WordPress theme. Then, you could be able to see the live preview of your site, thanks to the myriad options that lie on your left pane. You will hit on the tab “Additional CSS” from your left pane when you are here. This tab will look like below:
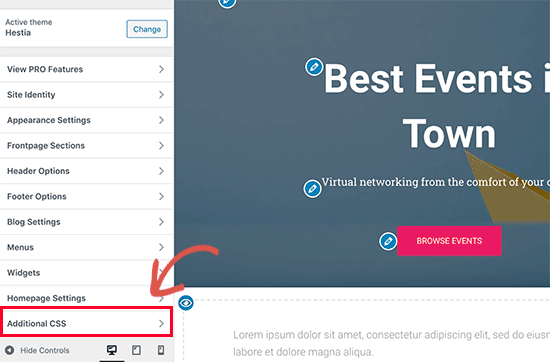
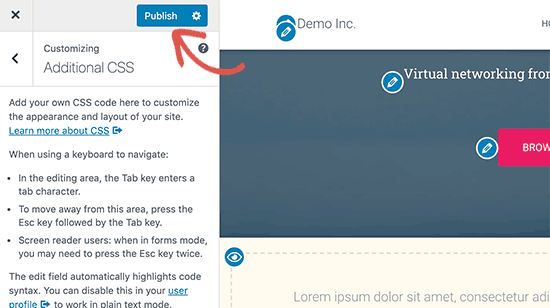
Especially after these tab slides, it will display a box where you could add the custom CSS. Once you add the logical CSS rule, you could see how it will apply on the live preview of your website.

Keep ahead with adding the CSS code if you have not felt satisfied with its appearance on your WooCommerce site. As soon as you are done, your next task is to hit on the button “Save and Publish”.
There is a small note that you should keep in mind is that any added custom CSS using theme customizer only makes sense with that specific theme. Hence, if you are fond of using it with some other themes, you are supposed to copy and then enter it into the new theme that applies a similar method.
2. Apply Theme Editor to add a custom CSS in WooCommerce
Using code is a great way to add a custom WooCommerce CSS. We think you might have seen many real-world examples of code snippets for adding your custom CSS. You could explore them easily only by surfing the internet. However, the process becomes much simpler now when you do not have to do anything with complicated coding skills.
What you need to do now is to find the correct file or location to enter your code into. This is to say, you do not need to become an expert in coding. Instead, we minimize the process to help you save time and enjoy greater efficiency.
Start the procedure by hitting on the section “Appearance” to choose the option “Theme Editor”. Check out the below screen to see what you are about to encounter.
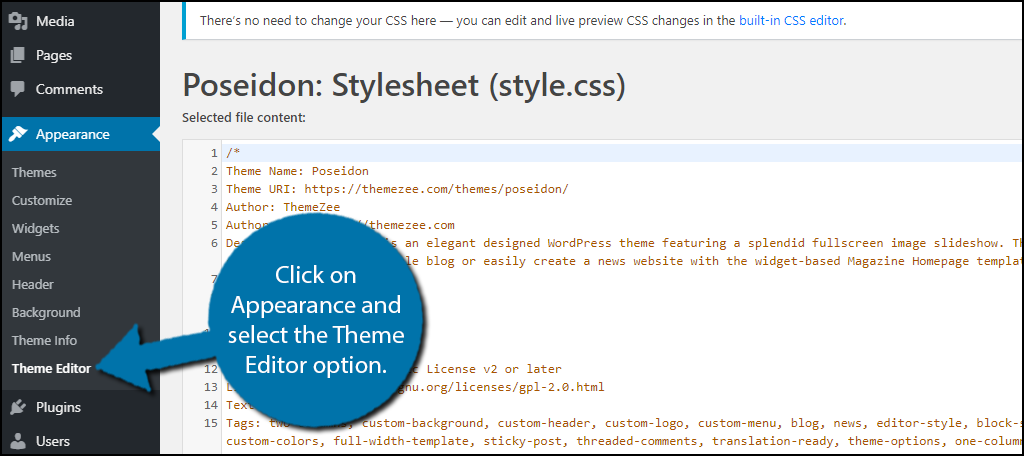
This can show all files that are closely linked with the kind of theme you are now using. Therefore, your task is to ensure that you are modifying the right CSS file. The file you select for editing will mostly depend on the certain element to be customized later.
Despite the fact that it is easy to perform this customization, this method comes with drawbacks. To be more specific, if you are keen on changing themes, you are required to re-code your CSS. Each of them uses its file CSS for the general design. Hence, what you make changes to one file of the theme exerts no effect on the other. Nevertheless, you should not change themes often if you make up your mind to use this method.
3. Use a plugin to add a custom CSS in WooCommerce
The last method we mention in this article is using your favorite plugin to add custom CSS in WooCommerce. While the first way only lets you save your custom CSS file for the current theme that is active, this method allows you to do more than that. As a result, if you do not fancy the two first methods, using a plugin is much easier and more effective for you.
Step 1: Install and activate Jetpack
In case you want to add custom CSS regardless of whatever your themes are, using a plugin is the utmost method for you. Here, we recommend that you take Jetpack into consideration. Now, begin this process by getting your Jetpack installed and activated.
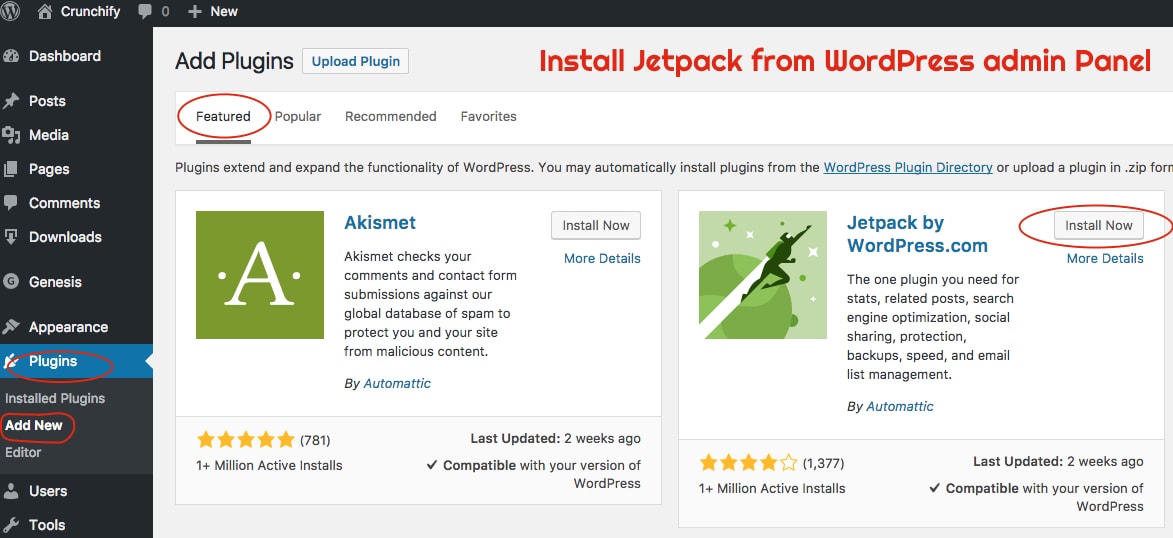
Now, you need to head to the admin area of your WP site. Then, click on the section “Plugins” and keep choosing “New”. After that, you could encounter the tab “Featured” by default. Here, you will see the plugin Jetpack. Click on the button “Install Now”, then get it to be enabled by hitting on the button “Activate”.
Step 2: Write and paste your created custom CSS
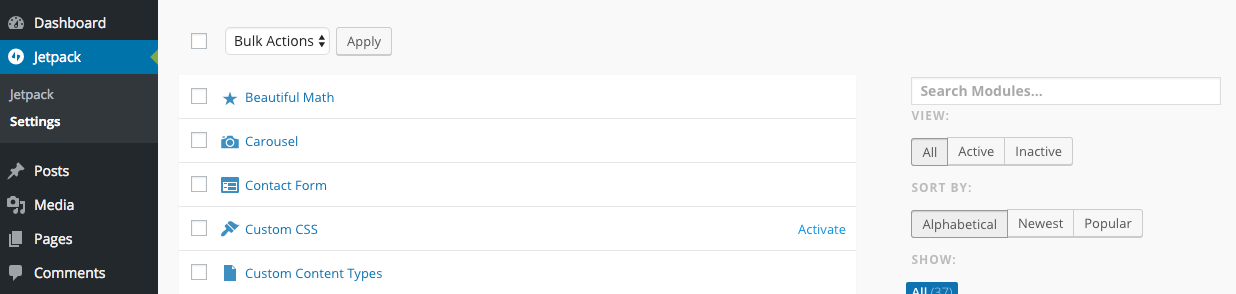
Once the installation and activation are finished, you will navigate to your site to choose the section “Dashboard”. Go ahead with clicking on “Jetpack” before hitting on the menu “Settings”. Next, you will need to enable the section “Custom CSS” to start adding your custom CSS in WooCommerce. Now, it is time to go to the section “Appearance” where you encounter “Edit CSS”. And after choosing it, you could add any of the styles of the custom CSS in WooCommerce.
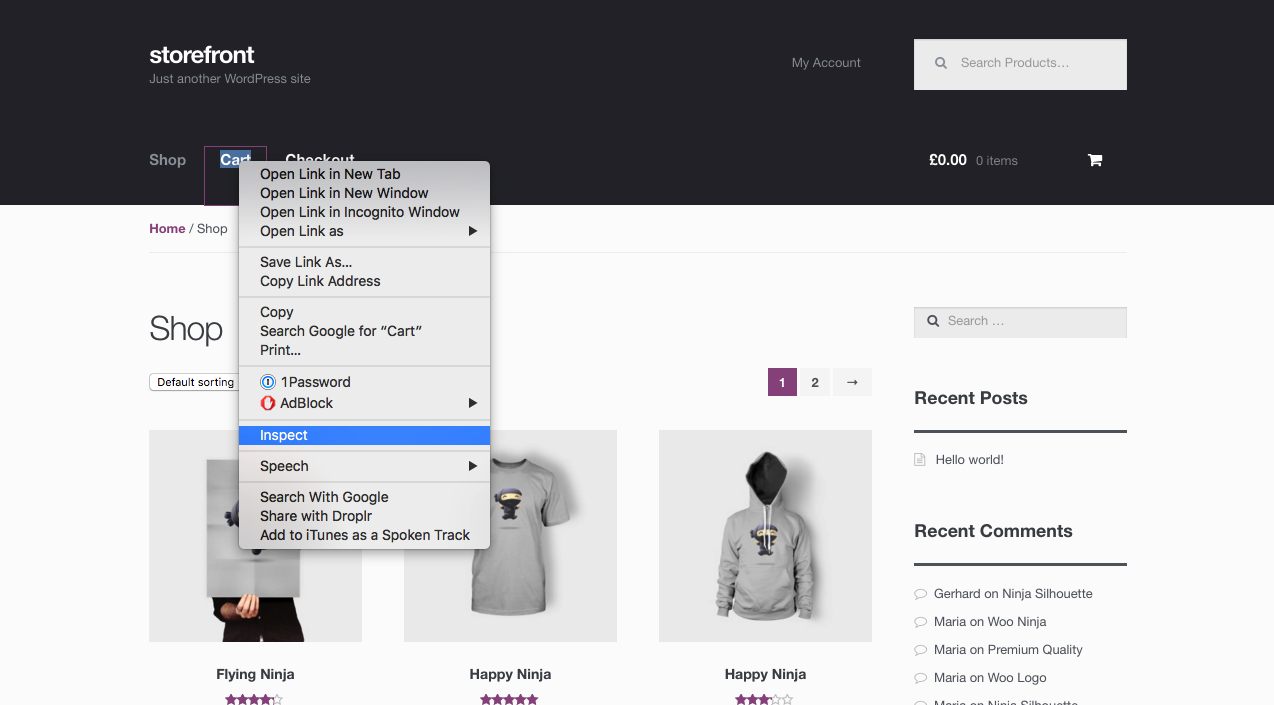
Let us take an example for you to understand easily. In case you have the color of your navigation link in your Storefront theme as below. You might be inspecting the element by having a right-click and choosing “Inspect”. There, you will be shown what the style of the element will be called.
The below snippet is for you:
.main-navigation ul li a {
  color: #ffffff;
}
.main-navigation ul li a:hover {
  color: #e6e6e6;
}
Or if you are keen on changing the color to red as well as the color of the hover to while. Paste the snippet to your custom.css. Moreover, you could also remove other styles that you will not be changing. Therefore, it will look like below:
.main-navigation ul li a {
  color: red;
}
.main-navigation ul li a:hover {
  color: white;
}
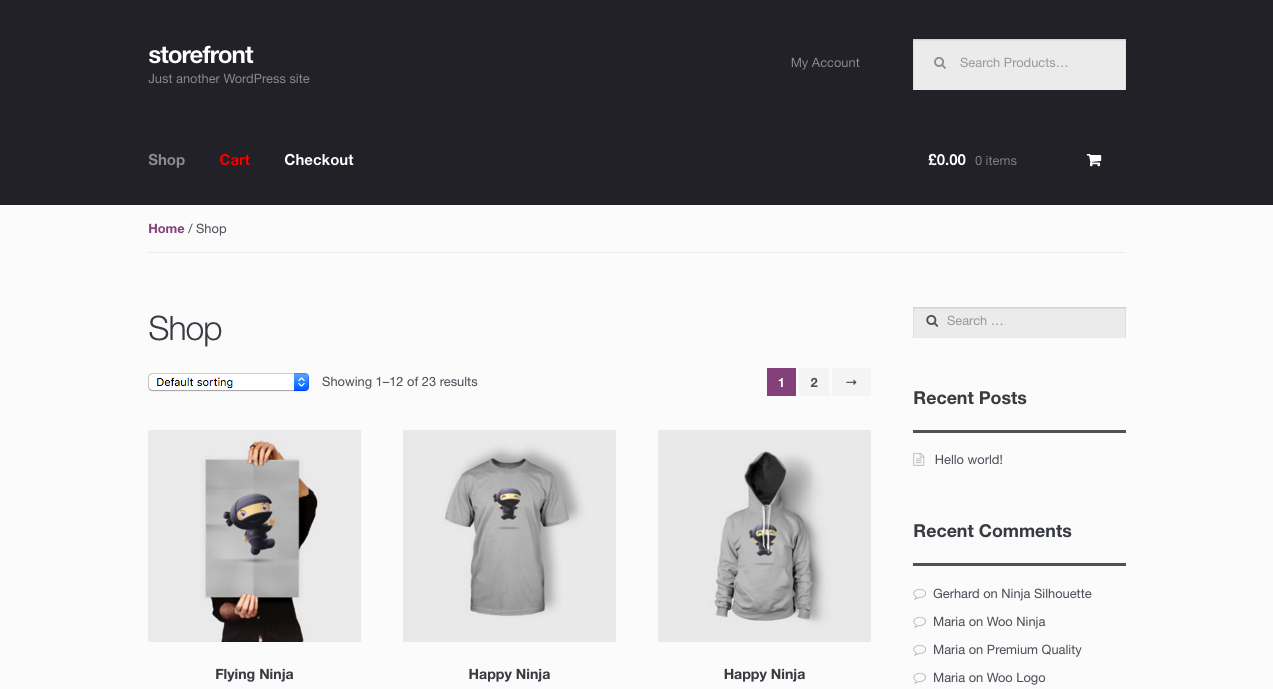
Next, you need to save your custom.css. Then, you also need to refresh the page and you can notice that the color of your navigation link is red now. And when you decide to hover it over, it will become white.
Along with that, you could be able to add different styles to the stylesheet for supplementing those in your theme already. In case your theme is ever updated Jetpack would keep the styles intact.
Top 3 plugins to add a custom CSS in WooCommerce
Plugins are useful for any customization within your WooCommerce site. And they make no exception to adding your custom CSS in WooCommerce. If you want your process to be time-saving, effective, and fluently, using plugins is the utmost way to perform it. That is why we have come up with the top 3 plugins to assist you in adding custom CSS in your WooCommerce.
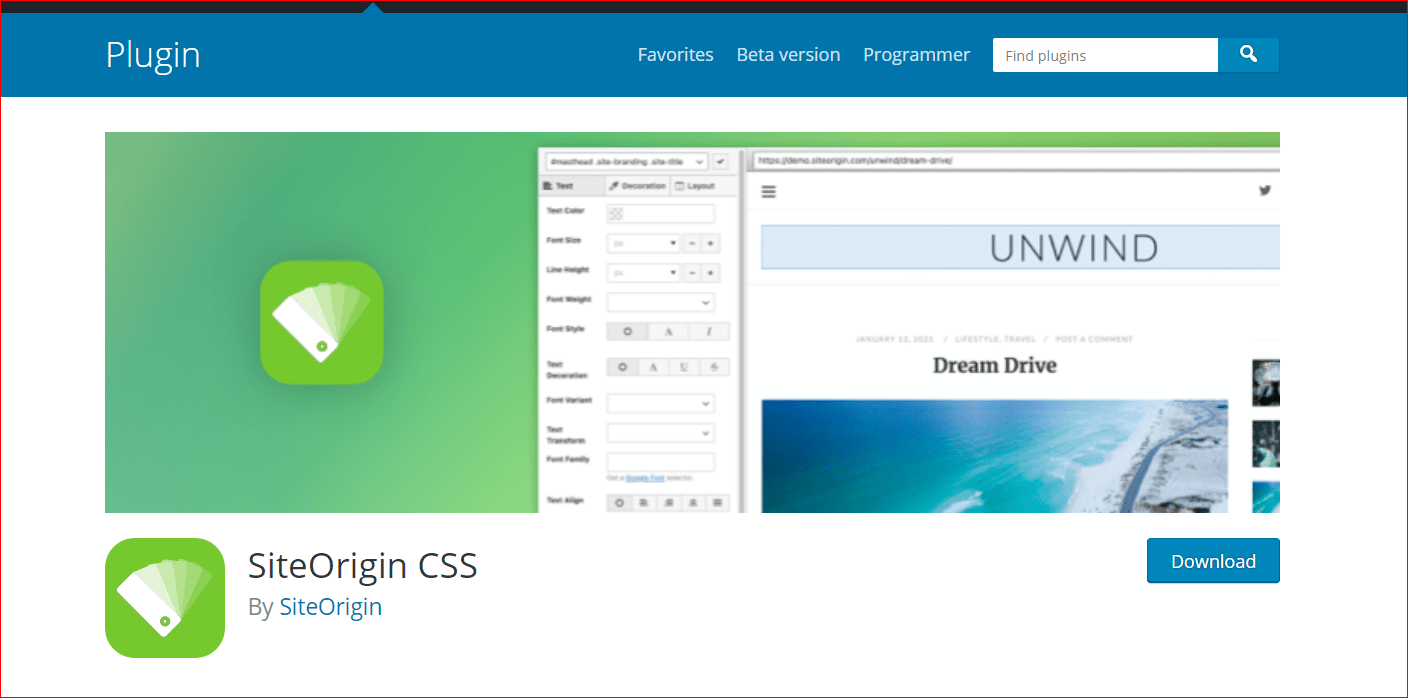
1. SiteOrigin CSS
As its name states, SiteOrigin CSS is a not-to-be-missed tool for implementing adding custom CSS to your WooCommerce. Despite being simple, it is undoubtedly powerful to be a great CSS editor tool. In using it, you could be able to control it visually to edit both the feel as well as the look of your WooCommerce site.
Main feature
-
Suit not only advanced users but also beginners as well
-
Give users visual control, coupled with real-time preview
-
Work with your WooCommerce theme perfectly, whatever the type of your theme is
-
Analyze the stylesheets of your themes, thereby getting instant feedback
-
Be able to encounter any changes, thus making finely-tuned adjustments
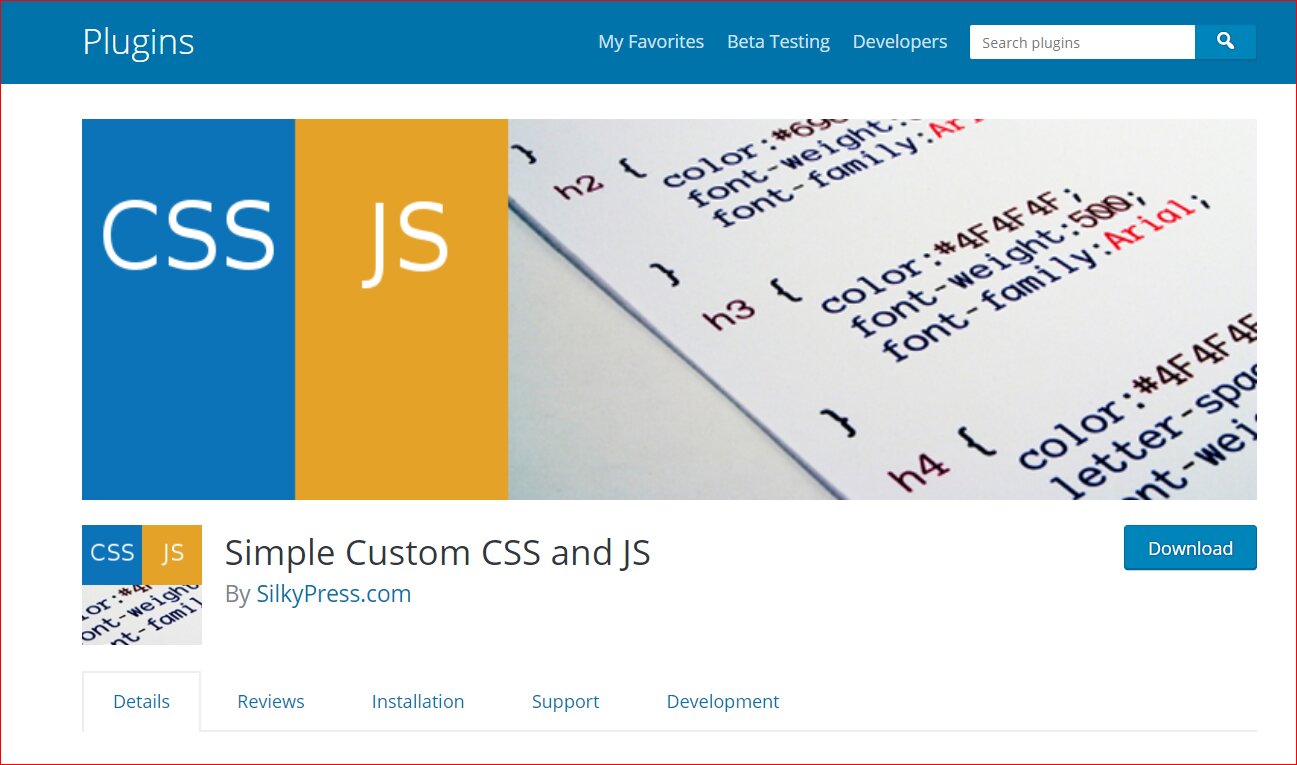
2. Simple Custom CSS and JS
Another great tool to add custom CSS to WooCommerce is Simple Custom CSS and JS. Thanks to this plugin, you can add custom JS or CSS code with no requirement to modify or change your plugin or theme files. Therefore, you could make use of it to visually control the appearance of your WooCommerce and give it a more impressive design.
Main features
-
Be able to edit text through the function of syntax highlighting
-
Be able to add tons of codes to your need and requirement
-
Keep changes even when you modify the theme
-
Come with the amazing ability to create custom entries of JavaScript
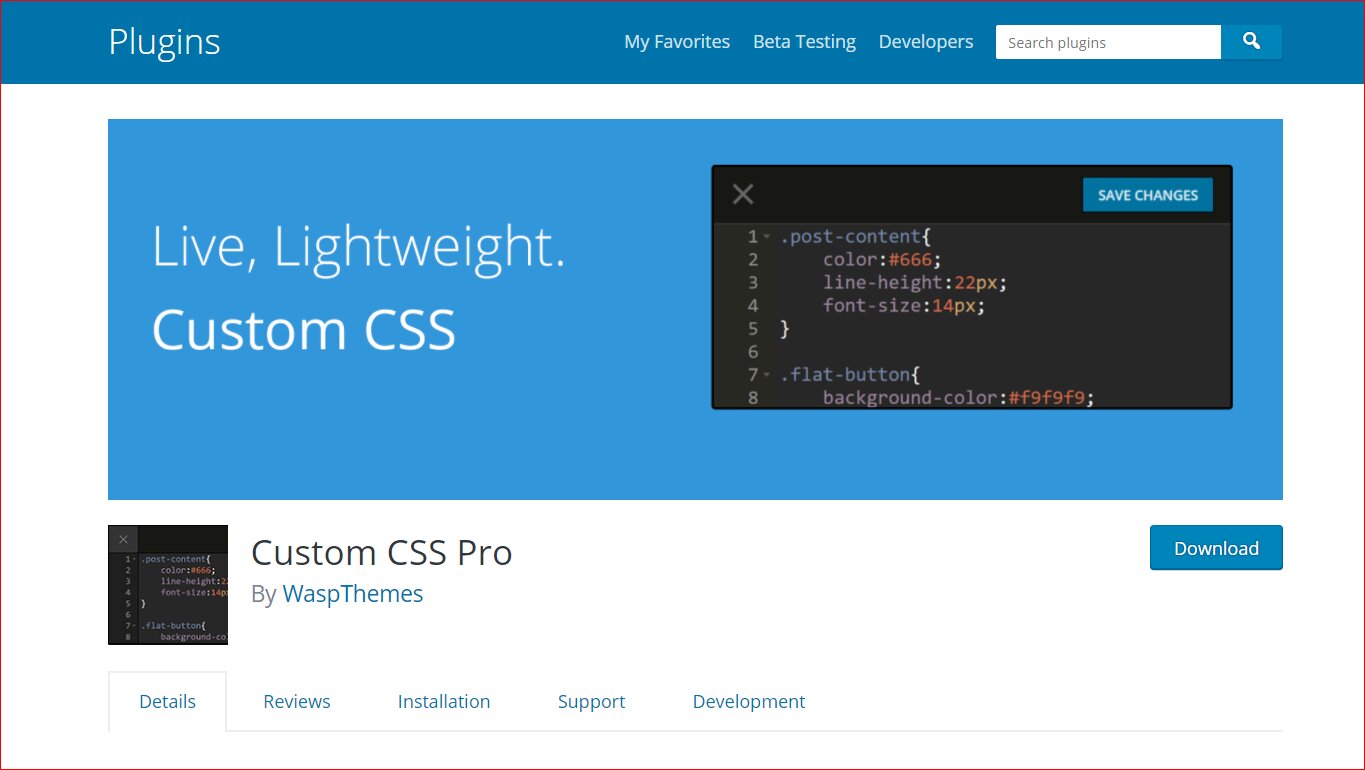
3. Custom CSS Pro
The last plugin to appear in this list is Custom CSS Pro. Now, everything is much easier on account of this clean and easy option. As a professional and specialized CSS editor, you are allowed to customize the look of your site with CSS code without having to modify your plugin or theme files. What is more, thanks to its intuitive UI and lightweight features, the plugin wins users’ hearts as it helps them save hours in customizing their sites.
Main feature
-
Provide the feature for live real-time preview
-
Be able to add tons of codes without modification of plugin or theme files
-
Come with flexible customization of your site’s appearance
Conclusion
There is no denying that it might be time-consuming to find a way to add your custom CSS to WooCommerce. However, this article is for you to do it properly and effortlessly. So, you should not miss our tips as mentioned above and add them to your must-read list as soon as possible. You could implement the process smoothly and correctly. Hope you will love our articles and find them helpful. Keep following us for more great tips and tricks in the upcoming time.


