
How to Add Continue Shopping button in WooCommerce

Do you know that only a WooCommerce continue shopping button can increase your conversion rate significantly? Yes, that’s right. You did not mishear it!
We have recognized that a vast majority of online shoppers nowadays wish to go back to where they are after adding an item into their shopping cart. However, most websites forget to include the “Continue Shopping” button, making it a lot more time-consuming for customers to find their previous location.
If you are missing this critical feature, this article welcomes you. We will be discussing the importance of these tiny buttons and show you How to add a WooCommerce continue shopping button to the website. Keep reading to find out more!
Why should you add a WooCommerce continue shopping button?
Everything appearing on your website carries its own function in increasing your conversion rate. And the WooCommerce continue shopping button is not an exception.
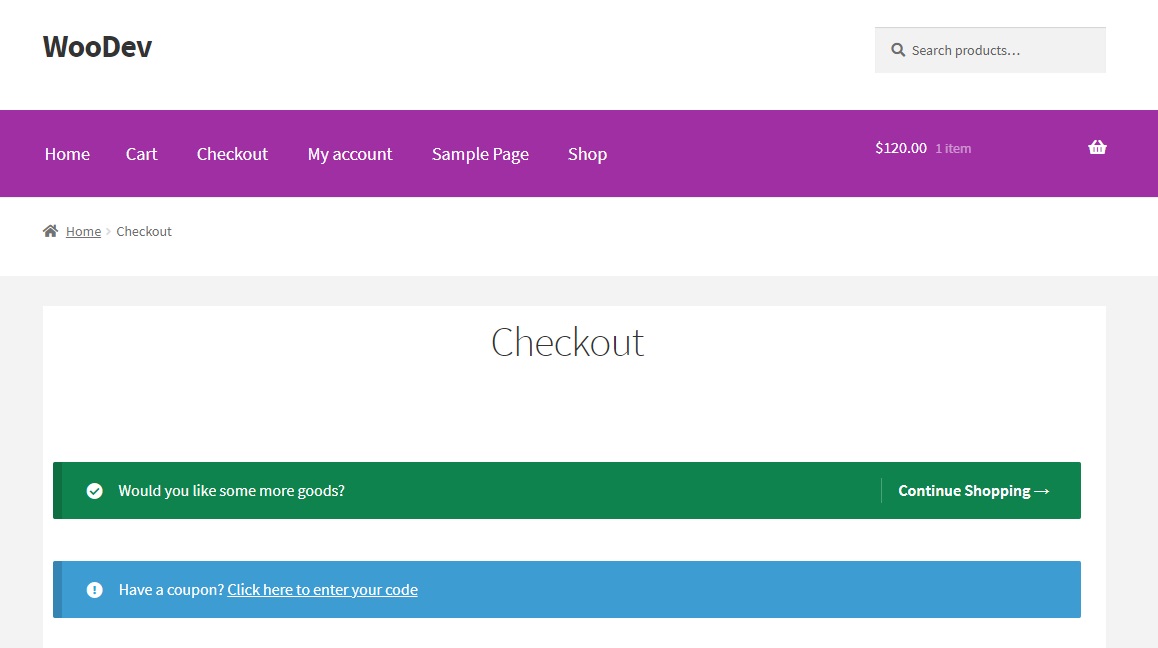
Let’s pretend that you’re a shopper looking for some of your favorite things. This item was added to your cart after you discovered it. If you wish to continue browsing, the system will take you to a page like the one shown below, but you’d prefer to return to your most recent collection. However, the problem is that if you leave the page right now, you will have to start from scratch and the “continue shopping” button will be the perfect solution.
Adding a WooCommerce continue shopping button is a simple way to encourage customers to add more things to their carts. In the long run, this equals higher sales and more customer loyalty. It’s up to you to pick which page your consumers will arrive on, and you may choose from a variety of options.
How to add a WooCommerce continue shopping button to your checkout page?
As you have acknowledged the effect of the WooCommerce continue shopping button on your website’s customer behaviors, it’s time to bring them into reality. In the tutorial today, we will be showing you how to set up a WooCommerce continue shopping button in two distinct methods.
Method 1: Using the WooCommerce hooks
Step 1: Locate the Theme Editor page
First of all, login to your WooCommerce account and navigate to the Dashboard as an admin. From then, quickly navigate to the Appearance > Theme Editor menu located on the left-handed sidebar of the screen:
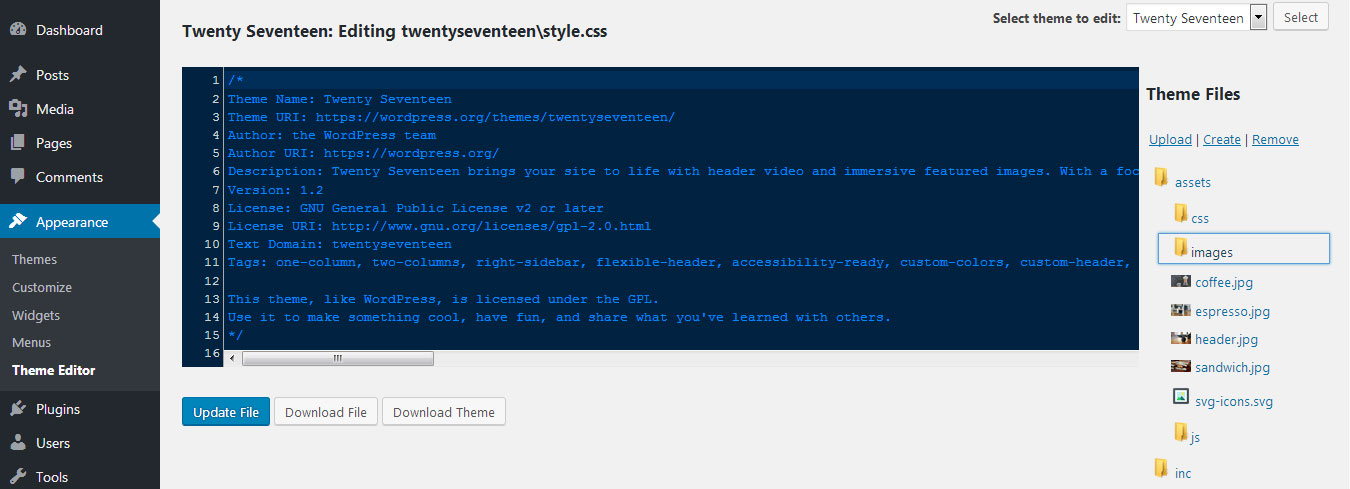
When you look to your right, there will be a menu where all of your theme function files are included. You will be able to add the WooCommerce continue shopping button on this page.
Step 2: Paste in the source code
Here comes the easiest step. All you have to do is to paste the snippet below into the .php function file that we have just opened previously:
add_action( 'woocommerce_before_checkout_form', 'njengah_add_continue_shopping_button_to_cart' );

function njengah_add_continue_shopping_button_to_cart() {

 $shop_page_url = get_permalink( woocommerce_get_page_id( 'shop' ) );

 echo '<div class="woocommerce-message">';

 echo ' <a href="'.$shop_page_url.'" class="button"<Continue Shopping →> Would you like some more goods?';

 echo '</div>';
 }
Step 3: Save your changes
Don’t forget to “Save” or “Publish” your changes before leaving the site. This is how your website may look like after adding the WooCommerce continue shopping button:
Method 2: Using WooCommerce template
Another way for setting up WooCommerce continue shopping button instead of only using Hooks is modifying templates. Online store owners can freely customize their button by adding the source code into their form-checkout file.
Step 1: Create a new folder
To begin, establish a folder titled “WooCommerce” inside your child theme’s folder structure.
Step 2: Copy the file path
After that, quickly copy the folder cart and the template cart.php from _/wp-content/plugins/woocommerce/templates/checkout/form-checkout.php_ into your newly created folder.
By performing this task, WooCommerce will be forced to utilize your child cart.php template or another cart template that you have copied over. At this very moment, _/wp-content/themes/yourtheme/woocommerce/checkout/form-checkout.php_ will be recognized as the file path.
Step 3: Paste in the snippet
The next thing we need to do is copy the below snippet for anchor link button from the original cart-empty.php _template/wp-content/plugins/woocommerce/templates/cart/cart-empty.php_ and paste it into your form-checkout.php or cart.php file:
<a class="button wc-backward" href="<?php echo esc_url( apply_filters( 'woocommerce_return_to_shop_redirect', wc_get_page_permalink( 'shop' ) ) ); ?>">
<?php
/**
* Filter "Return To Shop" text.
*
* @since 4.6.0
* @param string $default_text Default text.
*/
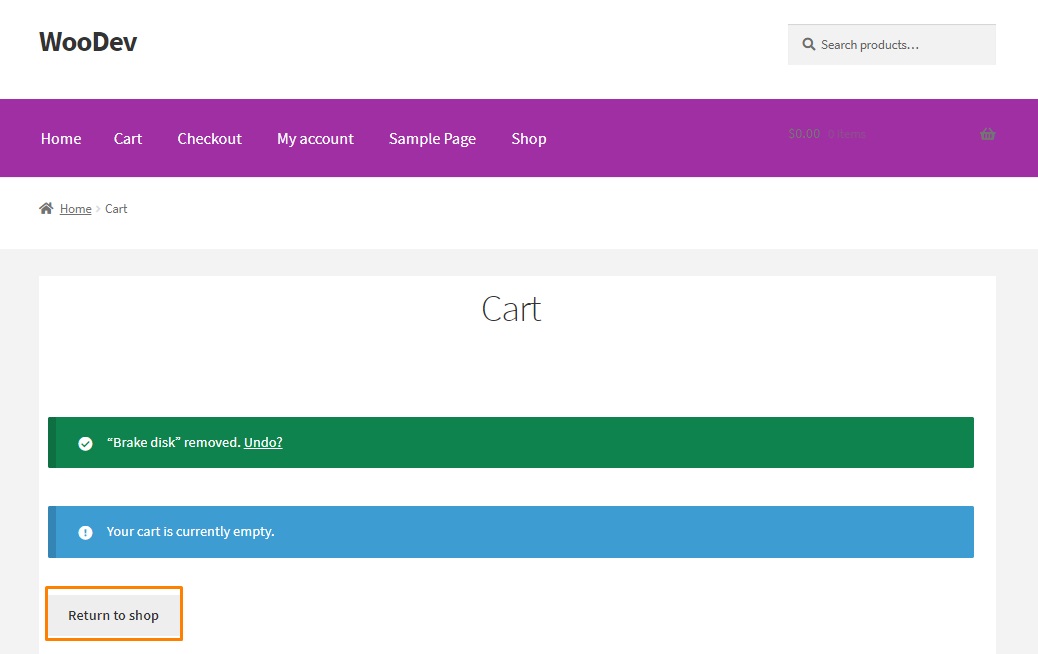
echo esc_html( apply_filters( 'woocommerce_return_to_shop_text', __( 'Return to shop', 'woocommerce' ) ) );
?>
</a>
The apply_filters statement is omitted since the filter is already applied in the original code.
Step 4: Change the wording (if necessary)
You may edit the text in the inserted code to “Return to Store” or “Continue Shopping” as desired:
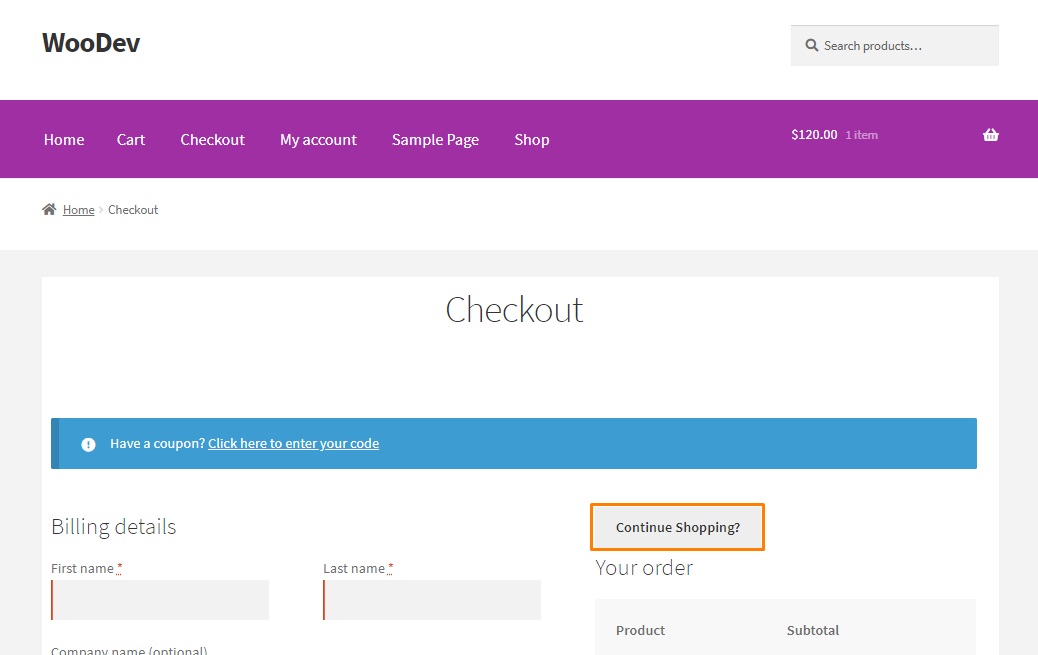
Additionally, you may include this button into any of your designs, including the Checkout Page. If you wish to alter this as well, do the same thing for your checkout/review-order.php template and folder it into your child theme’s woocommerce folder.
Step 5: Check the results
“Save” your modifications and navigate back to the front-end to see the final outcome:
Final thoughts
We hope that throughout this article, you will understand how a WooCommerce continue shopping button can contribute to the success of your entire online business. From then, you can also set up your own WooCommerce continue shopping button on your own and customize its look in any way you want to. If you have any questions, let us know by leaving a comment below!


