
How to Add Color Swatches for WooCommerce Variable

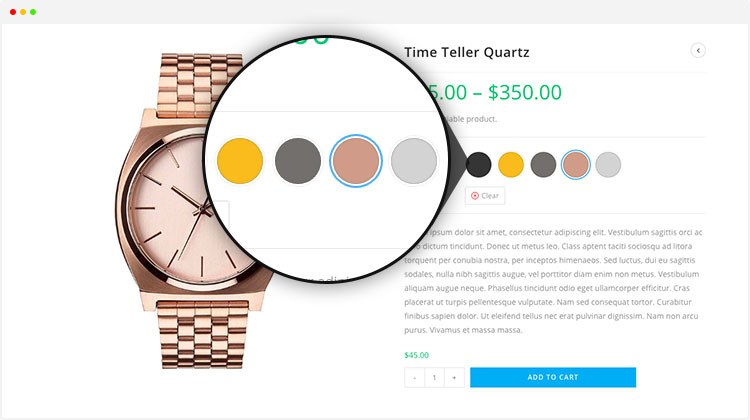
The online shopping experience can be boosted by making the products look a little more intriguing. Thus, the effective way to bring more life into the products with variable attributes is to add the color option.
By adding visually color swatches, you can enhance a much more customer experience and potentially net more sales as a result.
Fortunately, WooCommerce allows color swatches to be installed to enable users to easily view the product in different available colors!
With its beneficial features, this article - How to add color swatches for WooCommerce variable will walk you through a step-by-step tutorial, guiding you to add color swatches features displayed on a product page. After you’ve read this article about this WooCommerce variation swatches plugin, you’ll understand why it is useful and how beneficial it can be for any eCommerce business to add it to their website!
Why you should add Color Swatches for WooCommerce variables
In a default WooCommerce setup, product attributes such as color or size are displayed as bland text. It will definitely be much better with product attributes adhering to the visual context, representing both visually appealing and informative swatches. We would like to give you two main reasons to persuade you to use it:
-
Display high-quality visual information to help customers make an informed choice
-
Elevate your conversions positively with eye-catching swatches
How to add Color Swatches for WooCommerce variable
Step 1: Configure WooCommerce with the plugin
The first step is purchasing and installing the WooCommerce color swatches for variable products, which you can do by heading to your WooCommerce account.
When entering your WooCommerce dashboard, click on the Plugins tab located on the left half of your screen and then select Add New.
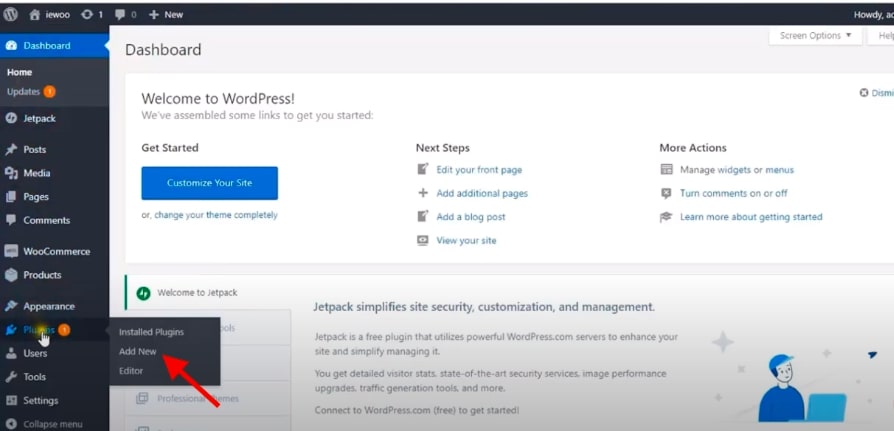
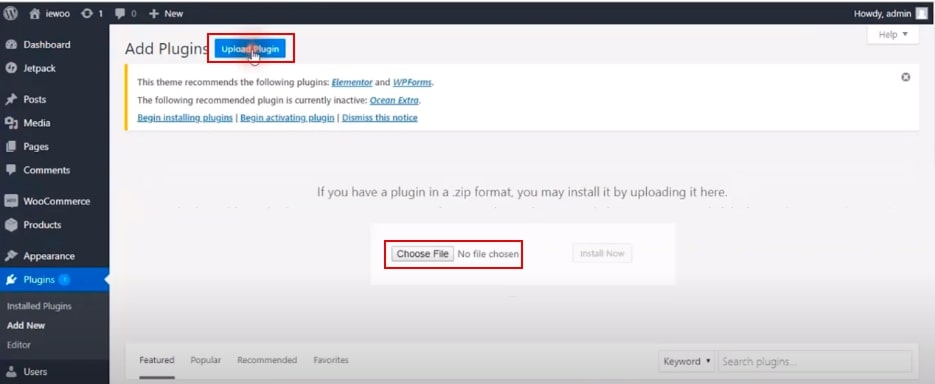
Once you’ve clicked on Add New, you need to select the Upload Plugin if you have already downloaded the plugin file on your computer. Next, choose your downloaded plugin to upload it on your WooCommerce.
In case you do not download the plugin file, just navigating to the plugin that you would like to install and click on it to start integrating:
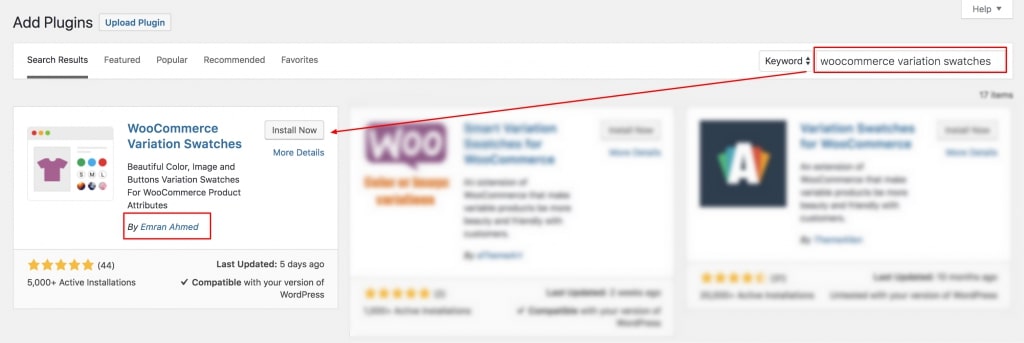
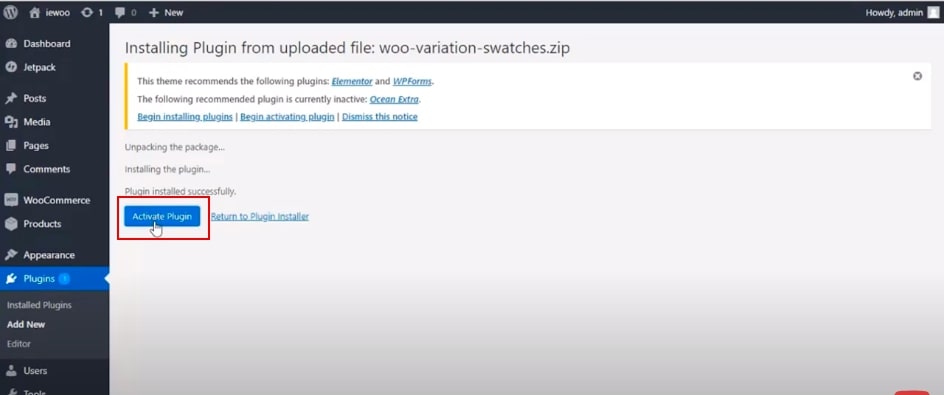
After you’ve clicked Install Now, on the screen, you’ll see a button labeled Activate Plugin to select, like the photo below:
Step 2: Create color attribute
In the second stage, go to Products > Attributes. As a visual reference, we’ll create a color attribute for our products. In this tutorial, we will fill the name field as “Color” for a clear reference to follow.
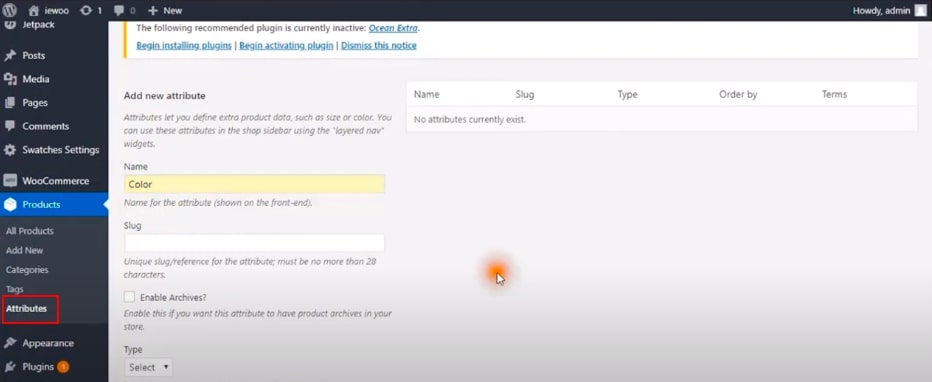
In an attribute field table, don’t worry if you leave Slug field empty. It automatically generates the slug for the attribute after creating a new field. From the “Type” dropdown, you have to select the “Color” attribute type. When mandatory fields are filled in, choose the “Add Attribute” button to create a new Color attribute.
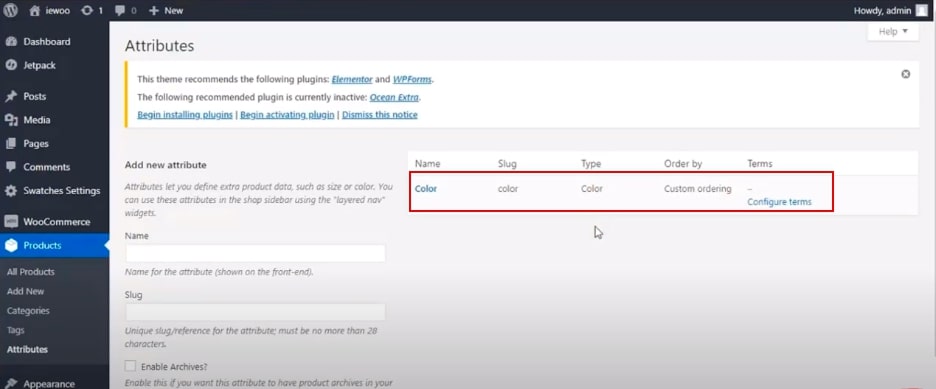
Now you can see that an attribute is created on the right side. Check the following screenshot below:
Step 3: Create attribute variations
The variations which you add would get added to this list of the created attribute. When an attribute is created, we also have to create attribute variations.
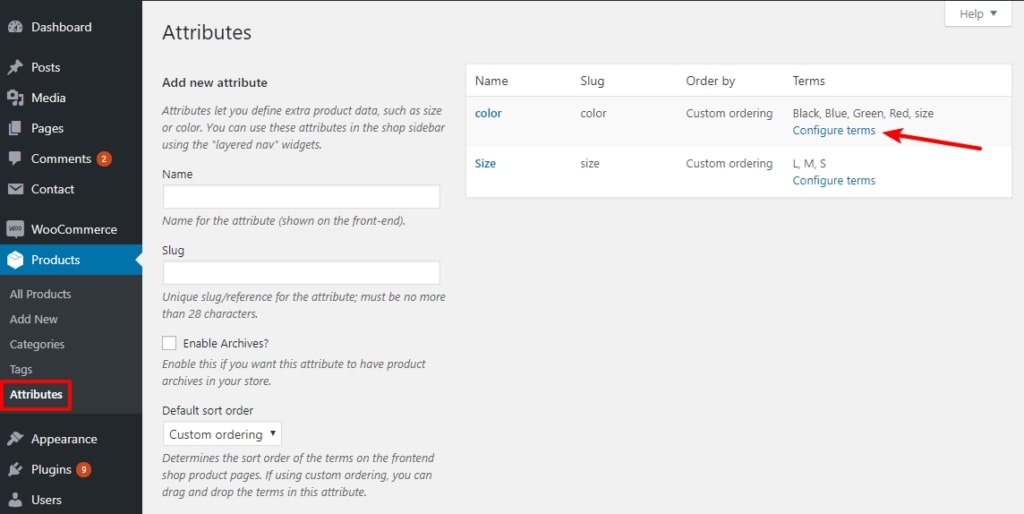
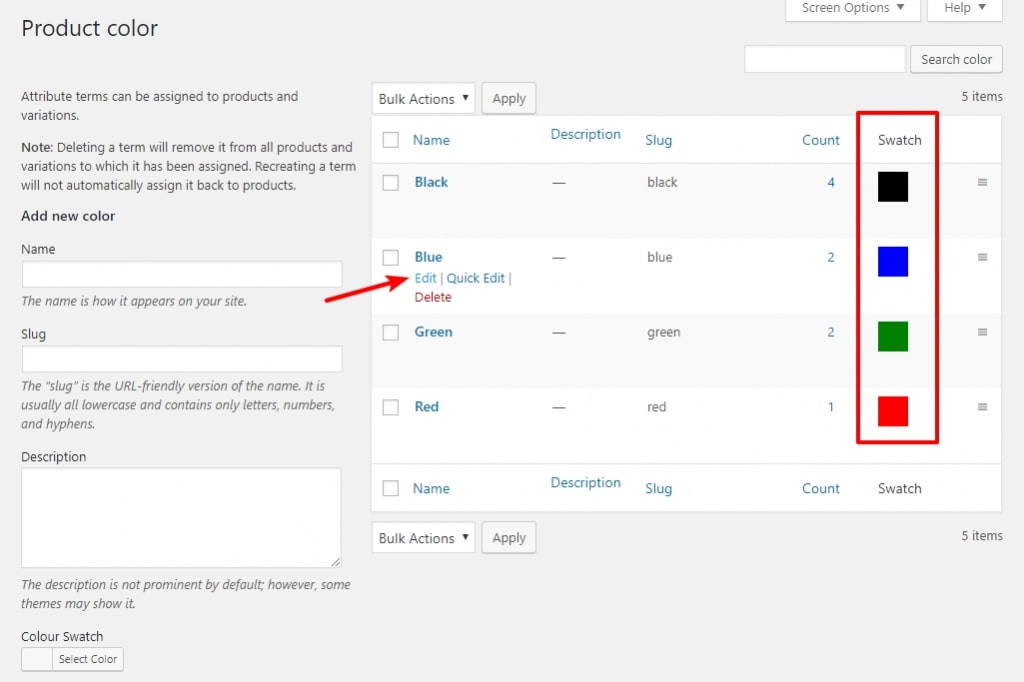
Once you’ve chosen a color attribute, you may apply swatches to that attribute term by clicking the Configure terms option in the Attributes area:
Moving on to create attribute variations, we will add color as variations inside the Color attribute. In order to create variations, fill the name field with your desired variation name, you may leave the slug field empty, and finally, pick up your desired color from the color picker.
-
Name is name of variation
-
Slug is an optional URL-friendly version of the name
-
The Enable Archives checkbox allows you to create an archive page with all products with the attribute
-
The Default Sort Order dropdown lets you choose whether the attribute terms you configure will be ordered by Name, Name (numeric), Term ID, or an order you decide yourself
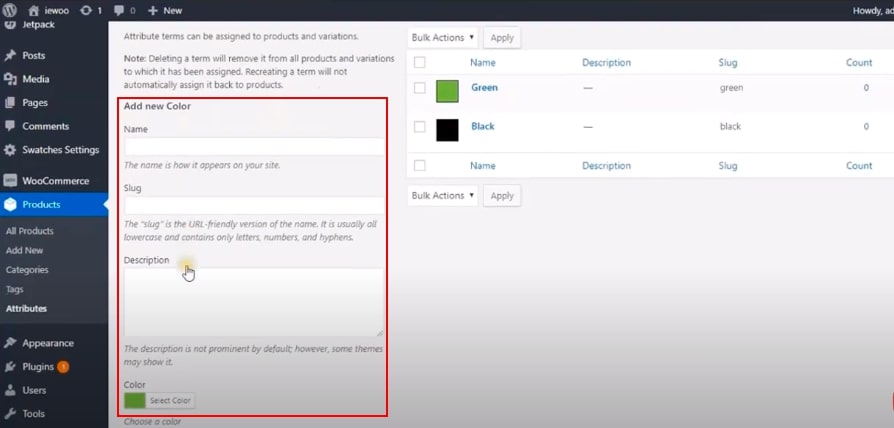
If you are willing to edit individual terms, you’re able to select the swatch for each by clicking on “Edit” right under the attribute:
So that’s it! Now you should view your product swatches on the side of your individual attribute term. From here, you did learn how to add color swatches in WooCommerce.
Let’s just take one more step to finish this tutorial.
Step 4: Display color swatches on product table
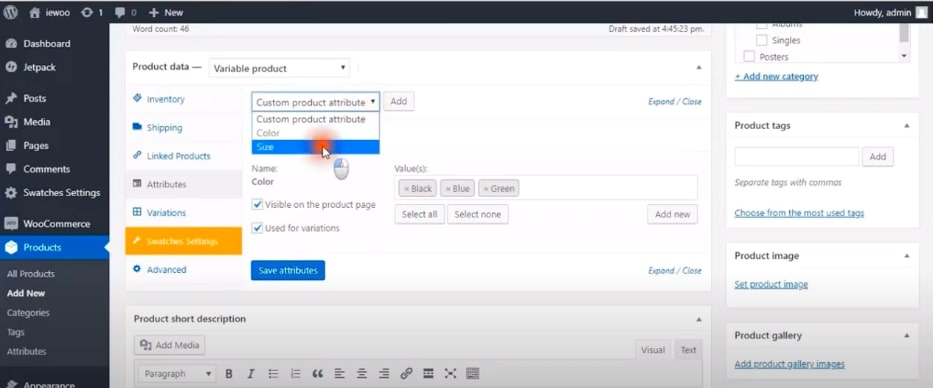
It’s time to display the swatches on the product page. In order to do that, first make sure you have variable products selected from Product Data.
After selecting the variable section from Product data dropdown, you go to the Attributes tab. Click on the Custom product attribute on the menu bar. In this tab, you can see all your created attributes. As we’ve only created an attribute at a time, we will add a color attribute.
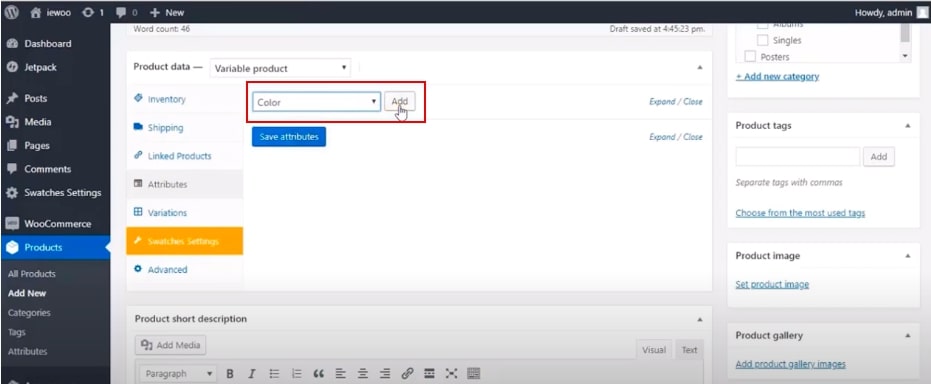
In the next stage, select the Color attribute and click on the Add button.
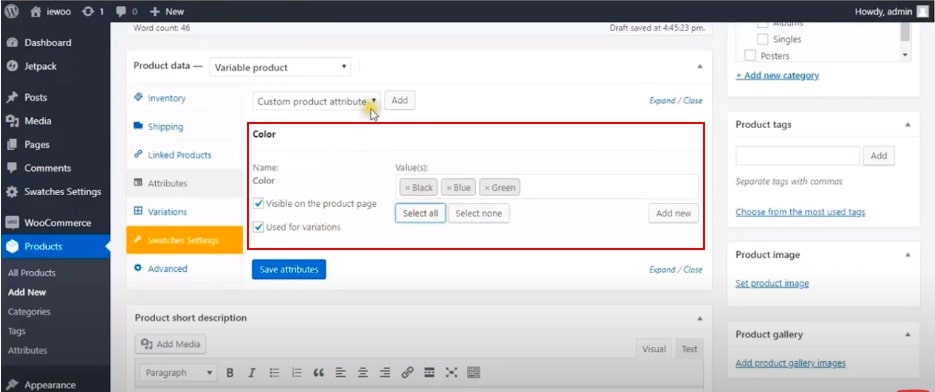
If you want to select all available variations of the color attribute, click on the “Select all” button. Or else you want to switch off all selected variations at once, please choose the “Select none” button. Then don’t forget to tick the “Used for variations” settings and click on the “Save Attributes” button to update the attribute.
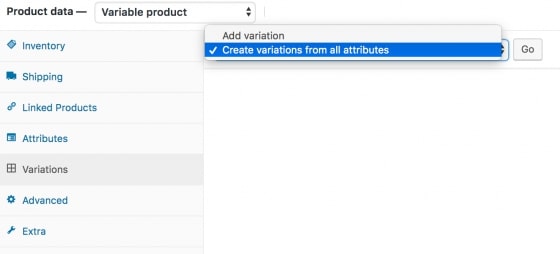
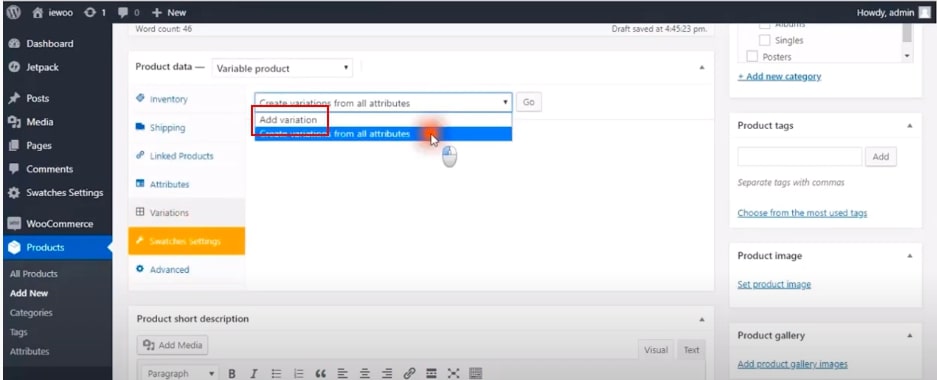
Eventually, click on Variations and then choose each attribute, upload an image and complete other values of those attributes such as price and other specific details.
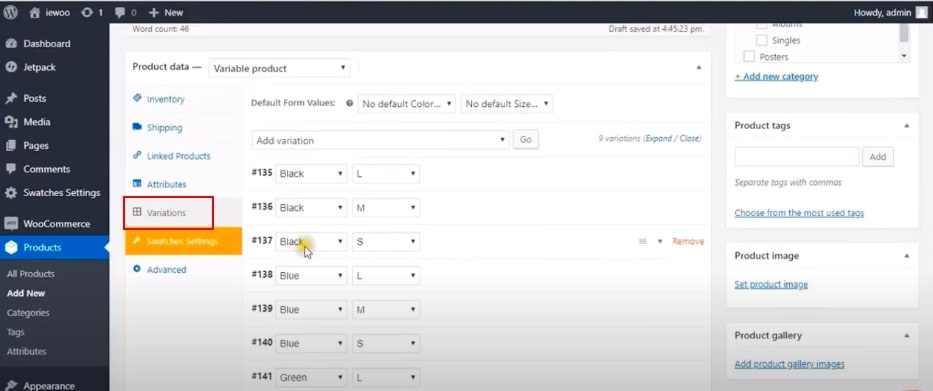
This image shows how they will be uploading the products with image and color:
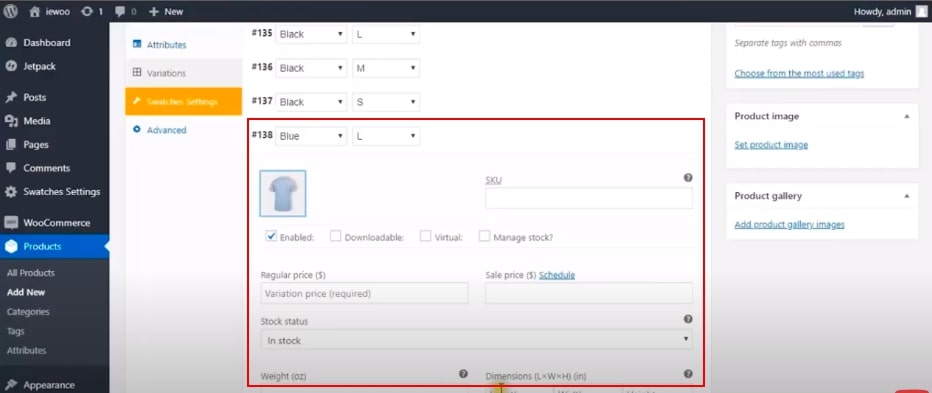
Moreover, if you want to edit, just click on that product and the information will be on the screen right below the product title like this:
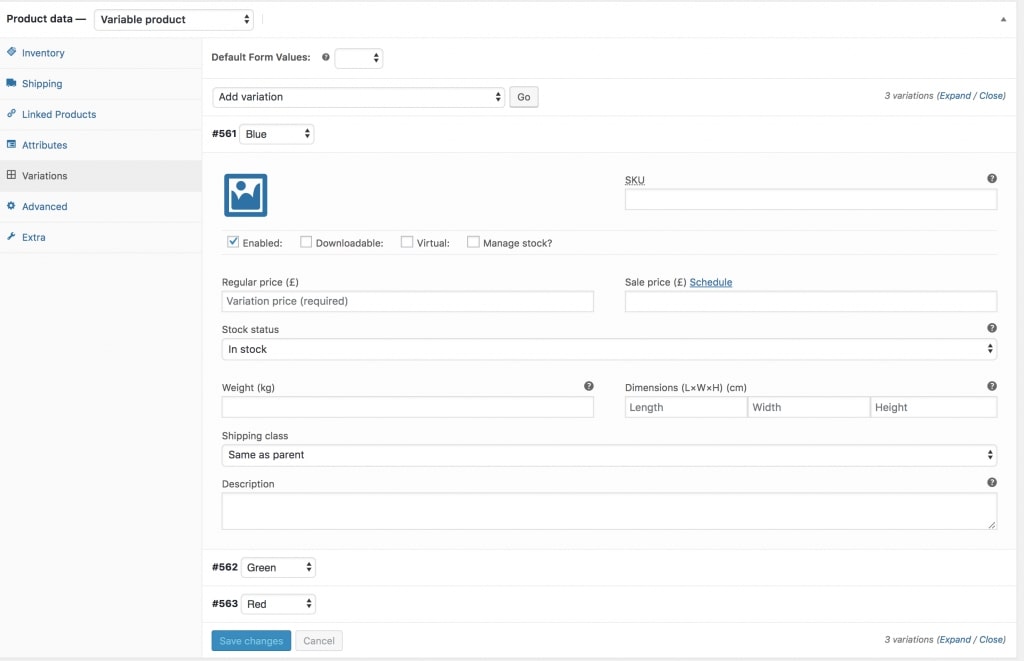
Don’t forget to save changes to get the latest update. In case you want to add more variance products, choose “Add variance” on the menu bar.
Once you have done adding all your required details in each variation, click the Save Changes button to finish the process.
Top 3 best plugins to add Color Swatches for WooCommerce
Color and Image Swatches for Variable Product Attributes
By using this useful WooCommerce swatches plugin, you can customize color and image swatches to display the available variable products on the product page.
There are several features when you use this plugin for free. Of course, you can upgrade this version for further beneficial functions:
-
Create image swatches and unlimited color swatches
-
Set the swatch style as Square or Circle
-
Works on variable products only
Price: free version
WooSwatches
Similarly, WooSwatches can convert your normal variable attribute select to a nice looking color or image select. Moreover, you can represent images or color in all common sizes. The shape can be round or square when the color swatches are displayed.
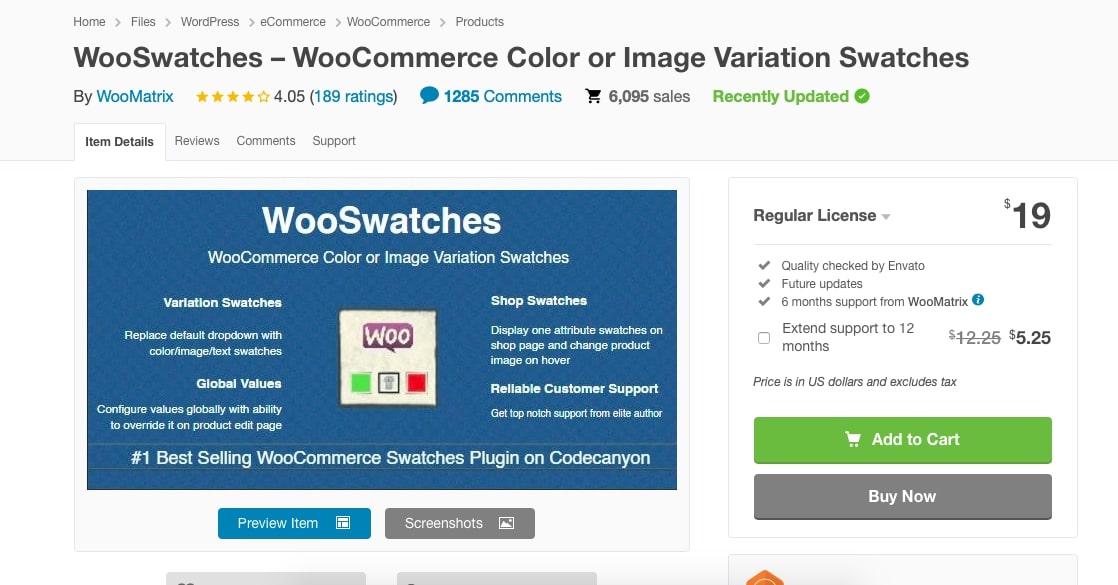
On the other hand, you are able to set image or color settings for individual attribute values of the attribute edit section. Whenever you set the image, these values will be updated automatically for front-end swatch wherever preset attributes are utilized for variables on the product page.
Price: $19 per month
Variance swatches for WooCommerce
Last but not least, Variation Swatches for WooCommerce plugin provides you with a much nicer way to display variation products. This plugin will help you select styles for each attribute as color, image or label. With this plugin, your store can only be featured with more options to show product variations with swatches. It doesn’t influence the default drop-down style of WooCommerce at all.
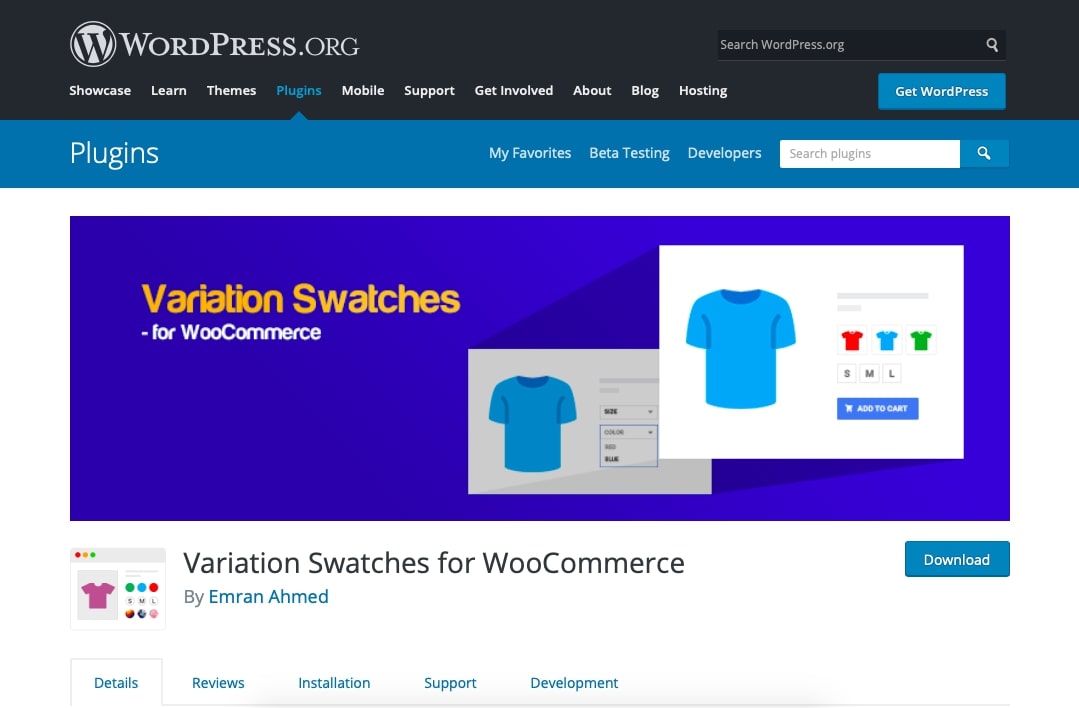
With a friendly and easy-to-use interface and global management, you can add unlimited colors, images or labels to each attribute in the attributes page. Furthermore, it can also support you to pick the right style for quick-add attributes while customizing in the editing product page.
Price: free version
Final thought
Finally, we have reviewed all the basic knowledge relating to WooCommerce color swatches for variable products. In Particular, you did learn the most crucial part of this post - How to add color swatches for WooCommerce variables tutorial. We really hope that it works well on your WooCommerce store, applying to your products effectively.
During the process of the practice, if you encounter any problems, we can be your supporter to help you out one-on-one whenever you can set the time for us.


