
How to Add a Clear-Cart Button in WooCommerce

It seems to be a crazy idea when it comes to adding a clear-cart button to your store. However, let’s consider some other aspects of this activity because there are some cases in which you will need to set your WooCommerce store in the mode with a clear-cart button. This will be a big benefit for customers who are keen on emptying their carts with only one click. Moreover, you can also avoid creating discomfort among grumpy customers.
So, if you have something to do with this clear-cart button within your online store, this guide is a great one to go. Follow us, and you will know how to add a clear-cart button in WooCommerce. Now, let’s thrive in!
Why should we add a clear-cart button in WooCommerce?
There are two main reasons that you should add this kind of button to your store. Won’t this kind of button make it simpler for your consumers not to purchase something? To help you understand better when and why you should accompany this clear-cart button, read out some principal reasons below.
-
Enhance customers’ shopping experience: A clear-cart button will assist customers in removing items or products from the cart effortlessly and quickly. Adding this button to your store means that you allow your customers to remove the item themselves, thus improving the shipping experience.
-
Boost sales in the long term: As customers feel satisfied with shopping in your store, they will certainly be back to buy your products. This will be a big profit for boosting your sales in the long term.
How to add a clear-cart button in WooCommerce
Now it is time for us to learn how to add a clear-cart button in WooCommerce. In this article, we will guide you on performing the task in two ways. The first one is to apply code snippets, while the other entails using a plugin. So, you are advised to read through both of them, then figure out the best method that works for your knowledge and online business as well.
1. Use code snippets
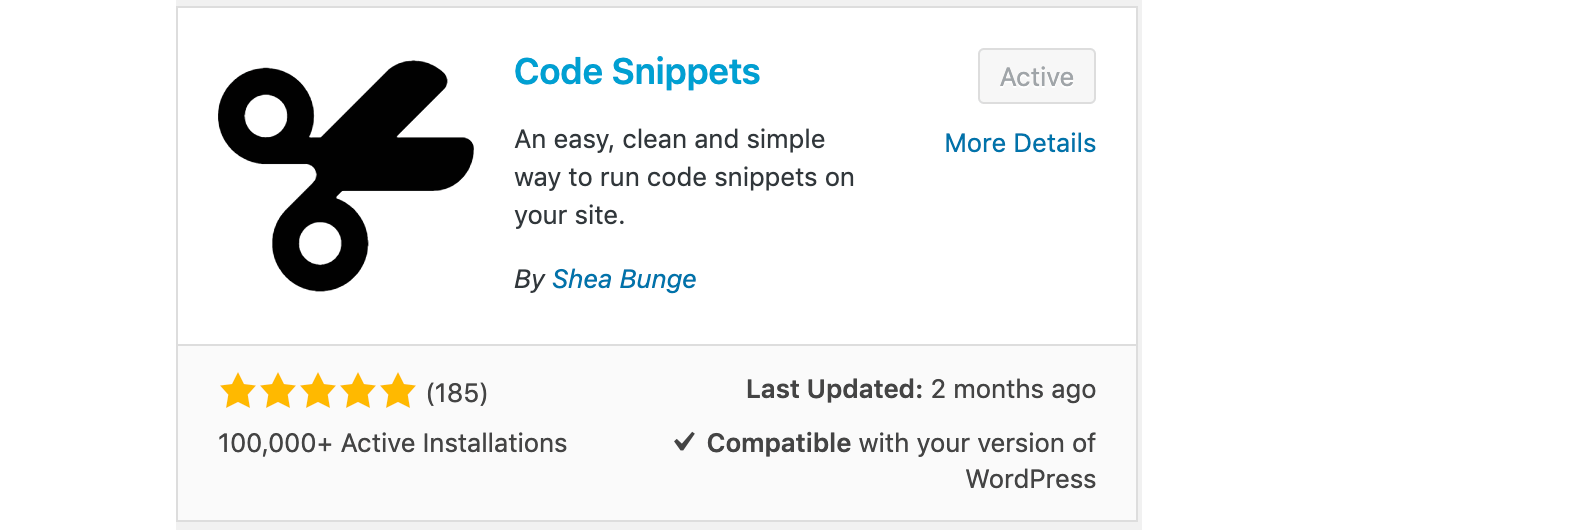
The first method requires you to get acquainted with the code snippets used to add this clear-cart button to your store. The first thing you need to do is to navigate to the backend of your WordPress. Here, you will encounter the section “Plugins”, do not hesitate to choose “Add New”. Keep ahead with searching for the plugin “Code Snippets”. Then, you need to get it installed and activated for later use.
After that, your task is to hit on the section “Snippets” and click on “Add New” that is in your sidebar. Check out the below screen to know the location of these functions.

When you are here, your next job is to name this new snippet. In this case, you could name it as the “Add Clear-cart button”. Then, you need to copy the following code before clicking “Save Changes” and activating it for enabling.
add_action( 'woocommerce_cart_coupon', 'custom_woocommerce_empty_cart_button' );
function custom_woocommerce_empty_cart_button() {
	echo '<a href="' . esc_url( add_query_arg( 'empty_cart', 'yes' ) ) . '" class="button" title="' . esc_attr( 'Empty Cart', 'woocommerce' ) . '">' . esc_html( 'Empty Cart', 'woocommerce' ) . '</a>';
}

add_action( 'wp_loaded', 'custom_woocommerce_empty_cart_action', 20 );
function custom_woocommerce_empty_cart_action() {
	if ( isset( $_GET['empty_cart'] ) && 'yes' === esc_html( $_GET['empty_cart'] ) ) {
		WC()->cart->empty_cart();

		$referer  = wp_get_referer() ? esc_url( remove_query_arg( 'empty_cart' ) ) : wc_get_cart_url();
		wp_safe_redirect( $referer );
	}
}
2. Use a plugin
If you prefer a smarter and quicker way, and you are not keen on using codes, a plugin is a must to go. In this situation, Clear Cart and Sessions for WooCommerce is perfect to assist WooCommerce store owners in adding a clear-cart button to their stores.
With assistance from this plugin, store owners can have full management of customers’ sessions as well as carts. It lets consumers clear sessions or carts automatically after one defined time. Moreover, you could be able to clear carts and sessions in minutes, hours, or days. Now, it is time to know how to implement this task with this great plugin.
Step 1: Install and activate the plugin
In order to enable this plugin for later use, installing and activating the plugin Clear Cart and Sessions is a must-do step. After you purchase this plugin, you can download the. ZIP file. Next, you need to go to the admin panel in WordPress. Here, it is easy to notice the section “Plugins” where you could click on “Add New” for uploading the downloaded zip file. This will help you install the plugin effortlessly. So, you need to upload the file for proceeding with its installation.

After some seconds, the plugin will be done installation. Next, you need to activate it before going on with configuration settings.
Step 2: Configure the settings
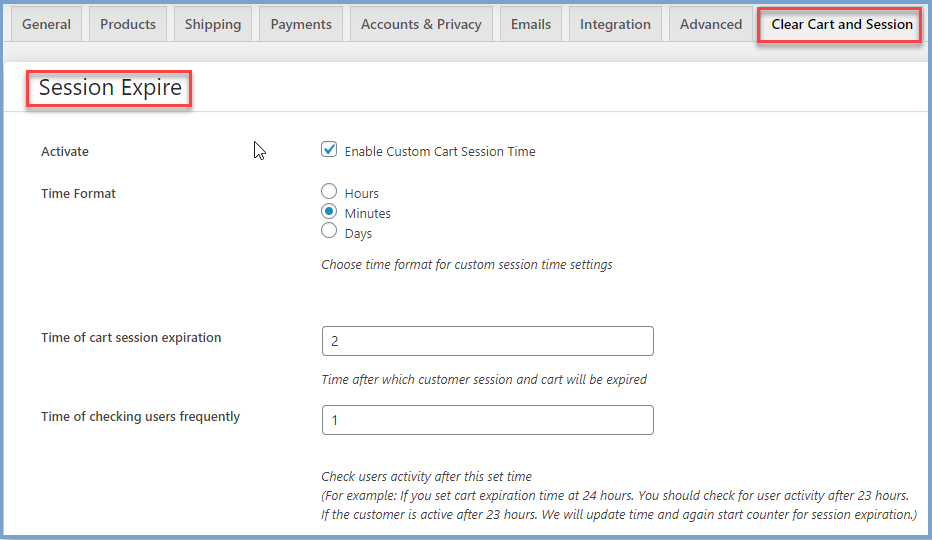
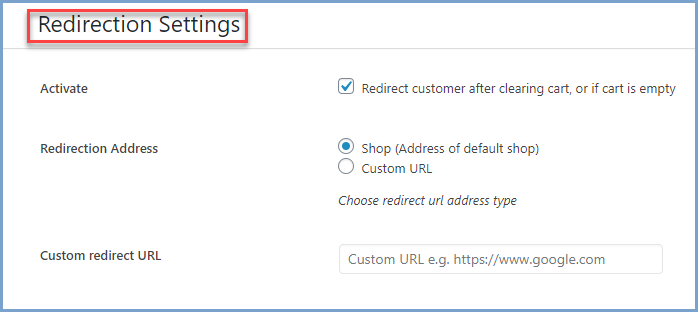
Before adding the clear-cart button, the configuration of settings will be prioritized. In doing so, you need to go to your admin panel in WooCommerce. Proceed to pick up the section “Settings”, then hit on the tab named “Clear Cart & Session” for configuring this extension. When you are here, you could be able to discover the setting sections, including “Redirection Settings”, “Empty Cart Button” and “Session Expire”. This is to say, you need to enable all of these three sections. Beforehand, it is a must to enable the session to expire and redirection settings before adding the clear-cart button.
In the field “Activating”, it means that you will make up your mind to enable or disable the session time. On the other hand, in the field “Time Format”, it is a must to choose the time in minutes, hours, or days to clear the cart. In specifying the time, you need to verify the session expiration. Moreover, the field “Time of checking user frequently” aims at specifying the time for checking whether users are inactive before clearing their carts or not. Let us take an example for you to understand. In case you are fond of setting the time for cart expiration in 24 hours. Your to-do task is to check the activity of users after the time of 23 hours. If that consumer is active after the period of 23 hours, then the time will be updated, and it starts the session expiration counter.
In redirecting customers to a store page or shop when you decide to add the clear-cart session. In the field “Redirection Address”, you will select shop that you are going to redirect your customers to a store page or shop page. You also need to make the decision on the field “Activate”. By checking this option, you are capable of enabling redirection. On the other hand, you also need to specify the URL in which are about to redirect customers.
Step 3: Enable the clear-cart button
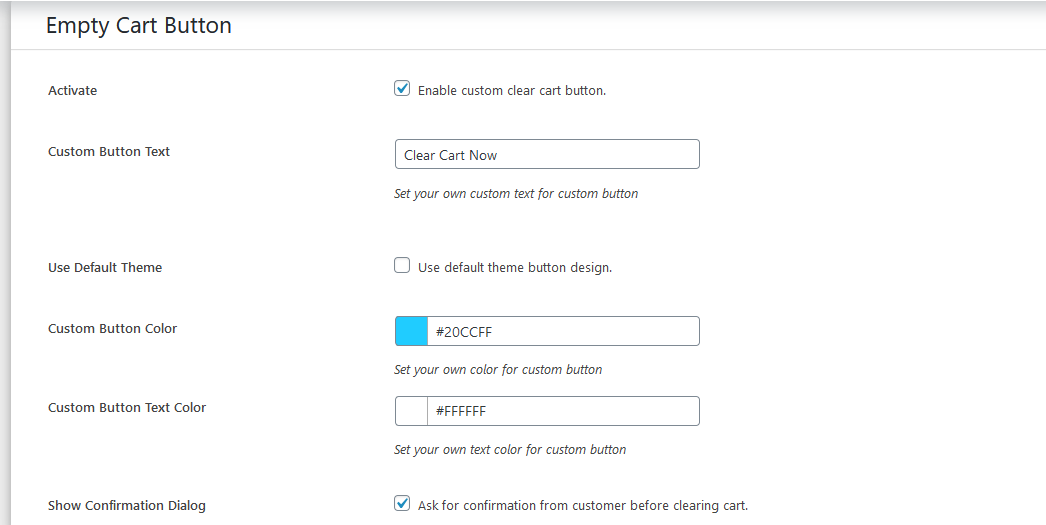
When you are done with the two above steps, you could enable the clear-cart button now. This assists you in enabling the Empty cart button on your cart page to let customers clear all items or products in their carts with only one click. To do this, you need to configure the setting of this kind of button.
By working with the field “Activate”, you could be able to enable or disable the clear-cart button on your cart page. In the field “Custom Button Text”, you will customize the text of your clear-cart button; whereas the field “Use the Default Theme” requires you to tick this option if you want to use the design of the default themes button. What is more, if you want to add colors to this button, you could do it by choosing the field “Custom Button Color”. Here, you could be able to customize the background color of your clear-cart button. It is also possible for you to choose the text color for this button by working out the field “Custom Text Color”. In the final field “Show Confirmation Dialog”, you can tick this option for asking for customers’ confirmation before they clear their carts.
Top 3 plugins to add a clear-cart button in WooCommerce
As plugins bring about unlimited benefits for configuring and customizing your WooCommerce store, thereby making your store stay ahead of other competitors. It also makes no exception to adding a clear-cart button in WooCommerce. With the above-said benefits from this kind of button, do not hesitate to learn how to add it and get some knowledge about several useful plugins for accomplishing this task. Here, we would like to recommend to you the top three plugins that you should not miss. Then, you can view each plugin’s outstanding features and figure out which will work best for you.
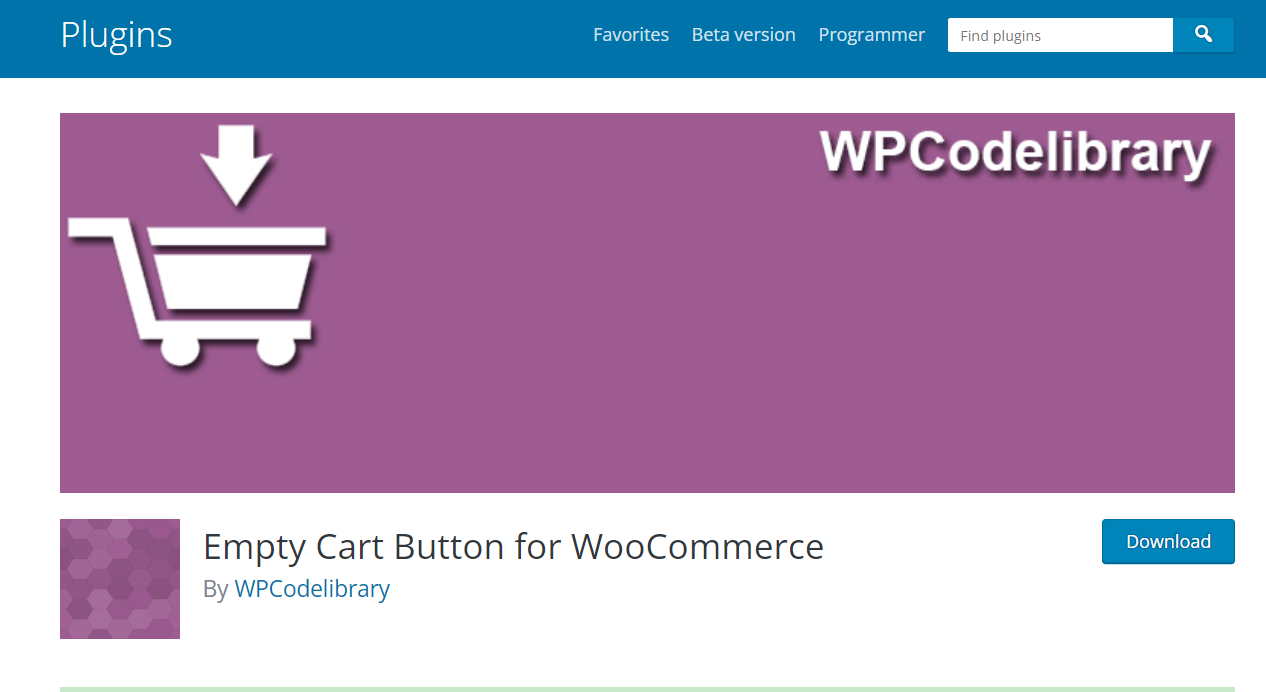
1. Empty Cart Button for WooCommerce
The first and foremost plugin that any WooCommerce store owner should not miss when he/she is seeking a tool to add a clear-cart button is Empty Cart Button for WooCommerce. It will work perfectly to exceed your expectation. Being simple and user-friendly, the plugin will do exactly what you are looking for. By displaying a good-looking clear-cart button on your cart page in WooCommerce, it also respects your shop’s visual style. What is more, the plugin amazes you with the ability to customize the text of this button in settings. Therefore, it will translate your frond-end appearance with no requirement of coding.
Main features
-
Add the clear-cart button for clearing cart with the use of only a single click
-
Support various languages
-
Require no configurations, thereby saving much time
-
Come with an essential solution for your store’s functionalities
Pricing: Free
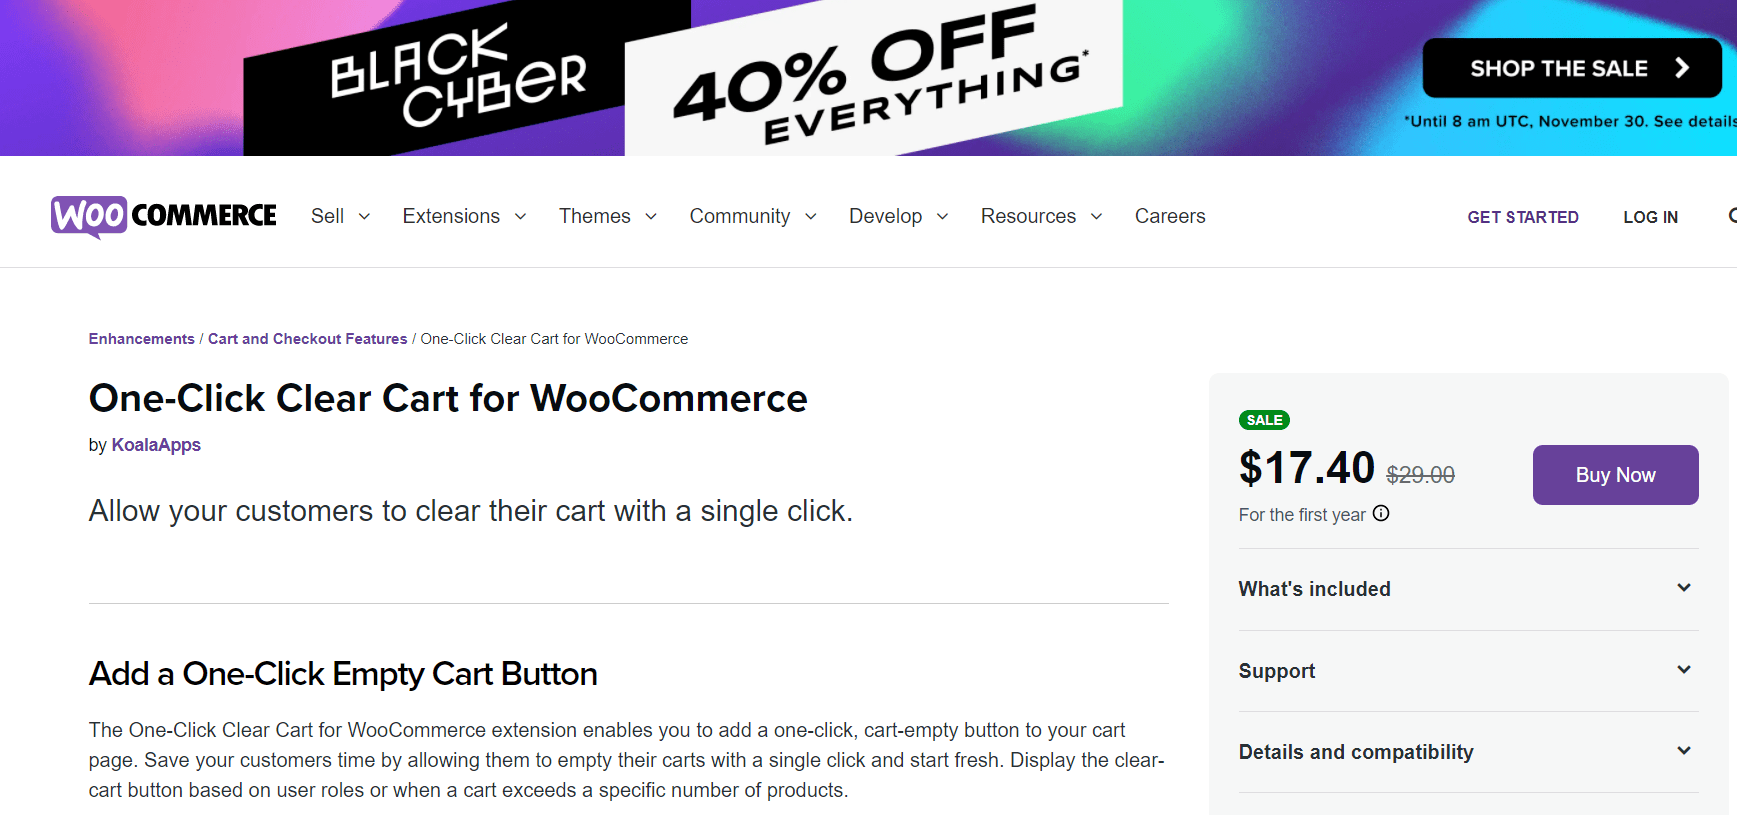
2. One-Click Clear Cart for WooCommerce
The second plugin to appear in this list to help you effortlessly add a clear-cart button in WooCommerce is One-Click Clear Cart for WooCommerce. With the use of this plugin, you can enable the cart-empty and on-click button to the cart page. Therefore, it could save your consumers a lot of time by letting them clear the carts with only one click as well as start fresh. To be more particular, there is nothing quite like displaying this clear-cart button for user roles and in case a cart is about to exceed a particular number of items or products.
Main features
-
Be able to remove the orders within one click
-
Activate the clear-cart button for chosen user roles
-
Show the button in case the carts tend to exceed a particular number of items or products
-
Help to customize button color, coupled with button label
-
Be useful for showing confirmation removal or popup
-
Help to redirect to the custom pages after the removal
-
Clear the cart automatically after a defined inactive time
Pricing: $17.40
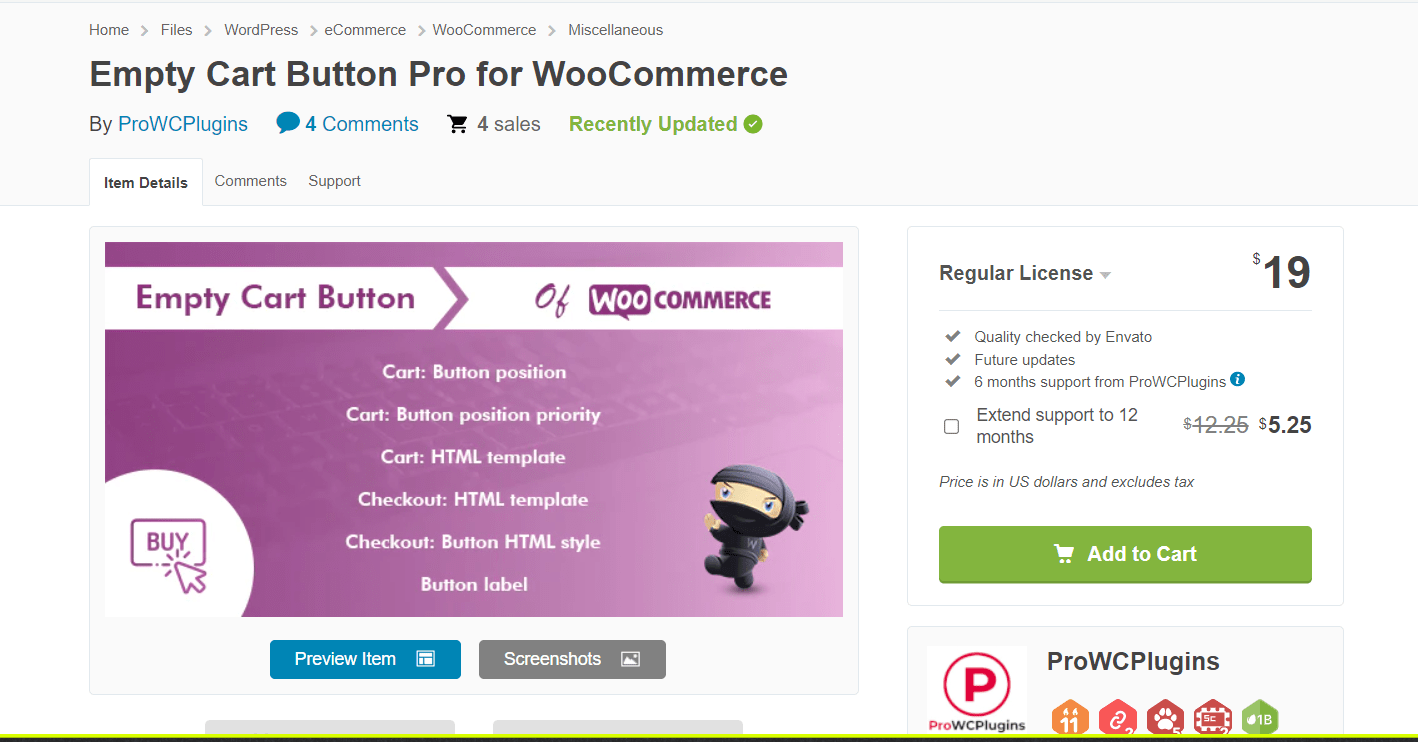
3. MEmpty Cart Button Pro for WooCommerce
If you are seeking a handy tool for adding a clear-cart button to your WooCommerce store, Empty Cart Button Pro for WooCommerce is an ideal one. The plugin does a great job of easing customers’ shopping experience by clearing their carts from the WooCommerce cart page once. When adding this kind of button with the use of Empty Cart Button Pro, your customers are capable of flushing out every product and item in the cart with one click from your cart page. This means that your customers can save a considerable amount of time.
Main features
-
Allow you to select the position for locating the clear-cart button
-
Save customers’ time, thus improving the shopping experience
-
Be easy for use with enabling or disabling the features of this plugin with one click
-
Make everything effortless with clear customers’ cart by one click only
-
Be able to modify the text and color of the button
Pricing: $19
Conclusion
In short, the clear-cart button has come as a lifesaver for many store owners in many situations. All services are born to suit the customers’ satisfaction, and this activity is one of the things to enhance customers’ shopping experience. Therefore, we think that it is necessary for those with a WooCommerce store to equip themselves with the tip about adding a clear-cart button to WooCommerce. Then, they would undoubtedly come back for purchasing more items and products in your shop. Keep following us for more amazing tips and tricks that help to improve your online business, thereby making your store stay ahead of other competitors.


