
How to Add Categories To Menu in WooCommerce

Do you organize your WooCommerce store by categories? Products may be categorized to make it easier for readers to find similar content and to help them decide what to buy next. If the answer is no, then adding WooCommerce categories to menu is just what you are looking for.
Every visitor wants to speed up their buying process by glancing through the menu categories, making it much easier for them to find the perfect item. If this is what your website is missing, this article welcomes you. We will be talking about How to add WooCommerce categories to menu within two methods and potential plugins to use during the tutorial. Keep reading to find out more!
Why should you add WooCommerce categories to the menu?
Increasing the conversion rate is one of the most important factors contributing to the success of an online business. For this reason, an elegant, clean and user-friendly design is more critical than you thought. Online merchants must make it simple for customers to locate what they want if you want them to have a positive purchasing experience. That’s when an easy-to-navigate menu for visitors will be helpful than ever.
However, if you manage a large number of products at once, organizing them into categories and subcategories may make it difficult to maintain your menu clean and structured. Because of this, providing a WooCommerce menu category will be a perfect solution to such a dilemma. Just consider a scenario in which a customer wishes to buy a Samsung smartphone from your online store. How convenient would it be if customers could access the Samsung mobile phone area straight from the menu? You’ll enhance client satisfaction and raise your conversion rates if your website has better navigation.
After all, by adding WooCommerce categories to your menu, you open up new revenue opportunities.
How to add categories to the menu in WooCommerce manually?
Previously, you have been provided with the advantages of adding WooCommerce categories to menu. In this section, we will guide you through a tutorial on how to bring them into your website in two distinct ways: manually and with a plugin. First of all, let’s take a look at How to add WooCommerce categories menu to your website manually:
Step 1: Creating a new menu
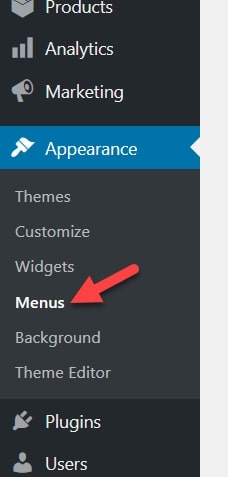
This is a method for adding WooCommerce product categories to your menu that’s perfect for beginners. In addition, no extra tools are needed, and the process just takes a few minutes. To begin, navigate to Appearances > Menus in your WordPress dashboard by first logging in with your WordPress username and password:
Then we will be creating a WooCommerce categories menu by clicking on the “Create Menu” button after assigning it an appropriate name and position just like what we did below:
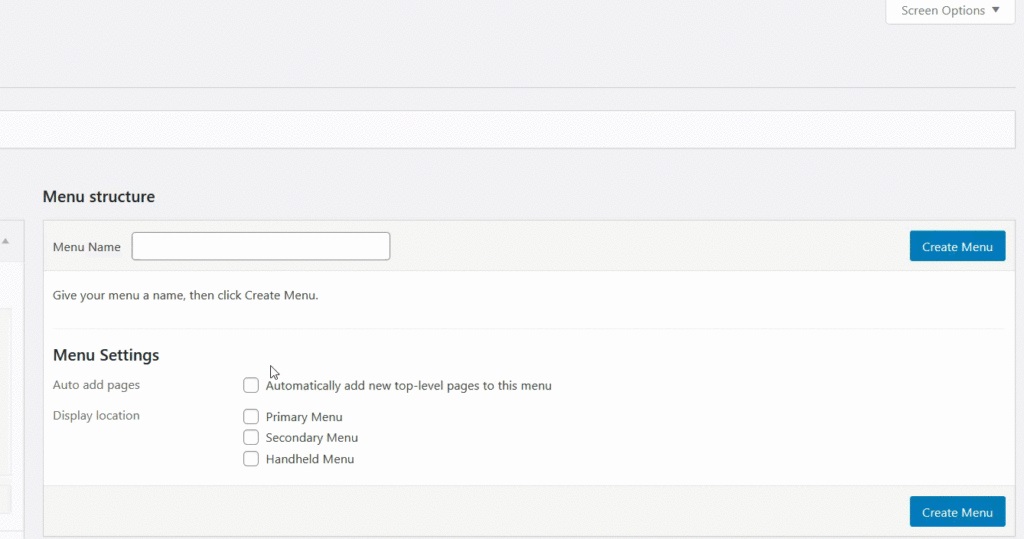
On purpose, we’ll put our sample in the theme’s main menu position for demonstration purposes. You may add items and blocks to your menu using the left-hand panel, such as pages, posts, categories and so on:
If you are having trouble with finding the “Categories” selection, just enable them by navigating to the “Screen Options” settings and check for the following checkbox:
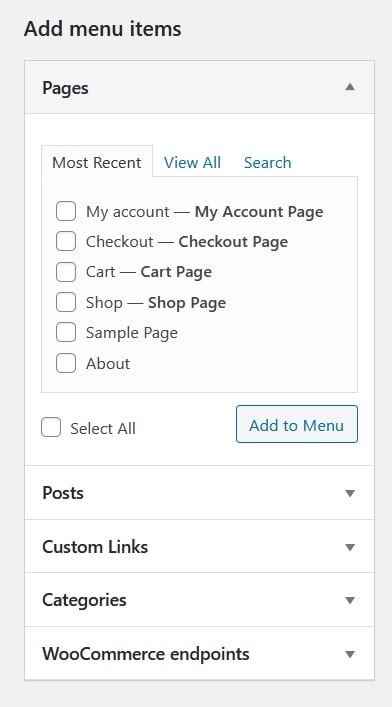
Once you’ve done that, head to WooCommerce’s categories area and see what’s accessible for your online shop. You’ll be able to view all of the categories accessible from the “View All” tab:
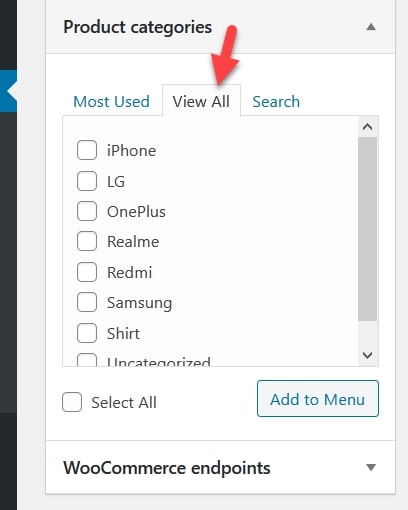
Step 2: Adding WooCommerce categories
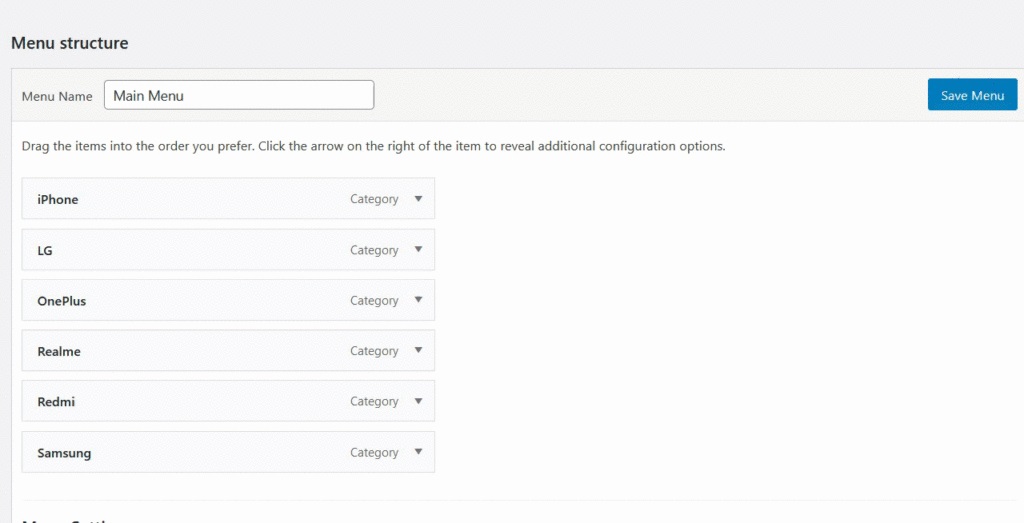
As an example, we have checked on the “Select All” to add the WooCommerce categories to menu:
Then feel free to customize the menu styles based on your preferences. Sub-menus may also be created, items can be moved about the menu, and other functions too:
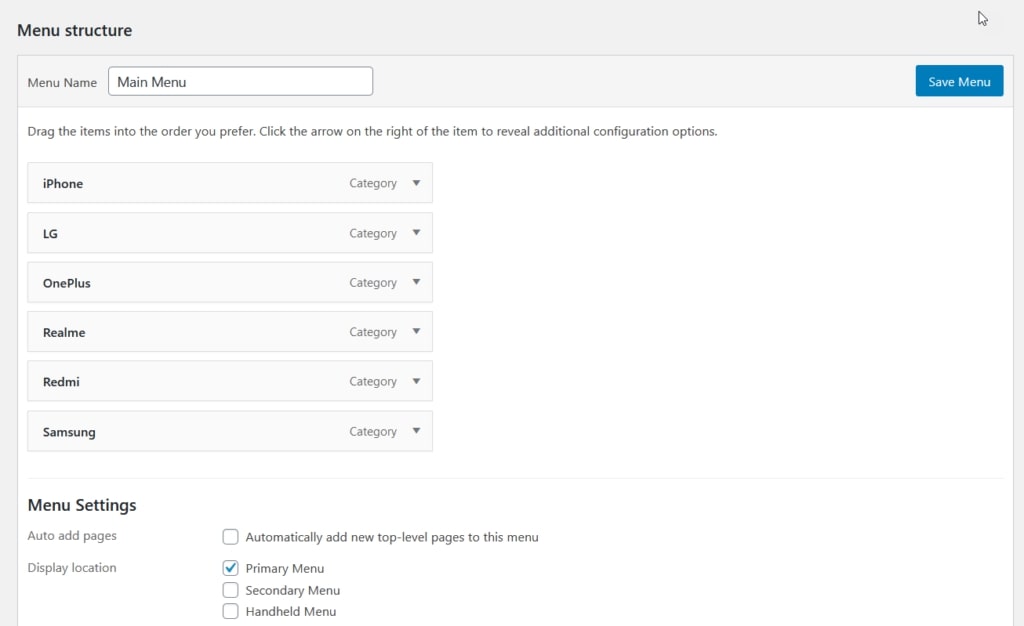
Step 3: Customizing your menu
The Screen Options area allows you to further personalize your menu. You may apply advanced menu properties to your menu items by visiting the section under “Advanced Menu Properties”:

Don’t forget to “Save Menu” or else you may have to start all over again:
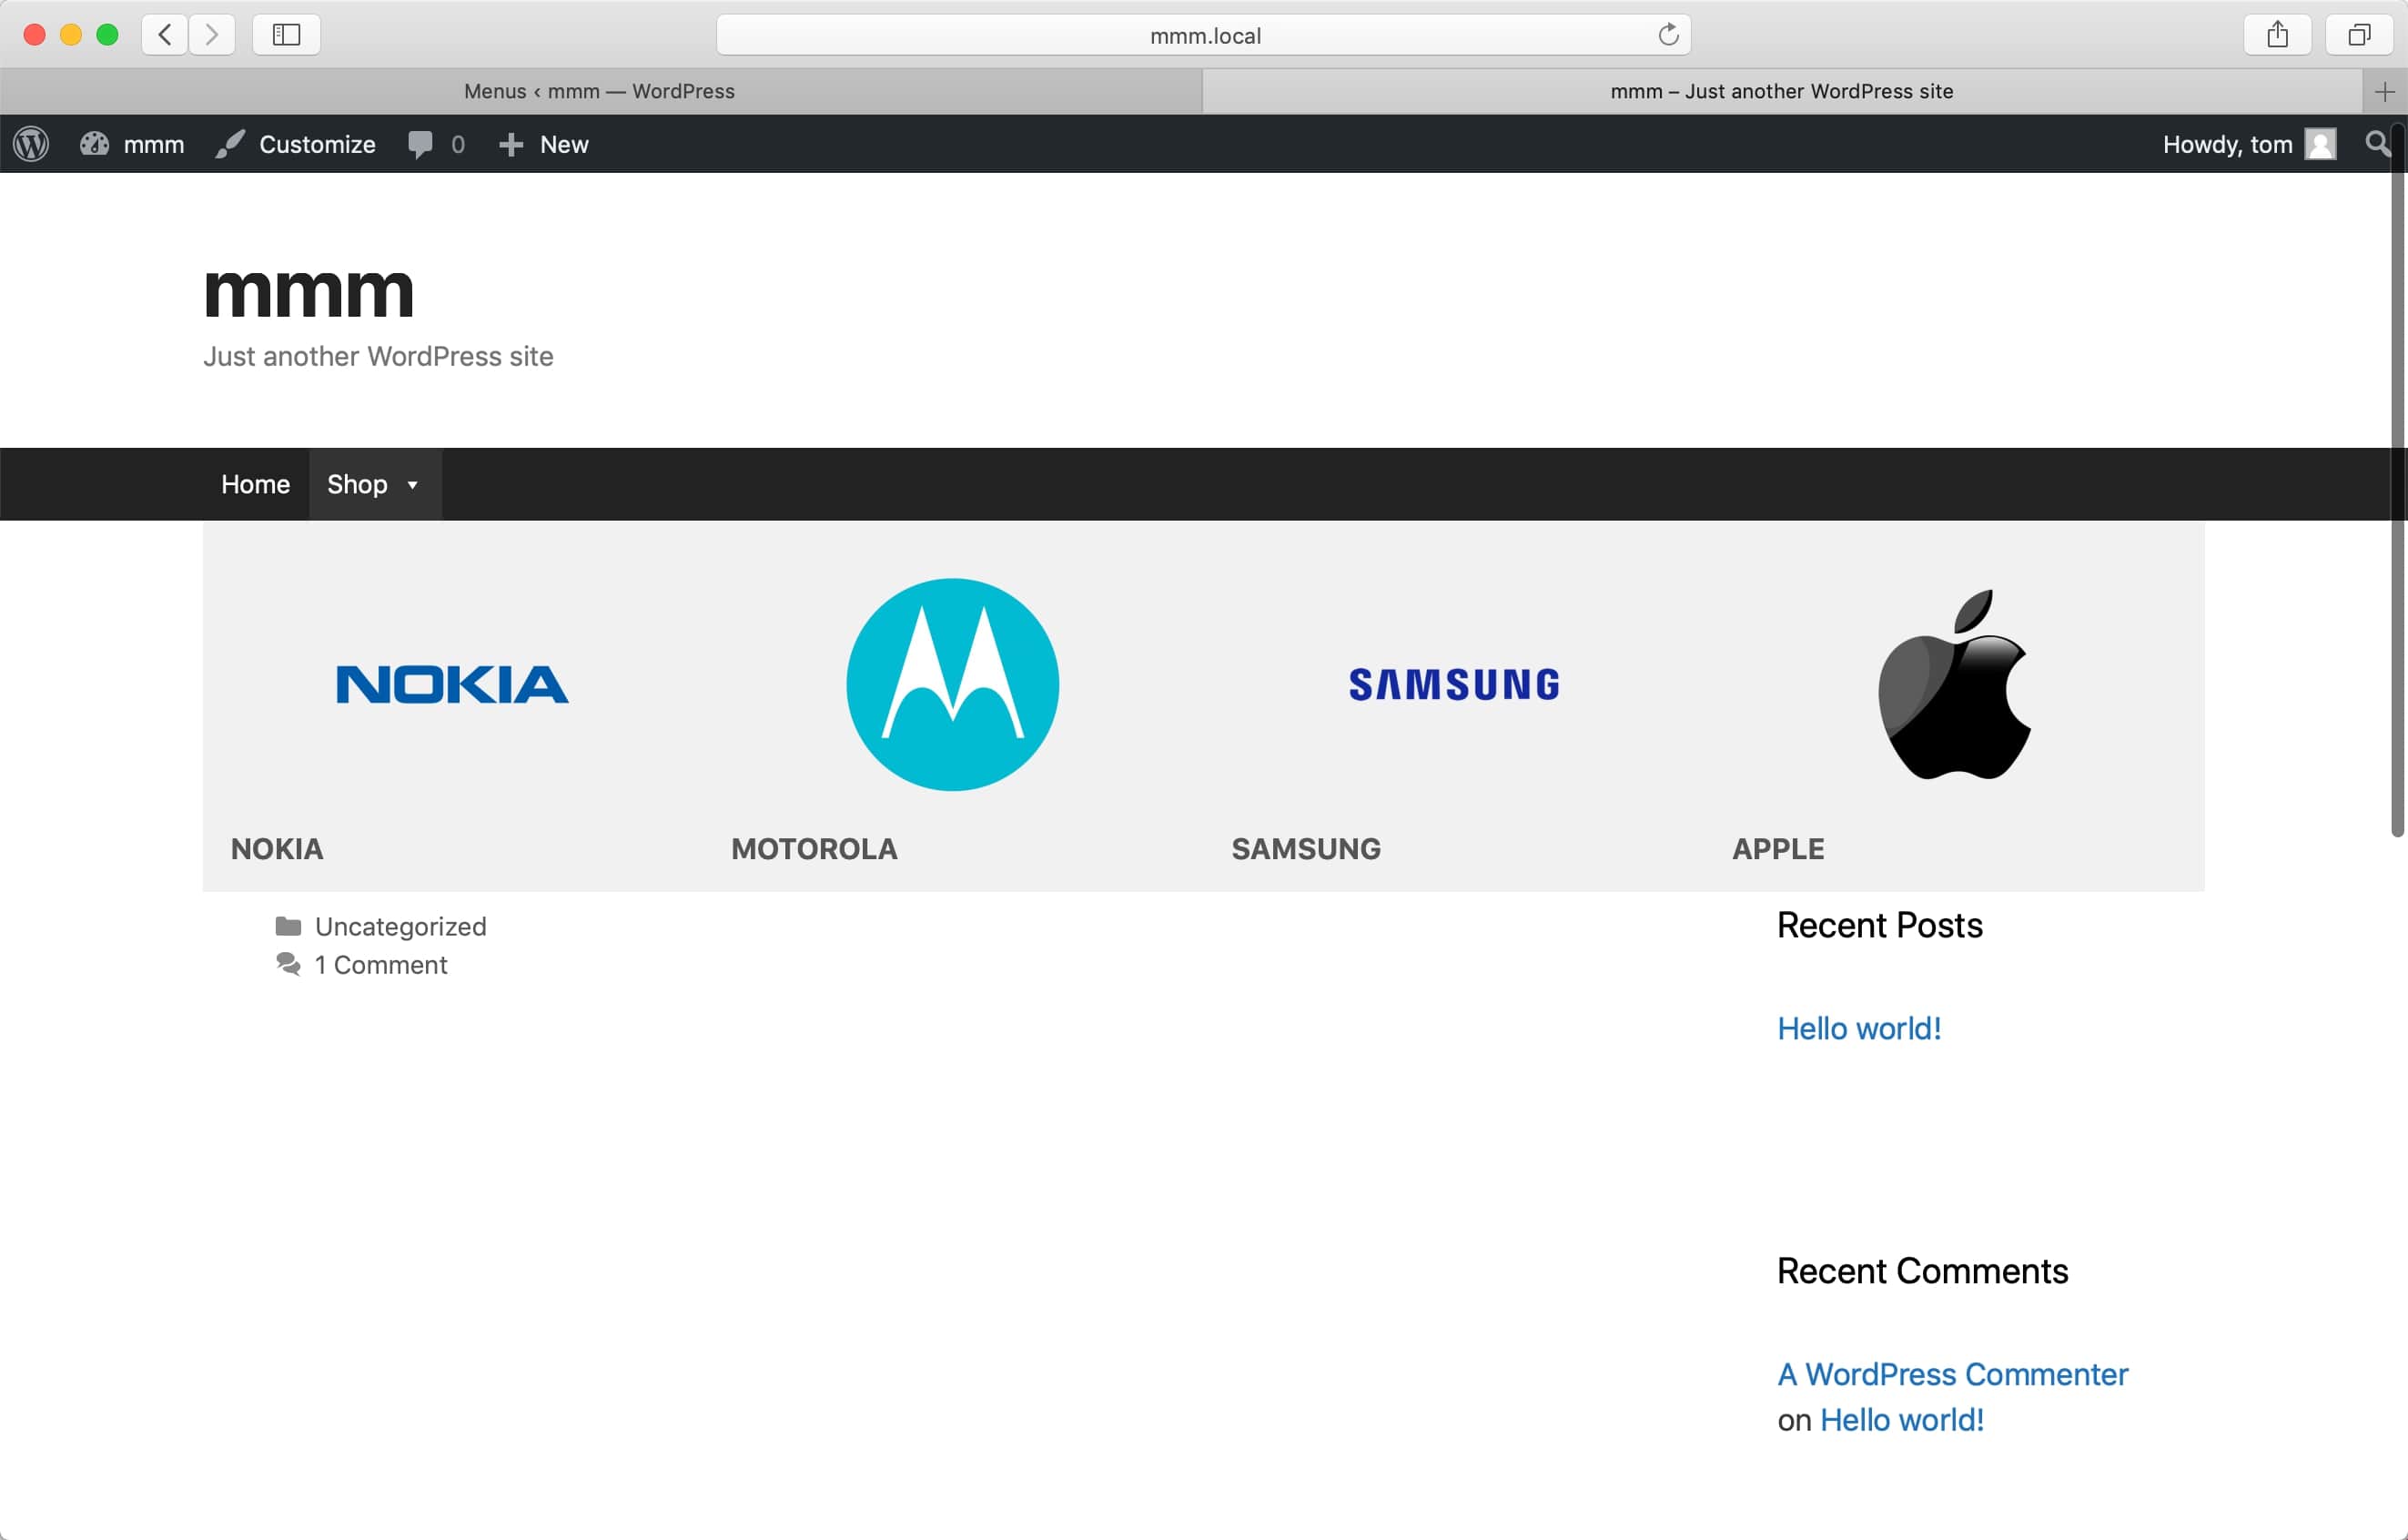
Now let’s take a look at the front end and see what we got. The WooCommerce product categories display on the menu, as seen in the image below:
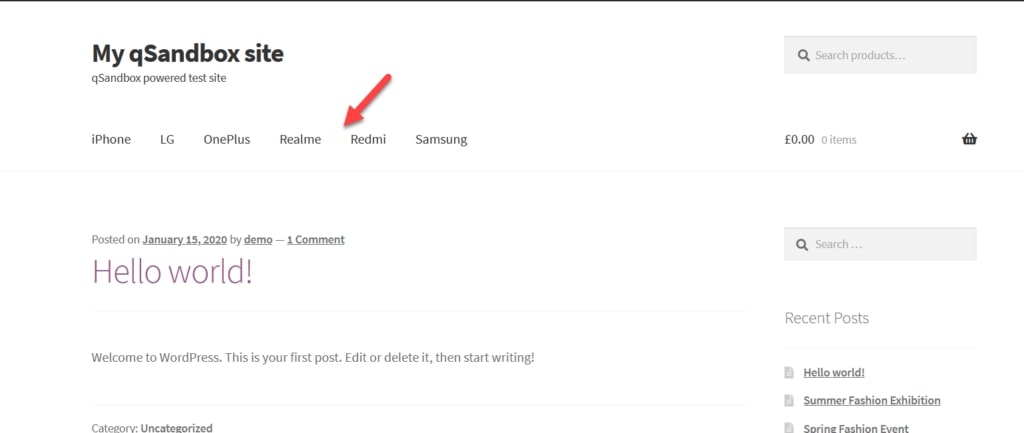
As you can see, it takes up only a few minutes of your time to complete adding WooCommerce categories to menu, but the benefits far outweigh the inconvenience. And the greatest thing is that even a novice may do it by themselves without the assistance of a tutor or other professional.
How to add WooCommerce categories to menu with a plugin?
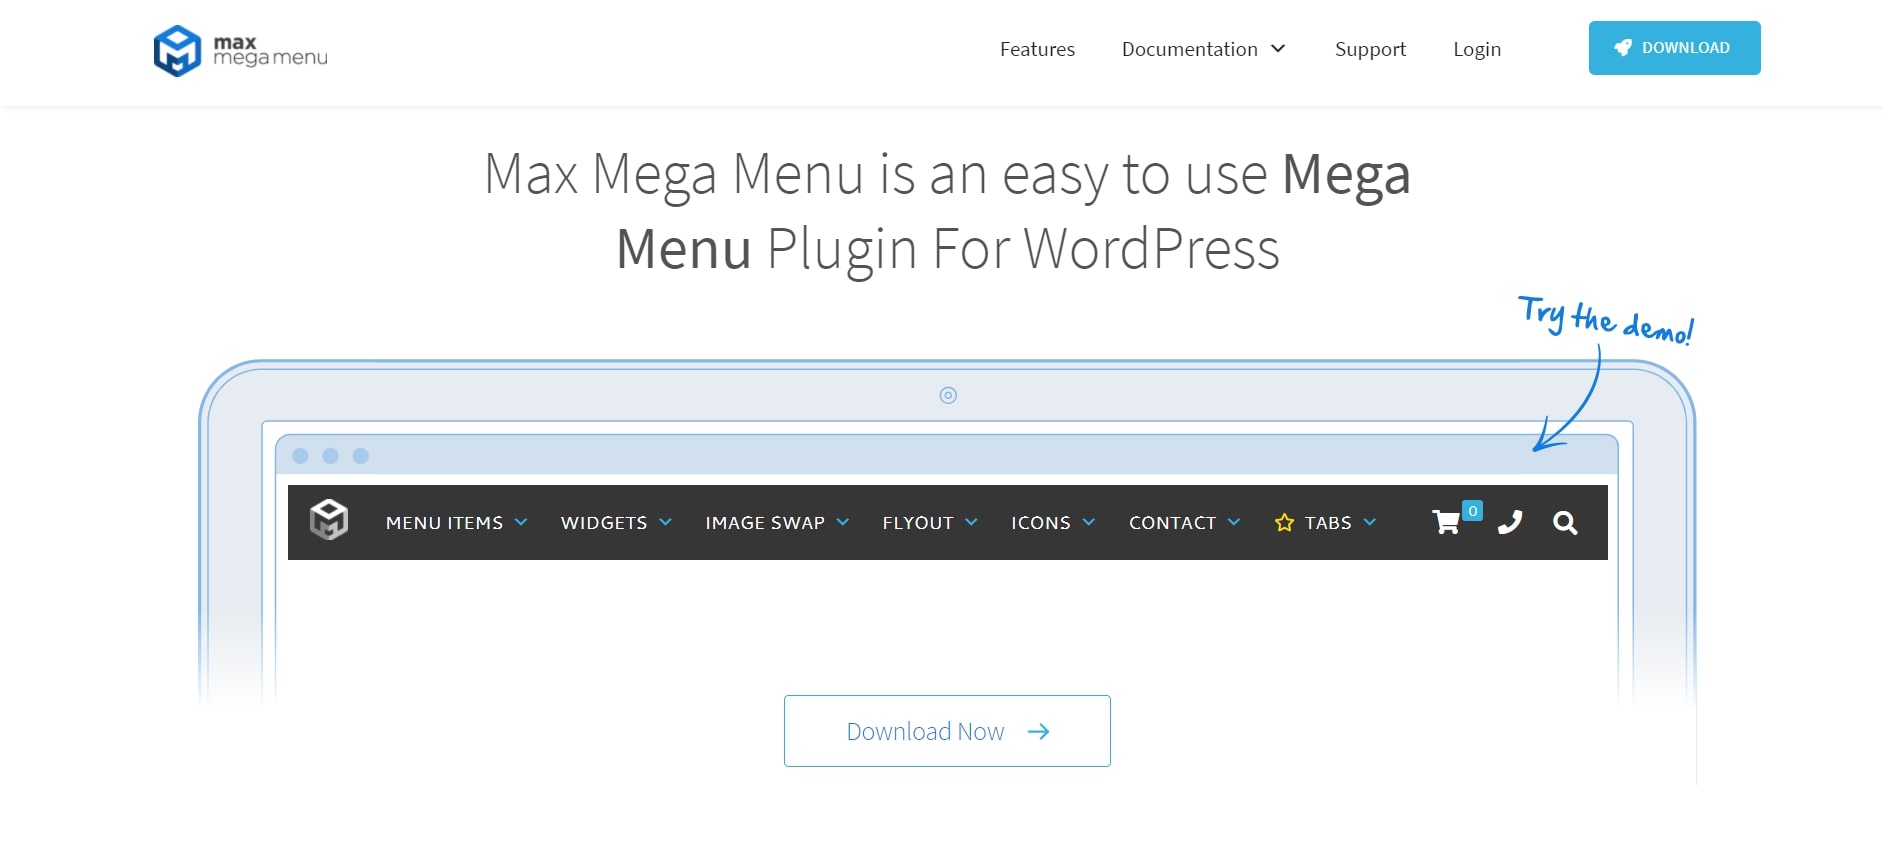
On the other hand, you can also seek help from a plugin called “Mega Menu” to make adding the WooCommerce categories to menu become much easier. With this method, there is no need to spend time coding and change the settings step by step. No more beating around the bush, let’s get started!
Step 1: Install the plugin
First of all, also the easiest step out of them all, especially for those of you who have run the business on WooCommerce for a while. All you have to do is to enter the Plugins > Add New page and look for the Max Mega Menu extension. After that, just follow our footsteps to complete the installation phase:
Step 2: Enable menu categories
Once the plugin has been successfully installed, quickly go to the Appearance > Menus and hover your mouse over the “Screen Options” section:

Step 3: Change the menu settings
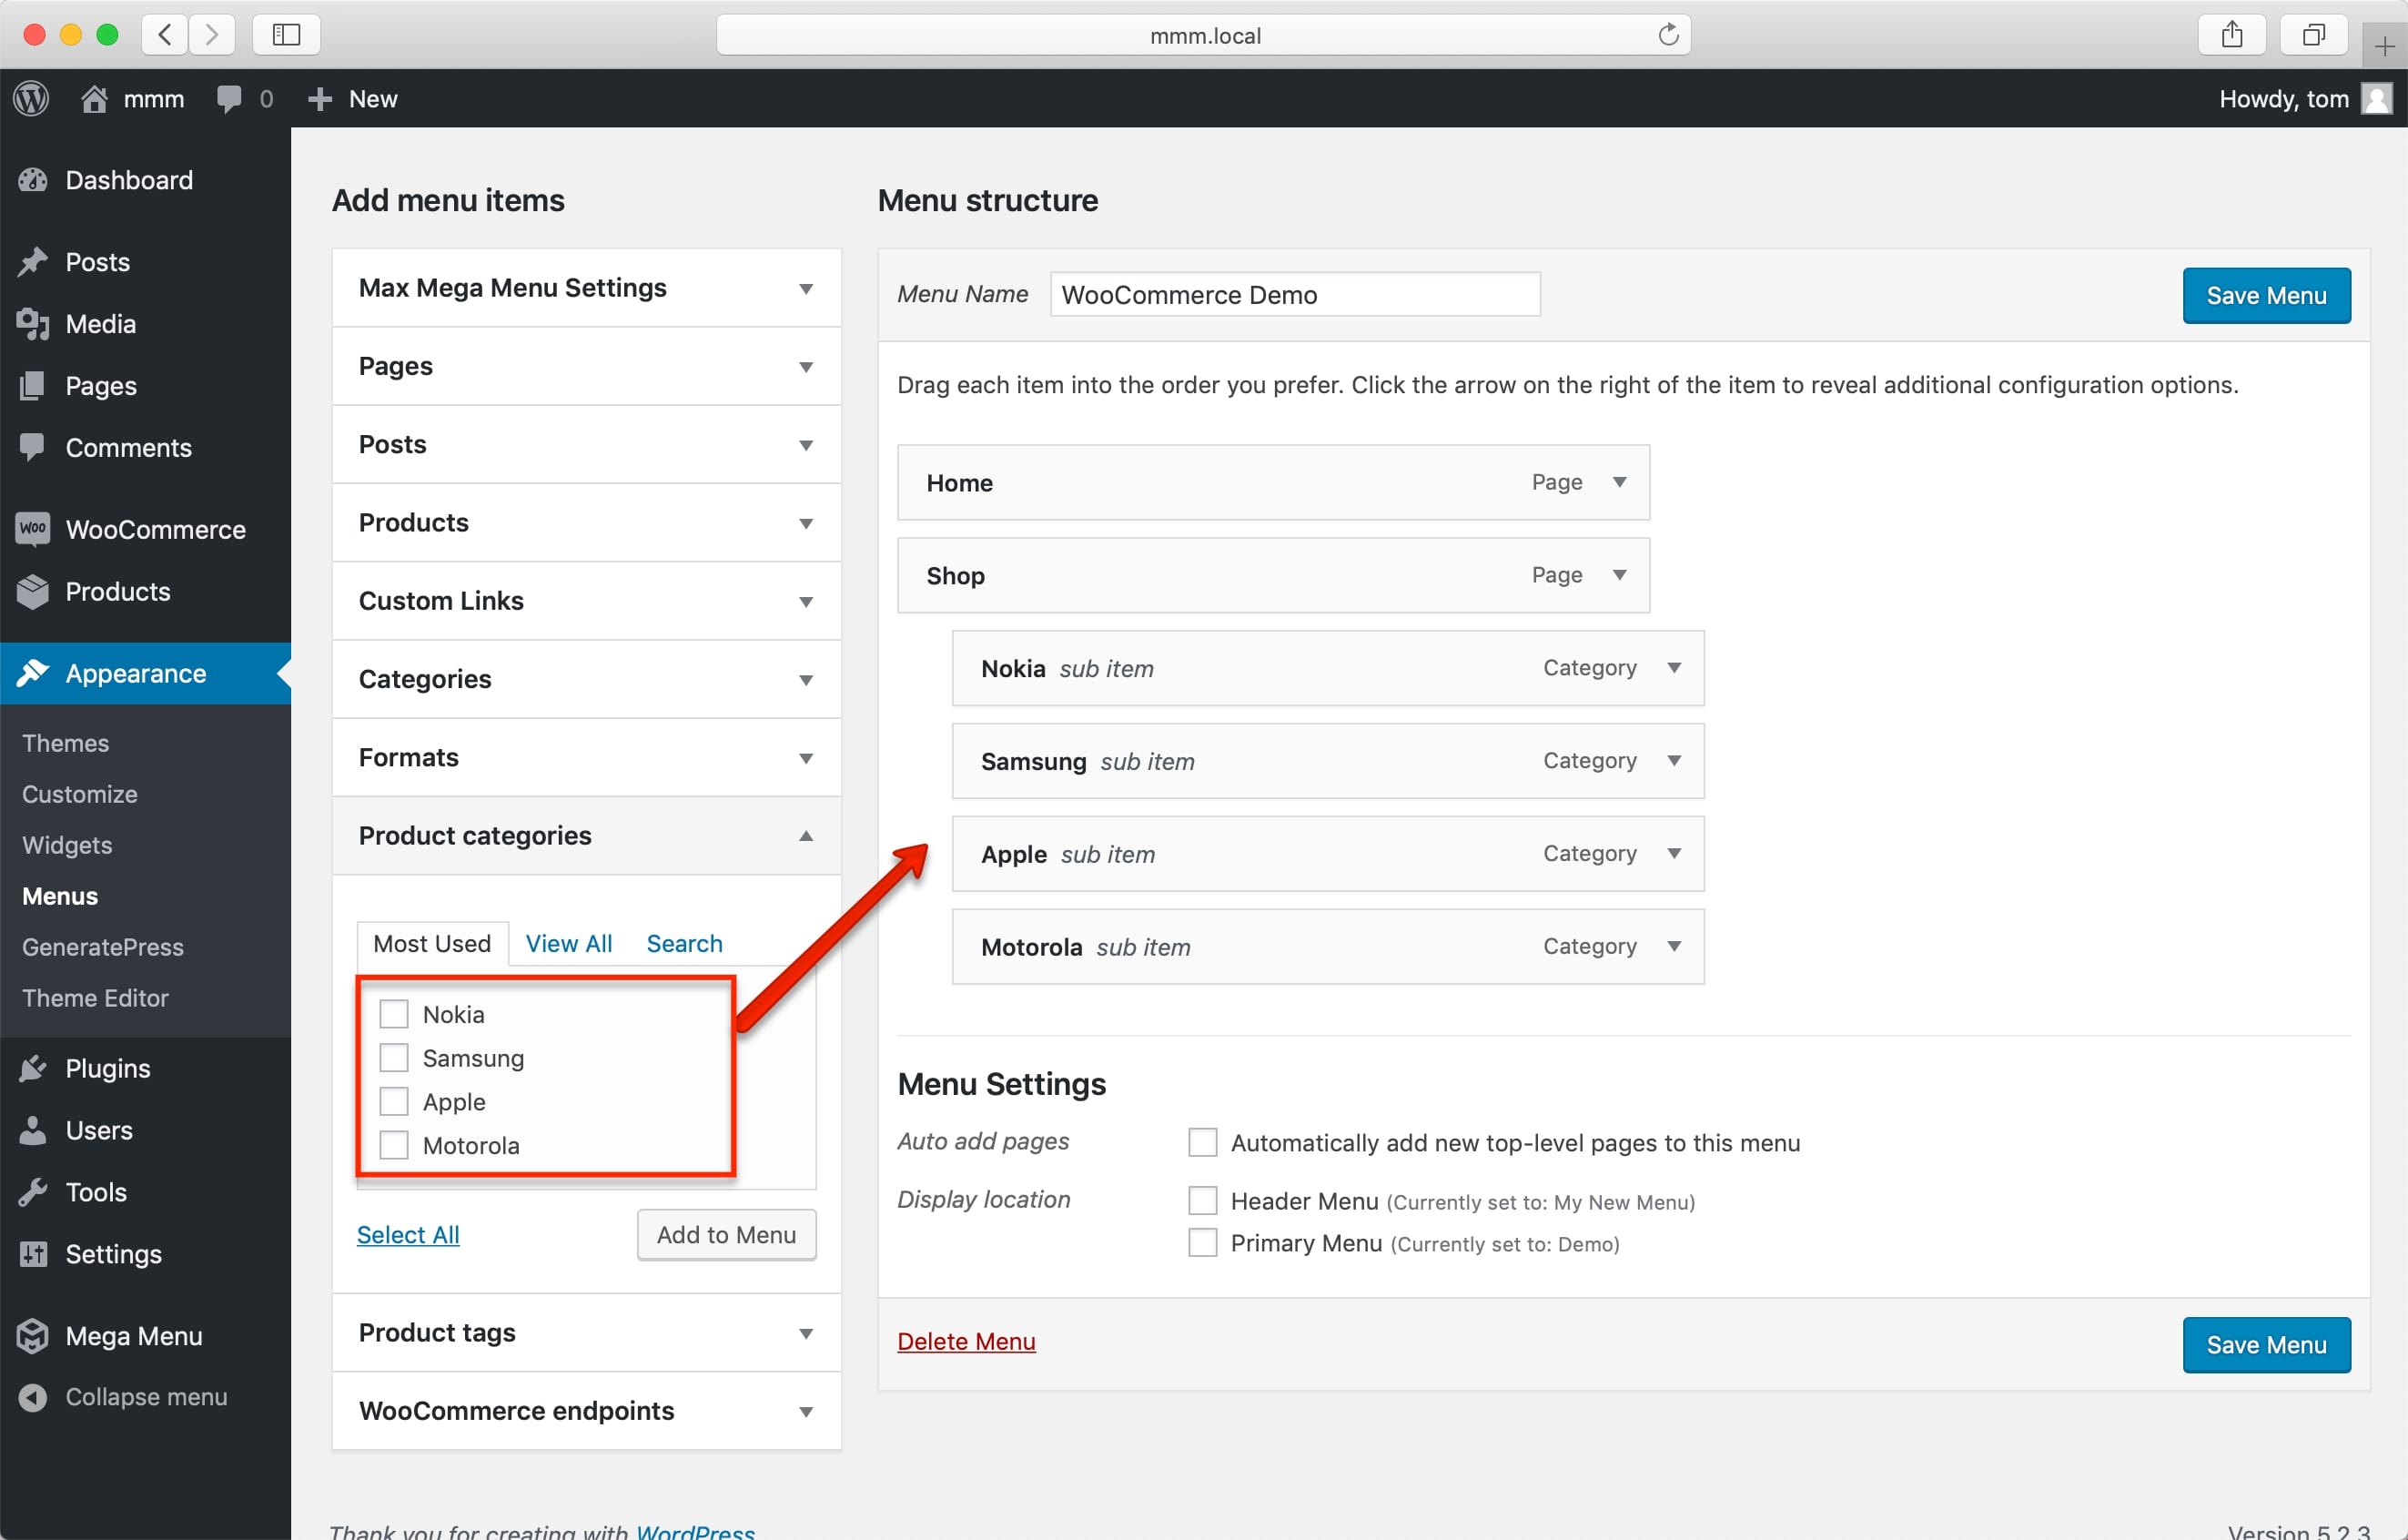
Then do the same thing as in the first steps of the manual method: enable the WooCommerce categories to the menu and feel free to add a description box if you want to:
Remember to “Save menu” before moving on to the next step!
Step 4: Advanced settings
The special thing about using this plugin is its Mega Menu - Grid Layout, which you can easily access by clicking on the Shop > Mega Menu button. The sub-menu items will be immediately added to the grid structure, which we have divided the menu into four columns using these features:
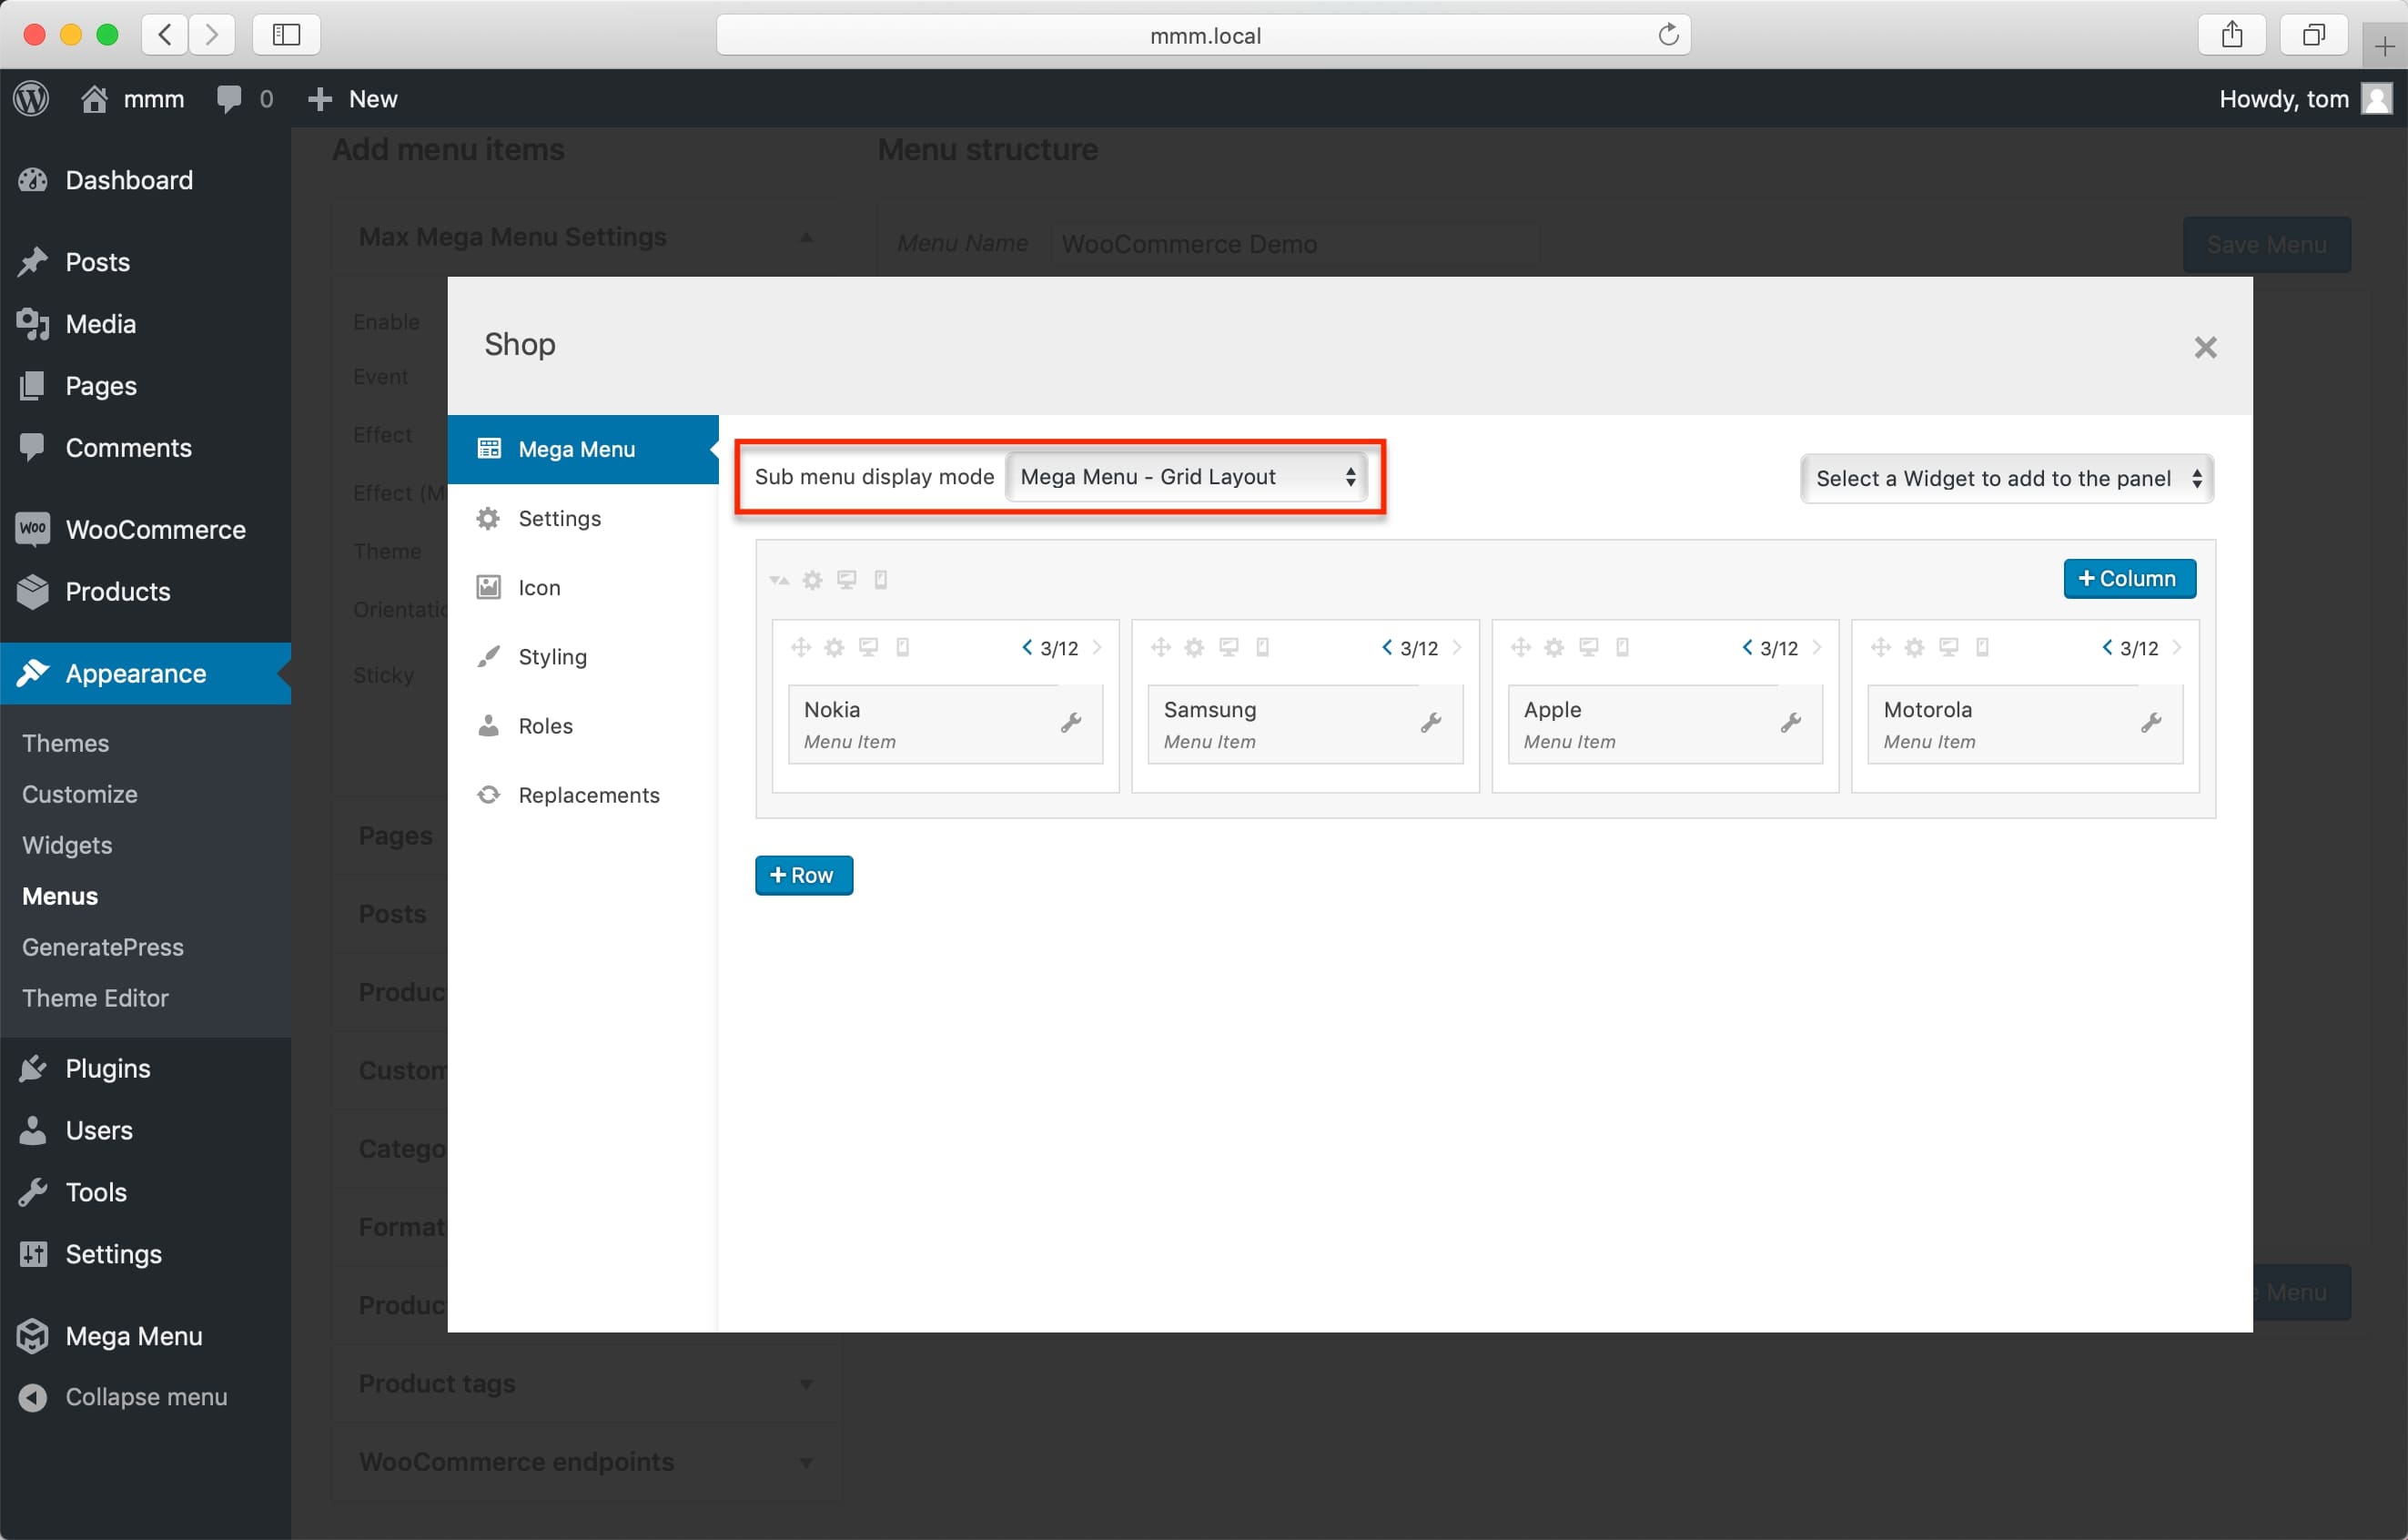
And checkout the amazing results:
Step 5: Adding icons next to categories
We’re going to customize our WooCommerce menu items by adding unique icons in this stage. Dashicons are an option available to those using the free plugin. However, online store owners need to use the Max Mega Menu Pro pack to perform the task. In the image below, when we click on the “Mega Menu” button from one of the WooCommerce menu categories, there will be a field called “Position” appear as below:
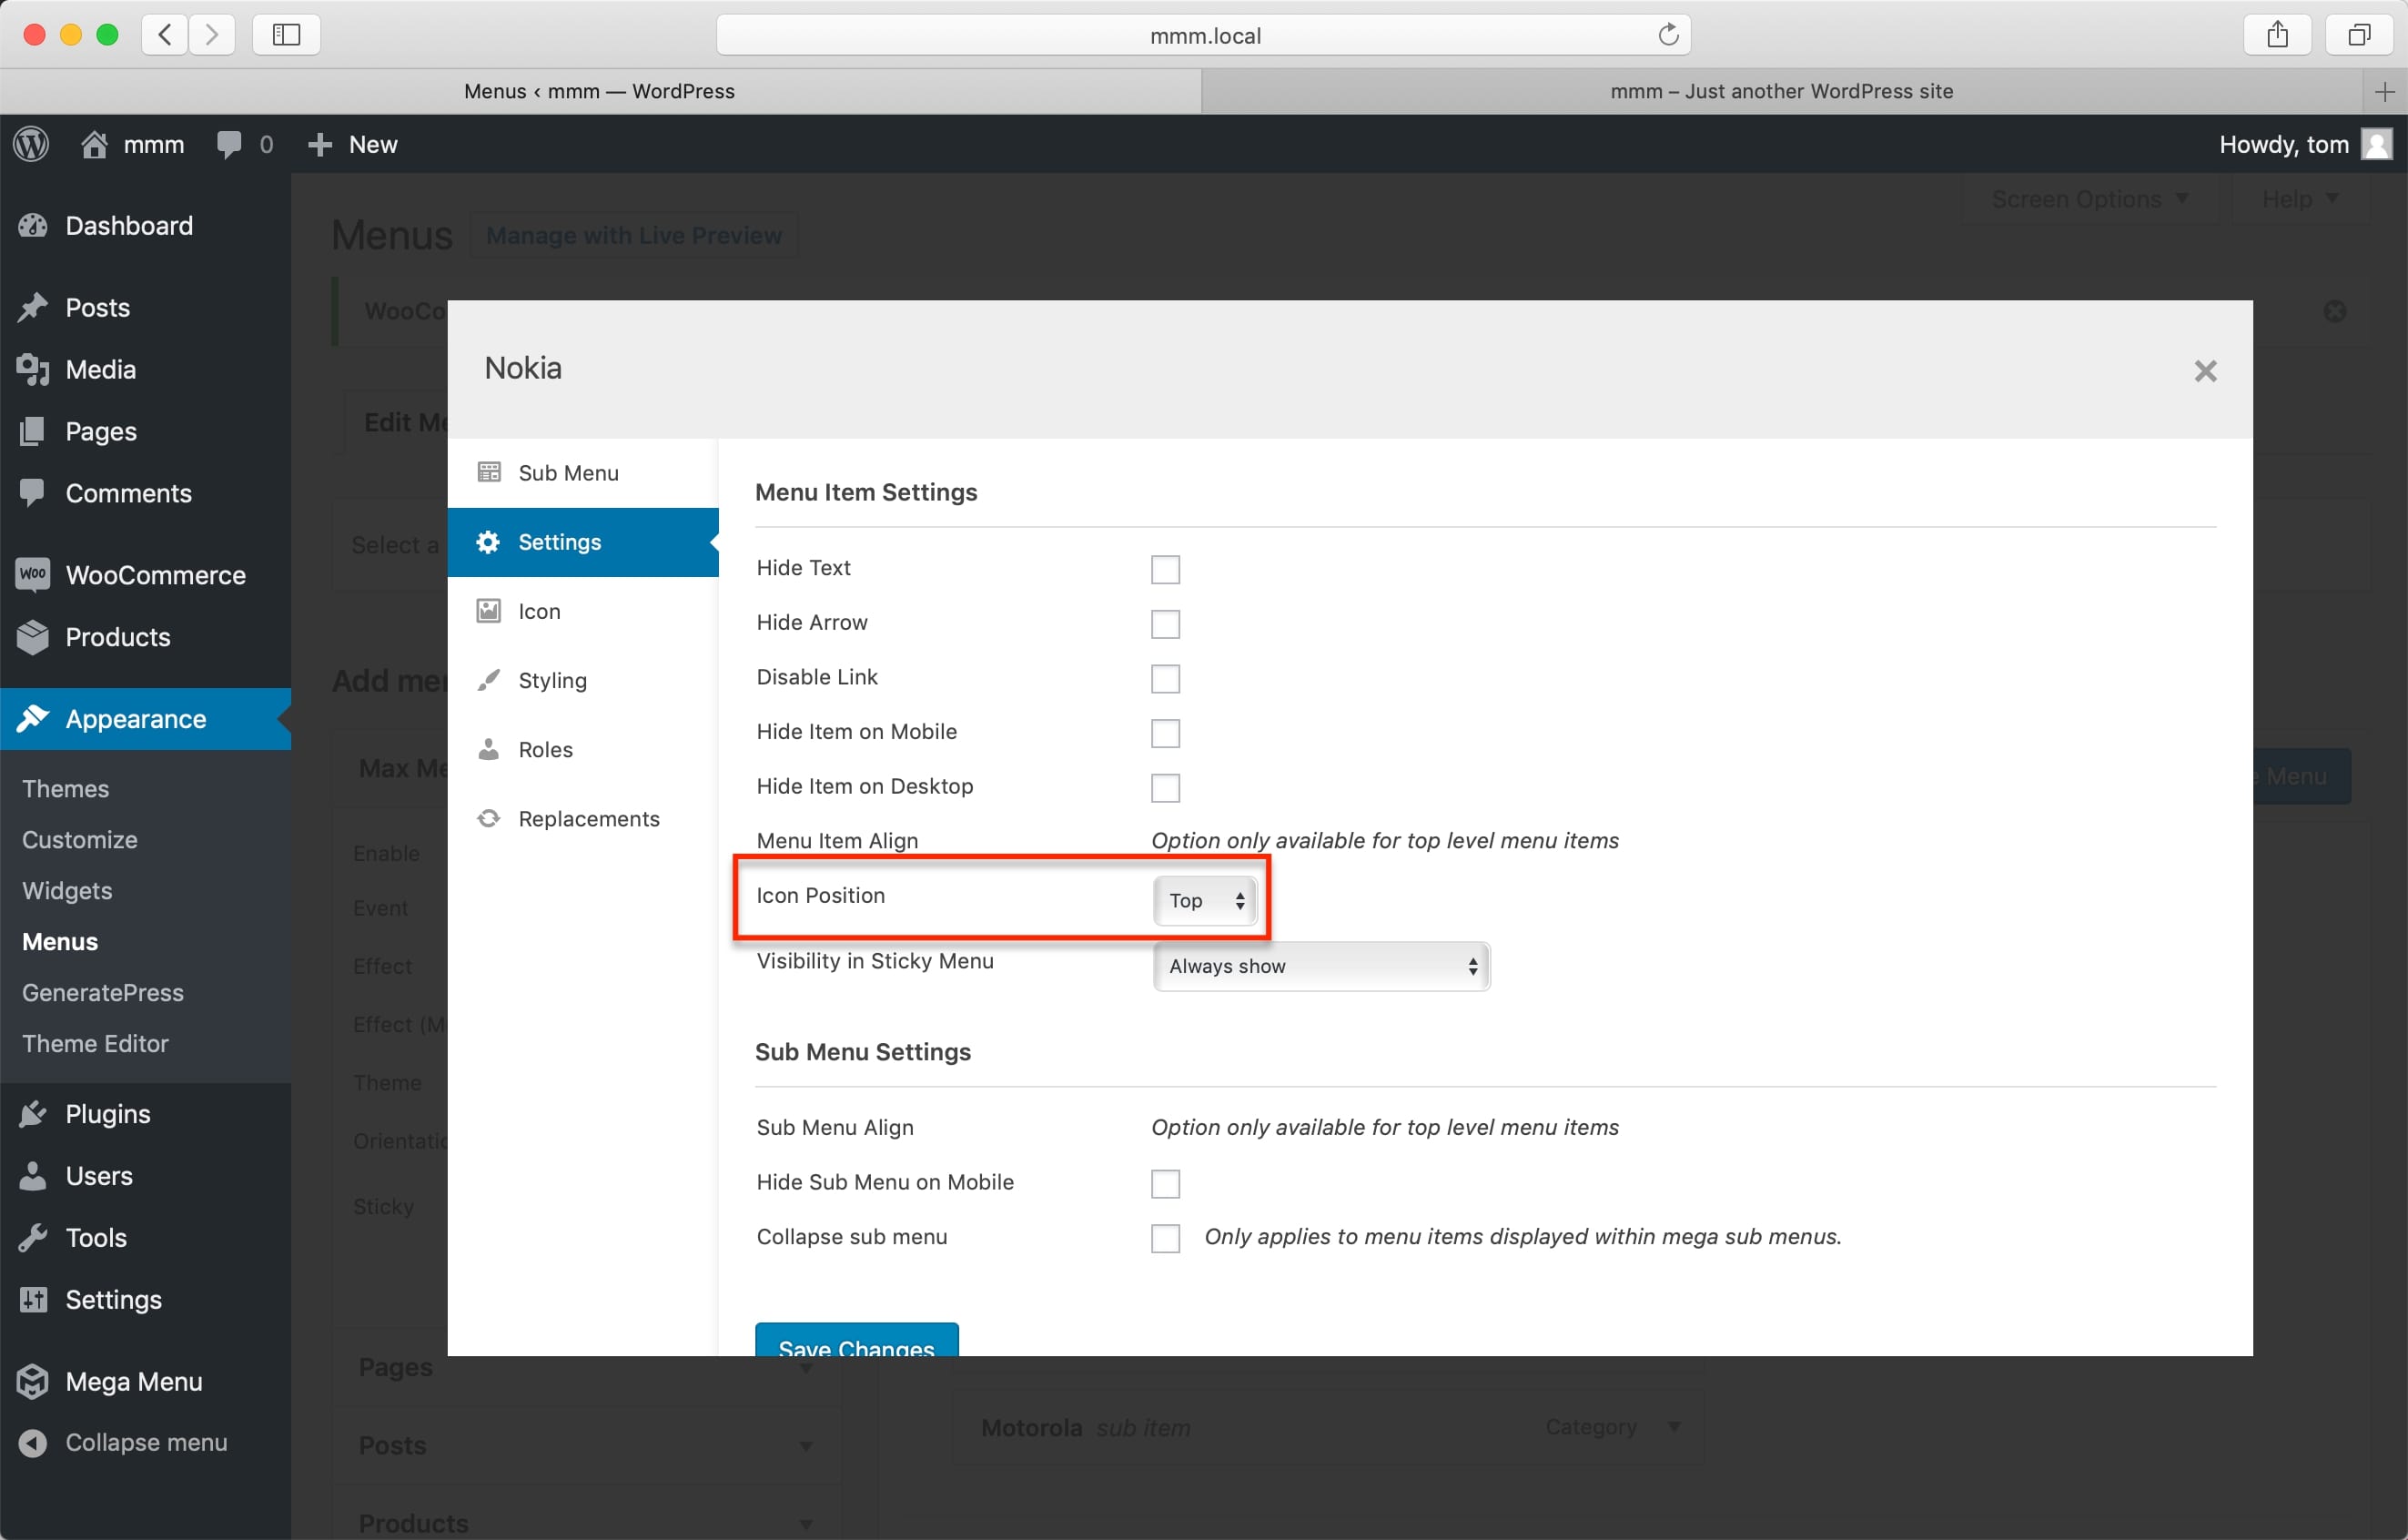
Feel free to change the setting in any way you want to; also you can create an icon on your choice by navigating to the “Icon” tab:
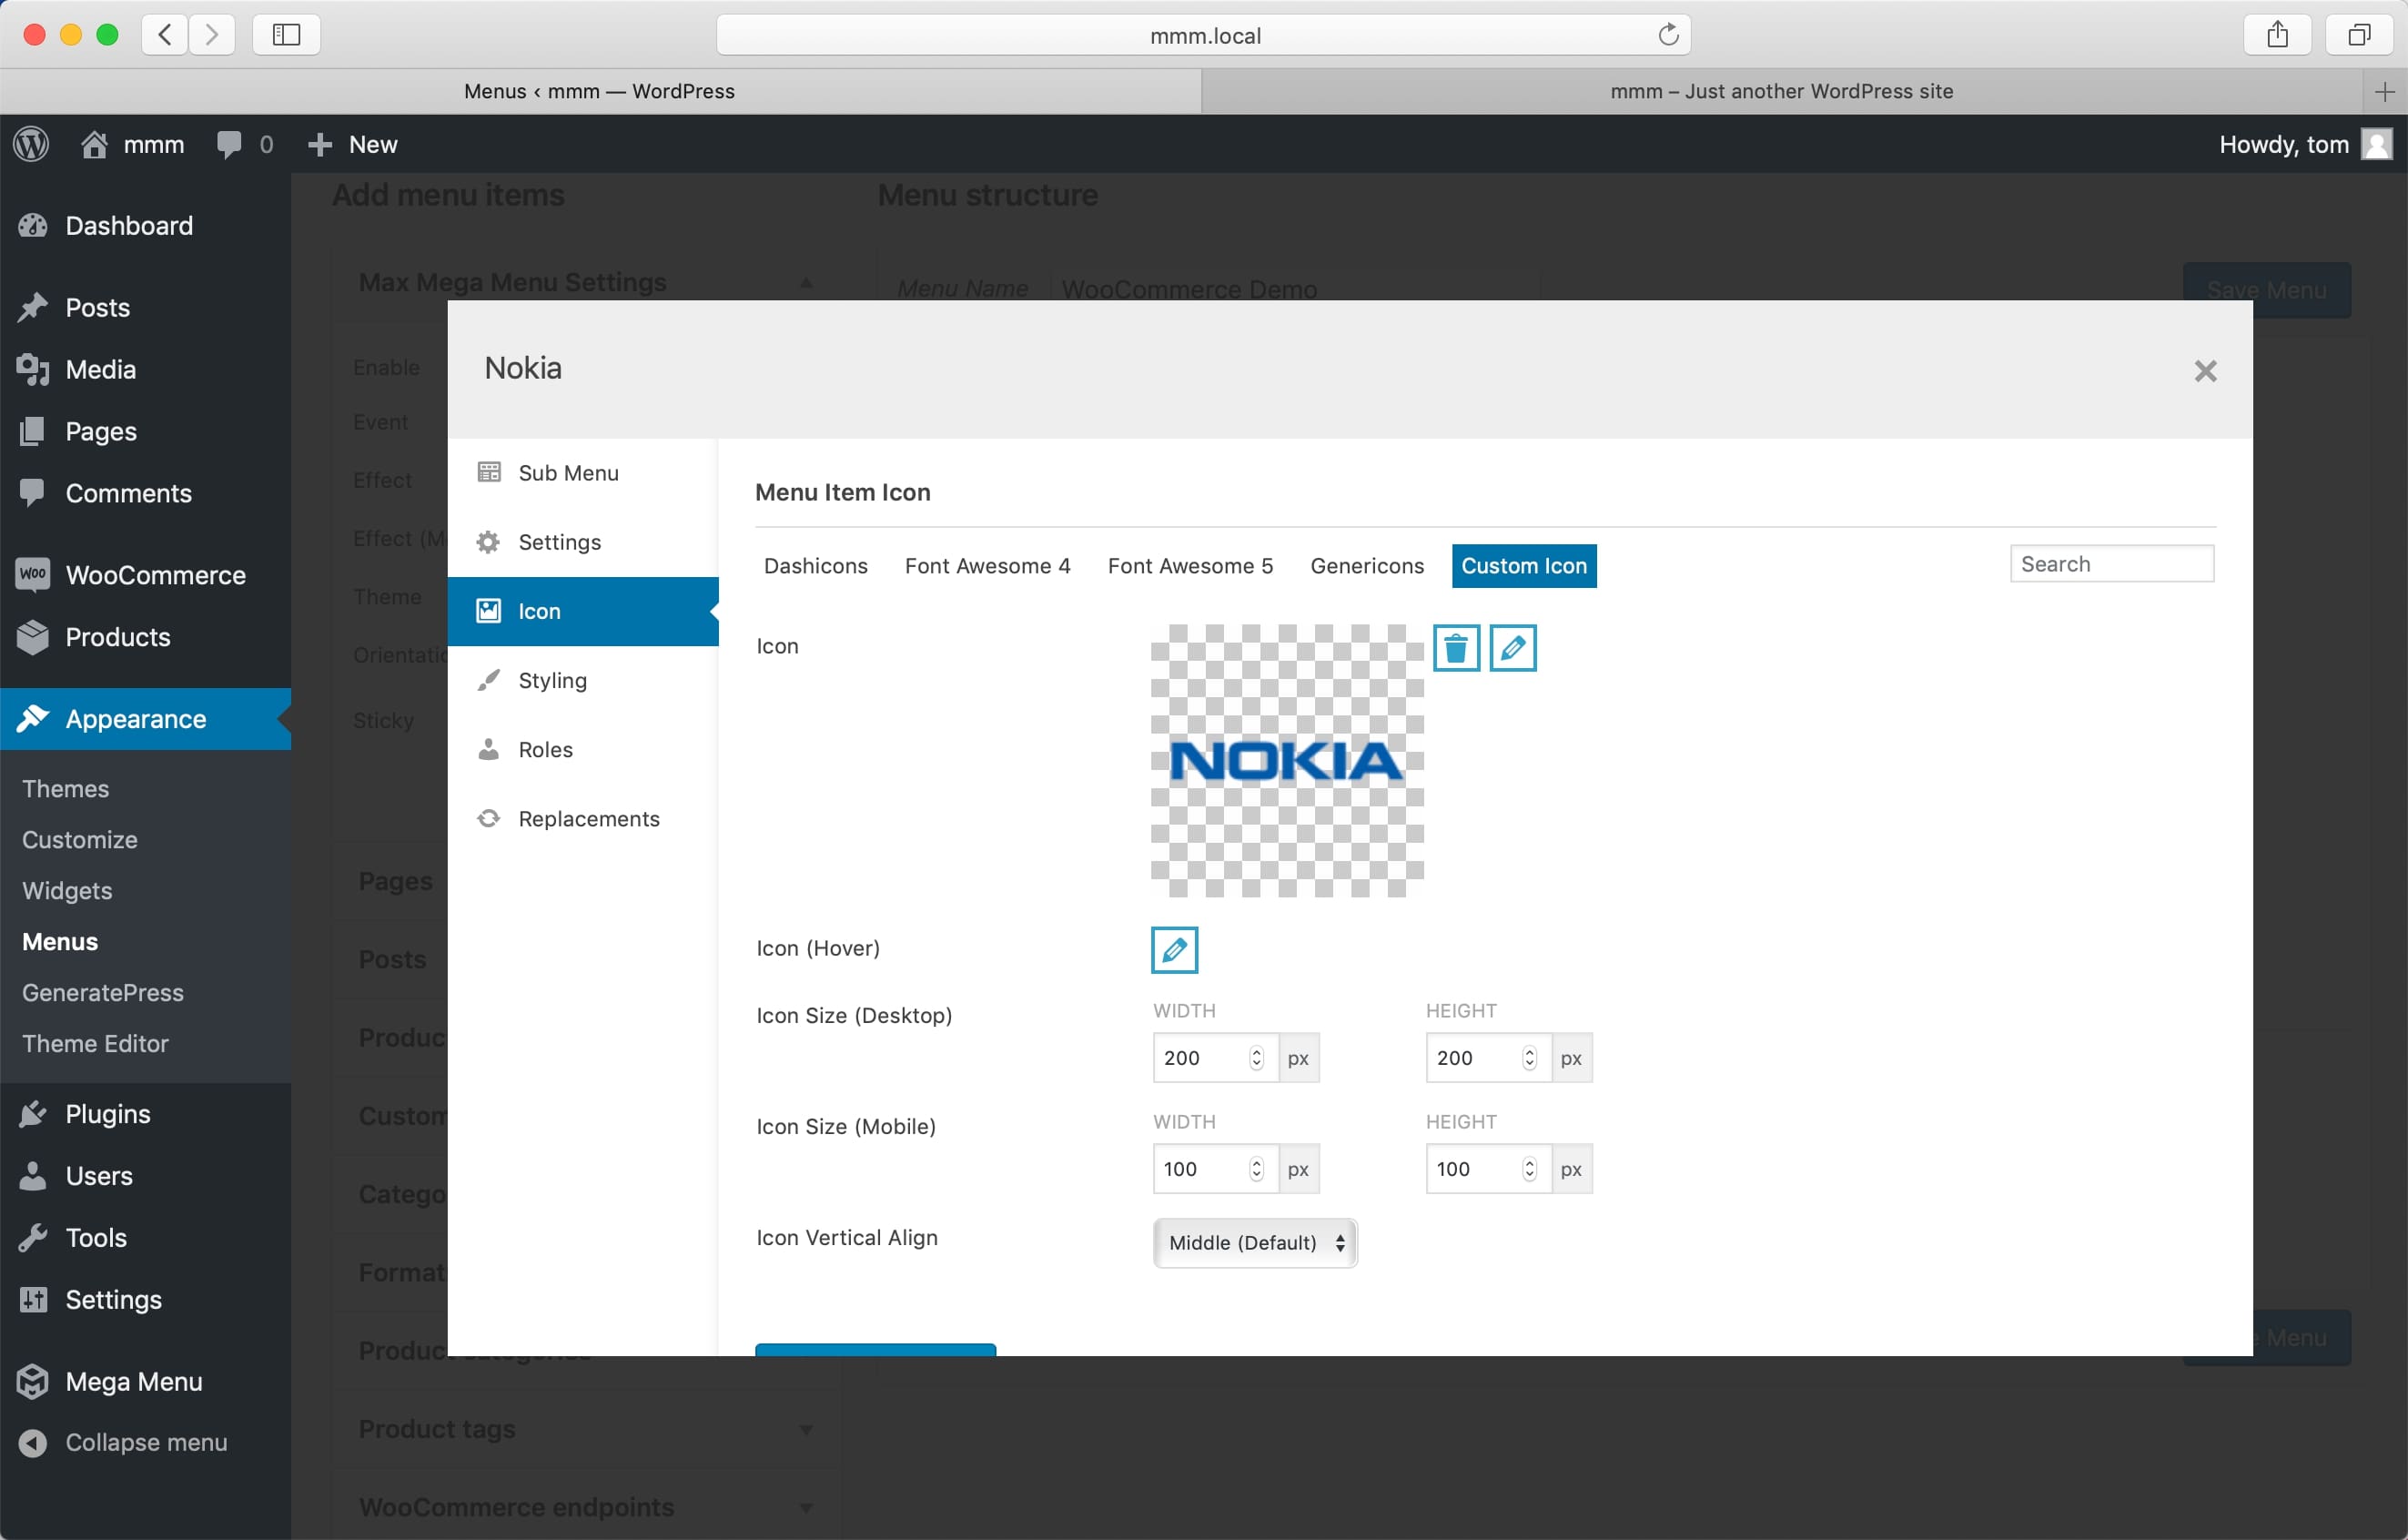
Continue with the remaining product categories after saving the customized icon. This is how your customers will view the website:

Step 6: Modifying the text
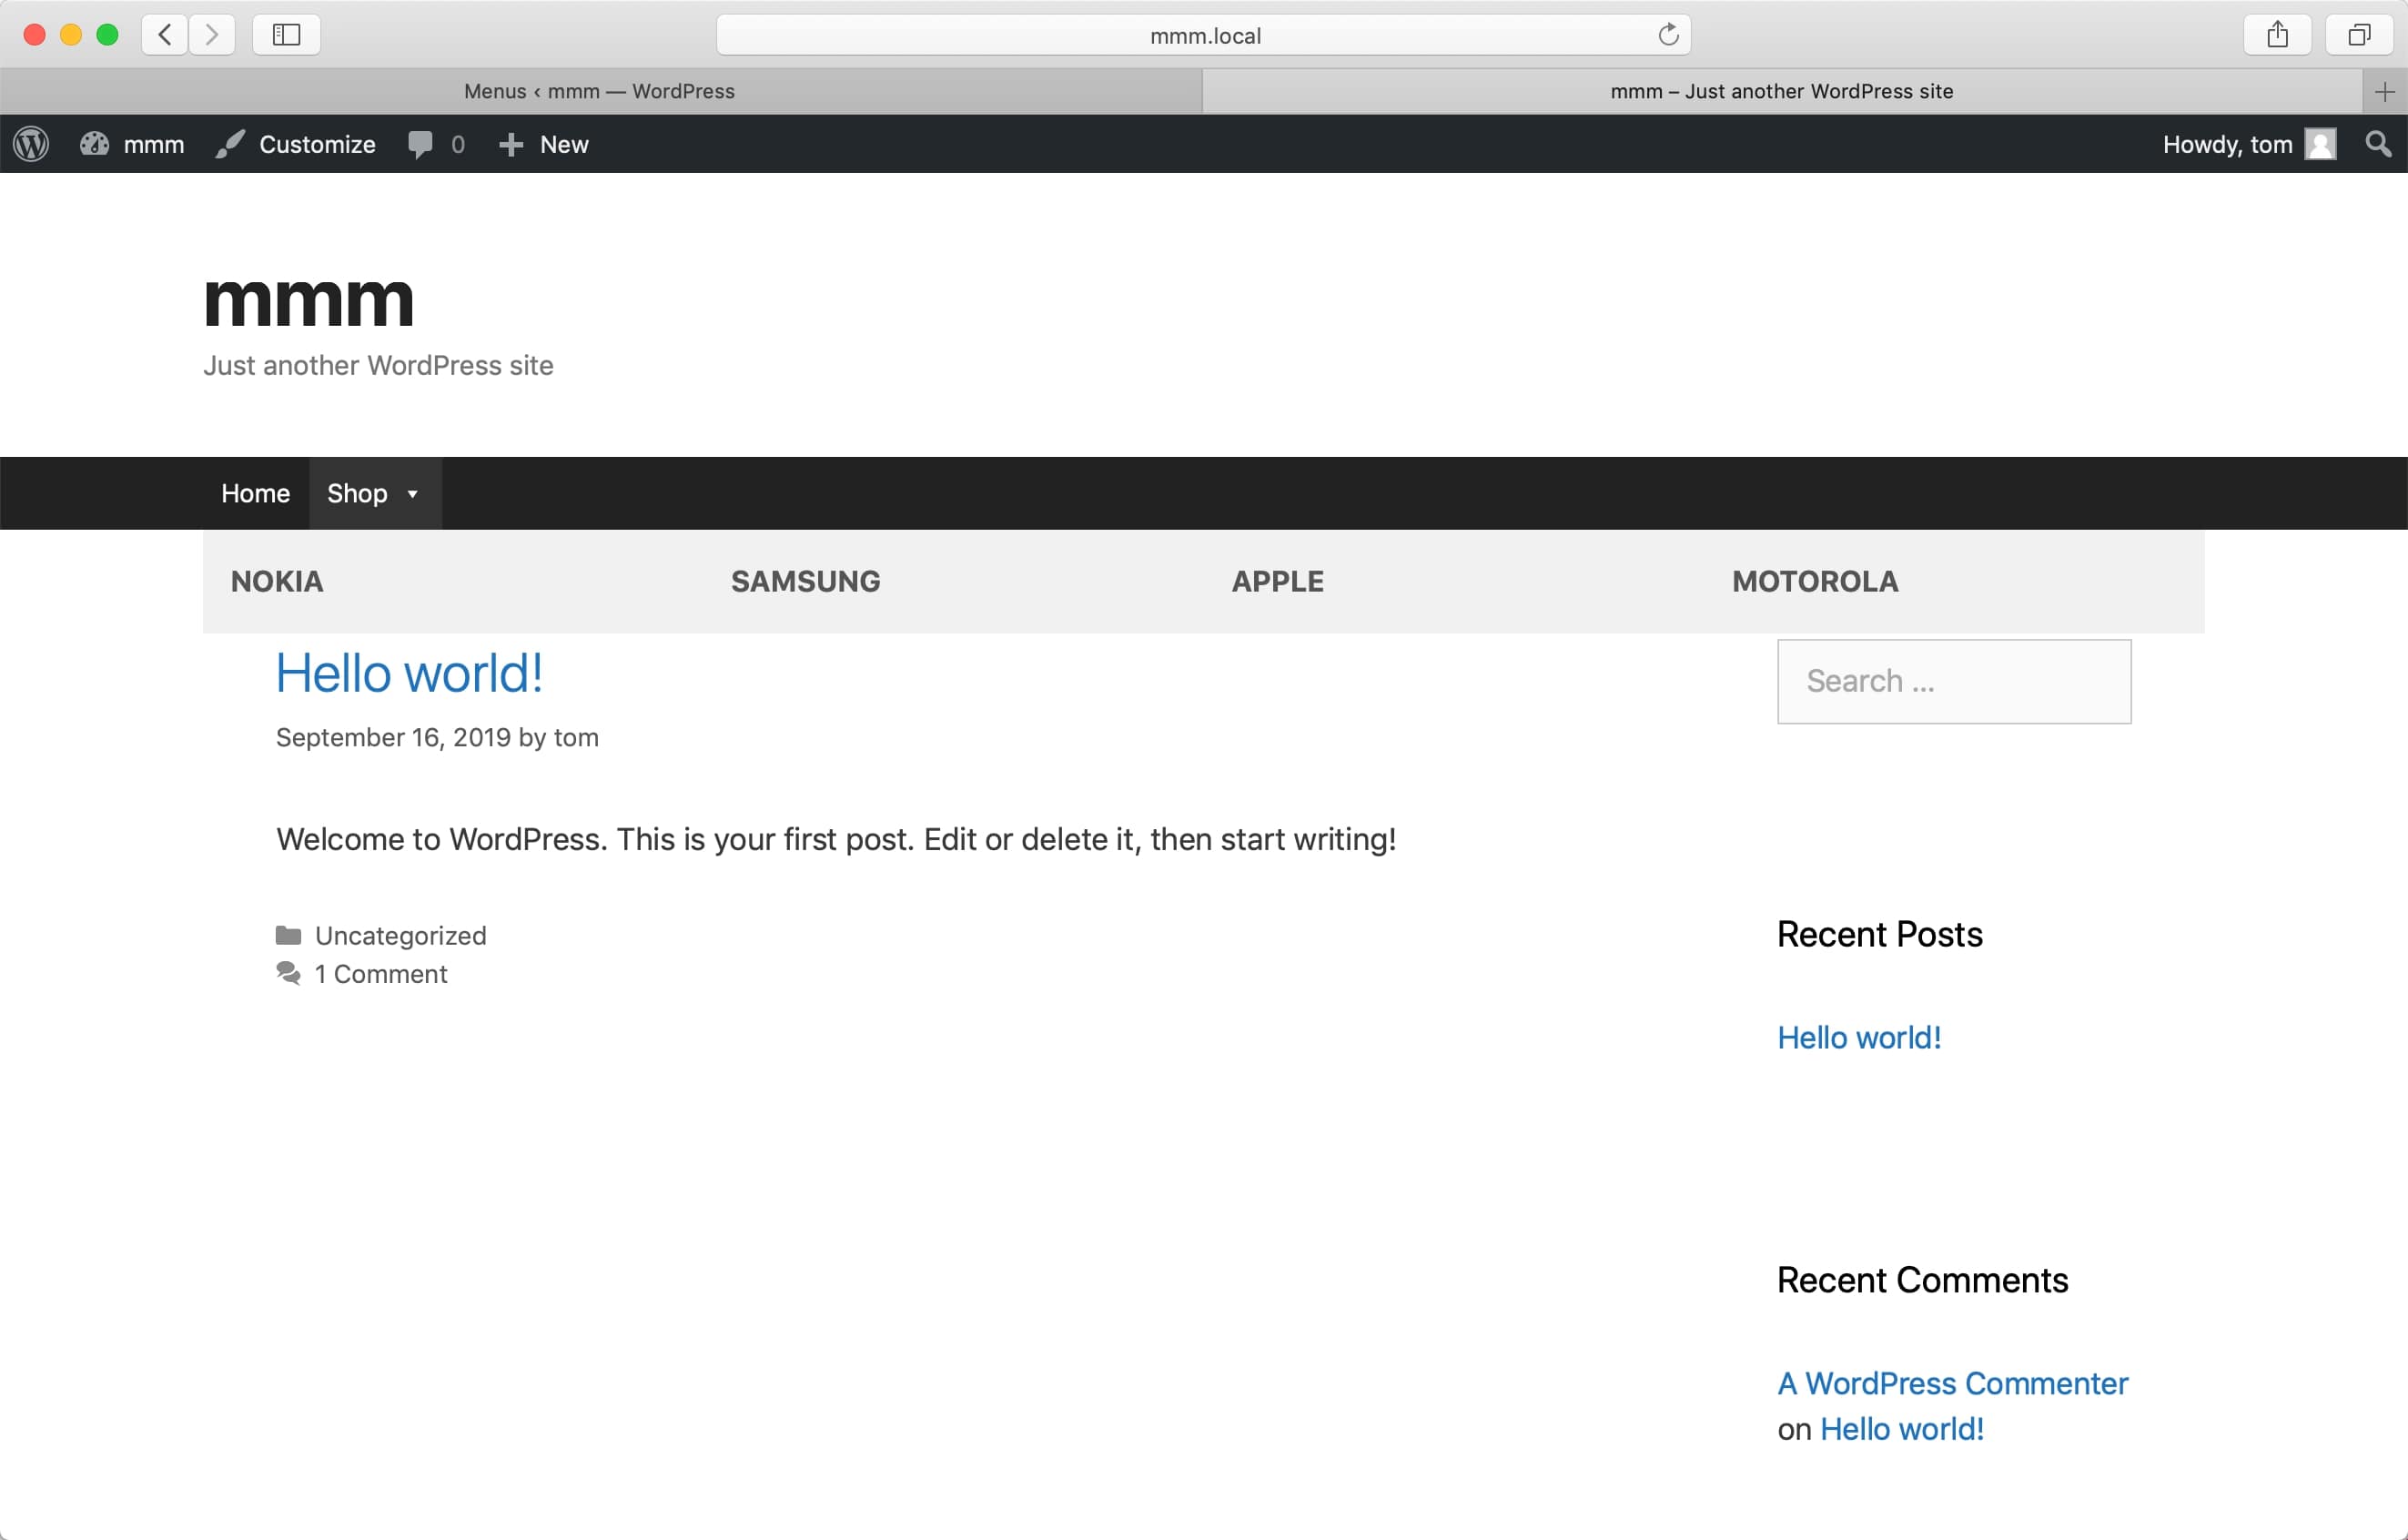
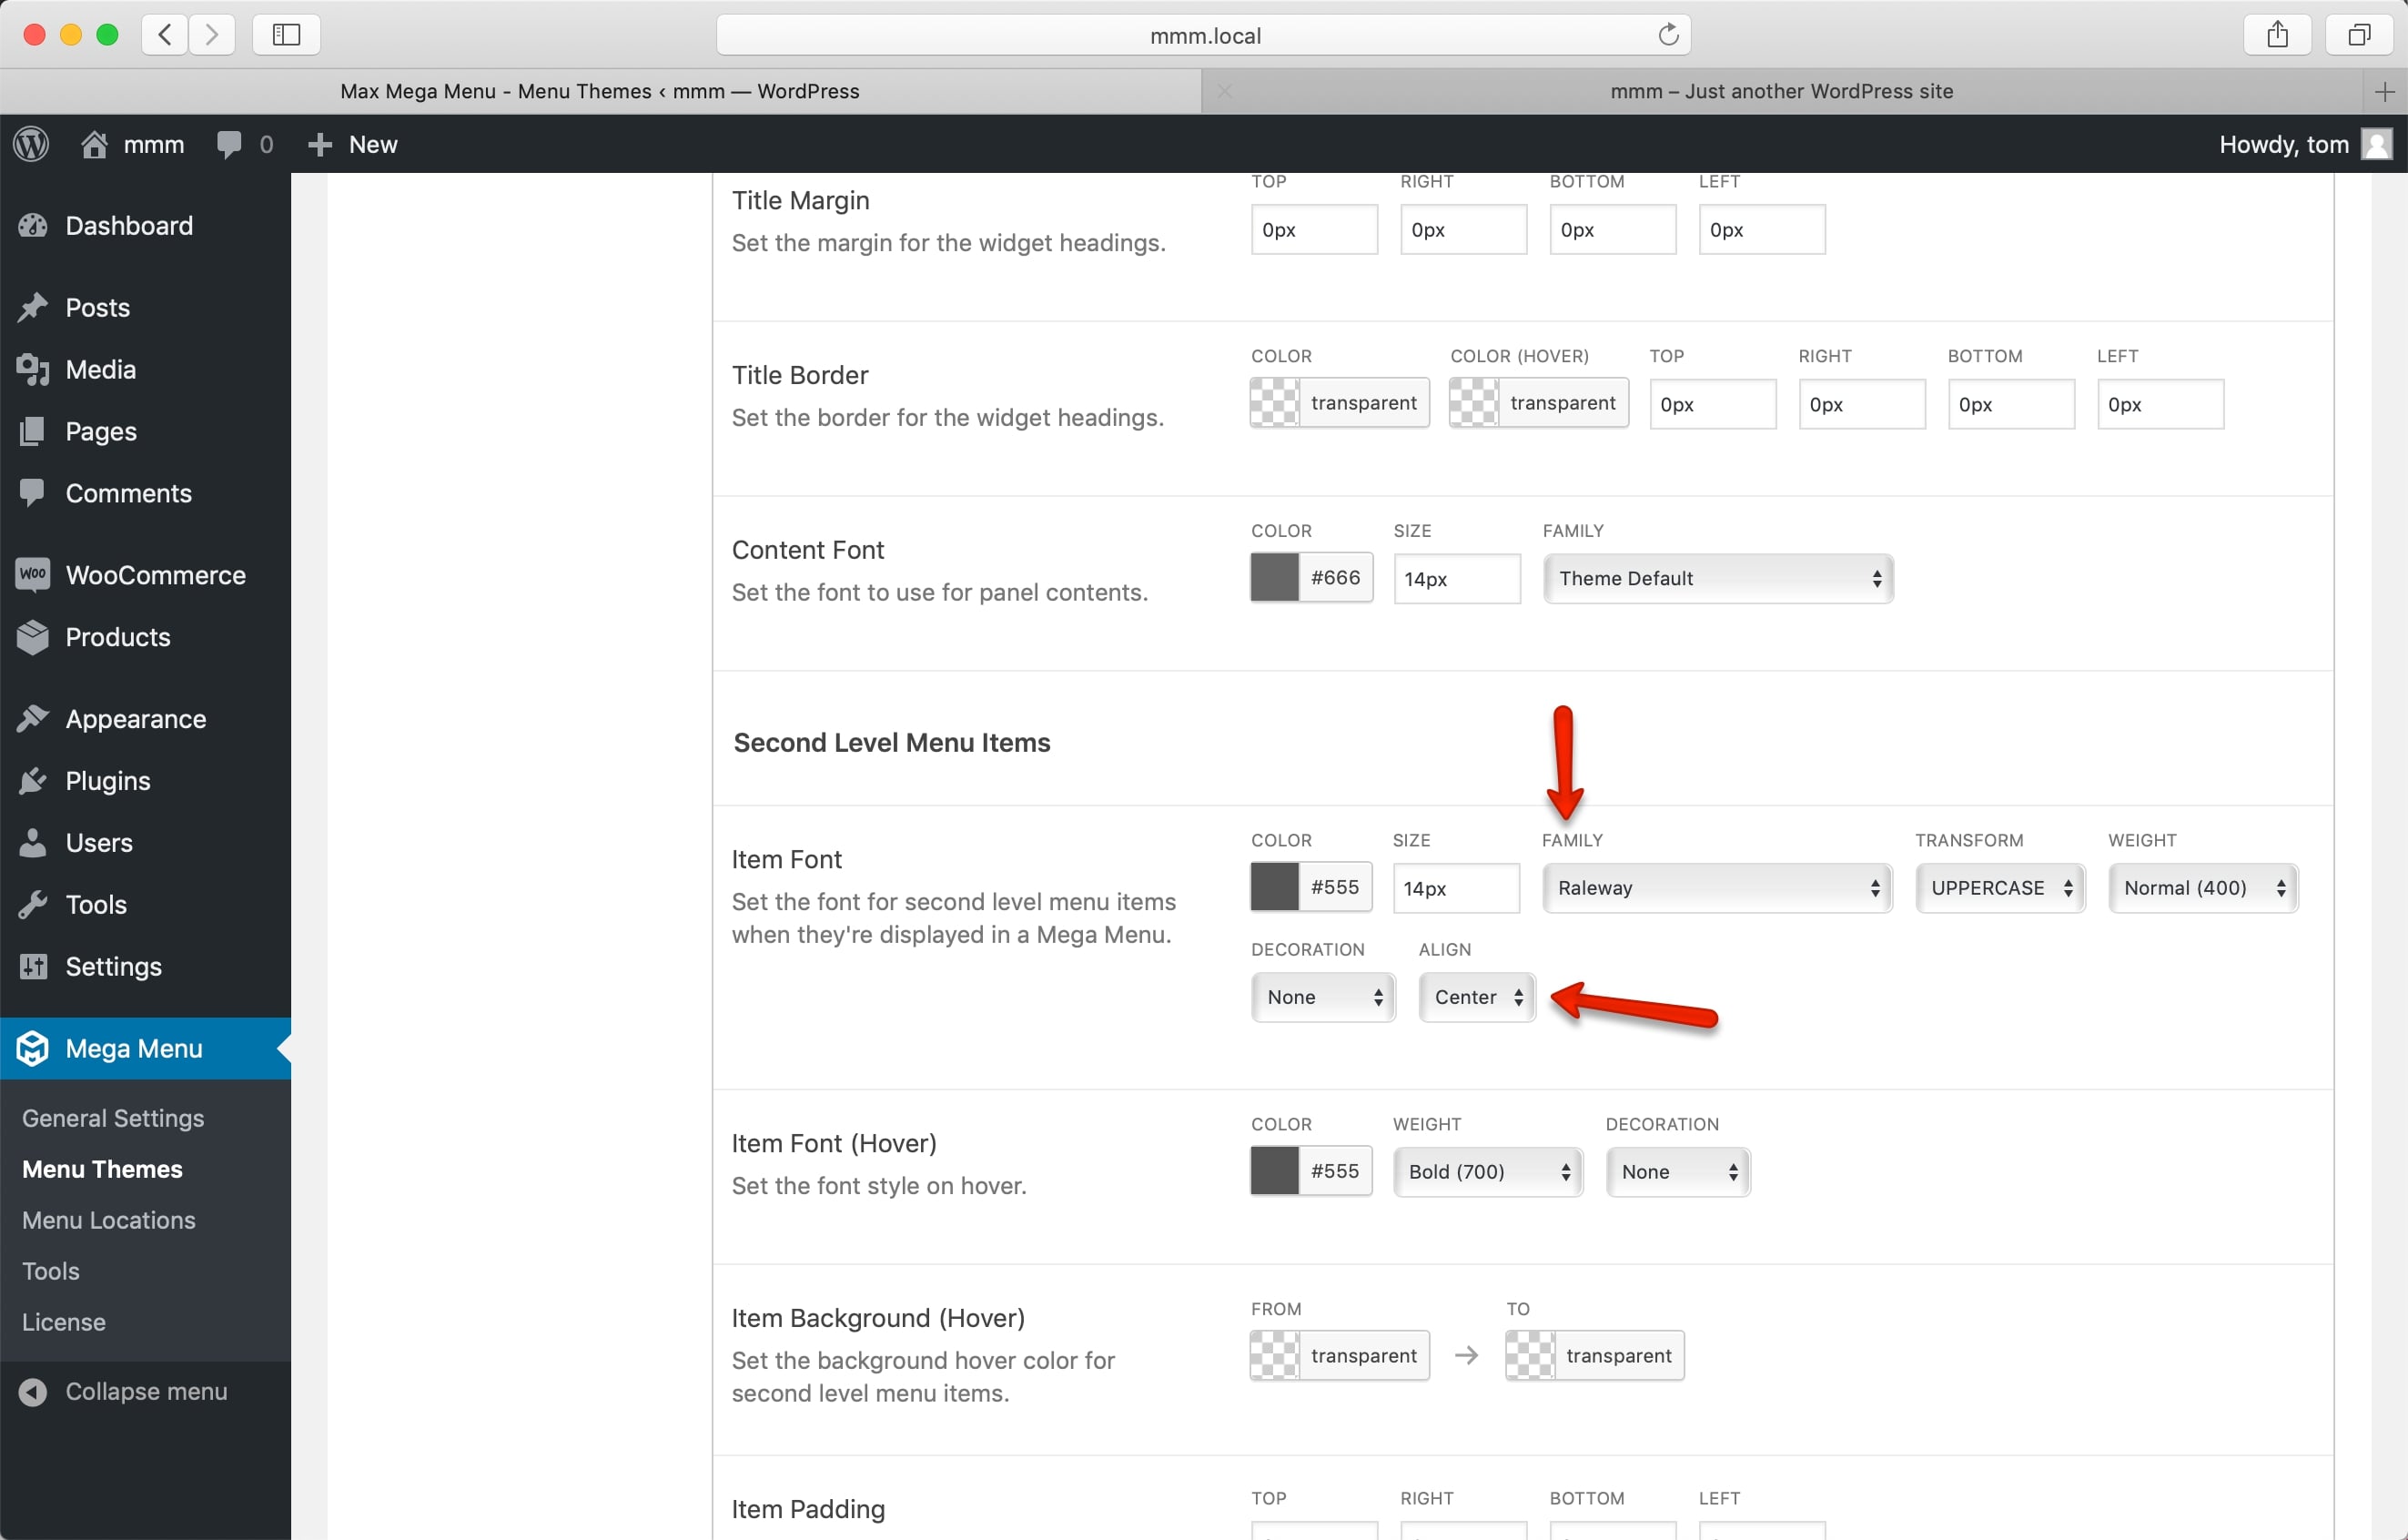
Each icon’s caption text must be centered. We’re displaying the menu categories as regular menu items to leverage the Theme Editor’s built-in features. Scroll down to the “Second Level Menu Items” area under Mega Menu > Menu Themes > Mega Menus. The font settings may be found in this section:
Here’s how the front-end is going to look like:
Top 4 best plugins used to display WooCommerce categories in menu
Today’s tutorial has used a plugin called “Mega Menu” to customize the WooCommerce categories to the menu. Yet, if the results did not fulfill your expectations on this matter, you can totally try out our list of the top 4 best extensions for displaying WooCommerce categories to menu. This is gathered on the basis of their popularity, customer reviews and outstanding features:
Quadmenu
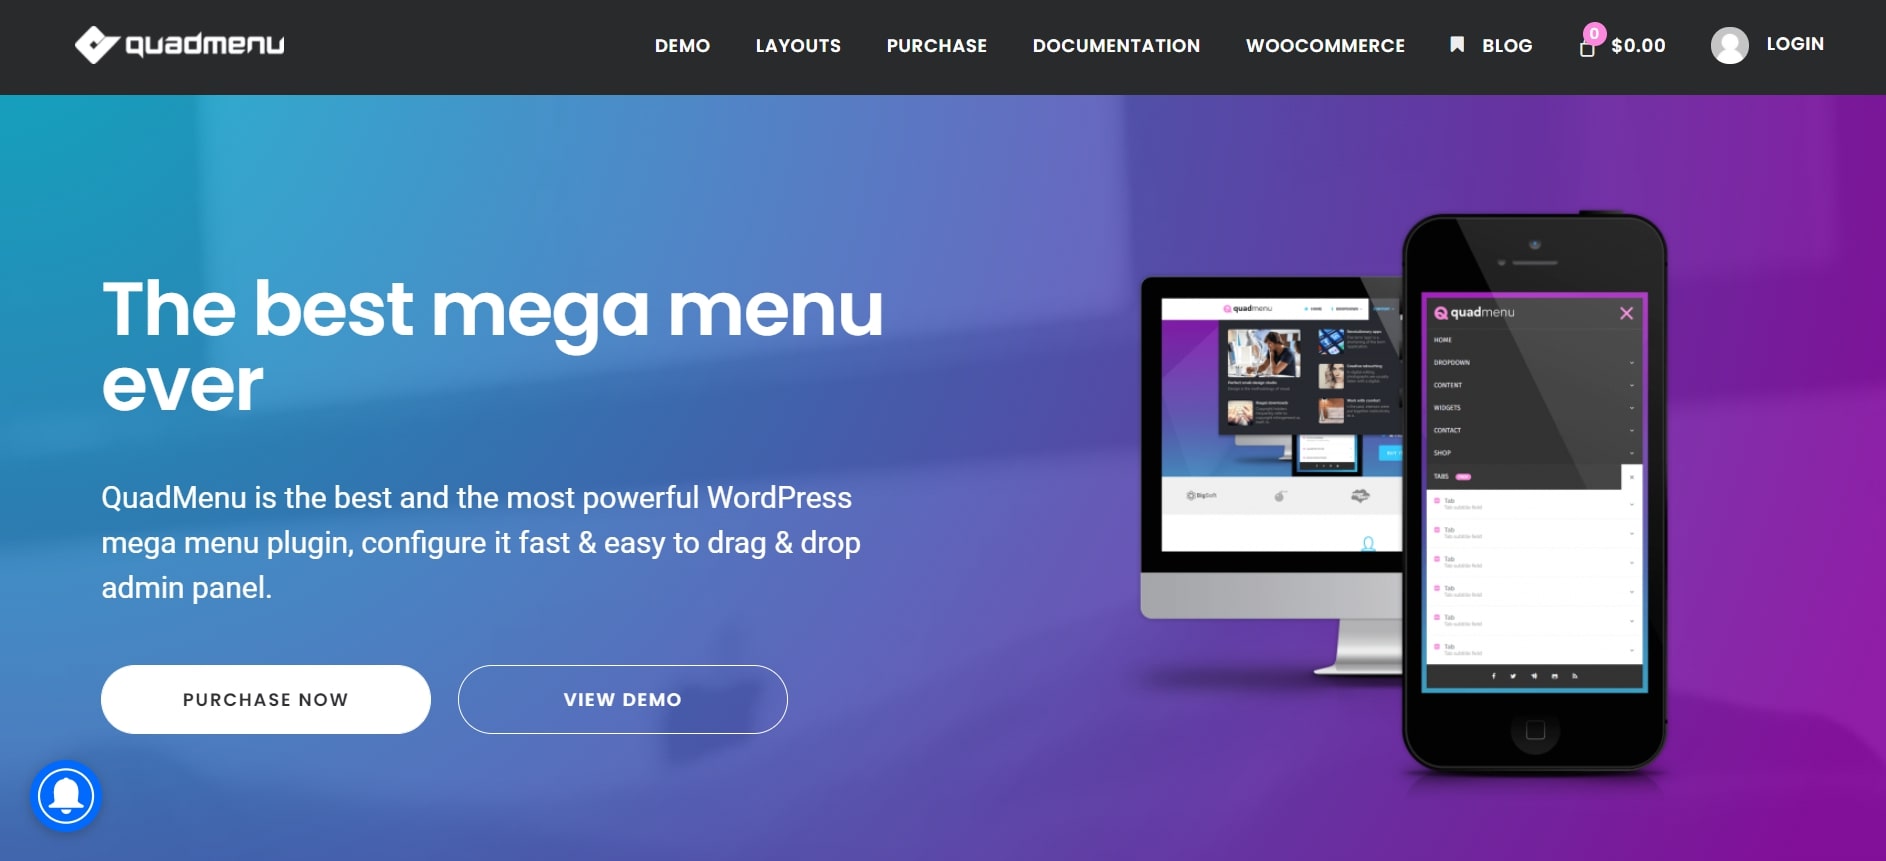
Using Quadmenu, you can quickly include a mega menu into your WordPress theme’s design and add categories into it. With this plugin, you can easily and natively construct mega menus, tab menus, and carrousel menus from your current one.
Outstanding features: Seamless integration is possible using easy and automatic methods from a primary menu to a mega menu.
- A menu that adapts perfectly to every device.
- It’s easy to add or delete fields from the mega menu, and you may change options by dragging and dropping them around.
- The menu is simple to use, and it’s easy to customize the mega menu selections.
YITH WooCommerce Category Accordion
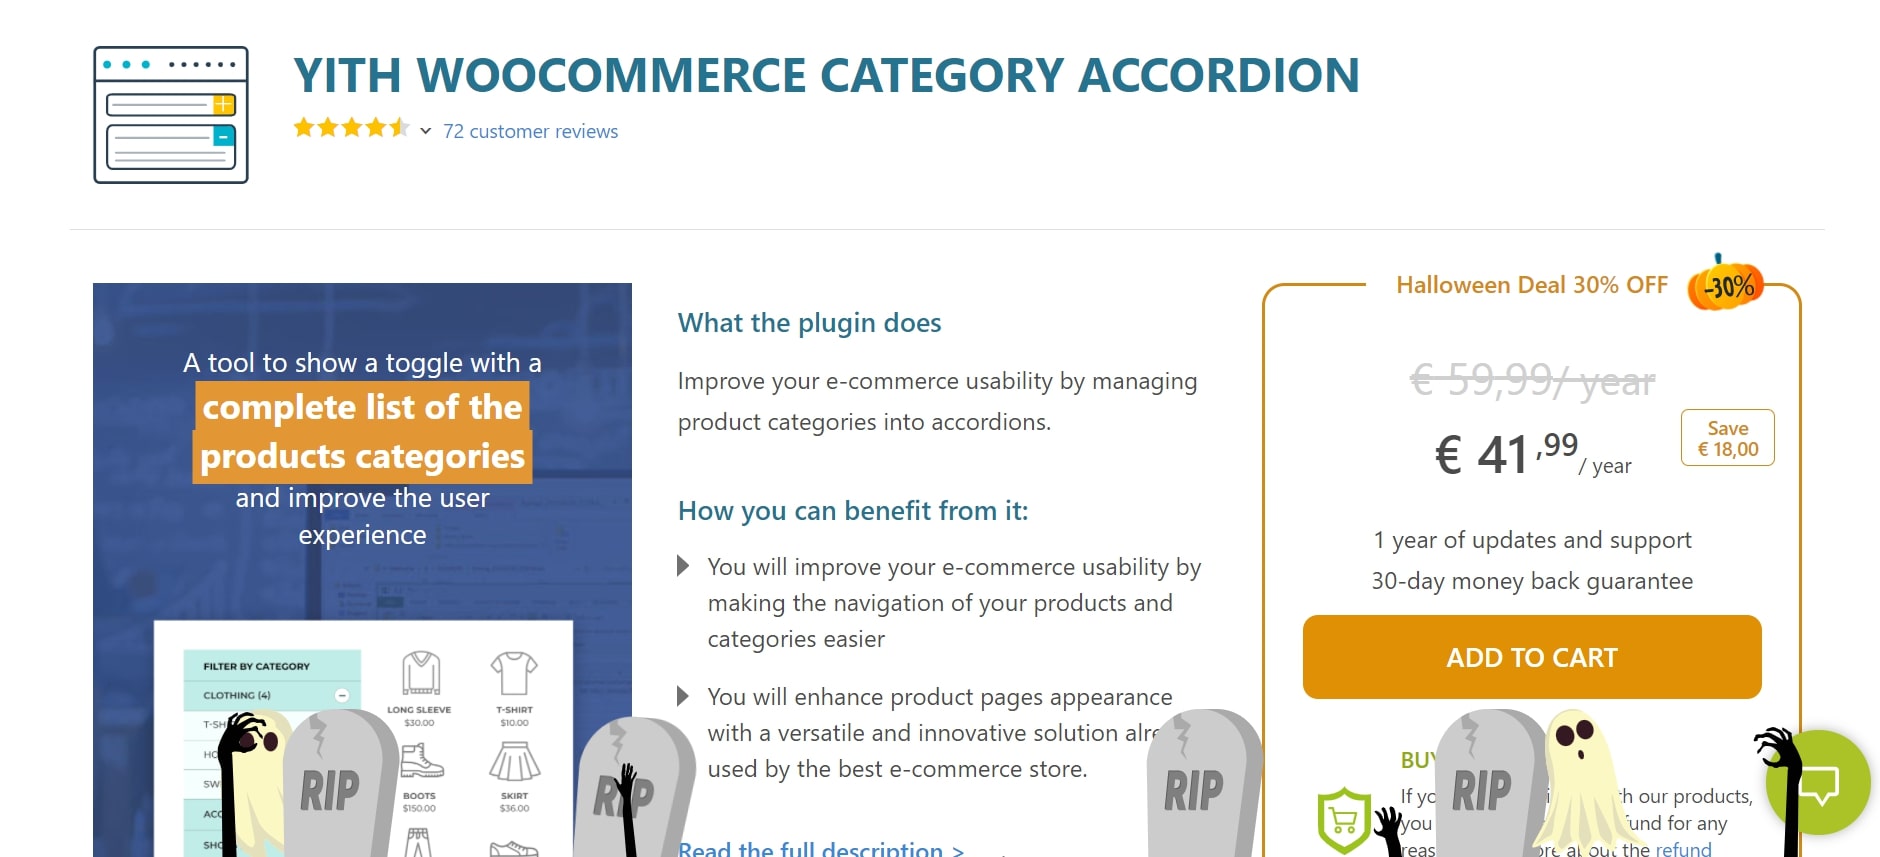
With the YITH WooCommerce Category Accordion plugin, you can choose which product categories and subcategories to show in accordions, making it easy to use. It gives WooCommerce categories a lovely accordion menu with this plugin.
Outstanding features:
- Enable users to build an accordion menu with choices to display just the pages you need when using a widget.
- Detailed category sorting system ranging from ID, Name, WooCommerce Order and Count
- Set up WooCommerce categories to the menu in many ways. The accordions’ colors and styles may be customized, and five different customizable options are available.
- Can keep the subcategories open while the visitor is on the main categories page
WooCommerce Category Accordion plugin by TechieResource
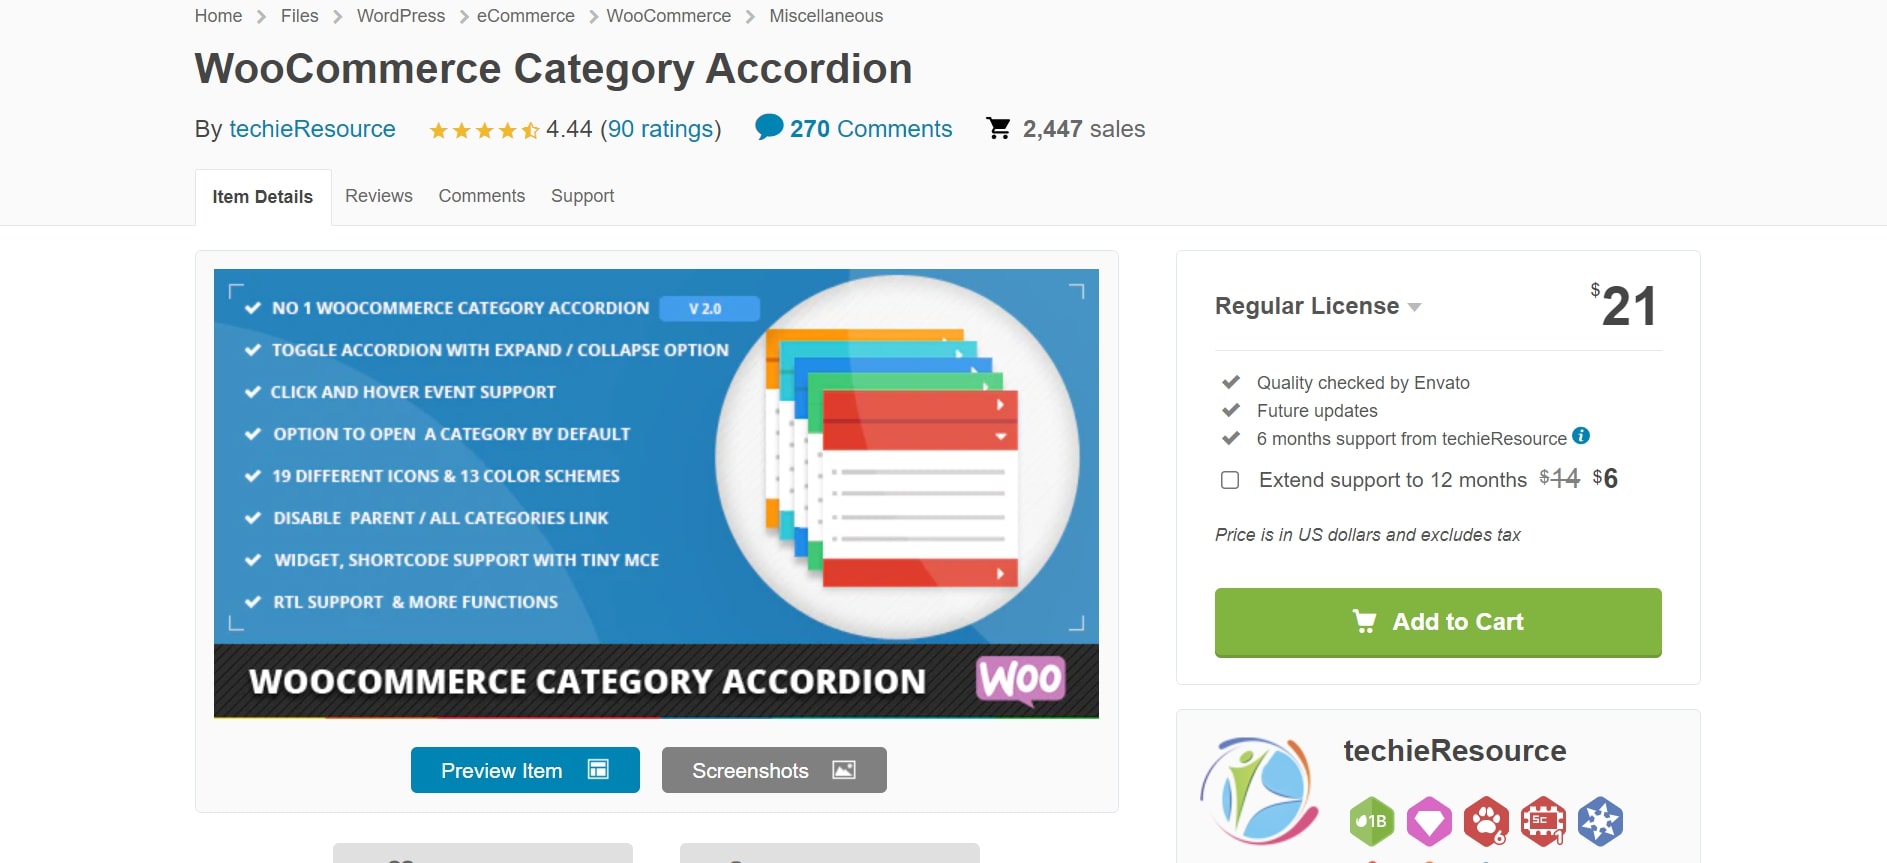
The WooCommerce Category Accordion plugin by TechieResource makes it simple to add an accordion widget or shortcode to your site. In a vertical accordion, it displays WooCommerce categories and subcategories that may expand or contract.
Outstanding features:
- Provides simple brand customization with 9+ color schemes and 14+ Awesome Font Icons.
- Toggle and Continuous collapse options are available for Click and Hover type events.
- Simple and quick to modify TinyMCE editor shortcode that can be used on any post or page
- Features highlighting the current product category and subcategory
Woocommerce Sidebar Category Accordion
Last but not least, Woocommerce Sidebar Category Accordion will be a great help while adding WooCommerce categories to menu. Even though it is free for everyone to use, there are no limits on the number of categories you may have. When the website loads, the current category will be extended. The CSS editor in your theme gives you access to the extra style and color options.
Outstanding features:
- Allows for an infinite number of subcategories
- Categories will be extended as soon as the website is loaded, so stay tuned.
- Convenient and easy to use.
- The appearance of your themes may be customized. editor for Cascading Style Sheets
Conclusion
In a nutshell, adding WooCommerce categories to your menu sidebar can be an effective way not only to enhance the performance of your website but also to increase the conversion rate with a nice and neat theme design. We hope that our article today on How to add WooCommerce categories to menu has answered all of your questions and helped you to set up the features successfully.


