
How to Add a WooCommerce Cart Icon to a Menu Bar

If you are selling your product or service on WooCommerce, it is a need to improve your store appearance, thus providing customers with an amazing shopping experience. Though many owners want their stores to look great, they do not often focus on their cart icon in the menu bar. This part is of great significance as it will give users an easier view of their cart.
Now, do not hesitate to do this as you can get multiple benefits from it. In case you have not known how to add a WooCommerce cart icon to a menu bar, keep reading to see how you could do it with this easy-to-follow instruction. Let’s get started!
Why do we need a WooCommerce cart icon in a menu bar?
There are several reasons you need to have an icon for the cart in your menu bar. By knowing them, you could appreciate their importance. Now, let’s have a look at how the cart icon in WooCommerce could help your store.
-
Improve the look of your WooCommerce cart icon: The icon will make the cart look more impressive, thereby drawing the attention of visitors to your store.
-
Provide a great shopping experience: The cart icon lets users see items in their cart from all areas. Then, they do not need to click the link of the cart to view these items. Hence, customers will have a great shopping experience.
How to add a WooCommerce cart icon to a menu bar?
Adding a WooCommerce cart icon to the menu bar is now easy as a pie. With only a few steps, you can pursue your goal. Keep reading to see how you could do it with the below instruction.
Step 1: Check if a menu is created and its location
The first and foremost step is to check if a menu is created or not. Moreover, remember to check its location as well, then you could be able to proceed next steps easier.
Building a menu will be a prerequisite in constructing your site. As normal, you can choose to use your default menu provided by WordPress. And because you are about to illustrate the icon of your cart on the menu bar, you need to have one menu at least.
In doing so, you will navigate to the section “Appearance” and click on “Menus” as shown in the following screen.
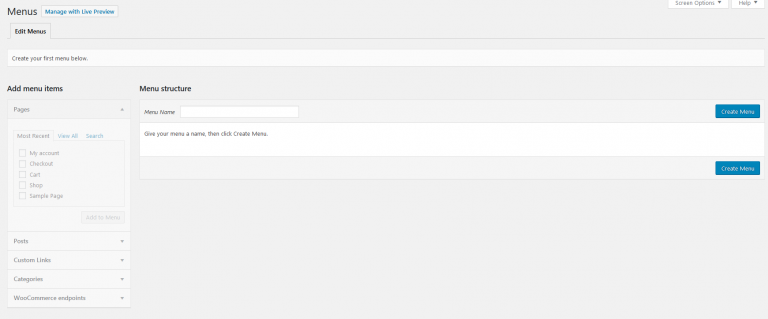
As you can see, in case you already have a menu on your site, skip step 1. When you have not had any, it is time to create one. Creating this kind of menu is very quick. So, now your task is to enter the name of this menu before hitting on the section “Create Menu”. Check out the below screen to have a deeper understanding.

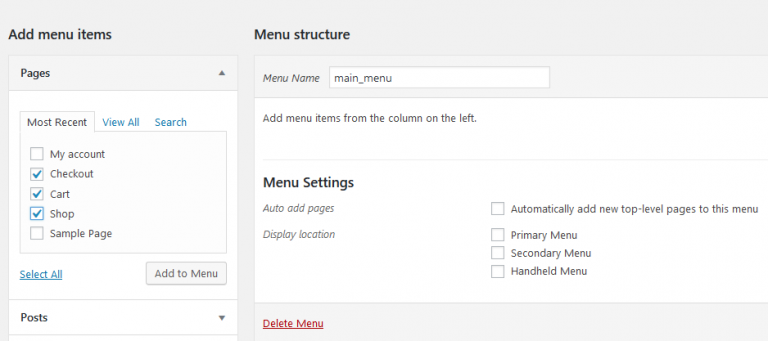
Now you have a menu. However, things are not done there as you only have an empty menu. There are some more things to work on. Proceed to the next steps to add several items to the menu that you have created. After that, you will create the Shop, Cart, along with the Checkout page. It is time to hit on the button “Add to menu” when you are here. After selecting it, you will see your pages appearing on your menu. To keep everything updated, remember to choose the button “Save menu”.
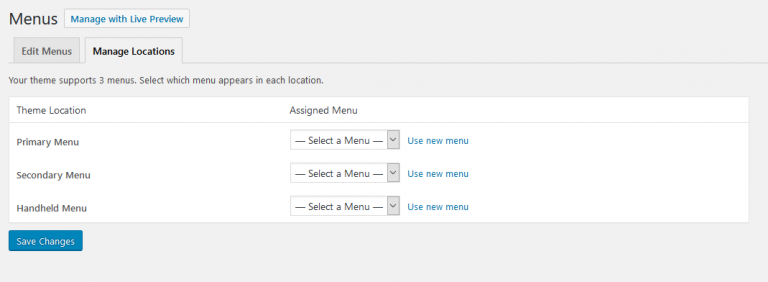
Another step is to set that kind of menu to your navigation position. To do it, choose the section “Manage Locations”. One thing to keep in mind is that how many locations of your menu bar will mostly depend on your theme. For example, if you are applying to StoreFront, there will be three locations. See the below screen to see what the three locations are.
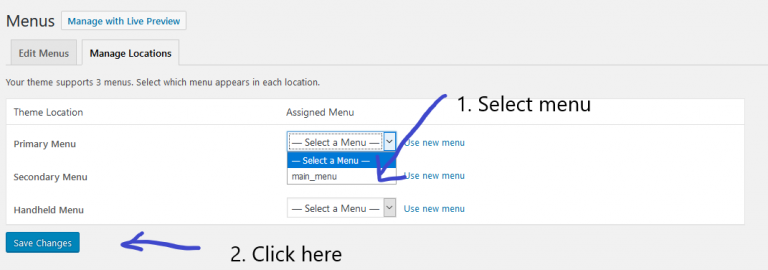
To set your menu to your location “Primary Menu”, you will need to hit on the section “Select a menu” to pick up the menu that you have just created. When everything is done, your task is to choose “Save Changes”.
The above step describes the necessary things to do to start with a menu bar. Proceed to further steps for adding the icon of your WooCommerce cart to a menu bar.
Step 2: Get the plugin WooCommerce Menu Cart installed and activated
In this situation, we will use the plugin WooCommerce Menu Cart for adding the cart icon to the WooCommerce menu bar. Thankfully, this plugin is user-friendly, lightweight, and effective. Despite coming with only some configuration options, it yields plenty of functionality as well as power.
In order to add the cart icon efficiently, you are required to install, then activate this plugin first. You could perform this activity within the dashboard of your WordPress admin. It is very easy to do so. Now, navigate to the section “Plugins” and click on “Add New”. After that, you are on the page Plugins. It is time to search for “WooCommerce Menu Cart” in the search bar that is on your right hand.
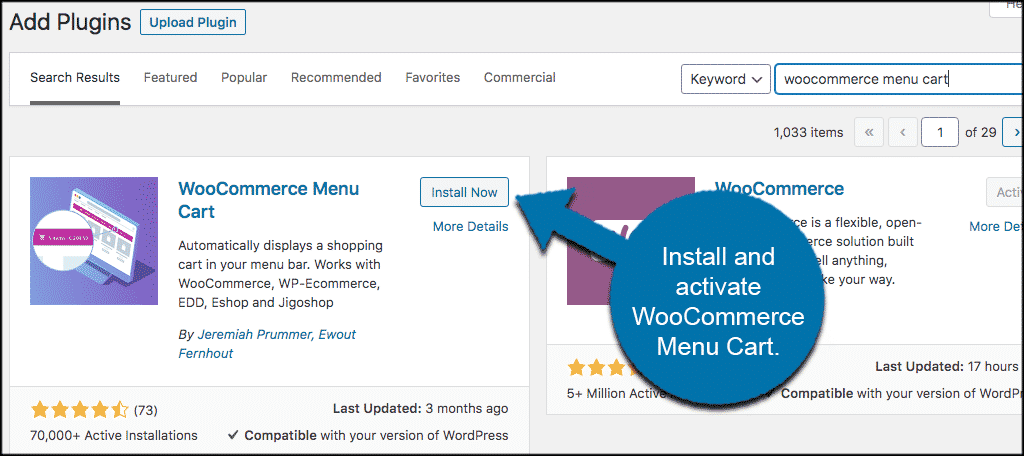
You will notice the plugin on the top result. Click on “Install Now”, then “Activate” to enable it to be ready for use.
Step 3: Add the cart icon to your WooCommerce menu bar
The second step guides you through how to install and activate the plugin. Once you have finished it, you will now go to the settings page for some configurations of the settings. Head to your WooCommerce and choose “Menu Cart Setup”.
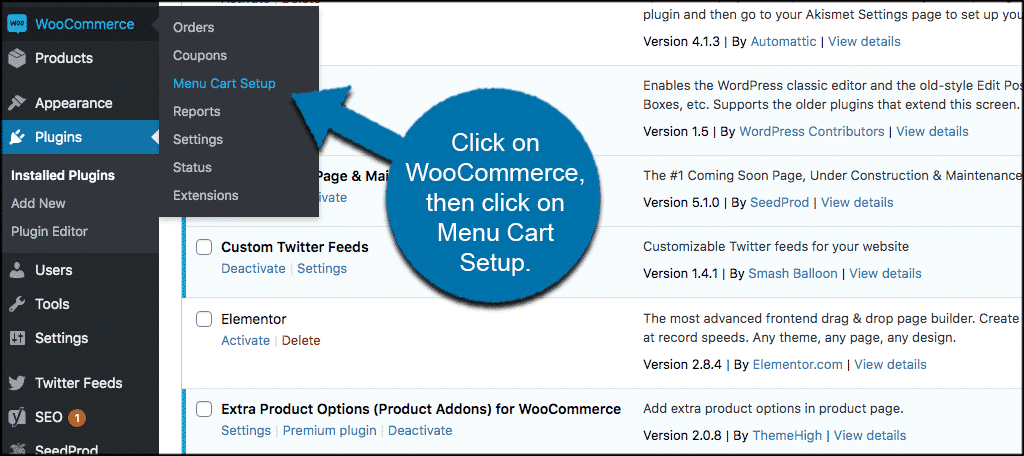
By choosing this section, you will be taken to the primary settings page to configure the icon of your WooCommerce cart. When you get to this settings page, you will observe all the options related to this configuration in only one area. So, it is easy to run the settings altogether.
Initially, you are able to set up the icon display functionality by using the tool’s 1st four settings. This includes the WooCommerce plugin, the menu in which the cart icon will be shown, and if it would be displayed in case of empty. You could select whether you will disable or enable this icon entirely. This will help you a lot when there is any troubleshooting.
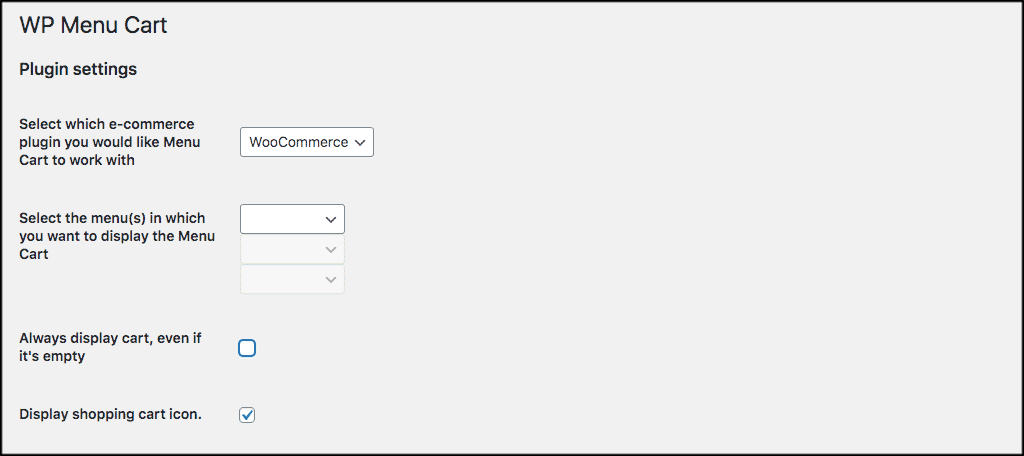
You need some more things to do with the next options. Now, it is your choice to fly out the displaying options, coupled with how many products will be displayed. Moreover, you also get an opportunity to select the icon of your cart. When you use this plugin’s free version, be noted that you can only apply the default cart icon. So, in case you wish to have a wide range of icon options, take no hesitation to update to a pro version.
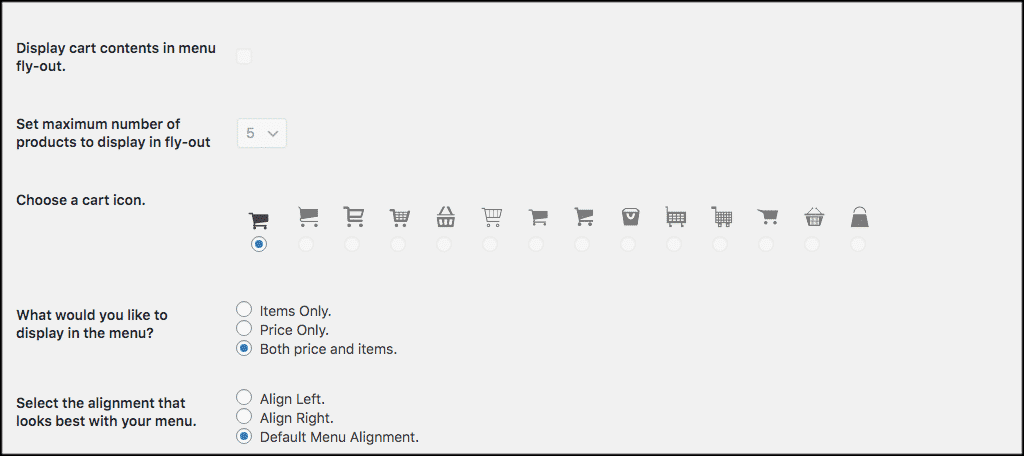
Besides displaying an icon, you could also display cart items or prices. And you are also able to select where you will show your cart icon. You could choose to float it right or left. One more bonus point is that you could decide how to have your prices displayed in your menu. As shown in the below screen, you can enter the custom CSS to fit your need and requirement.
Congratulation! You have done adding the WooCommerce cart icon to the menu bar. It is easy, right?
Top 3 plugins to add a WooCommerce cart icon to a menu bar
There is no denying that plugins play an indispensable role in facilitating the configuration and customization within WooCommerce. It makes no exception to adding the icon of your WooCommerce cart to the menu bar. Now, let’s explore the top three plugins to help you perform this not-t-be-missed activity for your WooStore.
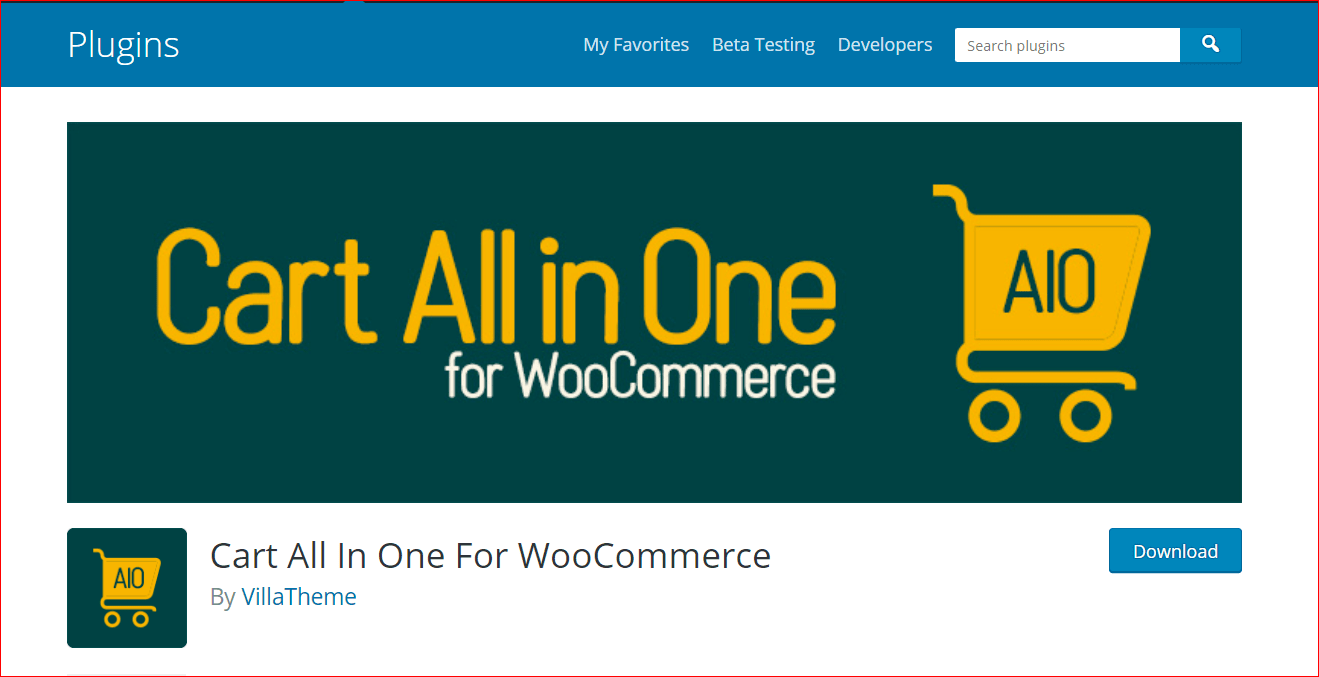
1. Cart All in One for WooCommerce
As a powerful and functional tool for creating a menu cart, adding an icon, or building the WooCommerce sidebar cart, Cart All in One for WooCommerce is worth a try. Moreover, you can create custom designs and make them visible on your settings page before publishing.
Main features
-
Come with the feature to let customers remove items, choose the quantity, add coupons, and so on
-
Let consumers view their carts by hovering the mouse on a menu bar
-
Give users a chance to add items to their cart from a single product page
-
Offer the Add-to-cart button for variable products
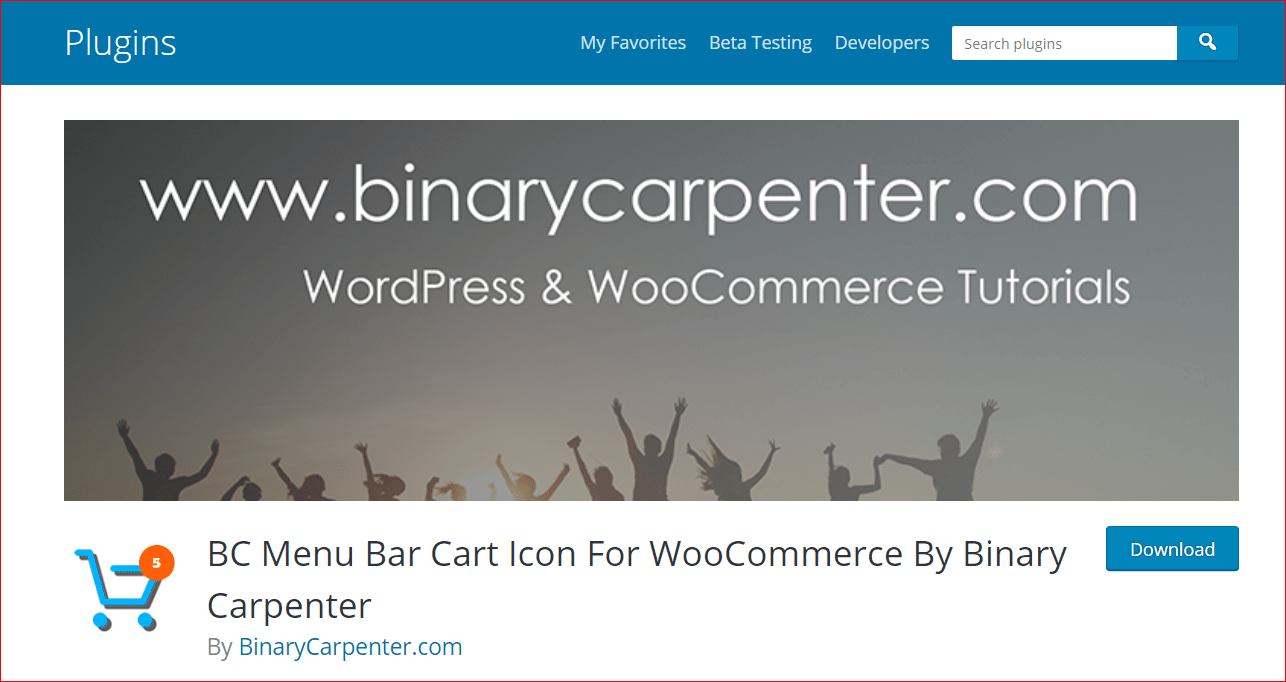
2. BC Menu Bar Cart Icon for WooCommerce
Another optimal plugin to help you add the icon to the cart on your menu bar is BC Menu Bar Cart Icon for WooCommerce. If you need to add the cart icons to your site navigation menu, sidebar, or footer within WooCommerce, do not miss this wonderful plugin. You will be taken aback thanks to the wide range of great features it offers.
Main features
-
Be user-friendly with adding the WooCommerce cart icon easily to your menu cart regardless of the theme
-
Be able to choose any position for adding your cart icon
-
Allow users to add or remove the items from the cart as well as an update without any page refresh
-
The design of your cart will be 100% responsive and works on every device.
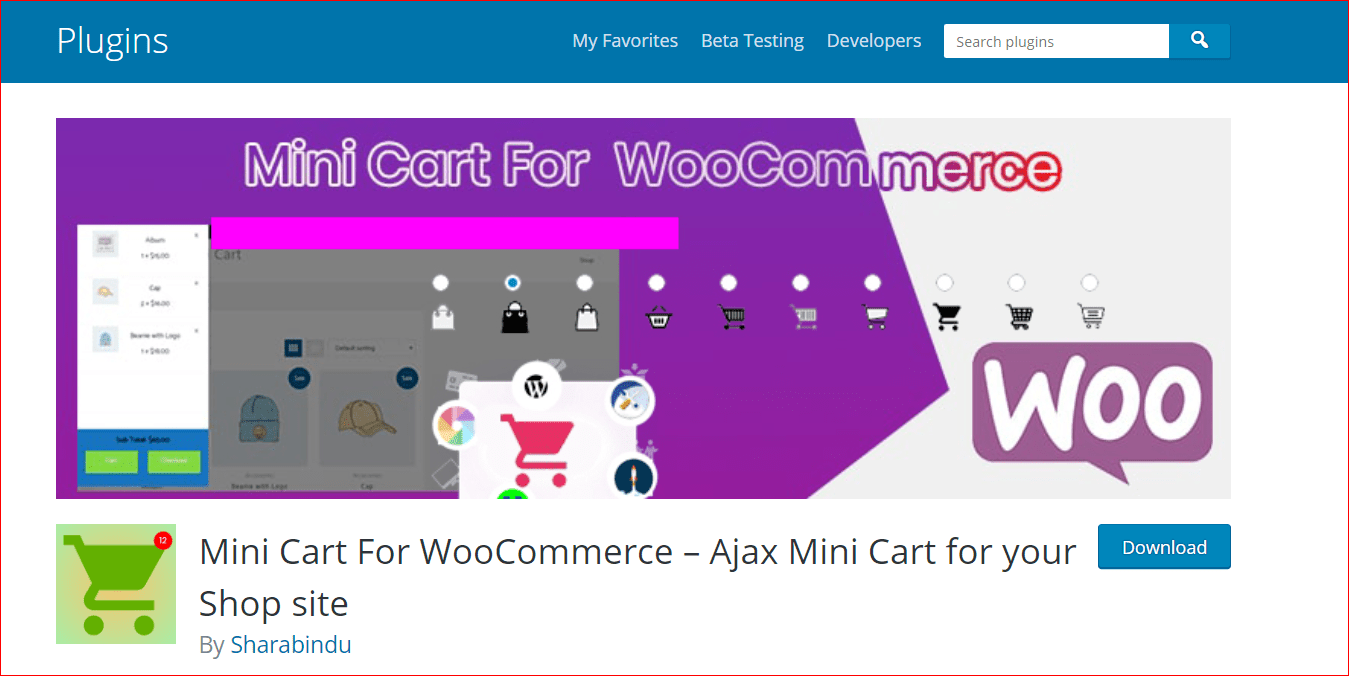
3. Mini Cart for WooCommerce
The last plugin to appear on this list is Mini Cart for WooCommerce. It has a reputation for adding mini-cart options and the ability to add the WooCommerce cart icon to your menu bar. Especially, you could also modify the position of your Cart button as well as its color from the setting page of this plugin.
Main features
-
Come with the function for color and text customization, coupled with typography options
-
Add the icon of your WooCommerce cart to the menu bar quickly and effortlessly
-
Add a wide range of icons for your menu cart with up to 20 styles for both footer cart and menu cart
-
Give users full control of changing color, design, and style
Conclusion
In case you are fond of some extra styles for your WooCommerce store, this will be where the icon of your WooCommerce cart comes in. Hence, making it look greater is a perfect way to give your consumers a better shopping experience. So, now you should add the WooCommerce cart icon to your menu bar and let it help you attract more customers.


