
3 Steps to Upload a File on the Files Page on Shopify
By Sam Nguyen

Shopify provides you a lot of function including the files uploading function. If you want to upload a picture to your store, or a file so as to advertise your products more effectively, and to make it easier for your customers to reach your products and their information, the files uploading feature will surely help you a lot.
Below are some steps for you to How to upload a file on the Files page on Desktop, iPhone, and Android
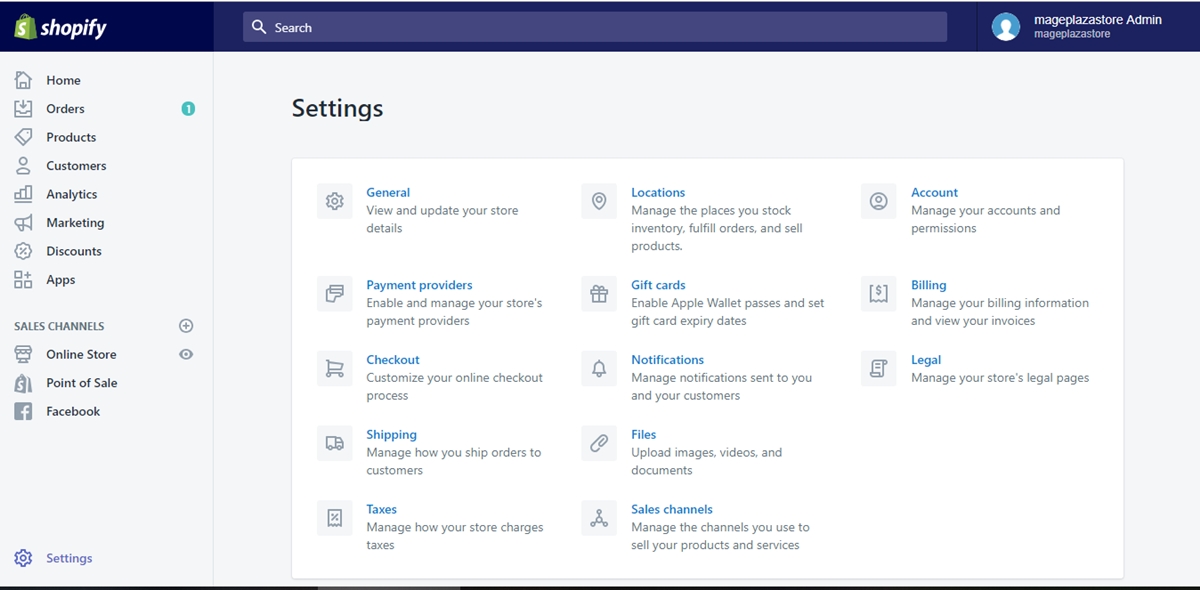
Step 1: Go to Files
Log into your Shopify admin’s account. Find and click to choose the Settings option on the bottom left of your page. When directed to the Settings page, click to go to Files.
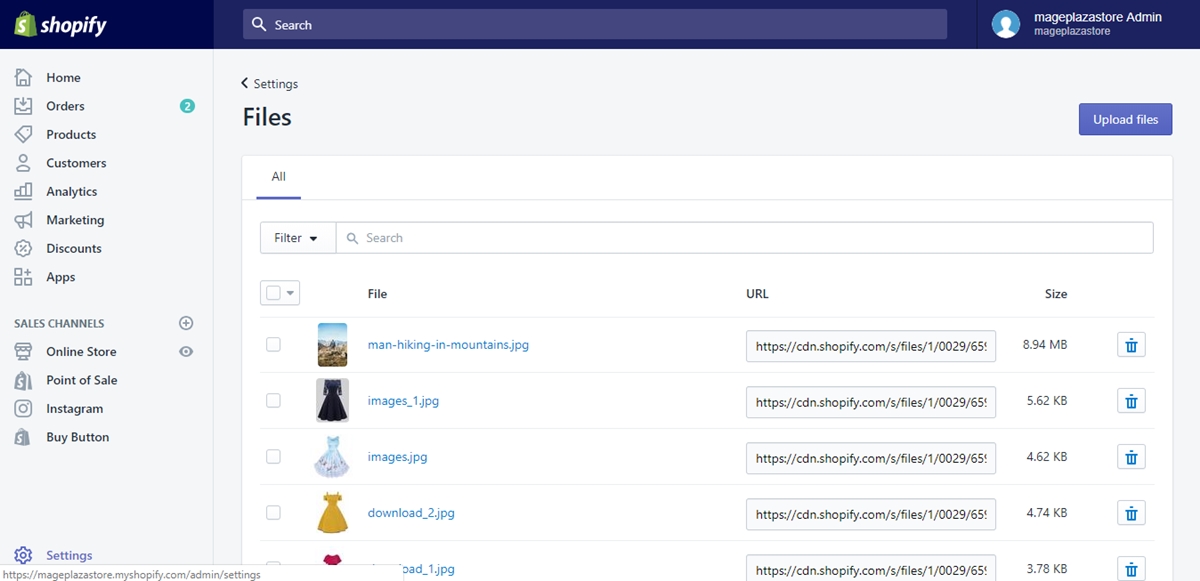
Step 2: Click on Upload Files
In the Files page, click on the Upload Files button on your right to upload your files.
Step 3: Choose Files
Choose the files from your device to upload and click Open when you finish.
To upload a file on the Files page on iPhone (Click here)
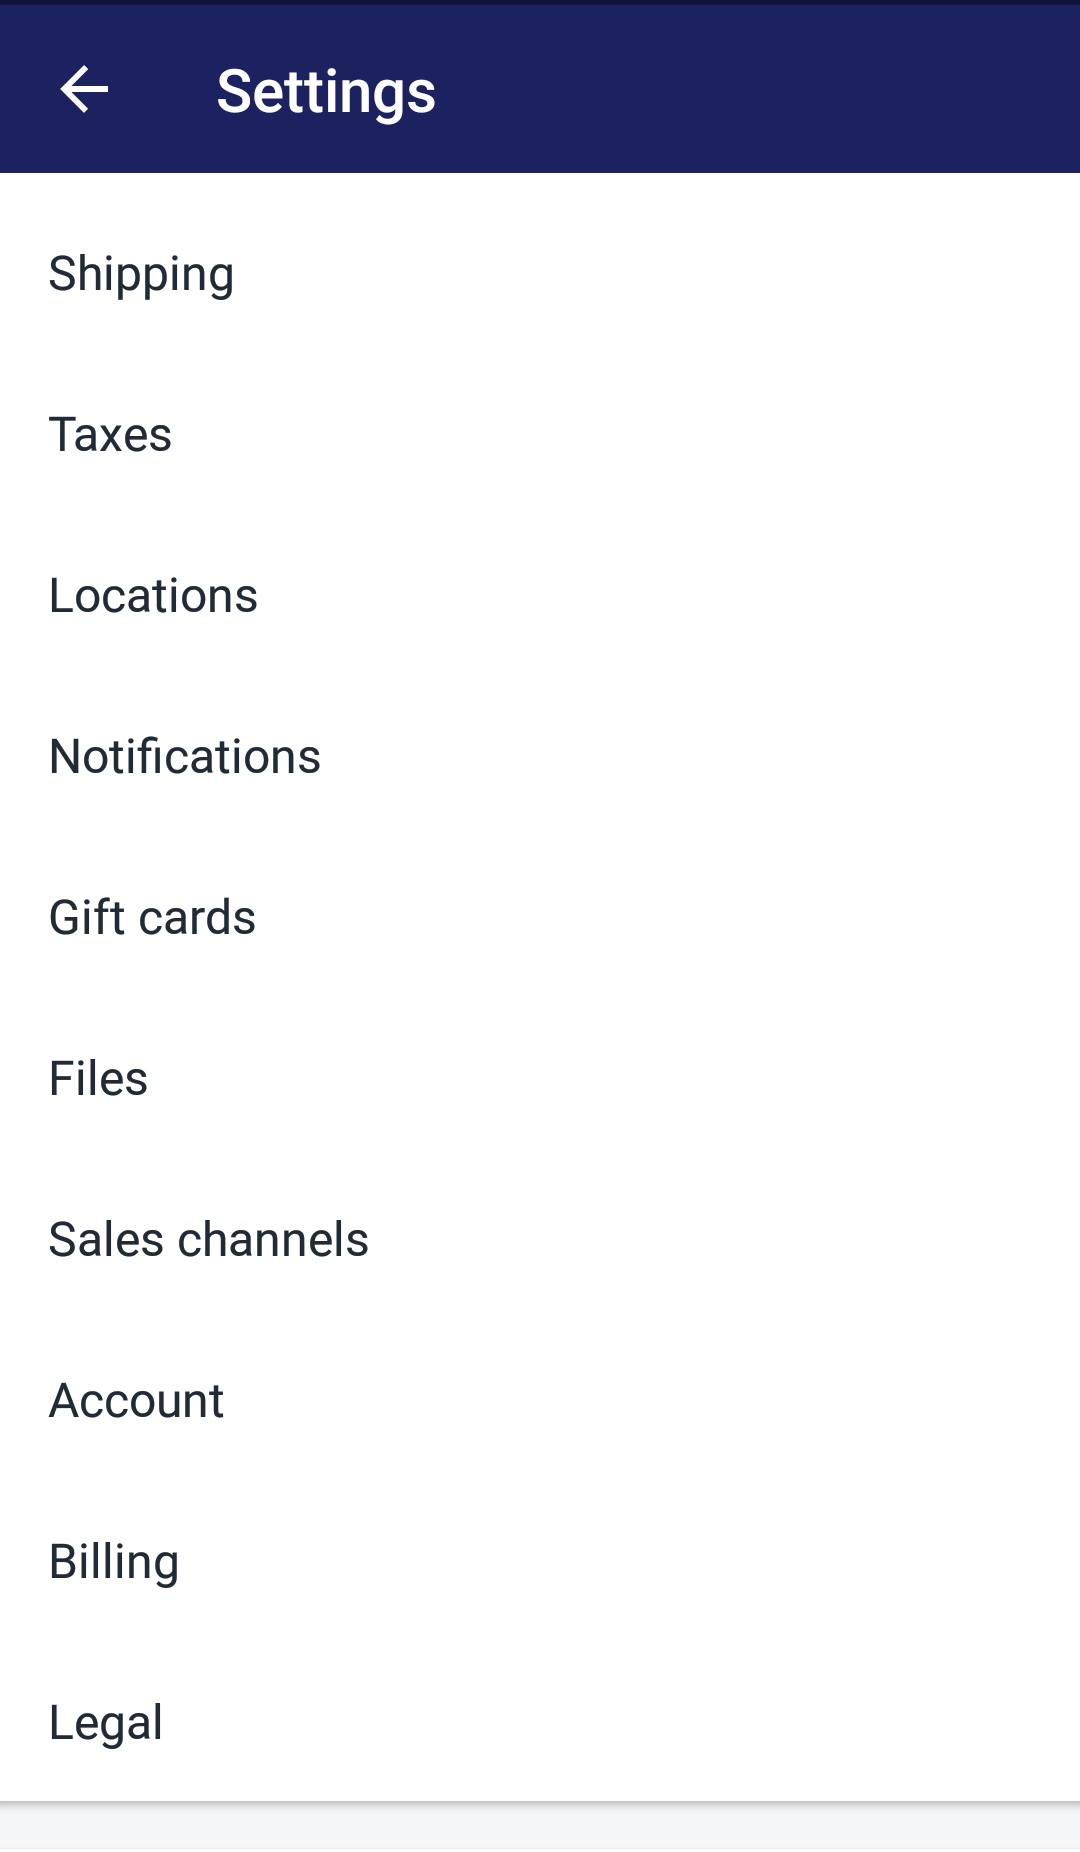
- Step 1: Enter Settings
From your admin account logged in Shopify app, tap on Store and enter Settings afterwards.
- Step 2: Tap Files
Tap the Files button under the Store settings section to be directed into more settings about your files.
- Step 3: Upload Files
In your chosen Files page, tap on Upload Files to start your files uploading session.
- Step 4: Files selecting
Select files that you want to upload from your device. You can choose one or multiple files to upload based on how much you want to. Tap Open and wait until the files are fully uploaded.
To upload a file on the Files page on Android (Click here)
- Step 1: Tap Settings
Log into your Shopify app from your Android device. Enter the app and go to Store by tapping on the button on the bottom right of your screen. Tap Settings to go to the next steps.

- Step 2: Enter Files
In the Settings page, under the Store settings section, scroll to find and tap to choose the Files line to manage your files.
- Step 3: Files upload
Tap on the blue Upload files button right under the Files page header. By tapping on that button, you confirm that you are ready to start uploading files.

- Step 4: Pick Files
Pick one or more files from your Android device that you want to upload. When you finish chosing your file, remember to tap Open to make the files uploading session start.
Conclusion
On today’s tutorial, I introduced you How to upload a file on the Files page on Shopify. Just by following these above simple and easy steps, you can easily upload your wanted files to make your store looks more appearing. I hope you will find this tutorial helpful and will use the feature effectively.
Related Post:


