
How to Create and Modify Locations on Shopify
By Sam Nguyen

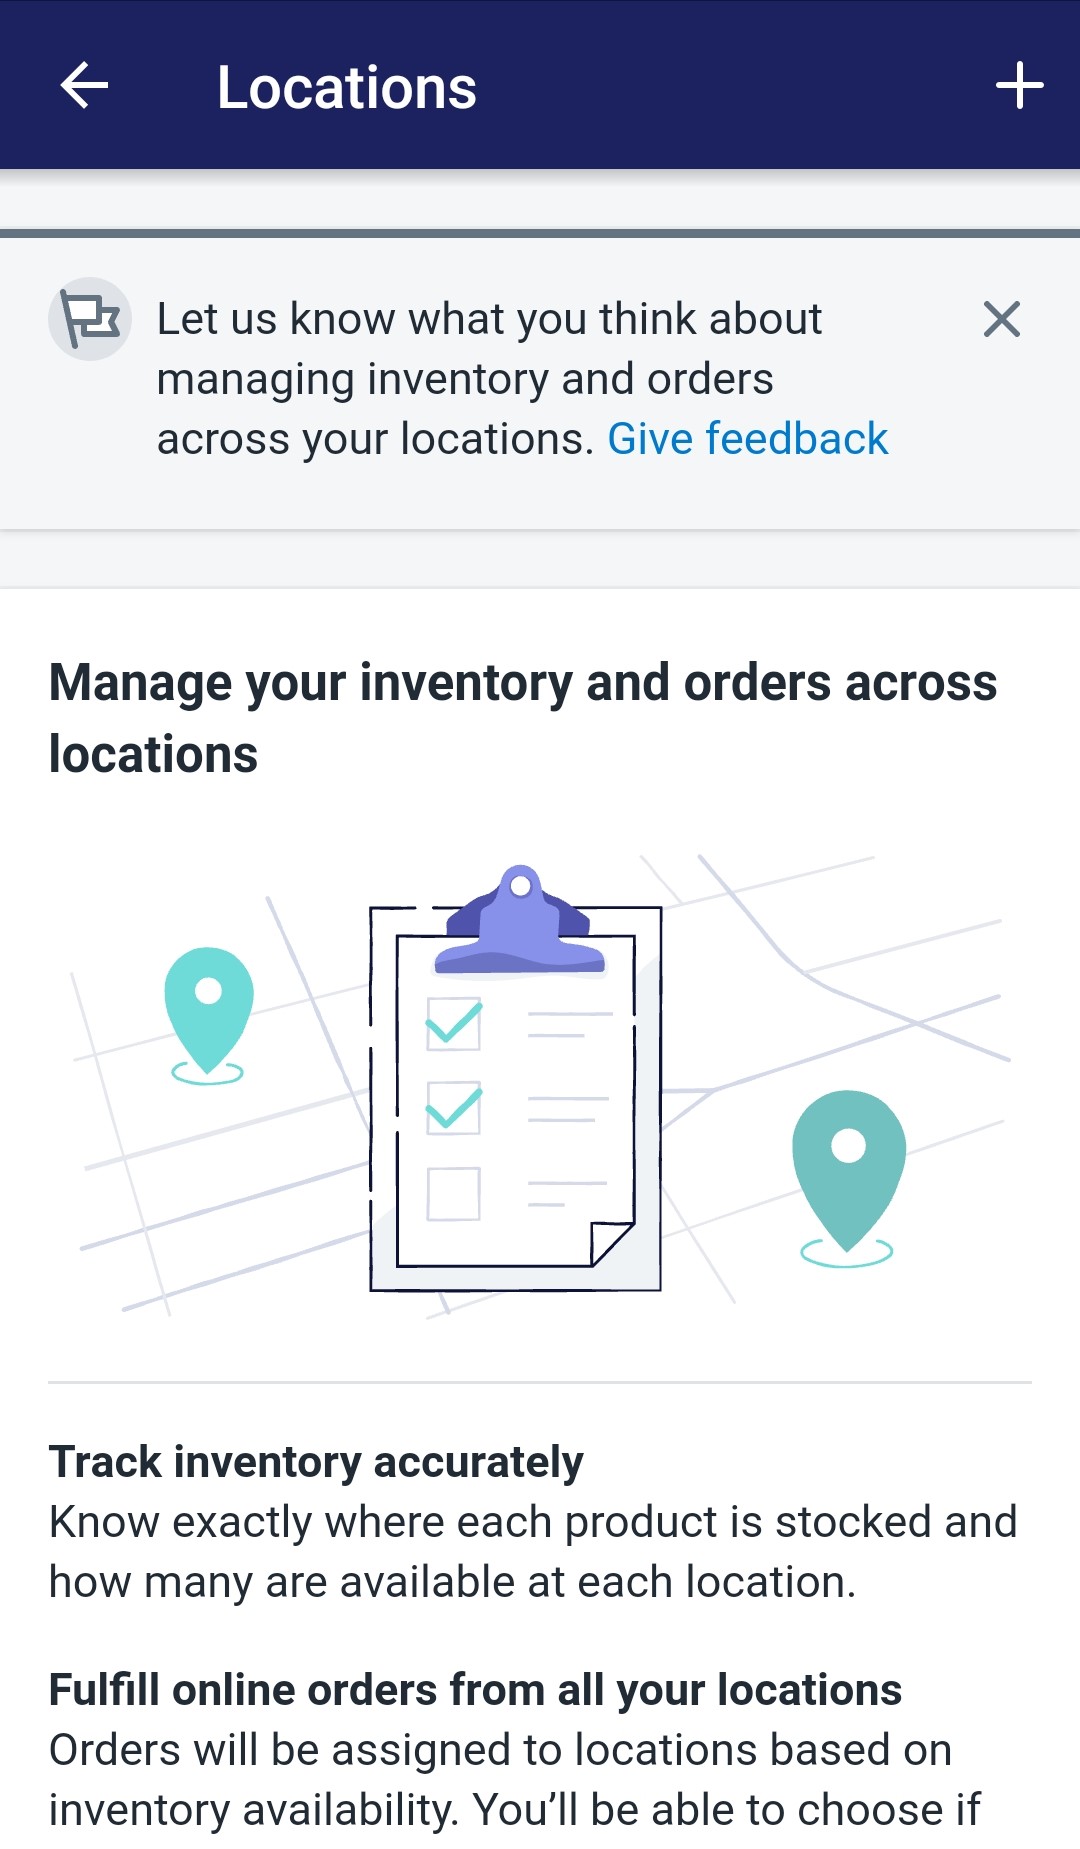
When running an online business on Shopify, it is considered essential to have locations that are accessible for the customers to reach your products easier. Here with our function, you can easily create your new, customized, unique location for your online Shopify store and you can also modify it based on what you like your store’s locations to turn out.
Today, I will tell you How to create and modify locations on Desktop, iPhone, and Android.
Related Posts:
- How to Export Inventory on Shopify
- How to Import Inventory on Shopify
- How to Set the Priority of Locations For Fulfilling Orders on Shopify
- How to Delete Locations on Shopify
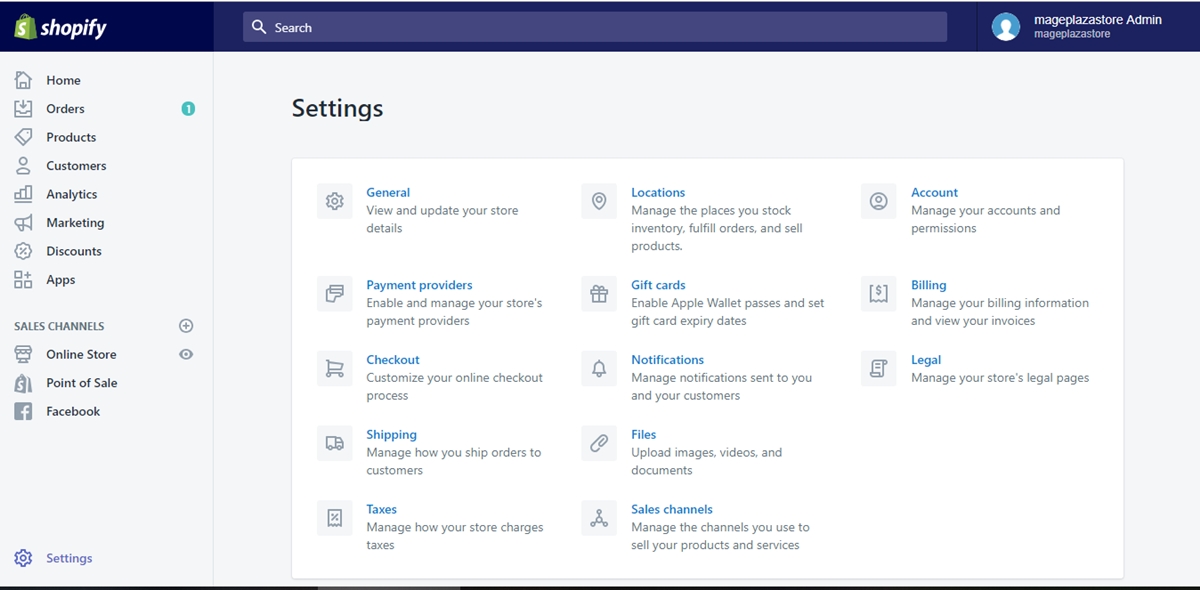
Step 1: Click on Locations
After logging into your Shopify admin account, from your homepage, find and click on the Settings button on the bottom left of your page. When directed to the Settings page, click on the Locations option.
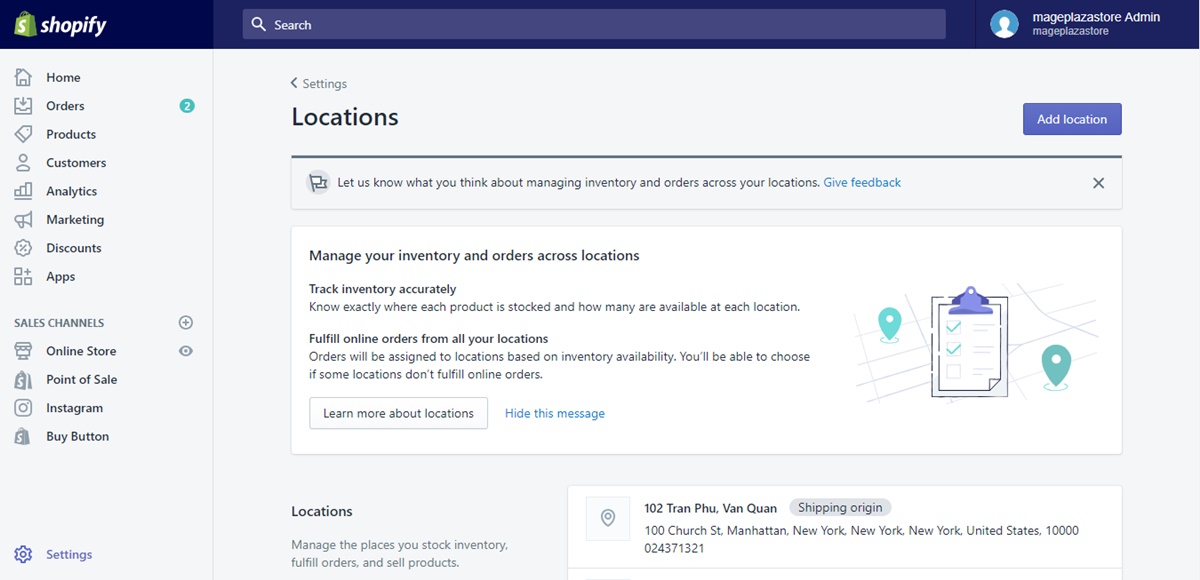
Step 2: Add location
Upon entering the Locations page, you will see a blue Add location button on the right side of your page. If you want to add a new location for your Shopify online store, click on the button.
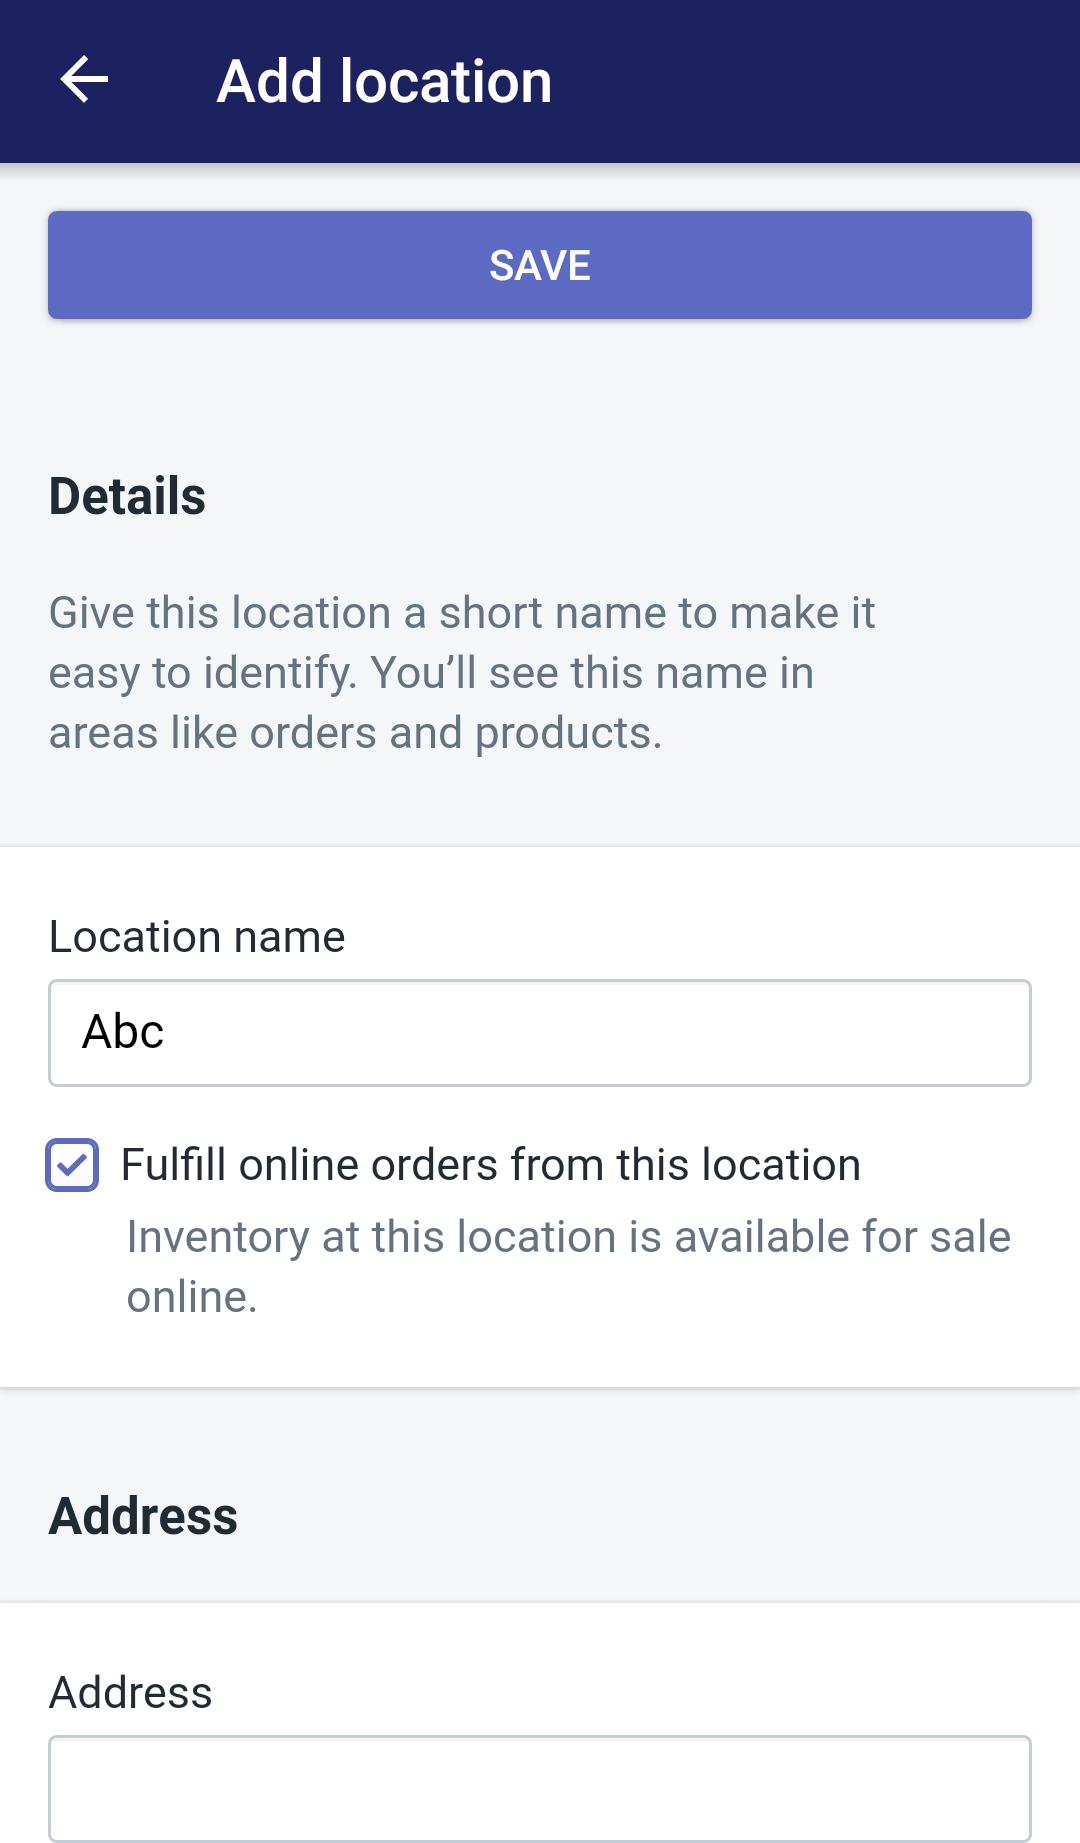
Step 3: Enter details
In the new location’s details adding page, enter required information in each field such as the location’s name and address. Make the name unique so that it will be more appealing to the customers’ eyes.
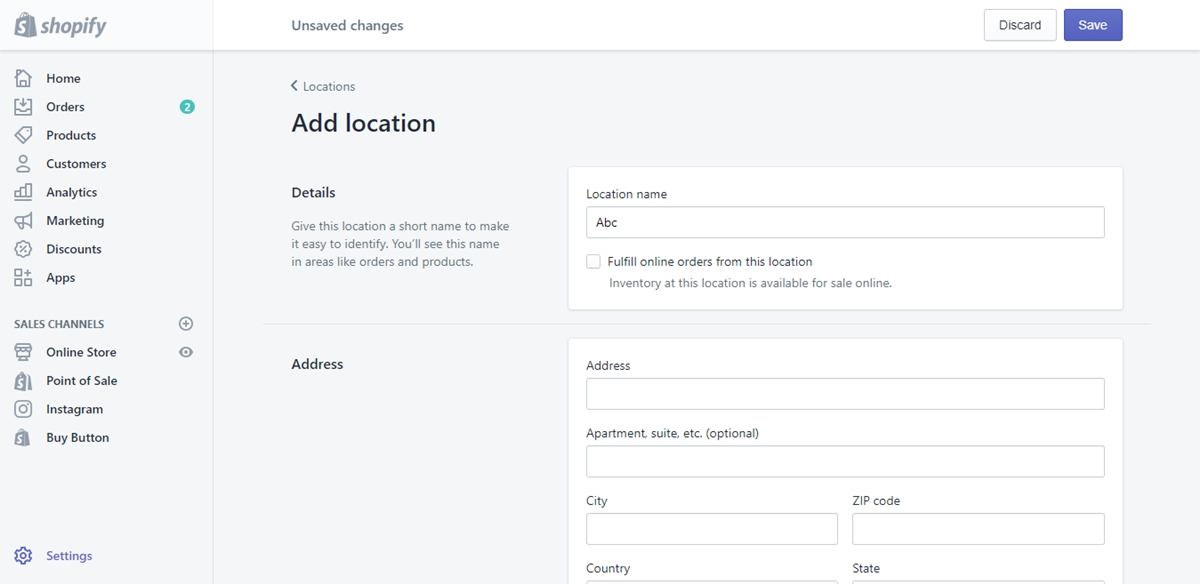
Step 4: Fulfill online orders
Under the Location name field is a checkbox called Fulfill online orders from this location. If you check on the box, you confirm that you want the products from this location to be available for online customers.

Step 5: Save changes
Click on the blue Save buttom from both your page’s top left or your page’s bottom left to finish adding the new location for your Shopify online store.
To create and modify locations on iPhone (Click here)
- Step 1: Enter Locations
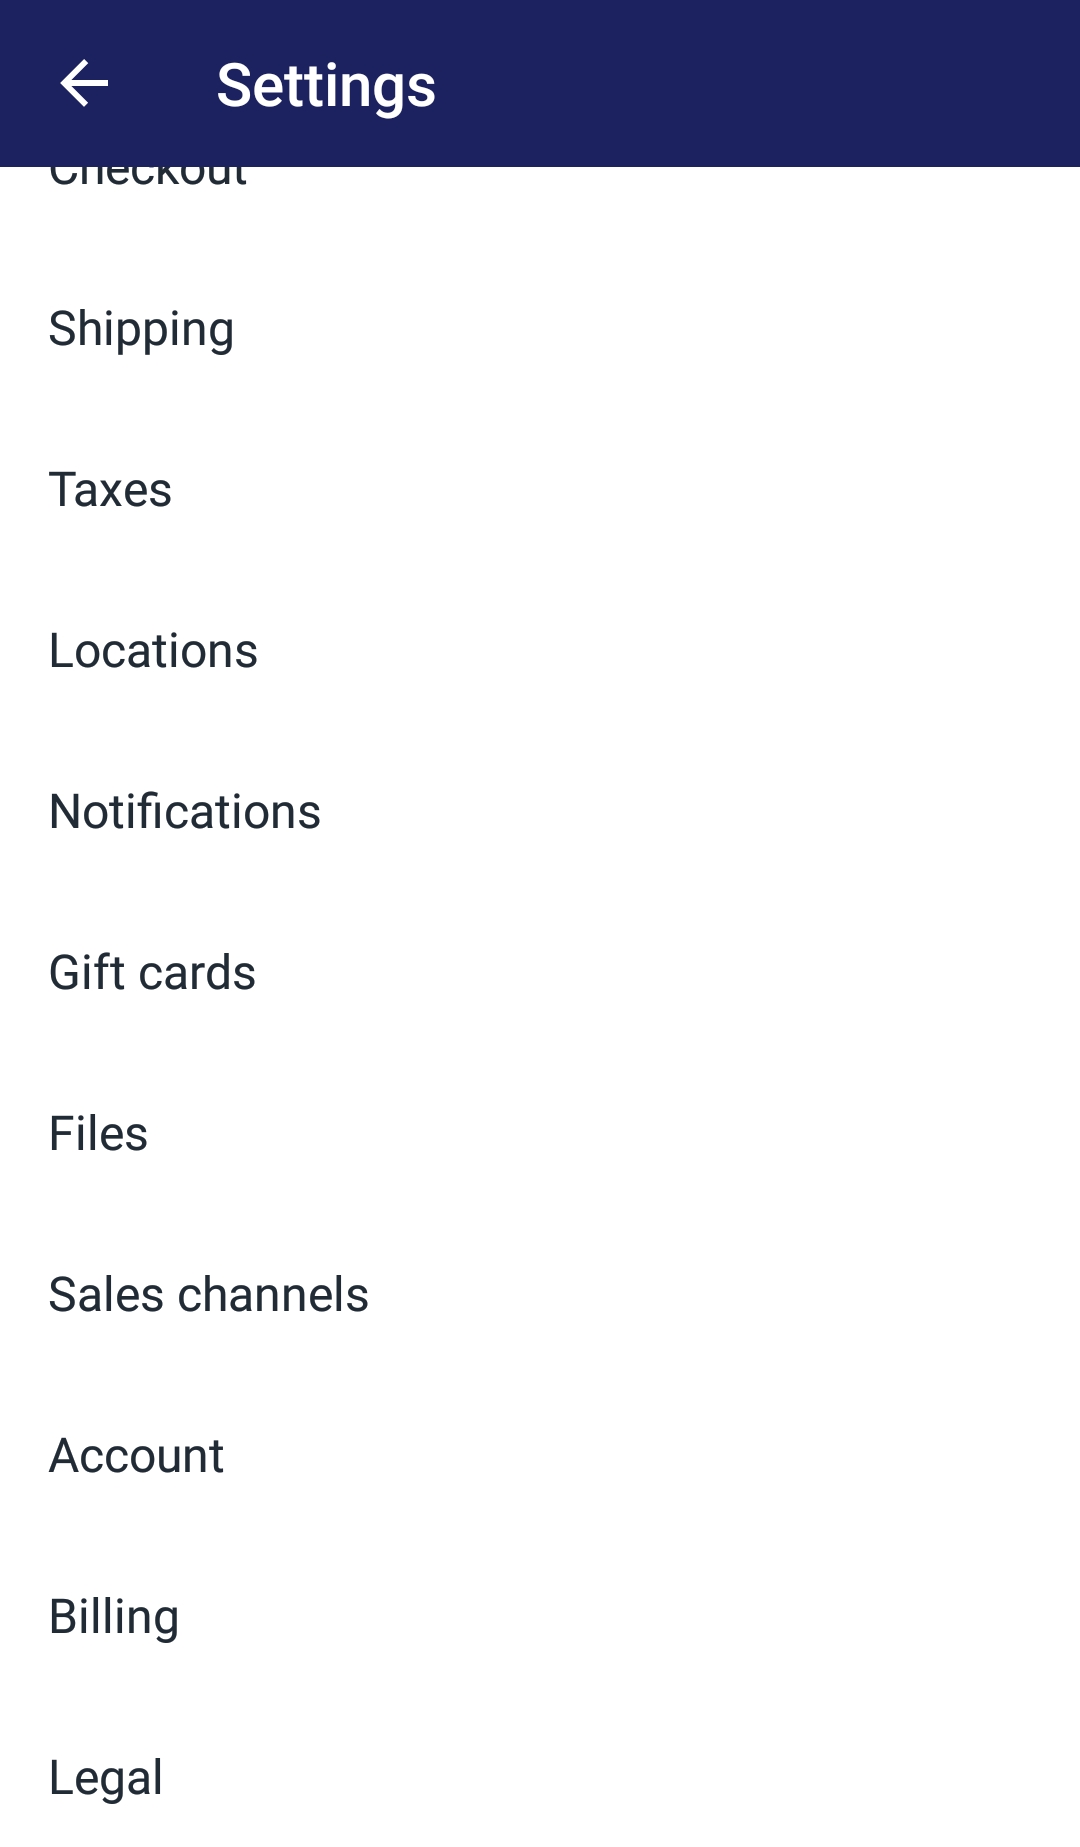
Log into your Shopify store owner account to start adding new locations for your store. First, you have to go to Store from your home screen, and find to tap on the Settings option in the Store page. After that, tap on the Locations button in the Settings page for more locations settings including adding new ones.
- Step 2: Tap Add location
From your chosen Locations page, tap on the Add location button to start adding a new location for your online store.
- Step 3: Complete details
Upon entering the location details adding page, you will see the blank fields available for you to fill up. It contains the basic information of the new location such as its name or address. Complete filling in the blank so that you can finish your location adding section.
- Step 4: Wrap it up
Tap the Save button to agree to make a new location for your online store.
To create and modify locations on Android (Click here)
- Step 1: Tap Locations
After entering your logged in Shopify app from your Android service, you will have to enter the Locations page if you want to add a new one. Find that option by going to the Store page from your home page by tapping on its icon on the bottom right of your screen, then find and tap on the Settings button in the entered Store page. In the directed Settings page, scroll down to find the Locations choice and tap on it to enter.
- Step 2: Add your location
When you finish entering the Locations page, it will be a Add location button right in the page. Find and tap on the button so that you will be directed to the next location adding steps.
- Step 3: Type details
Complete your location adding session by typing its basic information such as its unique name and its address. You have to fill up all the sections provided on the page so that the session could be accepted.
- Step 4: Complete
After finishing typing all the required fields, you can tap on the blue Save button from your location details adding page so that you can complete adding the new location for your Shopify online store.
Conclusion
Just with some really simple and easy step, now you have in mind the full tutorial of How to create and modify locations on Shopify. I hope that today’s tutorial will be helpful for you and your online store, and if you want more post like this, give our tutorials on Locations a read.


