
How to Add Tags to a Blog Post
By Sam Nguyen

In this article, you can learn how to add tags to a blog post on Shopify on Desktop, iPhone, and Android. Tags play a critical role in organizing the blog posts into different categories. The visitors and customers can easily find out your blogs thanks to the same category. As they seek any tags in the online store, matching blog posts can be present in the search results.
Related Posts:
- Best Shopify Blog Apps
- How to hide a blog post on Shopify
- How to delete a blog post on Shopify
- How to edit a blog name on Shopify
- How to edit a blog post on Shopify
- How to display an excerpt from a blog post on Shopify
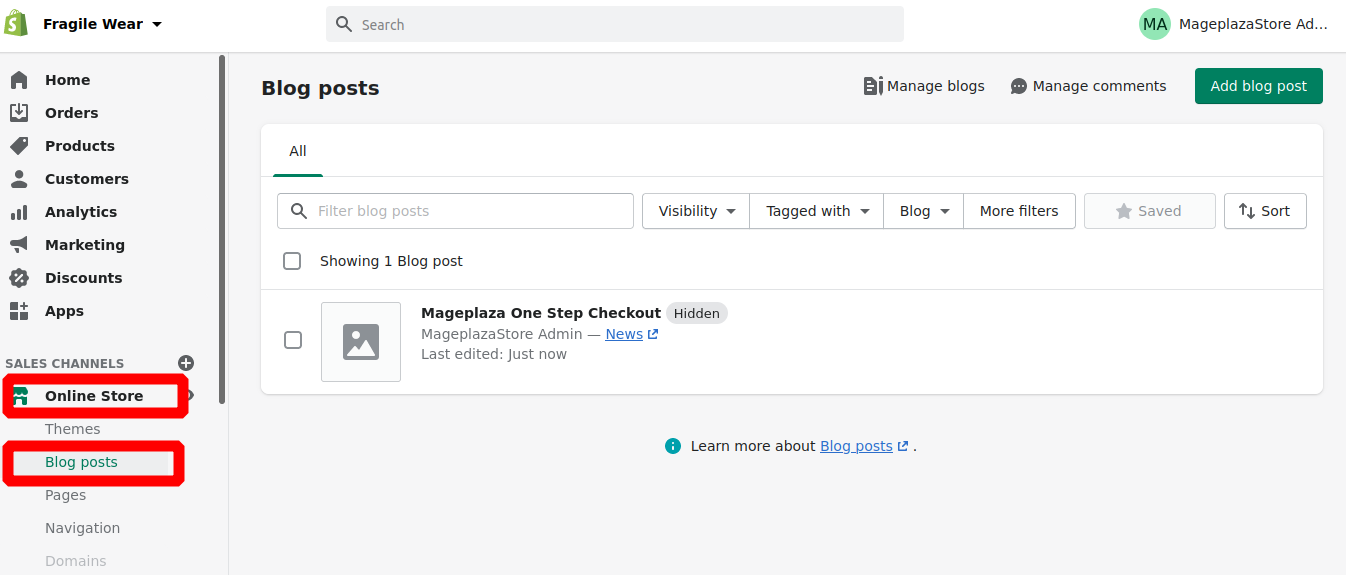
Step 1: Select Blog Posts.
Firstly, you can select Online Store > Blog Posts.
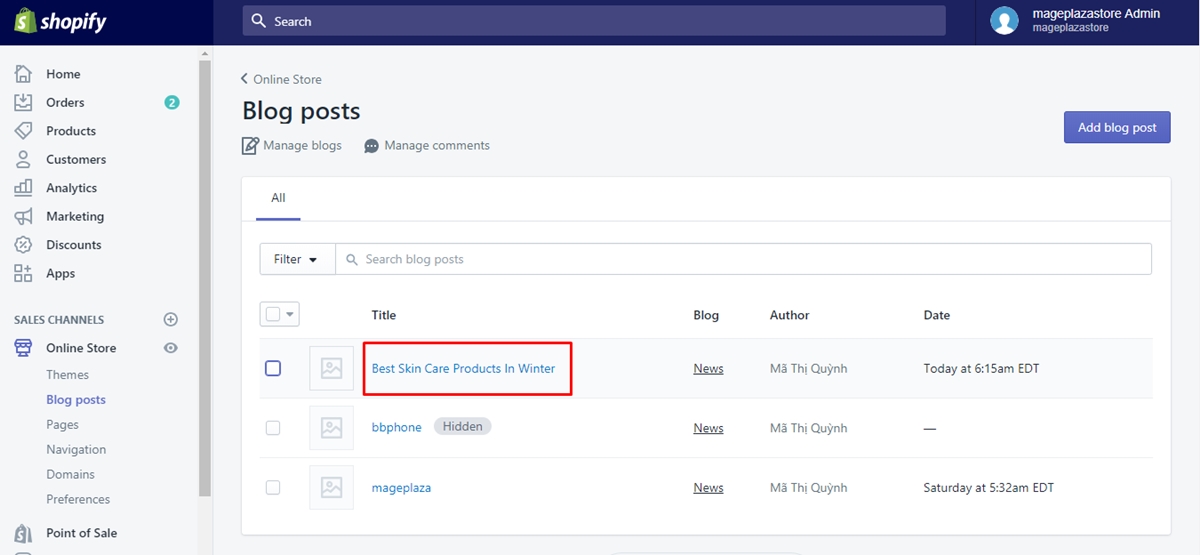
Step 2: Choose the blog post name.
Then, you can choose the blog post name.
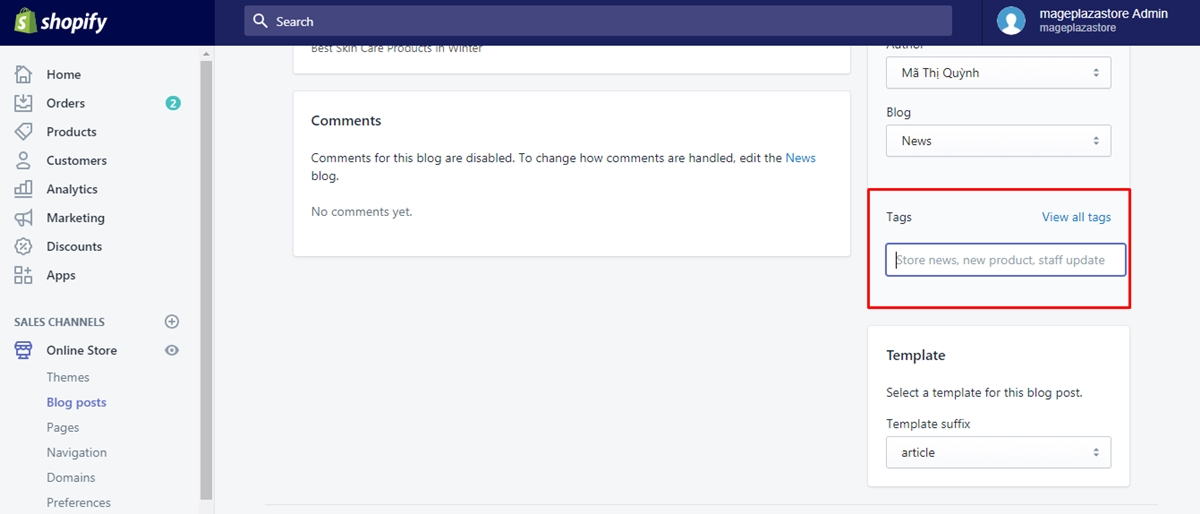
Step 3: Add tags from the Tags field.
Next, you can add tags to your blog post. If there are more than a tag, you can separate them by commas. Also, you can opt for existing tags.
Step 4: Go to Save.
To save your change, go to Save.
To add tags to a blog post on iPhone (Click here)
-
Step 1: Tap Store.
After logging in, you can tapStorefrom your Shopify app. -
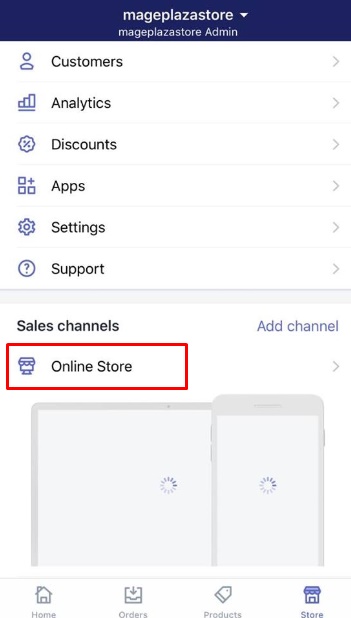
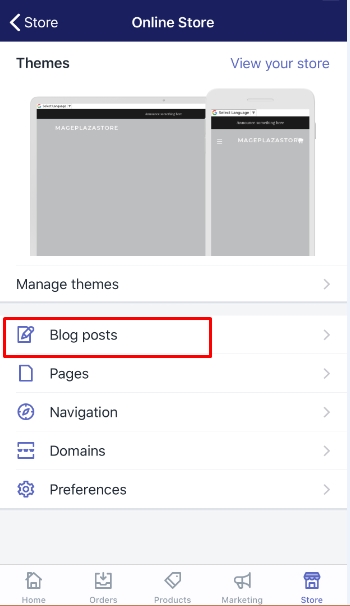
Step 2: Tap Online Store.
From theSales channelsfield, you can tapOnline Store.
- Step 3: Tap Blog posts.
In this step, you can tapBlog posts.
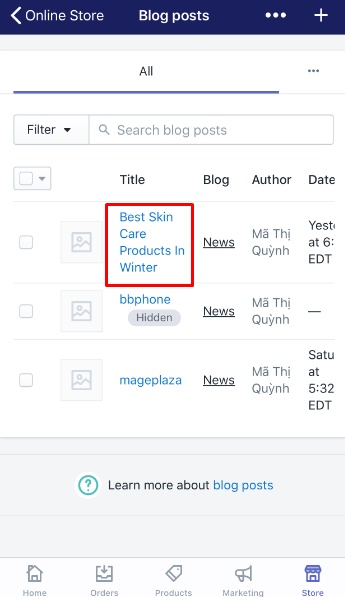
- Step 4: Select the blog post name.
You can select the name of the blog post.
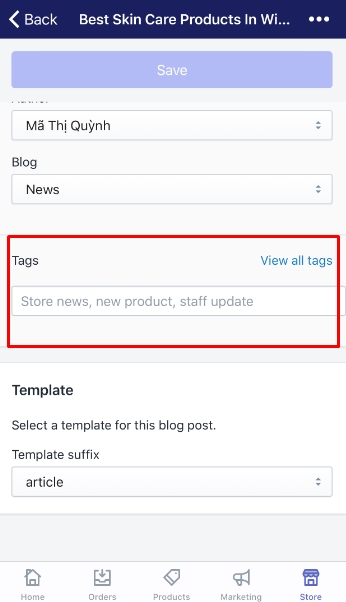
- Step 5: Type tags for the blog post.
You can type tags for the blog post and divide them by commas. Existing tags are also available for you to choose from.
- Step 6: Tap Save.
Remember to tapSave.
To add tags to a blog post on Android (Click here)
-
Step 1: Touch Store.
The first thing you need to do is to touchStorefrom the Shopify app. -
Step 2: Touch Online Store.
You can touchOnline Storein theSales channelssection. -
Step 3: Touch Blog posts.
Next, you can touchBlog poststo keep going on. -
Step 4: Choose the blog post name.
In this step, you can choose your blog post name. -
Step 5: Add tags to the blog post.
You can add tags to the blog post and get them separated by commas. In addition, you can opt for existing tags that are available. -
Step 6: Choose Save.
Do remember to touchSaveto have your current work saved.
Conclusion
These above-mentioned steps on how to add tags to a blog post on Shopify will help you add more tags to your blog post so that your visitors or customers can find your blog posts easily. Help us share this article if you find it helpful to spread out. In case you don’t want your posts to be shown on your online store, you can try deleting the blog posts as well.


