
How to Add a Tag to your Order on Shopify in 4 Simple Steps
By Sam Nguyen

There might be sometimes when your shop is filled with orders and this situation make it hard for you to handle those order properly. In order to help you with this problem, Shopify provides you with the tags which you can add to the orders of your shop to classify them, as a result, you will manage the store better.
This is my instructional writing on how to add a tag to your order on Shopify. It is a very detailed guideline so I hope you will take your time to read it and follow the instruction carefully.
Related Posts:
- How to Show Content Based on Customer’s Locations on Shopfiy
- Add Tracking Numbers to a Fulfilled Order on Shopify in 7 Steps
- How to Run Scripts Only on the First Visit on Shopify
- How to Attach an Order Tag on Shopify
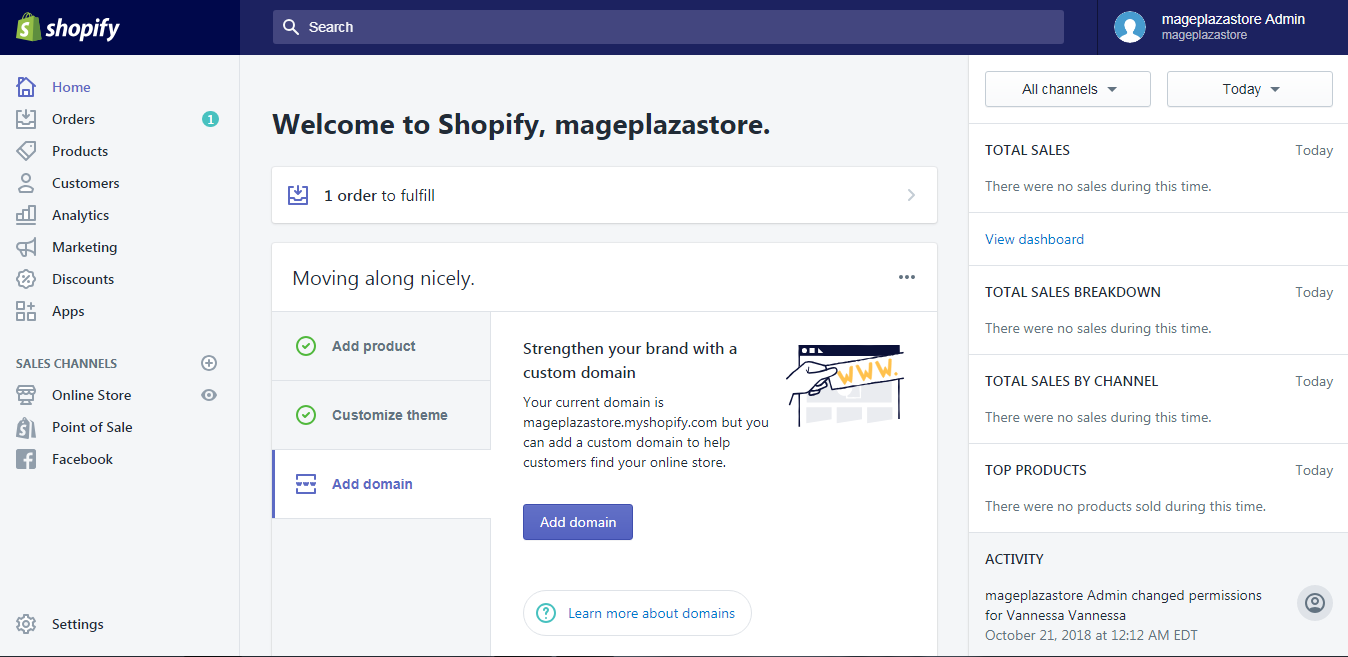
Step 1: Go to Orders
After you get to the Shopify admin screen, notice on the left-hand-side of the page, there is a button called Orders, click on that button to get to the Order page.
Step 2: Enter tag names
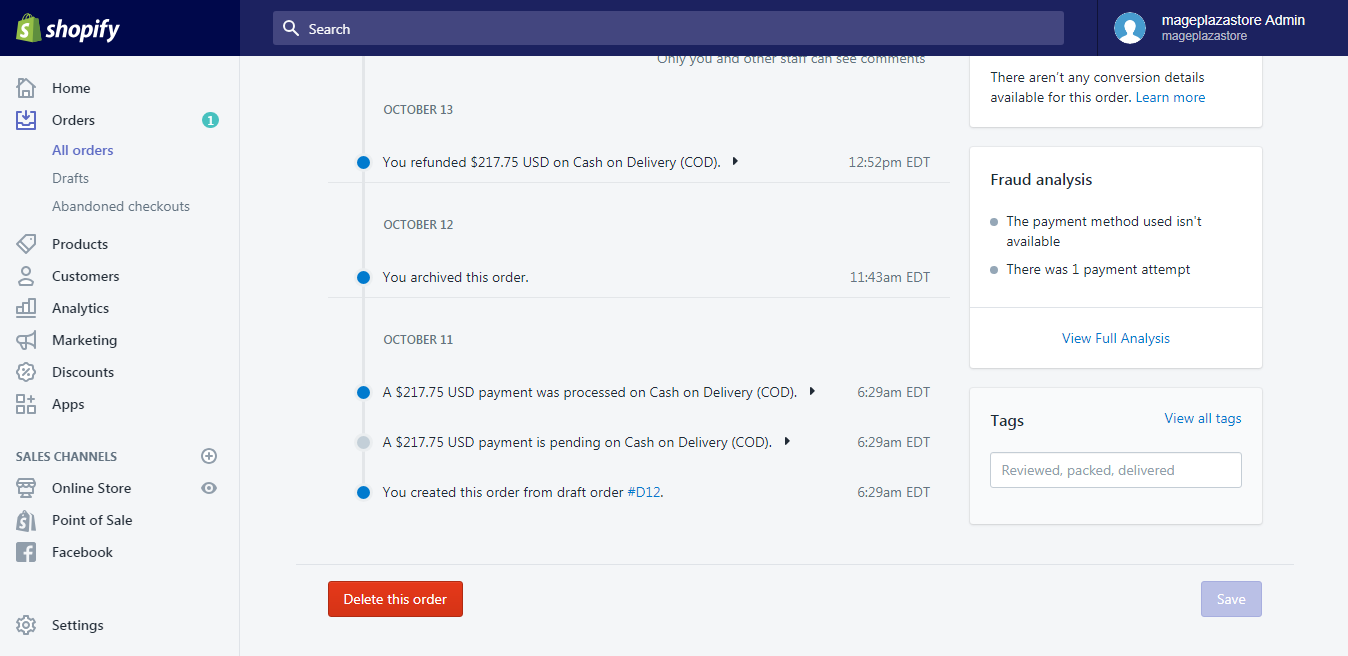
Choose an order from the orders list by clicking on the number of the order.
Then, in the order details page, find the Tags section and enter the tags name, each tag is separated by a comma. The limitation of one tag is 40 characters including numbers and letters.
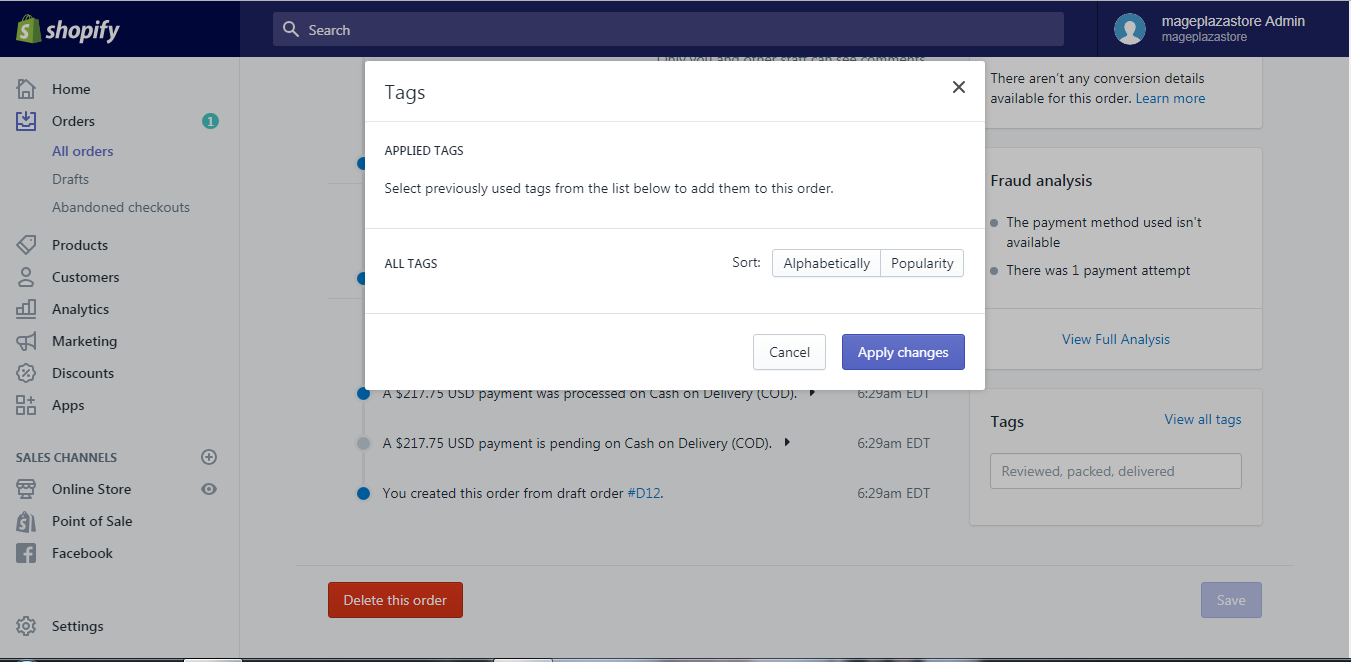
Step 3: Add a tag to your order
If you already have tags from before, you can choose the previous tags by clicking on View all tags and choose the tags you want to add. After you have finished adding tags, click apply changes to add those to the order
Step 4: Saving
In the final step, all you have to do is to click the Save button.
To add a tag to your order on iPhone (Click here)
- Step 1: Go to Orders
After logging into your Shopify account in the app, tap theOrders button next to the Home button at the end of the phone screen.

- Step 2: Choose an order
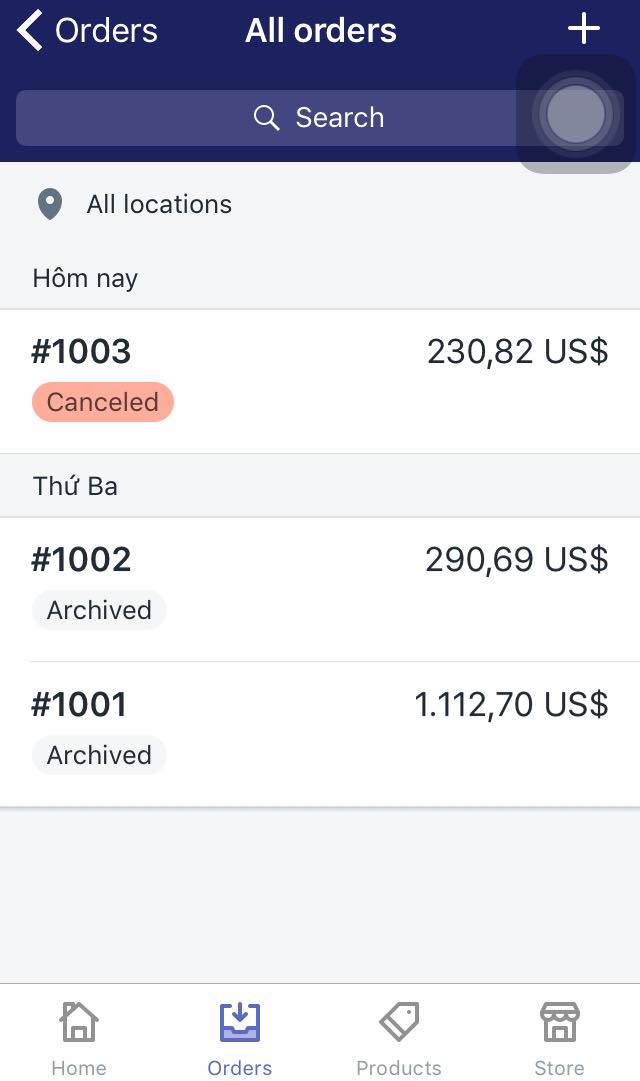
After the step above, click All orders to go to the order page.
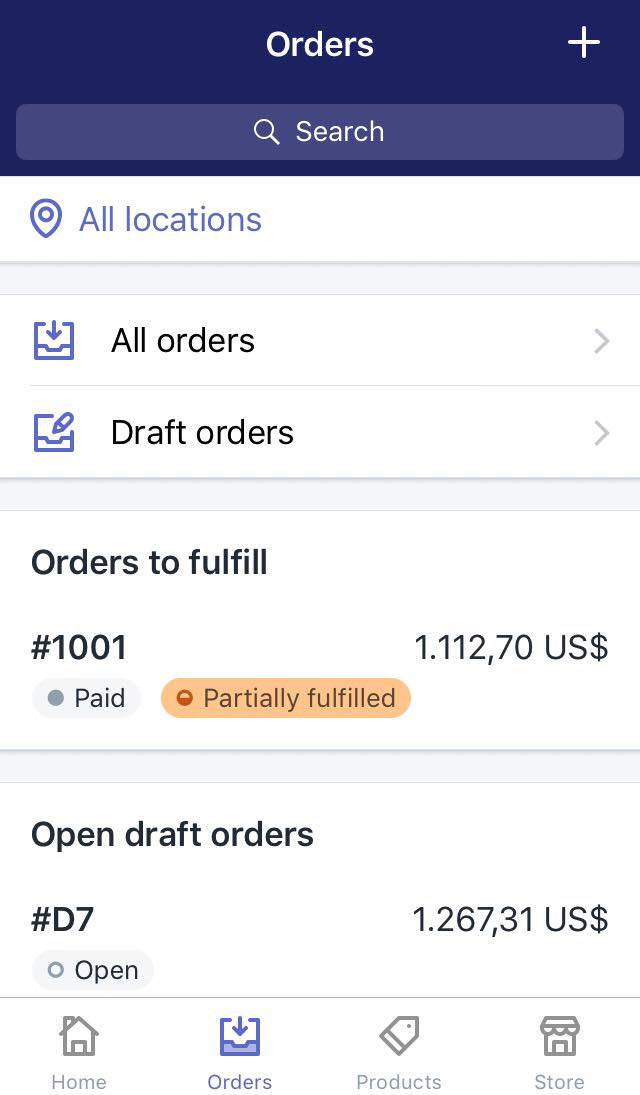
From the page, choose an order which you want to attach the tags.
- Step 3: Tap Add tag
From the order details page, scroll down until you find the Tags section and then tap the Add tags field.
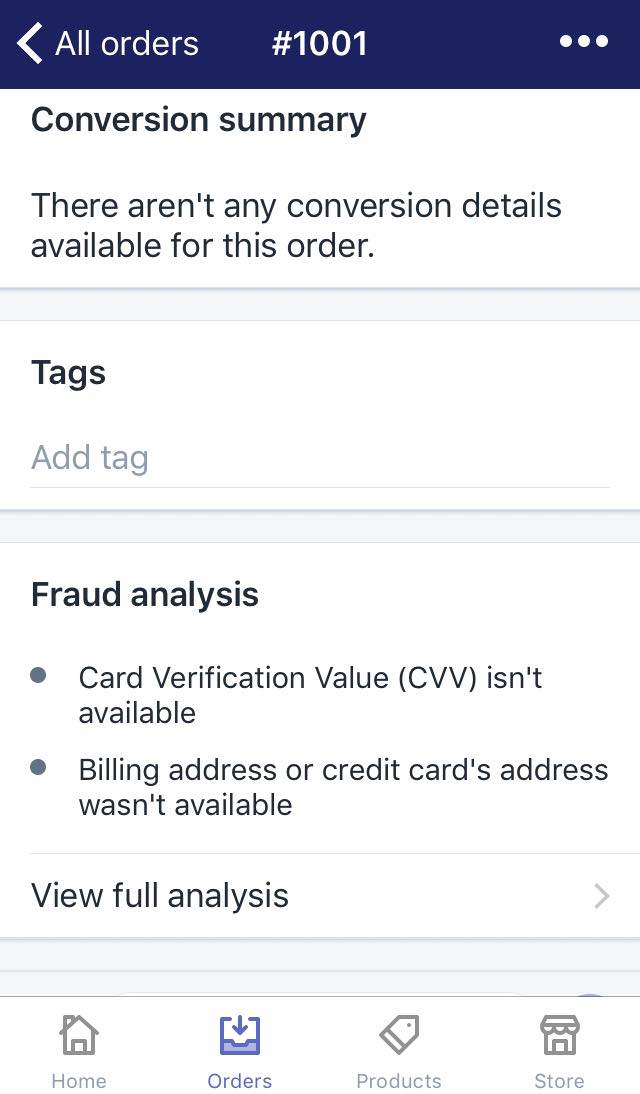
- Step 4: Enter tag name
Enter the tag name into the field and if the tag existed, Shopify will show you suggestion. The limitation of one tag is 40 characters including numbers and letters.
To add a tag to your order on Android (Click here)
- Step 1: Go to Orders
After logging into your Shopify account in the app, tap theOrders button next to the Home button at the end of the phone screen.
- Step 2: Choose an order
After the step above, click All orders to go to the order page. From the page, choose an order which you want to attach the tags.
- Step 3: Tap Add tag
From the order details page, scroll down until you find the Tags section and then tap the Add tags field.
- Step 4: Enter tag name
Enter the tag name into the field and if the tag existed, Shopify will show you suggestion. The limitation of one tag is 40 characters including numbers and letters.
Conclusion
To sum up, all the above is my guideline on the topic how to add a tag to your order on Shopify. I hope you have a great time reading and applying this to your shop. If you’re interested in this topic, check out our posts on managing orders.


