
How to add & edit BigCommerce email templates?

Email marketing is important in creating a better experience for your customers. Luckily, BigCommerce provides you with email templates that can be customized to fit your brand’s demand. After editing your email templates, they will be automatically sent to your customer, which saves your time and effort.
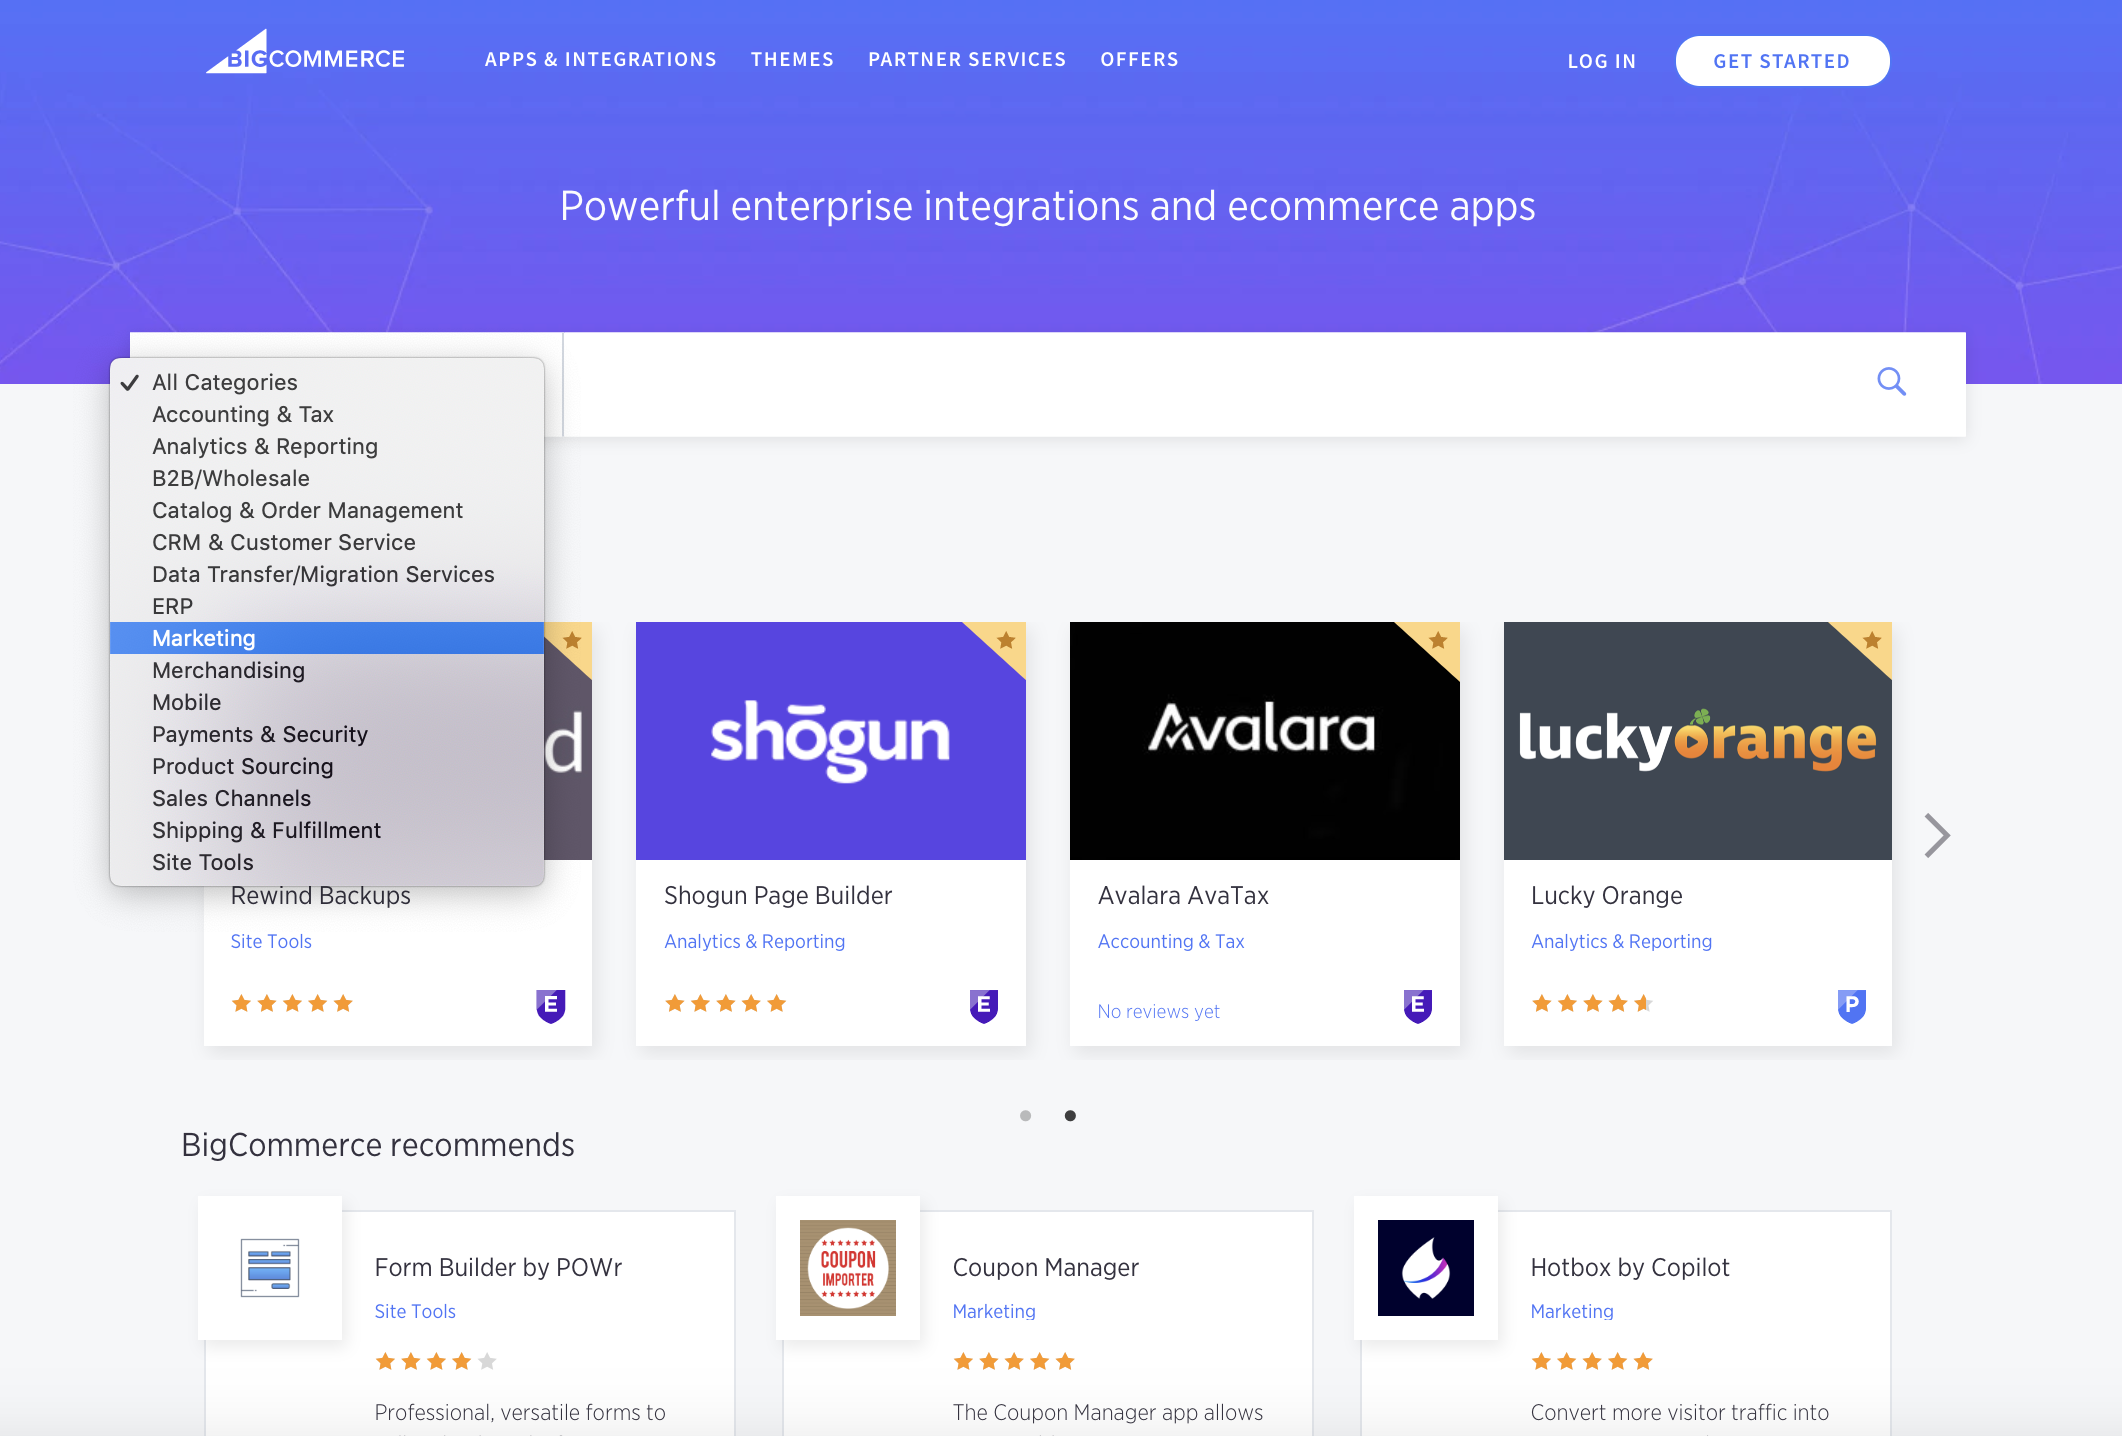
In this post, we will show you how to add and edit BigCommerce email templates as you wish.
Let’s dive in!
What are BigCommerce email templates?
BigCommerce provides its users with Emails that can be sent automatically to their customers saving much time and effort. Such emails are called BigCommerce email templates. What’s more, if you are using BigCommerce, you can customize them according to your need.
You can edit the following email templates:
- Abandoned Cart
- Account Settings Edited
- Password Reset
- Order Status Update
- Order Email
- Guest Account Created
- Gift Certificate Recipient
- Sign-in Link Request
- Order Notification
- Product Review Request
- Return Approved
- Account Created
- Return Status Change
How to add BigCommerce email templates?
Adding BigCommerce email templates is enabling them, which is an important tool for you before customizing each storefront. Besides enabling, you can also have an option to disable BigCommerce email templates. This will be essential if you rely on a third-party app to send emails to their customers for order updates. Thanks to this option, emails will not be sent by BigCommerce anymore but by the third-party app that you are connected with.
Now, let’s come to simple steps on enabling or disabling BigCommerce email templates:
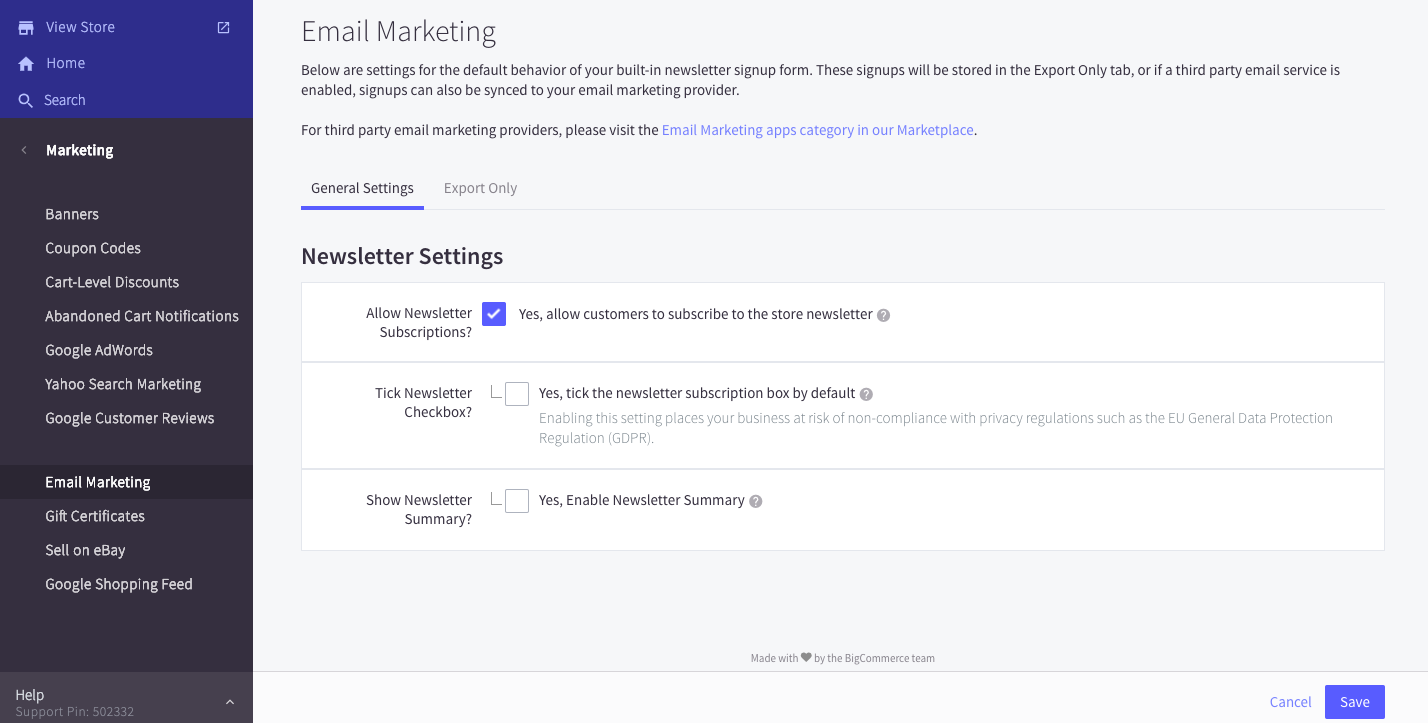
Step 1: Go to the Marketing page
At first, you need to log in to your BigCommerce account. Then, click on the Marketing section to open the Marketing page.
Step 2: Open the template list
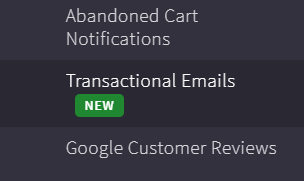
Next, let’s click on the Transactional Emails option. The next page will display the list of your store’s default international templates. Each will stick to a sign which shows whether it is enabled or not.
For those who own more than one store, they will have two options which include:
- Make use of their store’s default global templates and settings
- Enable templates to customize based on your demands freely
To choose between the mentioned options, you should open the dropdown list, which stays at the top of the page. Now you can change into the option you want, managing global templates or customizing each storefront template.
Step 3: Enable or disable a BigCommerce template

Finally, to add a BigCommerce template, you should click the three-dot button (…), which stays next to each template. Next, you can choose Enable or Disable from the dropdown according to your wish.
If you choose to disable the template, you can still come back to re-enable it by following the same steps.
What’s more, if you are making a change with your templates, you still can enable or disable them by clicking the three-dot settings button at the top of the page and choose between Enable or Disable.
How to edit BigCommerce email templates?
Besides enabling and disabling BigCommerce email templates, users can also customize each template based on their demands. Let’s come to the following basic guide on how to do that:
Step 1: Open the email templates page
At first, you should go to the Storefront option which is at the control panel, and continue by opening the Email Templates option.
Step 2: Click on the Edit Template button
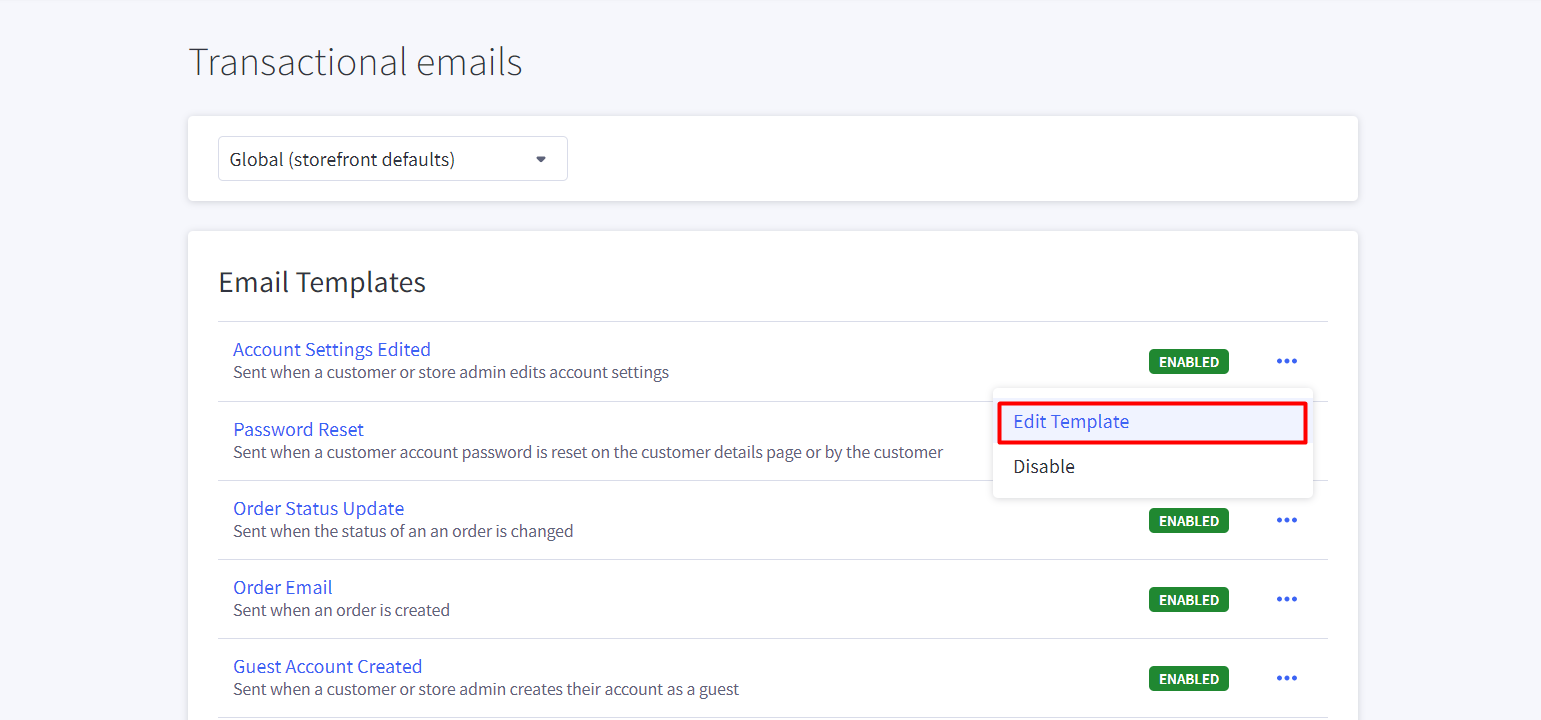
The page will show you all emails which are sent automatically by the store. Then, to start editing your email templates, you can now click on the “…” button, next to each template, and choose Edit Template.
Like the guide to add an email template, you also need to use the dropdown list at the top of the page to switch between the international version and editing a particular storefront’s email template.
Step 3: Edit the phrases and codes
- Phrases
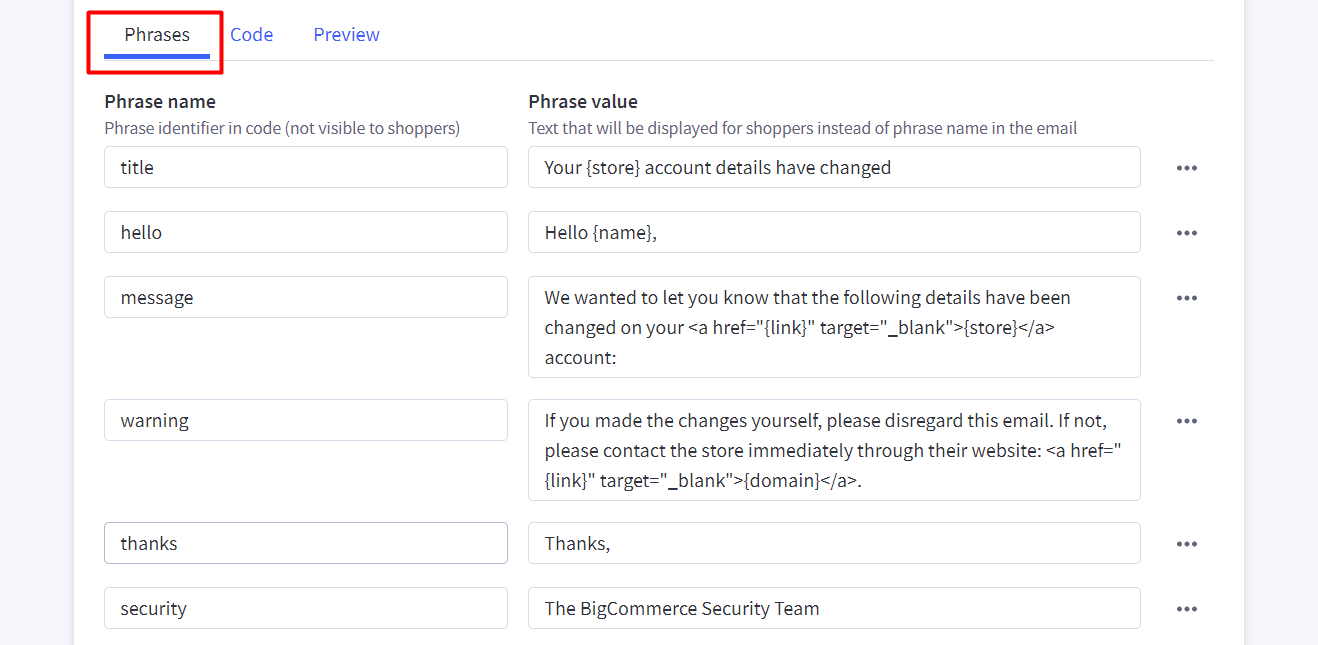
Editing the Phrases tab means editing the text used in the template. The buyers cannot see the Phrase name which is used in the template code.
Customers are enabled to make a change to the Phrase name and Phrase value of the current one. Besides, you can also get rid of existing phrases. In order to do so, click on the three-dot button, which is next to the phrase, and choose the Delete button.
To create one or more phrases to edit, you should click on the “+ Add new” button which is at the bottom of the tab.
- Codes
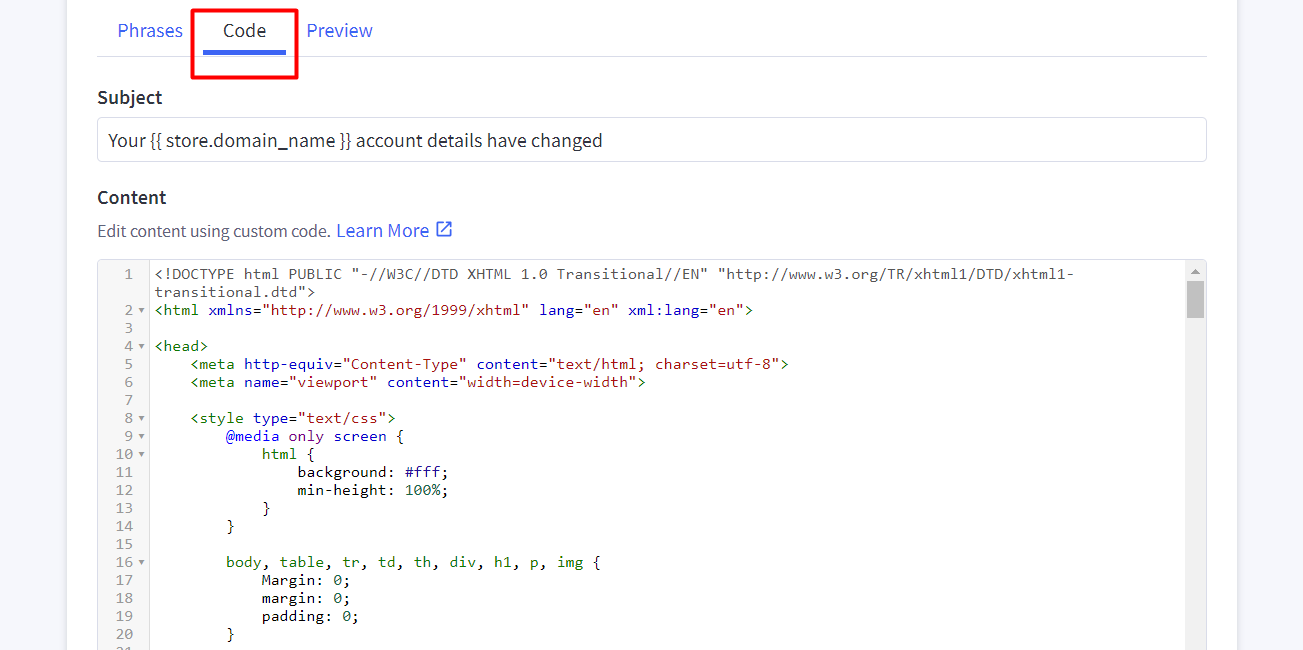
Variables and snippet codes will create the emails sent to your customers. . The code tab displays each template’s subject line and content, and you can make changes to them. The content of the template is decided by its underlying HTML as well as Handlebars code.
Here we will show you some template files and their snippet codes as well as descriptions:
- account_details_changed_email.html: The snippet codes of emails are sent automatically when anyone makes changes on their account. This code adds to the security of their accounts.
- giftcertificate_email.html: When a customer gets a chance to receive a gift certificate, this email will be sent to him or her.
- abandoned_cart_email.html: The snippet codes of emails sent to customers to remind them of their shopping cart and unfinished items as well as persuade them to complete it quickly. This code is only available on some BigCommerce pricing plans.
- OrderTrackingLink.html: When an item is sold and shipped to customers, the emails getting this code will be sent to customers with a tracking number.
Step 4: Preview the email templates
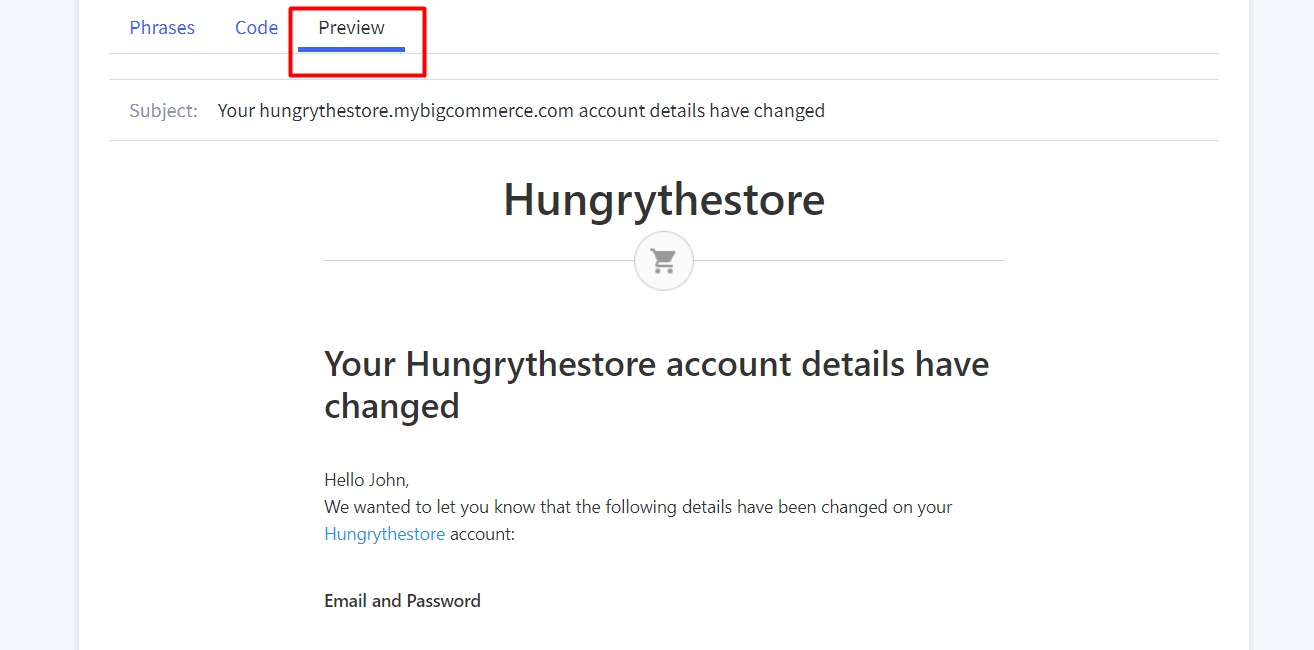
The last step after editing your BigCommerce email templates is viewing the results.
Look at the Preview tab and find the sample of your resulting email that you can send to customers. If you are satisfied with it and want no more changes, click on the Save button.
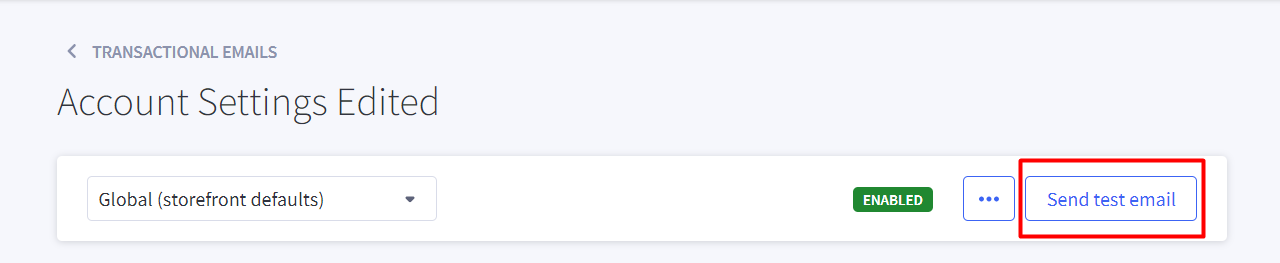
Another option for showing how your emails look like is clicking on the Send test email. By doing so, you will receive a copy of this template’s results.
After saving your templates, if you want to restore the phrases or code of templates to their beginning values, let’s click on the “… settings” button and continue choosing Reset to system defaults. When it comes to your storefront-specific templates to global values, simply check the Use Global box.
Conclusion
To sum up, if you rely on a third-party app to manage your store better, you can choose to enable or disable some of your email templates. If you need to customize the default email templates to make them suitable for your business, follow the guide that we cover above.
If you have any questions about the topic, be free to leave a comment in the section below. We will reply to you as soon as possible. Please share this post with your friends and visit us for more interesting articles.
Good luck!


