
How to Add & Manage Customer Groups in BigCommerce?

When selling online, segmenting customer groups is important not only to send them relevant content but also to increase your sales.
Thanks to the Customer Groups feature by BigCommerce, business owners have the chance to organize and manage their customer groups. However, not everyone knows how to create and manage BigCommerce customer groups.
In this post, we will cover all things you need to know about this feature of BigCommerce, as well as an in-depth guide on how to manage them.
Let’s follow us!
What are customer groups in BigCommerce?

In general, the BigCommerce Customer Group is a feature of the platform in which business owners are enabled to classify customers into multiple groups, organize customers, send discounts, or restrict access to specific products or categories.
This feature is suitable for companies who have exclusive discounts, want to send the customer to specific products, reward loyal visitors, or allow access to certain areas of the website. This feature cannot be found in any other platform except for BigCommerce.
For those who don’t know, this feature is necessary since there are two main types of customers which are:
- The standard retail consumer: Typical customers who buy your products as individuals. One characteristic of this type is purchasing due to their desire instead of necessity. Each customer has his or her shopping habit.
- The wholesaler or business-to-business (B2B) consumer: They are businesses buying your products to return them over for resale. Therefore, wholesalers tend to purchase due to necessity and in bulk with a cheaper price range. Therefore, building a consistent, continuous, and long-lasting business relationship with wholesalers is beneficial for businesses.
So, why business owners should create customer groups? Let’s come to the next part to dig into the reasons.
Benefits of BigCommerce customer groups
When creating BigCommerce customer groups, business owners can:
- Create a loyal customer group to whom you can give access to particular products or services with discounted rates.
- Send the right to access to select products for the wholesalers or B2B customers and hide them from retail consumers. You can also give discount codes for big purchases.
- Segment customers via regions, habits, lifestyle, and more.
- Easily research new niche markets and trends.
- In general, to send more products, you need to know about your customers and provide them with what they want. Thanks to the BigCommerce Customer Group feature, you can create a better segmentation strategy with which you can focus on customers who may contribute more to your business.
How to create a BigCommerce customer group?
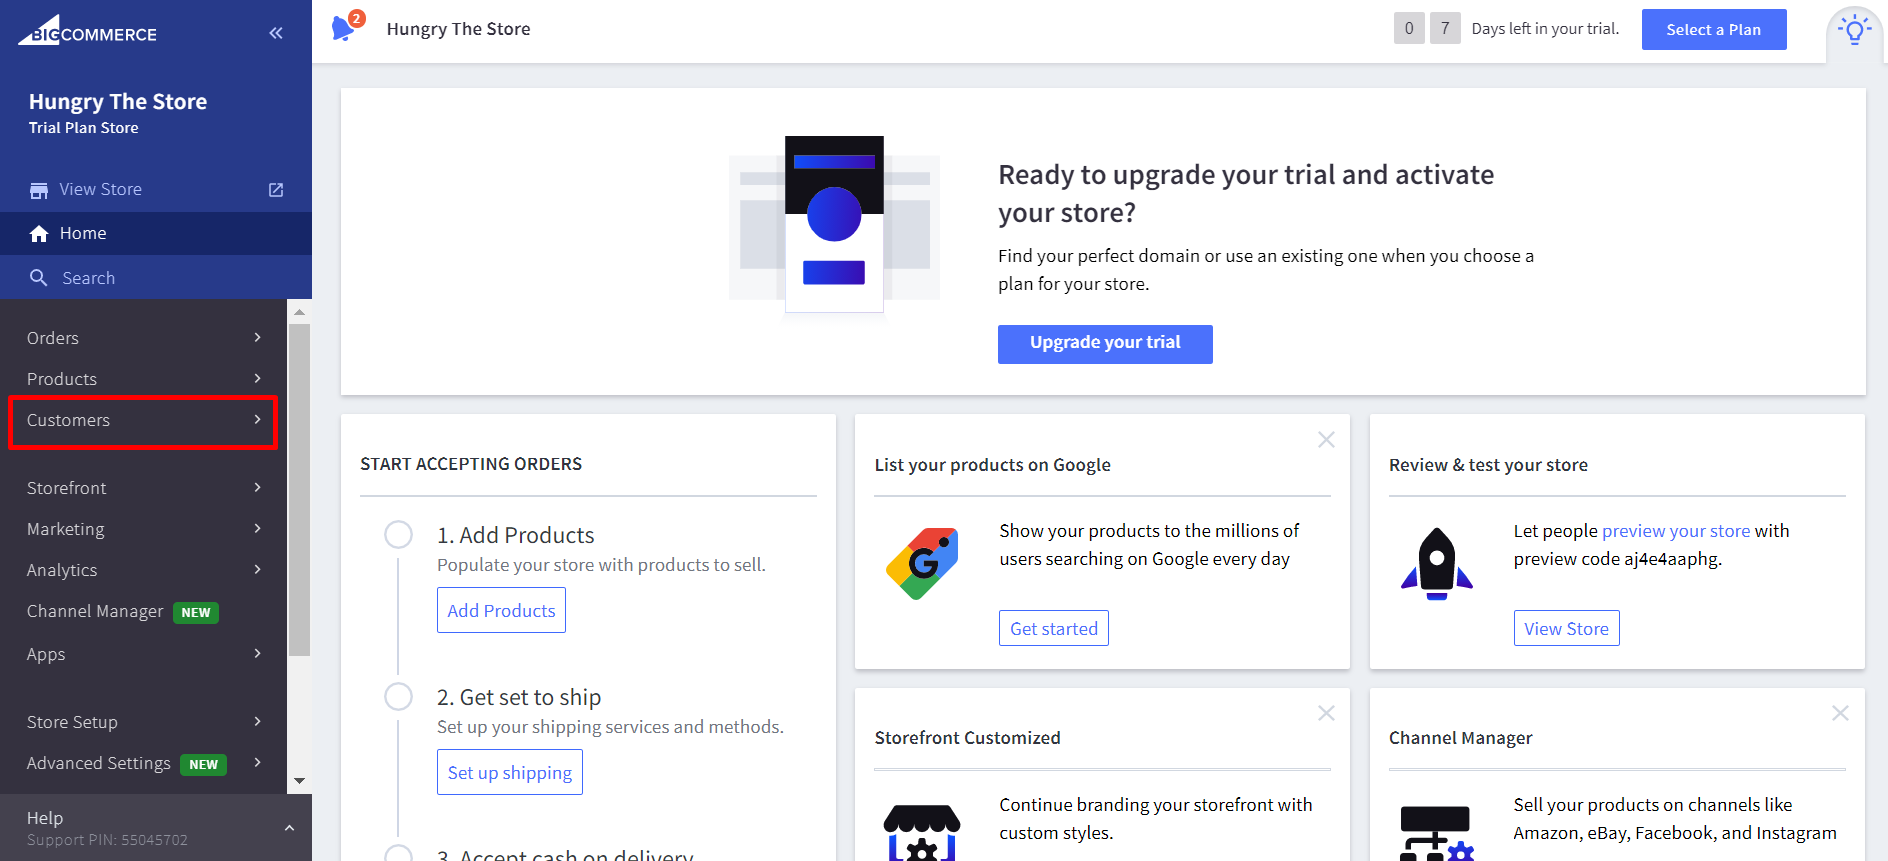
Step 1: Go to “Customers”
In order to create a customer group, that is much easier than you think. First, you should surely log into your account.
Then, look at the menu on the left side of the dashboard and click on the “Customers” section.
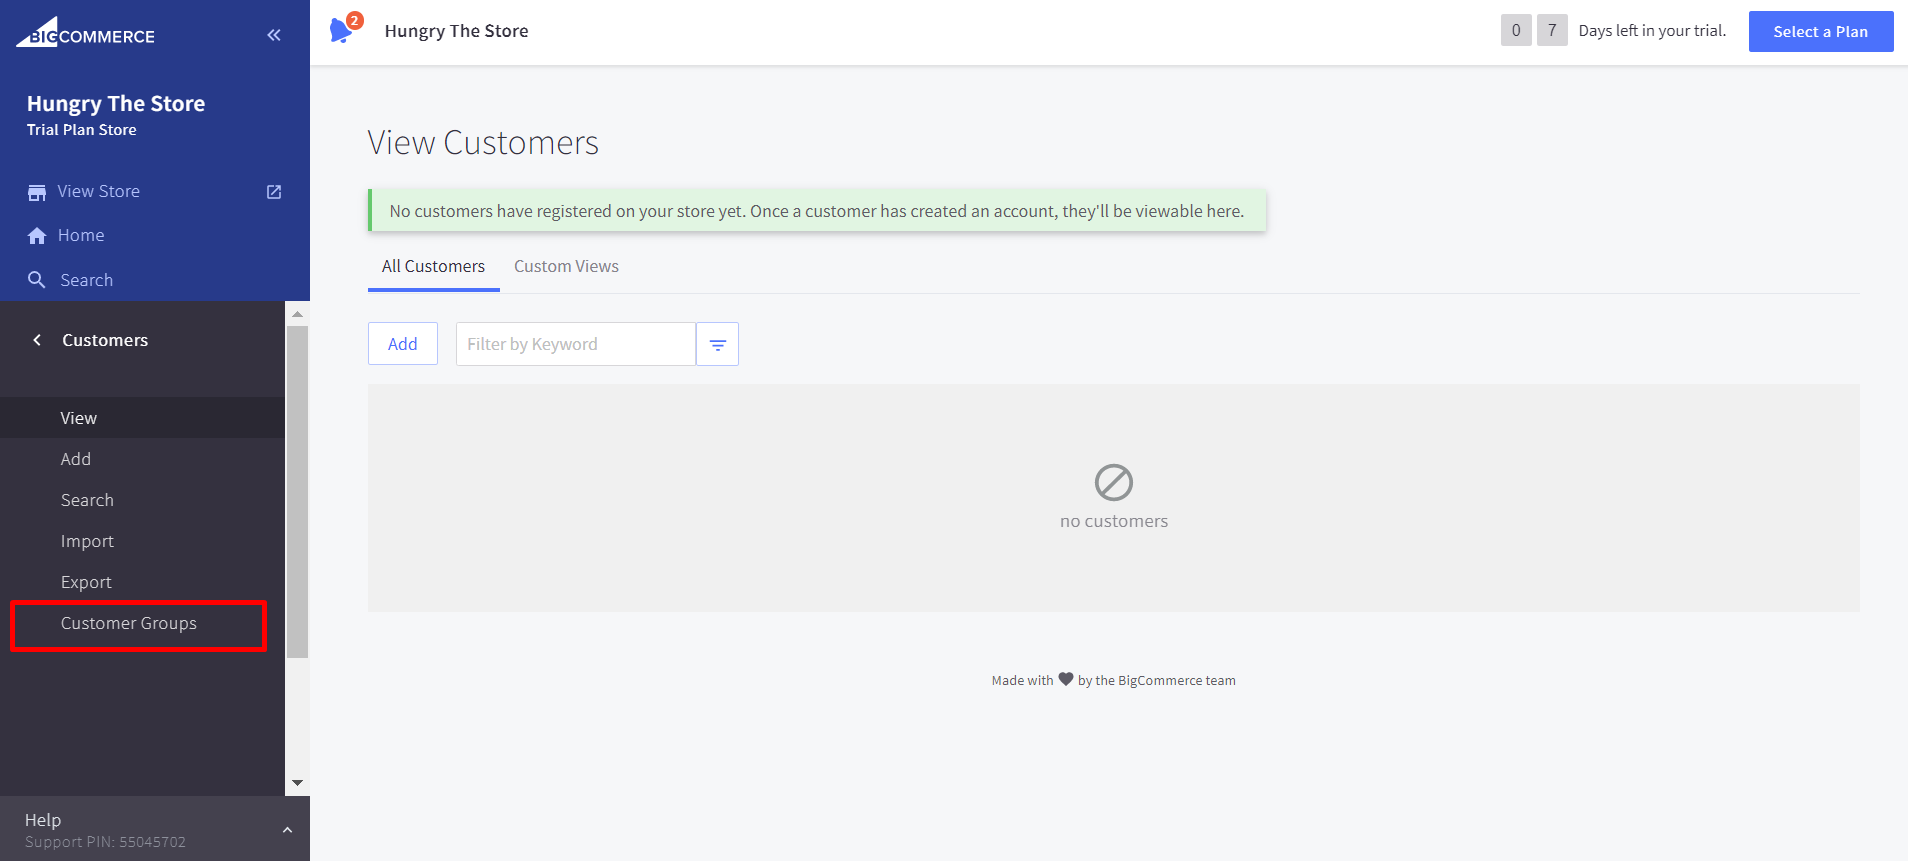
Step 2: Select “Customer Groups”
After clicking on Customer, let’s opt-in to the “Customer Groups” which is at the bottom of the list.
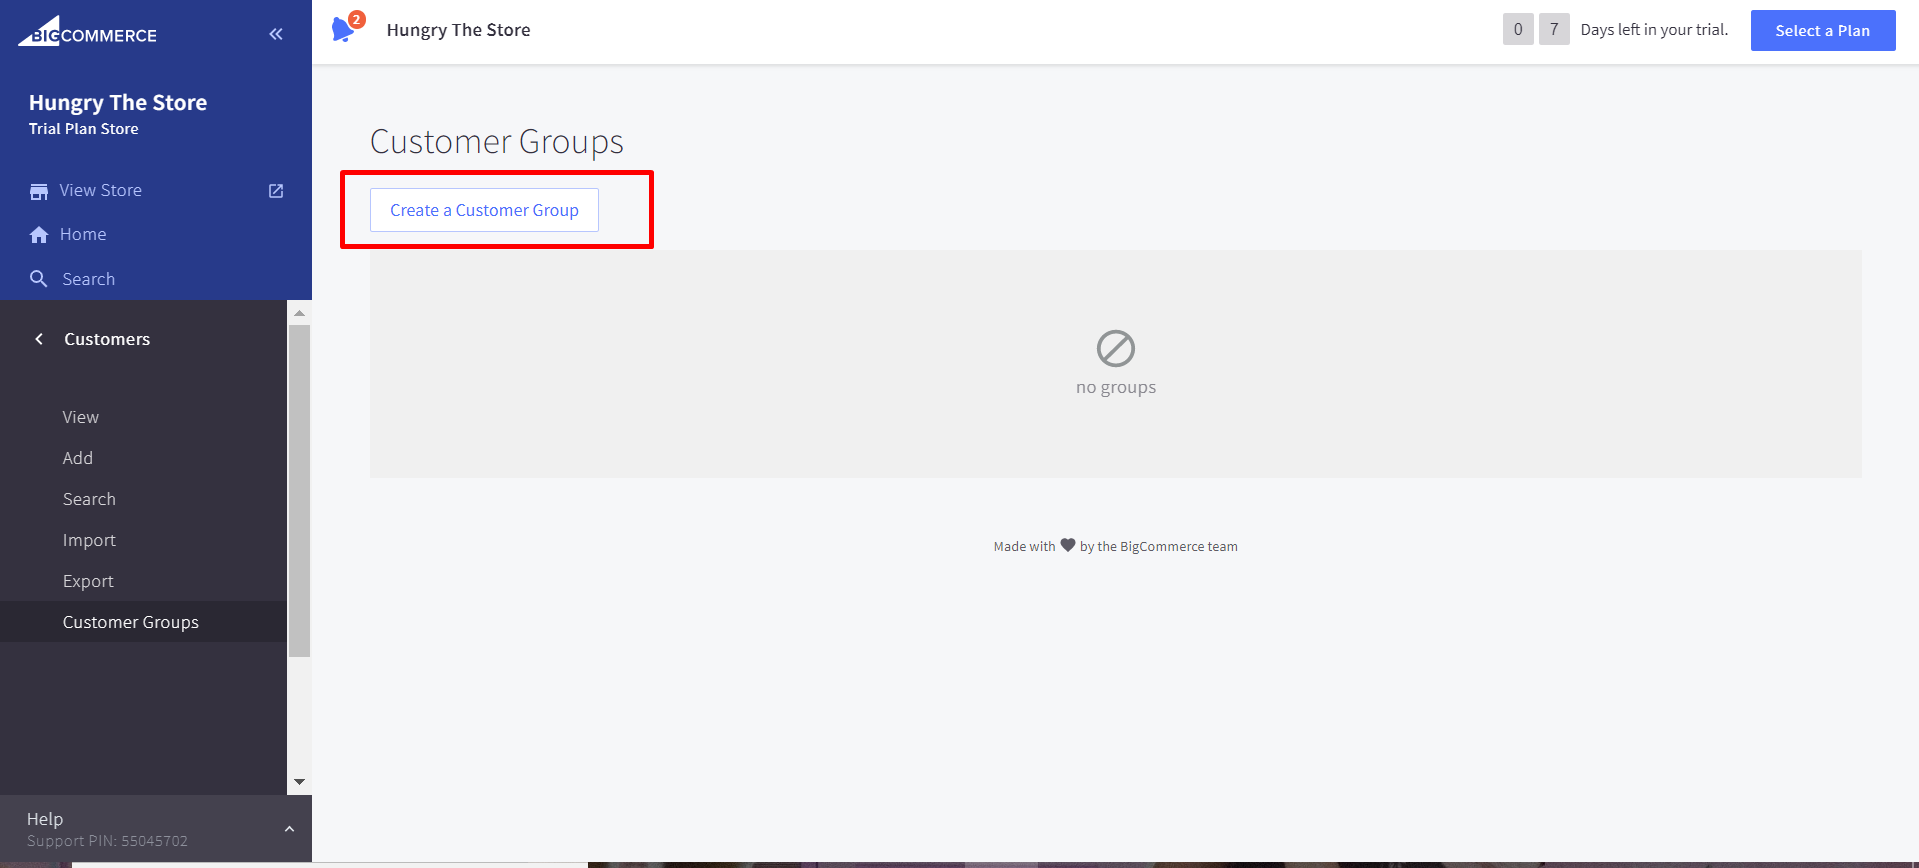
Step 3: Select “Create a customer group”
A new page will be opened with the existing customer group. If you haven’t created any before, it will display as “No groups”. You should now select the “Create a customer group” button.
Step 4: Name your customer group
Next, you will have to name your group by entering a group name in the field below. For example, you can name it as “Retailers” or “B2B customers”. It is just for identification purposes and not visible to customers in your store.
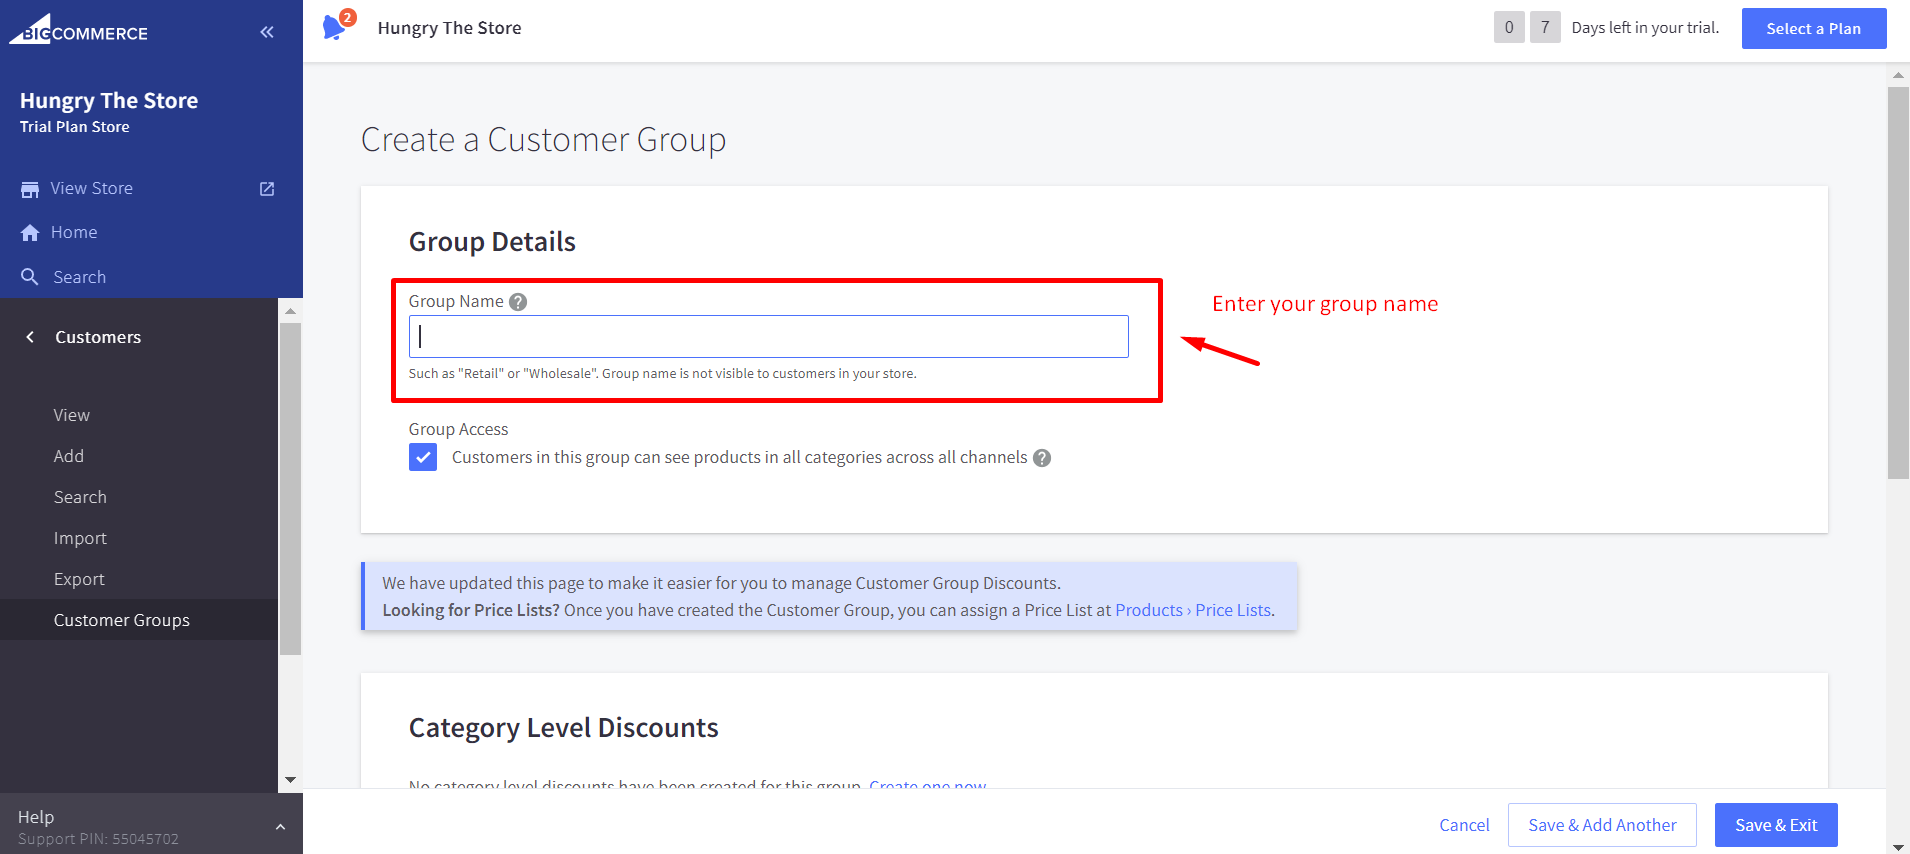
Step 5: Configure the Group access settings
Then, it’s high time you should configure the Group Access settings.
In case you want all customers in the created group can view products in all categories via all channels, you should let the default status of the Group Access section like this:
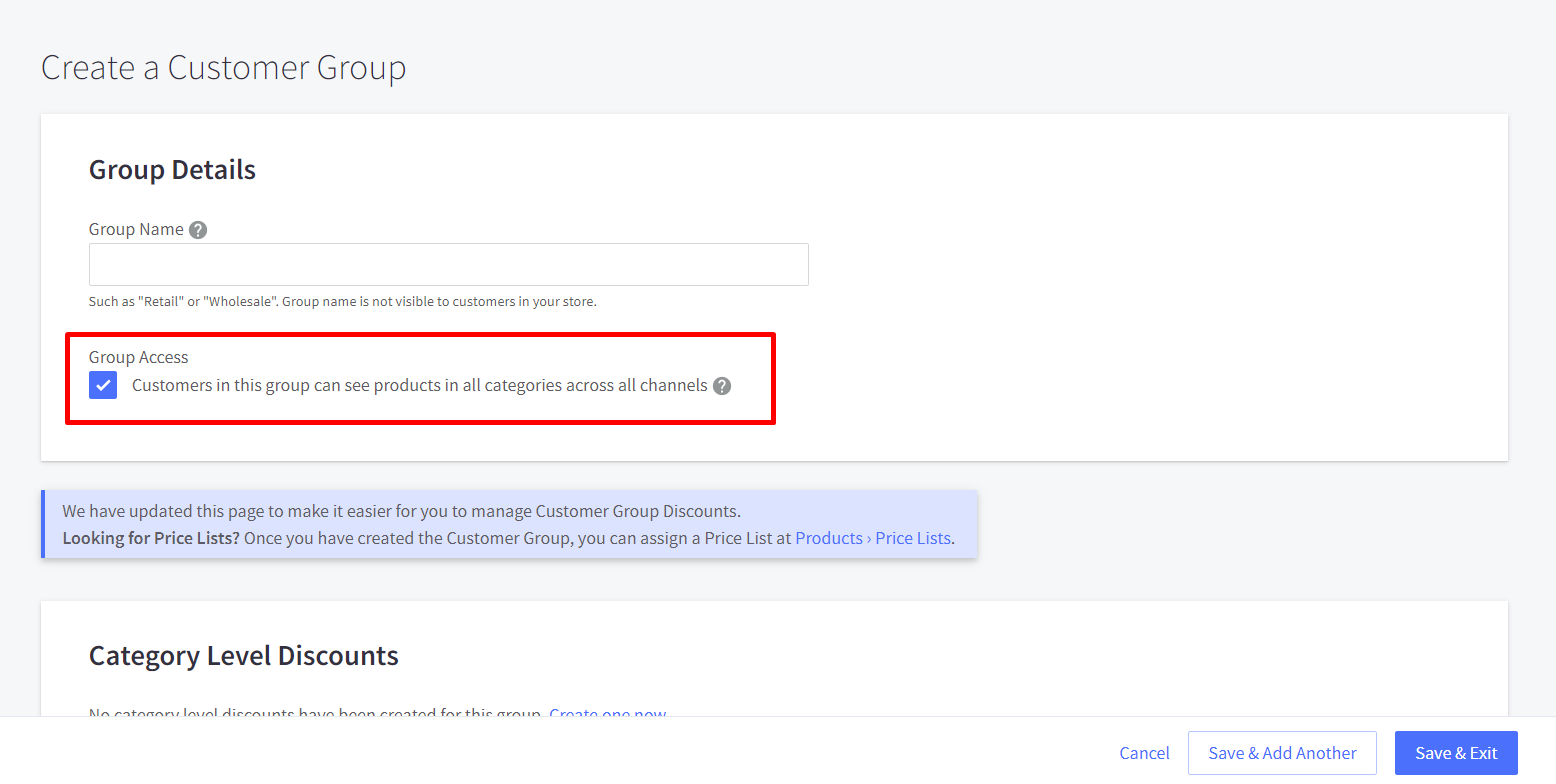
In this situation, all new customers will be added to the group automatically.
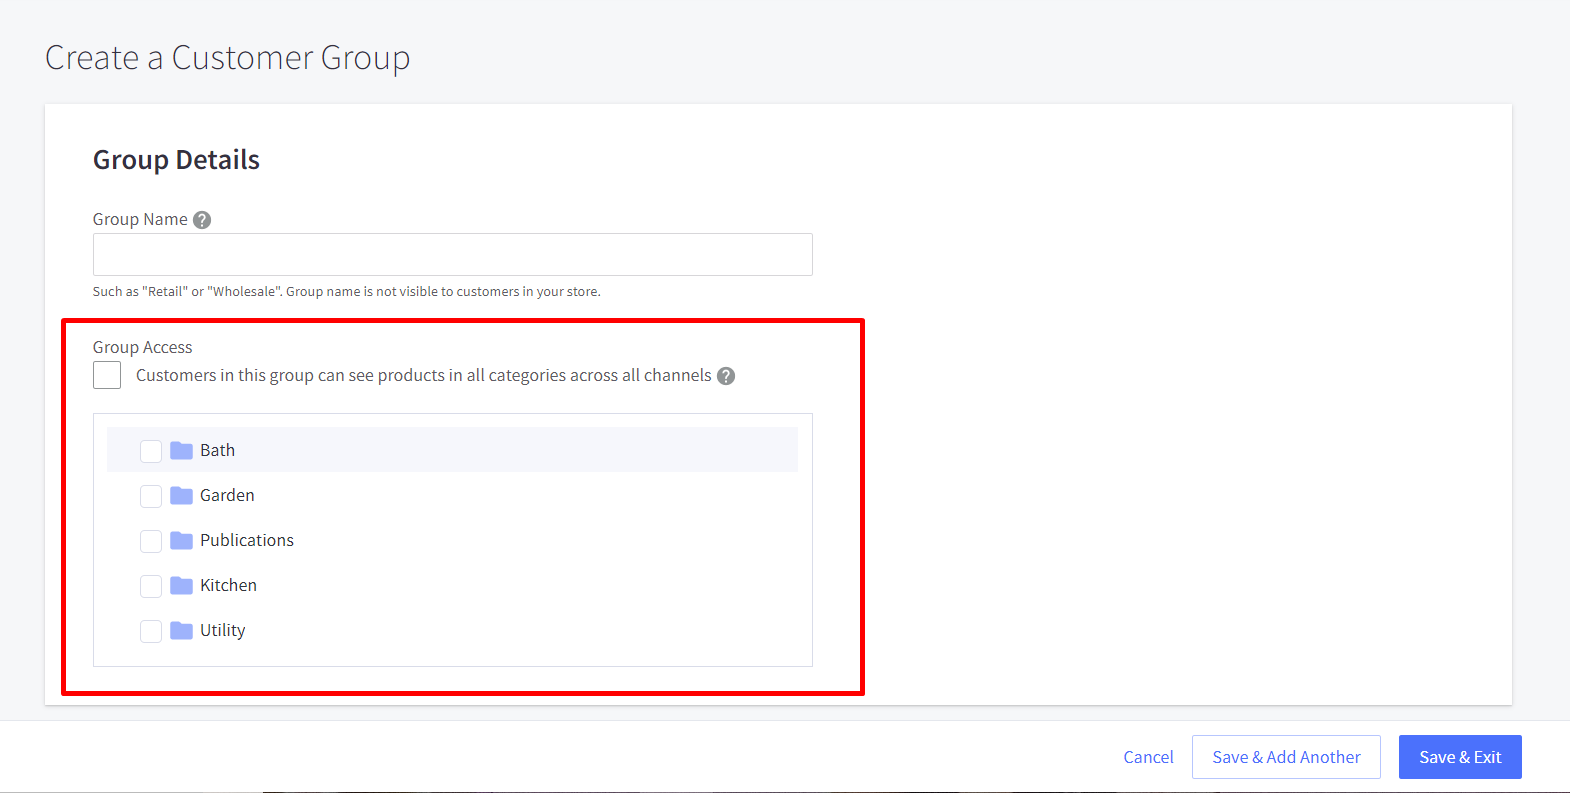
However, if you want to restrict the group’s category access. You can uncheck this box and then choose which one can be accessed.
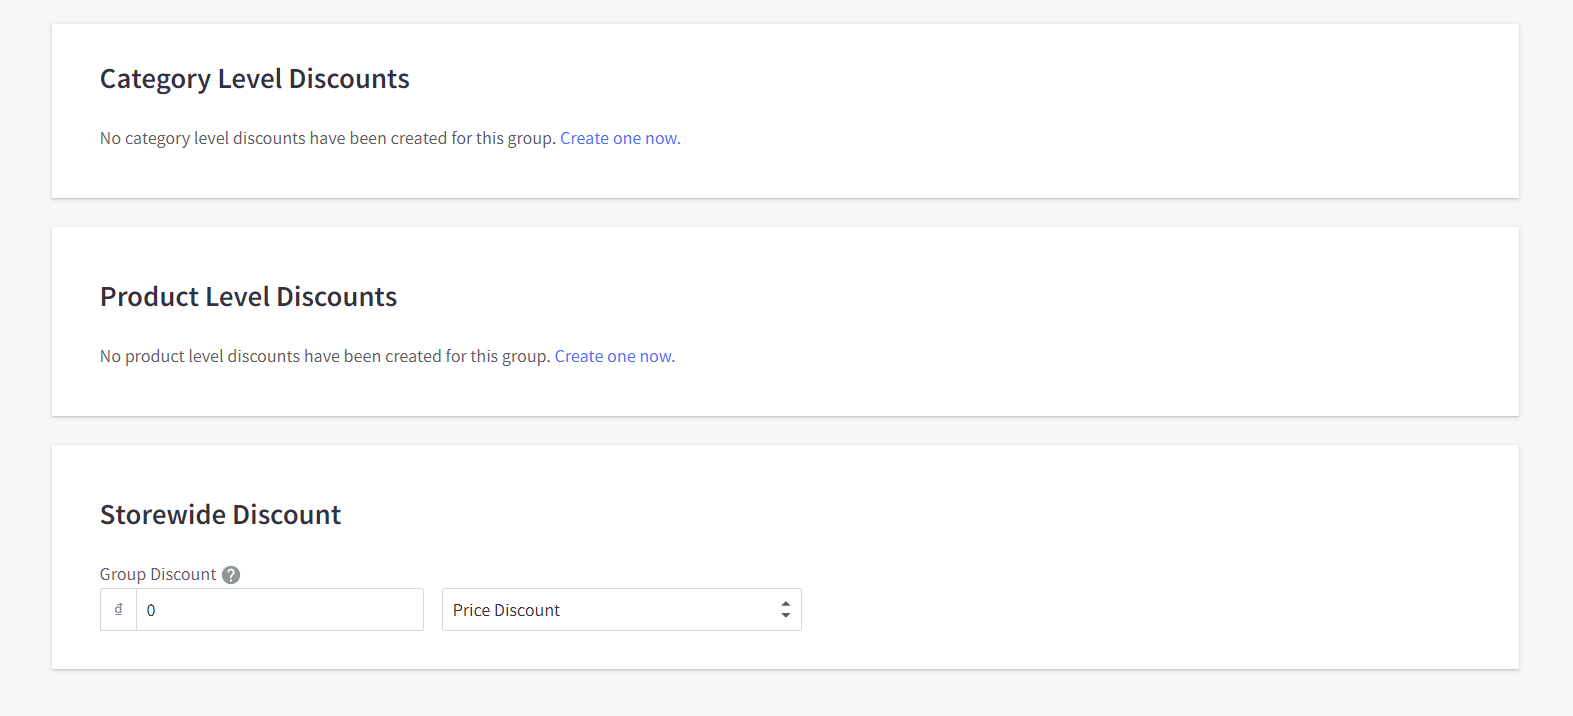
Step 6: Save your changes
Besides, you can also set category, product as well as storewide discounts for these customer groups.
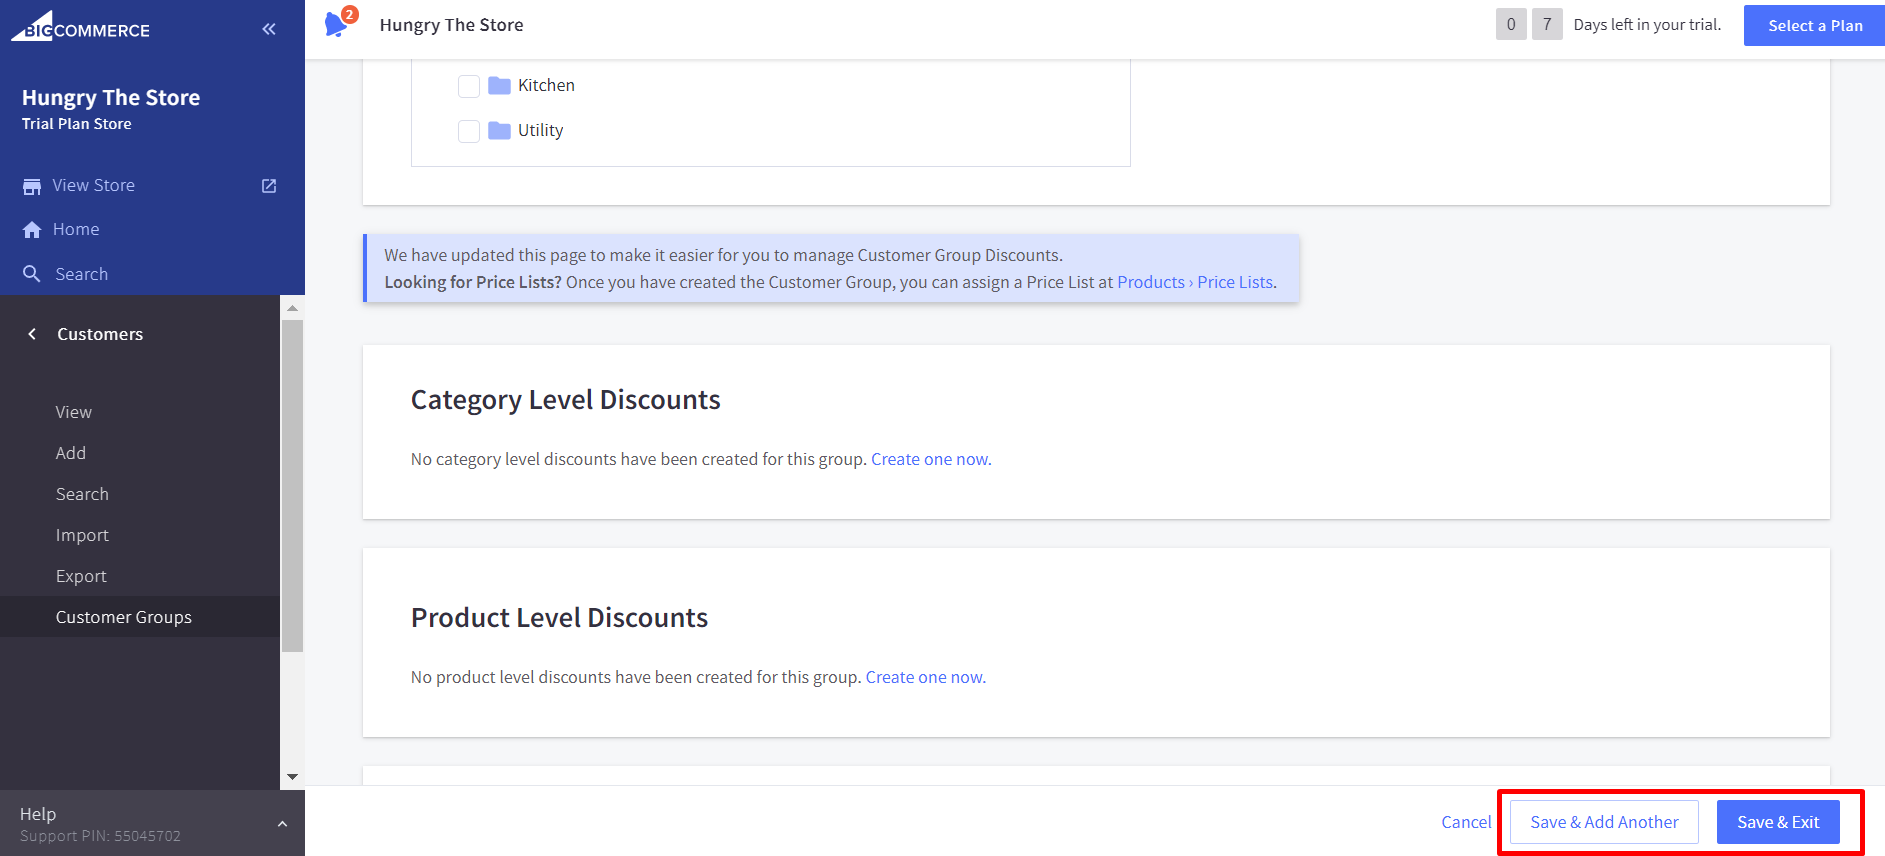
After all, remember to save your groups. If you have more groups that need creating, click on “Save & Add another”. If you don’t, click on “Save & Exit”.
One notice is that customer groups can totally be duplicated by using the Copy action, which is in the Action menu.
How to manage BigCommerce customer groups?
Managing default customer groups
In order to manage default customer groups, you must have created a group before. You should also start by going to Customers and choosing Customer Groups. Then, click on the “Manage Default Customer Groups” button.
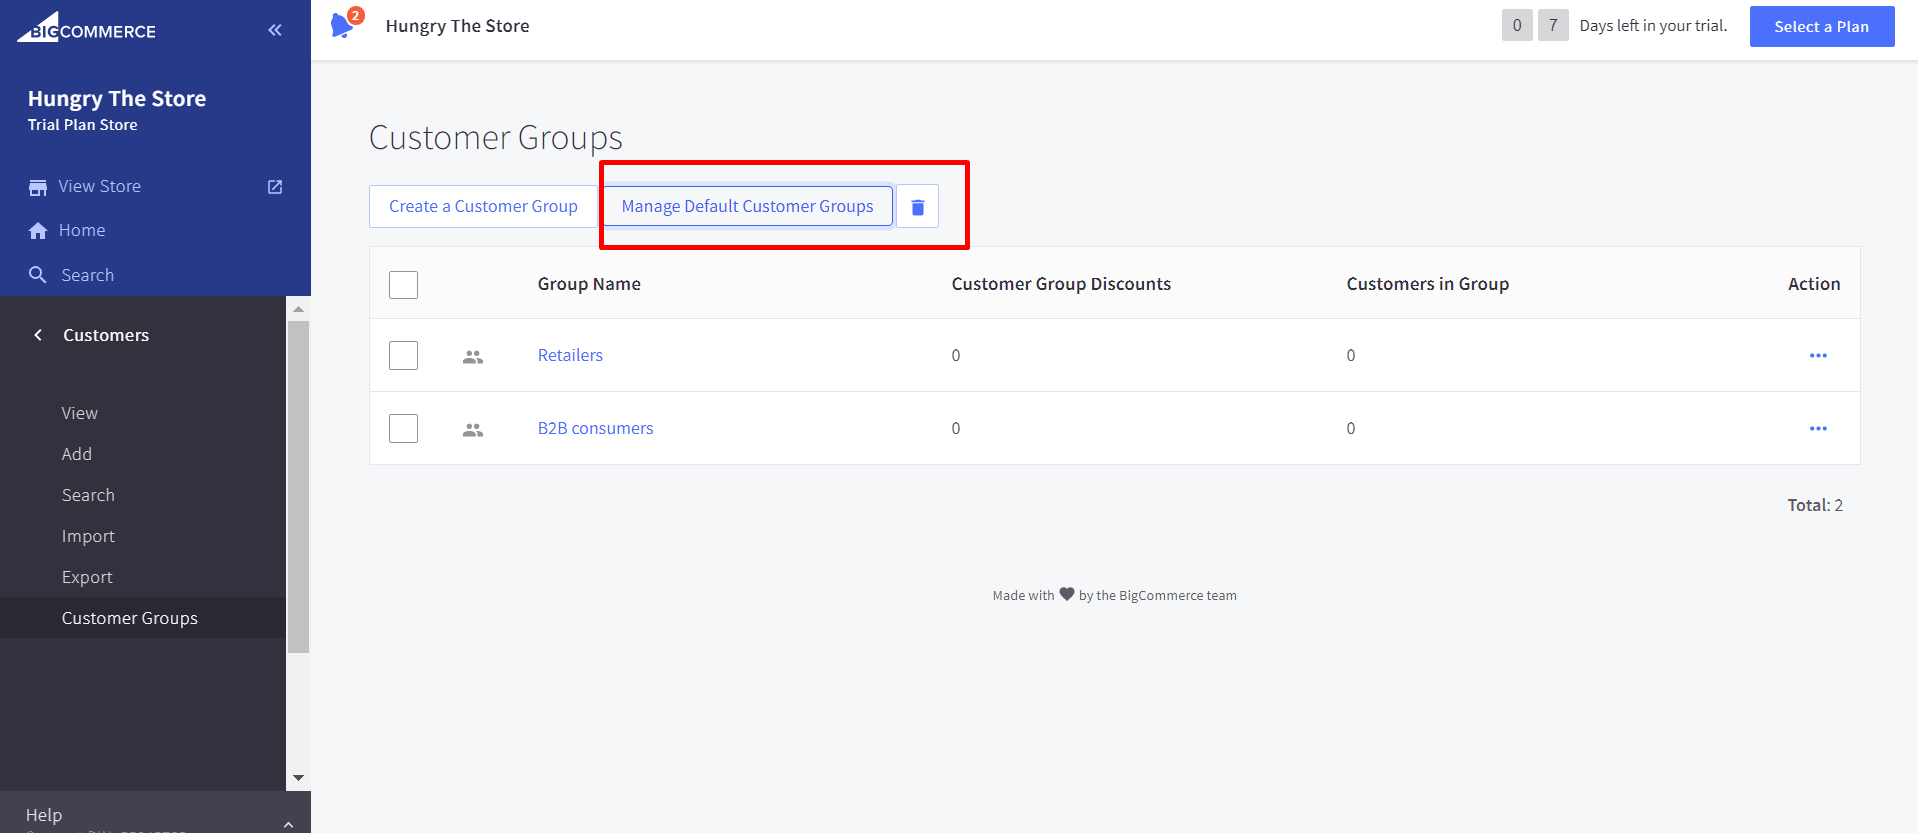
Here you are enabled to create a default group for those who visit your store for the first time as well as new customers who have registered an account.
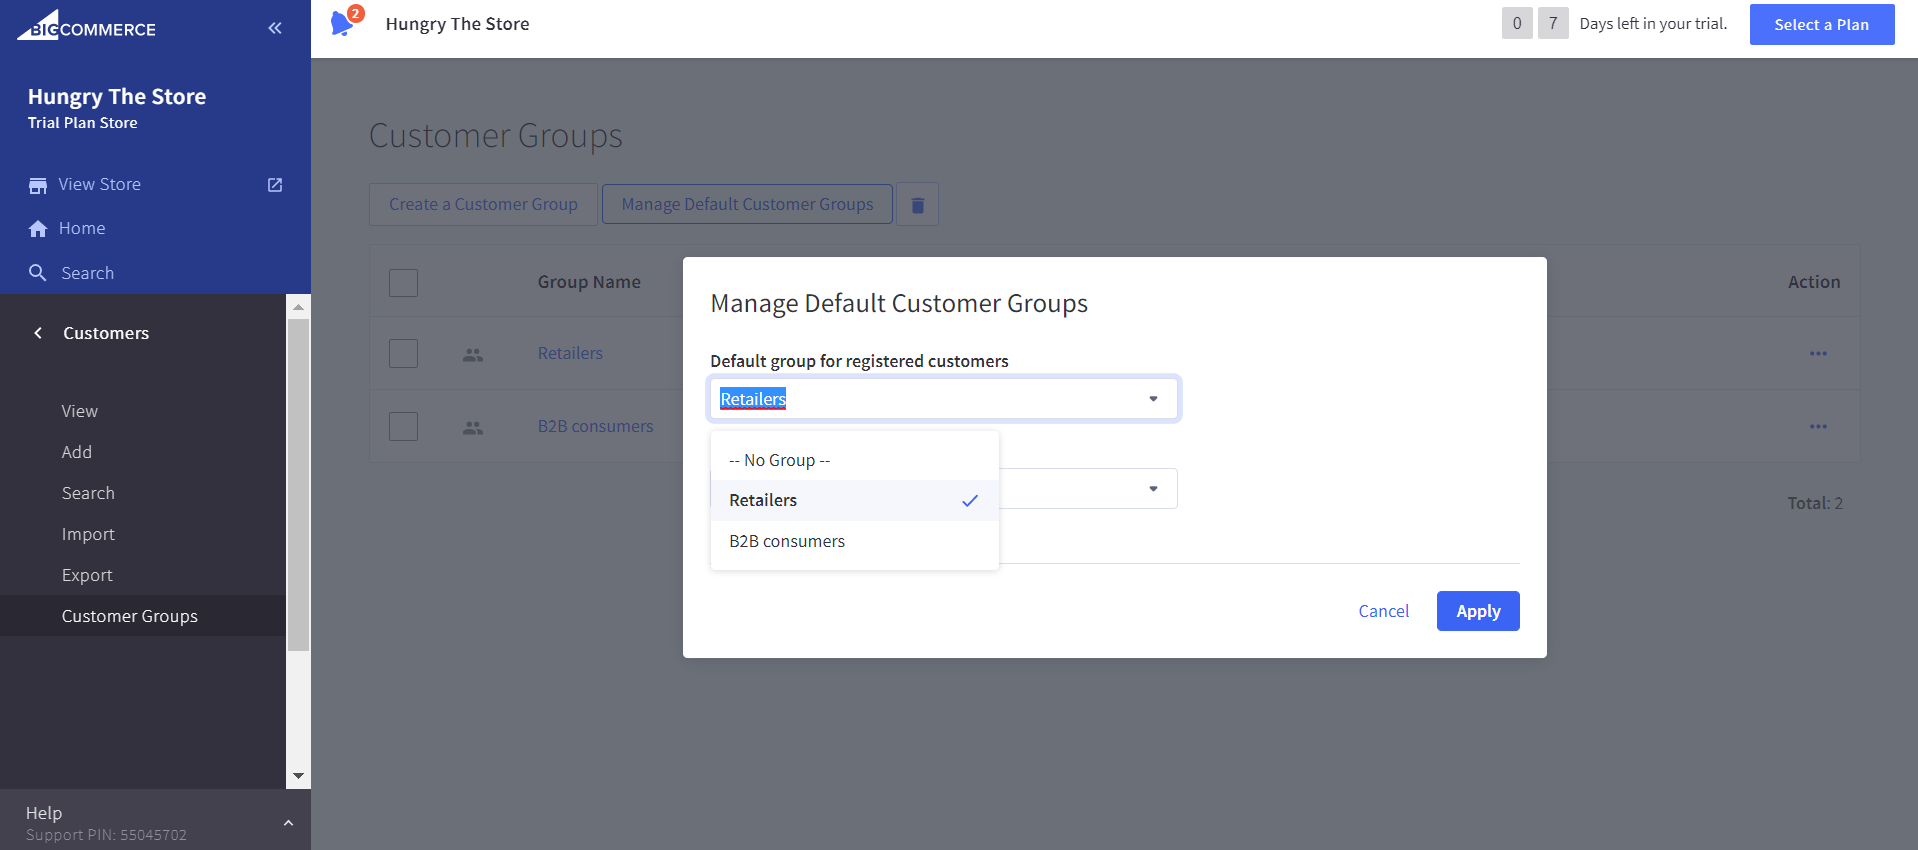
In case your business has many different channels, you should create global groups for your guests and new customers. Then, you can configure each of your channels to use the global groups or to specify their own channel-specific default groups.
Assigning customers to groups
After creating customer groups, you will need to assign customers to them. To do so, you need to go to Customers and click on the “View” option to open the View Customers screen.
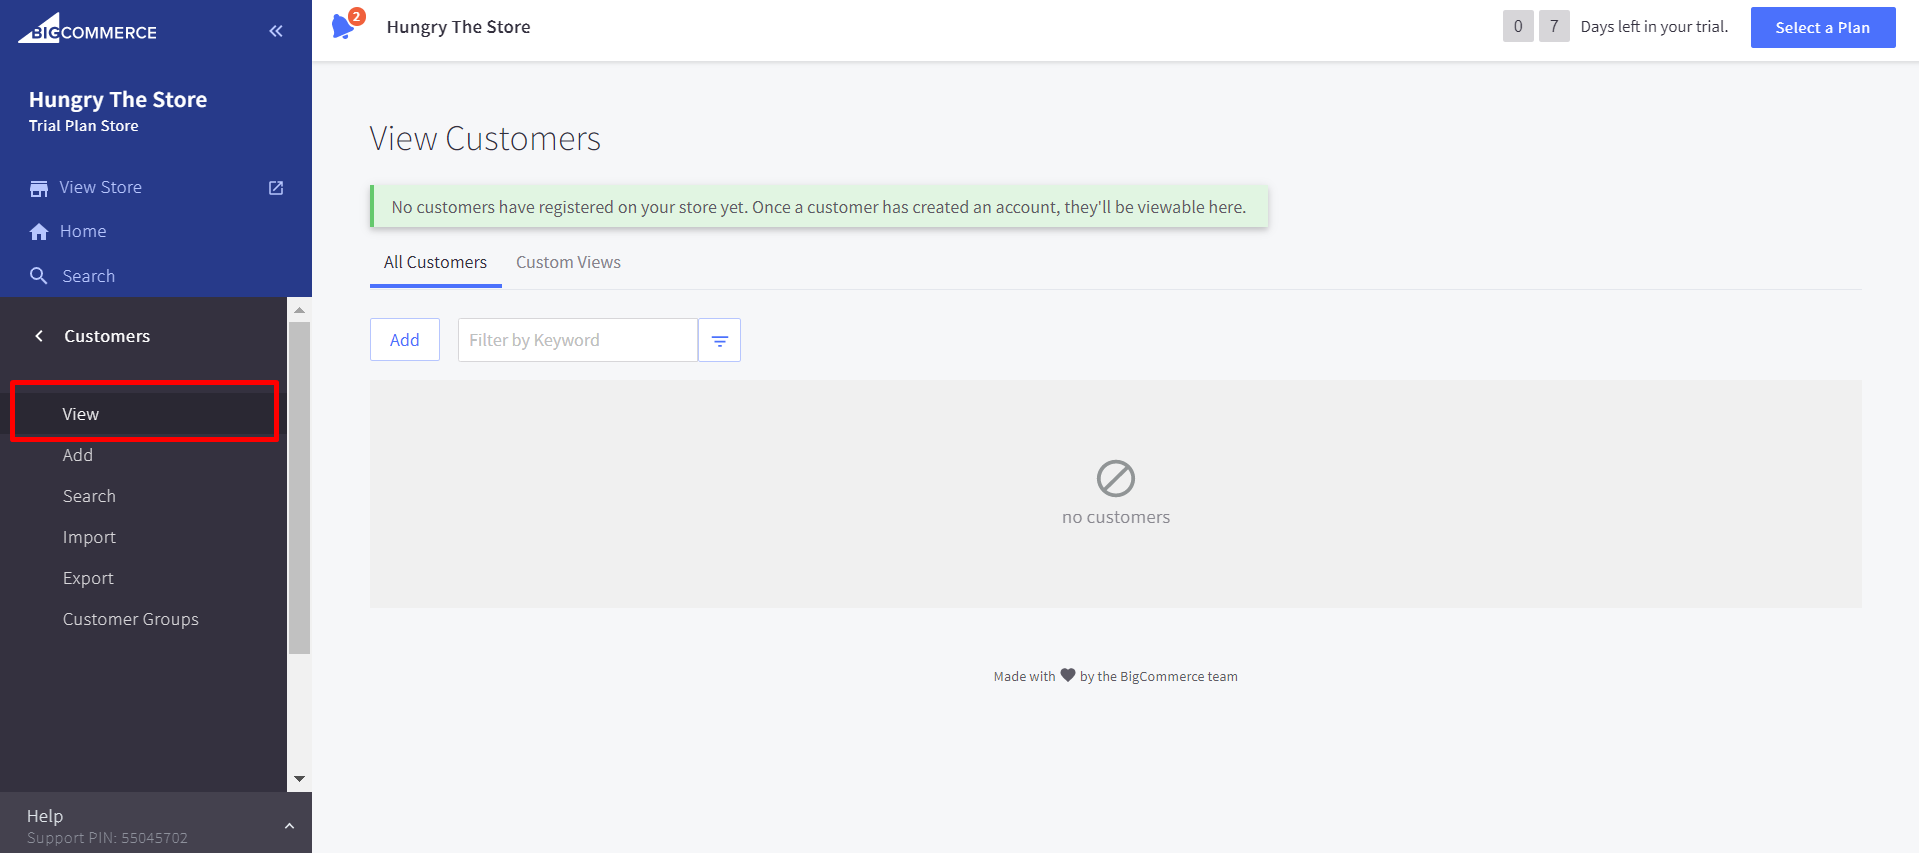
Then, let’s choose a group from the Group dropdown menu. You don’t have to find the Change option since your adjustments will be saved automatically.
Moreover, you have one more way to assign customers to groups which is using a CSV import. This is perfect for those who are updating customers in huge bulk.
Deleting a customer group
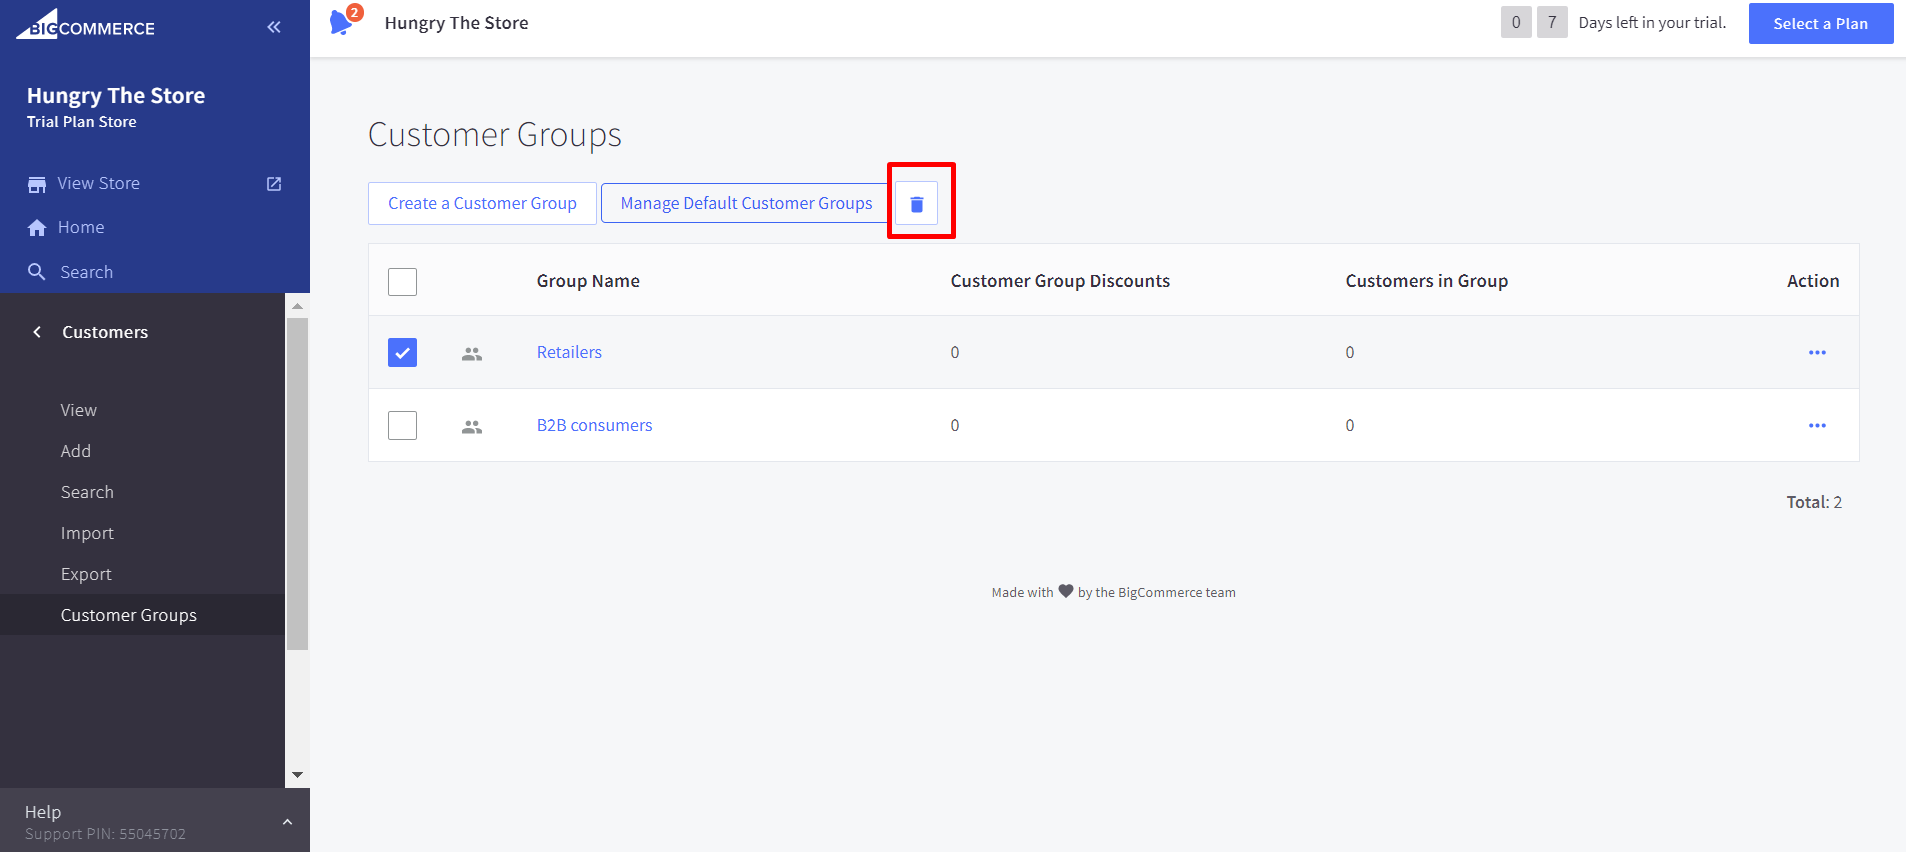
So, what if you don’t want to have these customer groups in your store anymore? You can also get rid of them by going to Customers, choosing Customer Groups.
Then, find the customer group or groups you want to delete and check the box next to them.

After checking, clicking on the Trash can icon which is next to the “Manage default customer groups” button. Finally, click OK to confirm your decision.
One tip for you is that an order export can be helpful for determining the percentage of orders originating from a particular group.
Final thoughts
As you can see, BigCommerce makes it easy for any business owner to create a customer group, edit it, or manage it well.
This feature is noticeable in BigCommerce, which you cannot find on any other platform. Thanks to segmentation, you can easily send relevant content to customers, organize your business better, and accordingly increase your sales and customer support.
Hopefully, this post is in-depth enough for you to follow. If you have any questions or want us to cover any topics, don’t hesitate to leave a comment in the section below. If you find this post interesting, share it with your friends and visit us for more.
Thank you, and good luck with your customer groups!


